Silicone muffin pans are a game‑changer for home bakers. They heat evenly, release effortlessly, and are dishwasher‑safe, making baking a breeze. Follow our step‑by‑step guide to get flawless muffins, cupcakes, and creative treats every time.
Key Takeaways
- Prep matters: Light greasing or using liners ensures easy release.
- Temperature control: Bake 5‑10 °F lower than metal pans to avoid over‑browning.
- Don’t overload: Fill each cup 2/3 full for even rise.
- Cooling technique: Let the pan rest 5 minutes, then invert for quick release.
- Versatility: Use the pan for savory bites, desserts, and freezer treats.
- Care & storage: Hand‑wash or place on top rack; avoid sharp utensils.
- Safety first: Silicone is BPA‑free and oven‑safe up to 450 °F (232 °C).
📑 Table of Contents
- Introduction: Why Silicone Muffin Pans Are a Baker’s Best Friend
- 1. Getting Started: Choosing the Right Silicone Muffin Pan
- 2. Preparing Your Pan for the Best Release
- 3. Mastering the Batter: Tips for Perfect Muffins and Cupcakes
- 4. Baking and Cooling: The Secret to Easy Release
- 5. Cleaning, Storing, and Maintaining Your Silicone Pan
- 6. Creative Uses: Beyond Muffins and Cupcakes
- Conclusion: Your New Go‑To Baking Companion
Introduction: Why Silicone Muffin Pans Are a Baker’s Best Friend
Imagine pulling a tray of perfectly risen, golden‑brown muffins out of the oven without any sticky struggle. That’s the promise of a silicone muffin pan. Unlike traditional metal tins, silicone is flexible, non‑stick, and heat‑resistant, which means you spend less time scrubbing and more time enjoying your baked creations.
Whether you’re a weekend hobbyist or a budding pastry chef, mastering this tool can upgrade your entire baking routine. In the next few sections we’ll walk through everything you need to know—pre‑baking prep, batter tips, baking tricks, cooling methods, and even creative uses beyond sweet treats. By the end, you’ll be confident enough to bake a batch of muffins, a dozen cupcakes, or a batch of mini quiches with just a few simple steps.
1. Getting Started: Choosing the Right Silicone Muffin Pan
Material Matters
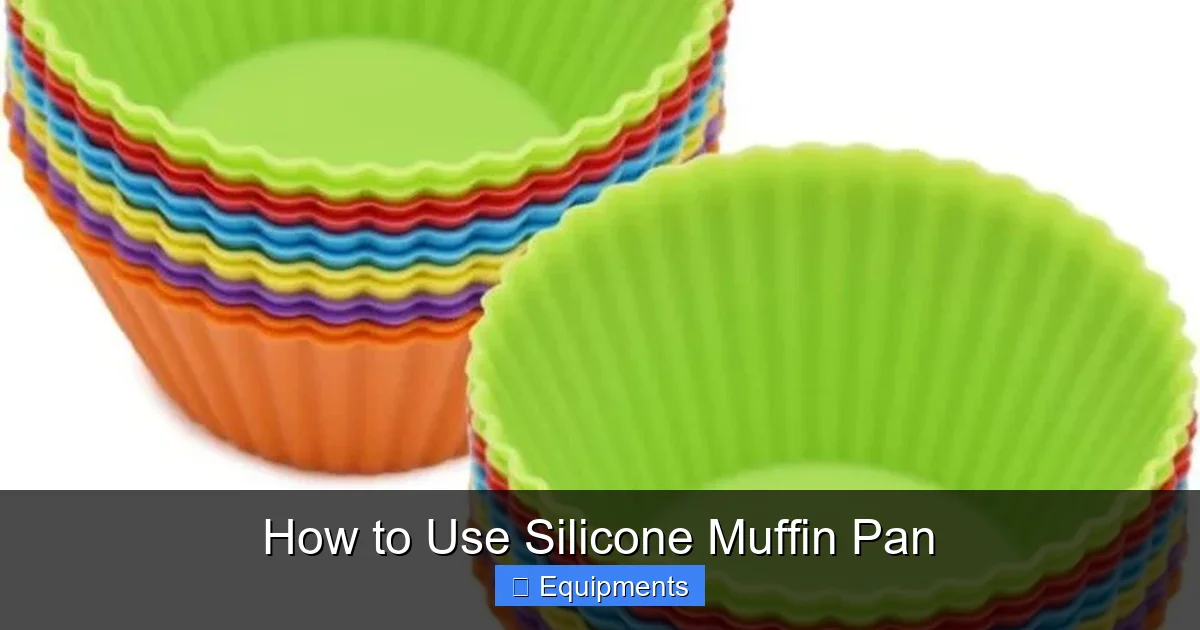
Silicone used in kitchenware is food‑grade, BPA‑free, and designed to withstand temperatures from –40 °F (‑40 °C) up to 450 °F (232 °C). Look for pans that are labeled “oven‑safe” and have a reinforced rim for stability.
Visual guide about How to Use Silicone Muffin Pan
Image source: lgdsilicone.com
Size and Shape Options
- Standard 12‑cup: Ideal for classic muffins and cupcakes.
- Mini 24‑cup: Great for bite‑size desserts or appetizers.
- Specialty shapes: Heart, star, or silicone liners for themed parties.
Flat vs. Deep Cups
Deep cups give a taller rise—perfect for fluffy cupcakes. Flat cups create a wider top, which is excellent for muffins that need a crusty edge. Choose based on the texture you prefer.
2. Preparing Your Pan for the Best Release
Greasing: Do You Really Need It?
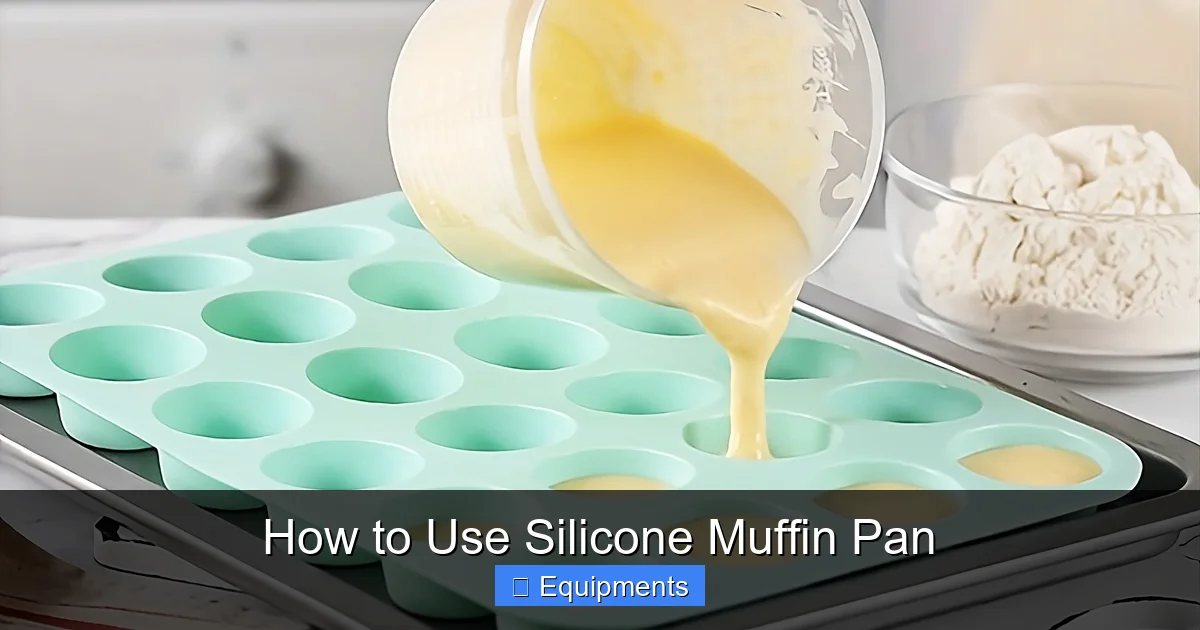
Silicone is naturally non‑stick, but a light brush of oil or a spray of cooking spray adds an extra safety net, especially for sticky batters like banana or pumpkin. Use a pastry brush for an even coat.
Visual guide about How to Use Silicone Muffin Pan
Image source: vickycakesonline.com
Using Liners for Extra Convenience
Paper or silicone liners fit snugly into the cups. They make cleanup a snap and are handy for portion control. If you’re serving guests, liners also add a polished look.
Pre‑heating the Pan
Place the empty pan on the middle rack while the oven preheats. This helps the silicone reach the set temperature, reducing the “cold spot” effect that can cause uneven baking.
3. Mastering the Batter: Tips for Perfect Muffins and Cupcakes
Mixing Techniques
- Don’t over‑mix: Over‑mixing develops gluten, leading to dense muffins. Stir just until flour disappears.
- Room‑temperature ingredients: Eggs, butter, and milk should be at room temperature for a smooth batter.
Portion Control
Fill each silicone cup about two‑thirds full. This allows room for the batter to rise without spilling over. A small ice‑cream scoop (½ cup) works well for consistent portions.
Visual guide about How to Use Silicone Muffin Pan
Image source: costco97.com
Adjusting Bake Time
Because silicone retains heat differently than metal, reduce the oven temperature by 5–10 °F (≈3 °C). Start checking for doneness a few minutes early—insert a toothpick; it should come out clean or with a few crumbs.
4. Baking and Cooling: The Secret to Easy Release
Baking Process
Place the pan on the middle rack and bake as directed. Avoid opening the oven door during the first 10 minutes; this can cause the muffins to collapse.
Cooling Strategy
- Remove the pan from the oven and set it on a wire rack.
- Let it sit for 5 minutes—this allows the muffins to firm up slightly.
- Invert the pan over the rack or a plate. Gently tap the bottom; the muffins should pop out effortlessly.
What If They Stick?
If a muffin clings, run a thin silicone spatula around the edge or give the pan a gentle shake. Most sticking issues are due to insufficient greasing or over‑baking.
5. Cleaning, Storing, and Maintaining Your Silicone Pan
Cleaning Tips
- Hand wash: Use warm, soapy water and a soft sponge. Avoid abrasive scrubbers that can damage the surface.
- Dishwasher safe: Place on the top rack; the high heat of the drying cycle can warp cheap pans.
- No harsh chemicals: Bleach or oven cleaners can degrade the silicone.
Storing Without Damage
Stacking pans is fine, but place a sheet of parchment or a soft cloth between them to prevent scratches. Keep the pan away from direct sunlight to avoid discoloration.
Extending Lifespan
Rotate the pan’s position in the oven occasionally to avoid uneven heat exposure. If you notice permanent staining, a paste of baking soda and water can gently lift it.
6. Creative Uses: Beyond Muffins and Cupcakes
Savory Mini Quiches
Whisk eggs, cheese, veggies, and a splash of milk. Pour into greased silicone cups and bake at 350 °F for 15‑20 minutes. Perfect for breakfast or brunch.
Frozen Treats
Fill cups with yogurt, fruit puree, or chocolate ganache. Freeze for 2‑3 hours, then pop out a refreshing bite-sized snack.
DIY Ice Cubes and Herb Ice
Pour broth, wine, or olive oil into the cups and freeze. Use these cubes to add flavor to soups or sautés without extra prep.
Decorative Desserts
Layer mousse, crushed cookies, and fruit in the cups for elegant single‑serve desserts. The silicone pan doubles as a serving dish.
Conclusion: Your New Go‑To Baking Companion
Silicone muffin pans combine flexibility, non‑stick performance, and versatility that metal tins simply can’t match. By following the simple steps—proper prep, careful batter handling, temperature tweaks, and smart cooling—you’ll enjoy consistently perfect muffins, cupcakes, and creative treats. Plus, the easy cleanup means you’ll spend more time tasting and less time scrubbing. Grab a silicone pan, experiment with flavors, and let your kitchen adventures rise!
Frequently Asked Questions
Can I use a silicone muffin pan on the stovetop?
Silicone is not designed for direct heat on a stovetop. Use it only in the oven, microwave, or freezer to avoid melting.
Do I need to grease a silicone muffin pan?
While silicone is naturally non‑stick, a light coating of oil or a paper liner helps ensure flawless release, especially with very sticky batters.
What temperature range is safe for silicone muffin pans?
Food‑grade silicone is safe from –40 °F (‑40 °C) up to 450 °F (232 °C). Avoid broiling unless the pan specifically states it’s broiler‑safe.
Can I stack silicone muffin pans in the oven?
Stacking is not recommended because it blocks heat flow, leading to uneven baking. Bake one pan at a time for best results.
How do I prevent my muffins from sticking to the bottom?
Make sure the pan is placed on a flat, stable oven rack and allow the muffins to cool for a few minutes before inverting. A quick tap on the bottom will usually release them.
Is it okay to use a silicone muffin pan in a convection oven?
Yes, but reduce the temperature by about 25 °F (≈15 °C) compared to a conventional oven, as convection ovens circulate hot air more efficiently.
