Keeping an electric skillet clean is easier than you think. Follow these simple, safe steps to remove stubborn food residue, prevent odors, and extend the life of your favorite cooking tool.
Key Takeaways
- Read the manual first: Manufacturer guidelines prevent damage and voided warranties.
- Cool before you clean: Never immerse a hot skillet in water; let it reach room temperature.
- Gentle cleaners work: Baking soda, vinegar, and mild dish soap are safe and effective.
- Avoid abrasive tools: Scrapers and steel wool can scratch the non‑stick surface.
- Deep‑clean monthly: A thorough soak and scrub keeps buildup from becoming permanent.
- Dry completely: Moisture left on the heating element can cause rust or electrical issues.
- Regular maintenance: Quick wipes after each use prevent the need for heavy cleaning.
📑 Table of Contents
- Introduction: Why Clean Your Electric Skillet?
- 1. Safety First: Preparing Your Skillet for Cleaning
- 2. Everyday Cleaning: Quick Wipes After Each Use
- 3. Deep Cleaning: Tackling Burnt‑On Grease and Stubborn Stains
- 4. De‑Scaling and Odor Removal
- 5. Maintenance Tips to Extend the Life of Your Skillet
- 6. Troubleshooting Common Problems
- Conclusion: A Clean Skillet Is a Happy Skillet
Introduction: Why Clean Your Electric Skillet?
Electric skillets are a kitchen workhorse. They heat quickly, hold temperature steady, and let you fry, sauté, or simmer without a stovetop. But like any cooking tool, they collect crumbs, grease, and burnt bits. If you ignore the mess, you risk bad odors, uneven heating, and a shortened lifespan.
Cleaning an electric skillet isn’t rocket science, but it does require a few tricks to protect the heating element and the non‑stick coating. In this guide we’ll walk you through everyday cleaning, deep‑cleaning for tough residue, and maintenance habits that keep your skillet performing like new.
1. Safety First: Preparing Your Skillet for Cleaning
1.1 Unplug and Cool Down
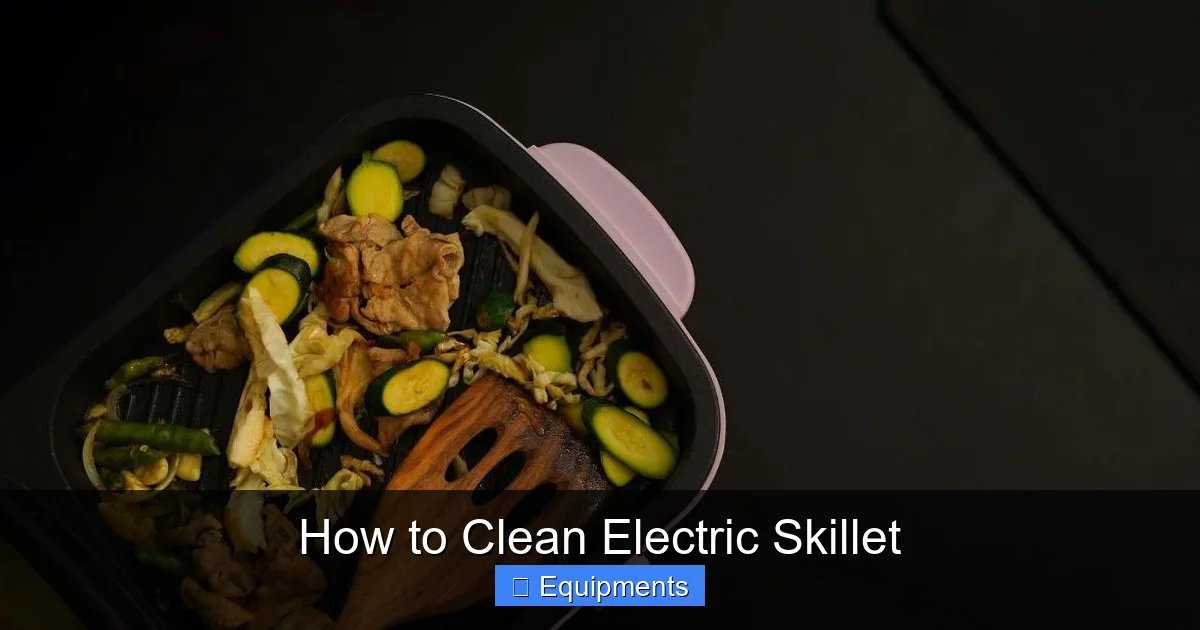
The most important rule is to unplug the unit and let it cool completely. A hot skillet can warp the coating if you pour cold water on it, and the electrical components can be damaged. Give it at least 15‑20 minutes after use, or wait until the surface feels just warm to the touch.
Visual guide about How to Clean Electric Skillet
Image source: tkcleaningservices.com
1‑2 Remove Loose Food
Use a silicone spatula or a soft brush to scrape away any loose bits. This step makes the later soaking stage more effective and prevents large chunks from scratching the surface.
1‑3 Check the Manual
Every brand has its own recommendations. Some manufacturers advise against submerging the base, while others allow a quick dip. Skim through the user guide to confirm what your model tolerates.
2. Everyday Cleaning: Quick Wipes After Each Use
2.1 Warm Soapy Water Method
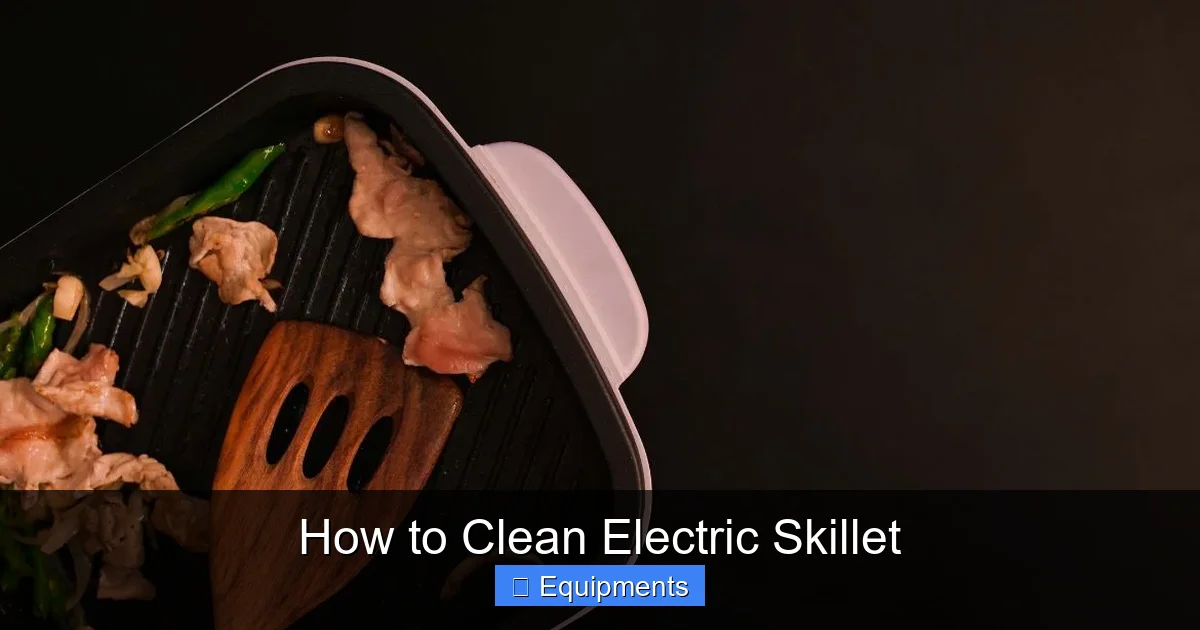
For routine clean‑ups, fill a sink or basin with warm water and a few drops of mild dish soap. Dip a soft cloth or non‑abrasive sponge, wring out excess water, and wipe the interior surface. The goal is to remove surface oil without soaking the base.
Visual guide about How to Clean Electric Skillet
Image source: tkcleaningservices.com
2.2 Using a Non‑Stick Safe Scraper
If food is stubborn, a plastic or silicone scraper works wonders. Gently glide it across the surface; avoid metal tools that can gouge the coating.
2.3 Rinse and Dry
Wipe the skillet with a clean, damp cloth to remove soap residue. Then dry it thoroughly with a lint‑free towel. Pay special attention to the edges and the heating element housing—any lingering moisture can cause rust or short‑circuiting.
3. Deep Cleaning: Tackling Burnt‑On Grease and Stubborn Stains
3.1 Baking Soda Paste
Mix 2 tablespoons of baking soda with just enough water to form a thick paste. Spread the paste over burnt spots, let it sit for 10‑15 minutes, then gently scrub with a soft sponge. Baking soda is mildly abrasive enough to lift residue without harming the non‑stick layer.
Visual guide about How to Clean Electric Skillet
Image source: tkcleaningservices.com
3.2 Vinegar Soak
For oily buildup, fill the skillet with equal parts white vinegar and water. Bring it to a gentle simmer (if your model allows stovetop heating) for 5 minutes, then turn off and let it cool. The acidic solution loosens grease, making it easy to wipe away.
3.3 Commercial Non‑Stick Cleaners
If natural methods don’t cut it, look for a cleaner specifically labeled “safe for non‑stick surfaces.” Follow the product instructions, and rinse thoroughly to avoid any chemical residue.
3.4 Cleaning the Exterior and Handles
Wipe the outer housing with a damp cloth and a few drops of dish soap. For stainless‑steel finishes, a touch of olive oil on a soft cloth can restore shine. Handles are usually plastic; a quick wipe with a mild cleaner is sufficient.
4. De‑Scaling and Odor Removal
4.1 Lemon and Water Solution
Cut a lemon in half, squeeze the juice into a cup of water, and add the lemon halves. Heat the mixture in the skillet for a few minutes (if the unit allows). The citrus vapor neutralizes odors and leaves a fresh scent.
4.2 Baking Soda and Vinegar Reaction
Sprinkle a tablespoon of baking soda over the interior, then pour a half‑cup of vinegar. The fizzing action helps lift mineral deposits that can cause a stale smell. After the reaction stops, wipe clean and rinse.
4.3 Prevent Future Odors
Always dry the skillet thoroughly after cleaning. Store it with the lid slightly ajar to allow air circulation. A thin coat of cooking oil before storage can also create a barrier against moisture.
5. Maintenance Tips to Extend the Life of Your Skillet
5.1 Use the Right Utensils
Stick to silicone, wood, or plastic tools. Metal utensils can scrape the coating, creating microscopic scratches where food can stick and where the heating element may overheat.
5.2 Avoid Over‑Heating
Most electric skillets have a maximum temperature of 400°F (204°C). Cooking at the highest setting regularly can degrade the non‑stick surface faster. Use medium heat when possible.
5.3 Season Occasionally
Even non‑stick skillets benefit from a light seasoning. After a thorough clean, rub a thin layer of high‑smoke‑point oil (like grapeseed) onto the surface and heat on low for a few minutes. This adds a protective film.
5.4 Store Properly
If you stack other cookware on top, place a paper towel or cloth between them to prevent scratches. Keep the skillet in a dry cabinet away from direct sunlight.
6. Troubleshooting Common Problems
6.1 Persistent Sticking
If food continues to cling after cleaning, the coating may be worn. Try a gentle re‑seasoning, but if the problem persists, it’s time to replace the skillet.
6.2 Electrical Issues After Cleaning
Should the unit fail to power on after a cleaning session, double‑check that no water entered the base. Let it air dry for several hours, then test again. If it still won’t work, contact the manufacturer.
6.3 Unusual Noises
Rattling or humming noises can indicate that the heating element is loose. Unplug the skillet, gently shake it, and listen. If the noise remains, stop using it and seek professional repair.
Conclusion: A Clean Skillet Is a Happy Skillet
Cleaning your electric skillet doesn’t have to be a chore. By following the quick‑wipe routine after each meal and performing a deeper clean once a month, you keep the cooking surface smooth, the aromas fresh, and the appliance running efficiently for years. Remember the safety steps—unplug, cool, and avoid abrasive tools—and you’ll protect the delicate non‑stick coating while preserving the electrical components.
Take a few minutes each week to give your skillet the care it deserves. In return, you’ll enjoy even cooking, easier food release, and a kitchen tool that feels brand new every time you fire it up.
Frequently Asked Questions
Can I put my electric skillet in the dishwasher?
Most manufacturers advise against dishwasher use because the high heat and harsh detergents can damage the non‑stick coating and electrical connections. Hand wash is safest.
How often should I deep‑clean my electric skillet?
Perform a deep clean once a month or whenever you notice stubborn residue or lingering odors. Regular quick wipes will reduce the frequency of heavy cleaning.
Is it okay to use steel wool on the cooking surface?
No. Steel wool is too abrasive and will scratch the non‑stick layer, leading to uneven heating and food sticking. Stick to soft sponges or non‑scratch scrubbers.
What should I do if water gets into the base?
Unplug the skillet immediately, blot any visible moisture with a towel, and let it air‑dry for at least 24 hours. If the unit doesn’t work after drying, contact customer support.
Can I season a non‑stick electric skillet?
Yes, a light seasoning with a high‑smoke‑point oil after cleaning can add a protective layer and improve food release. Heat the skillet on low, apply a thin oil coat, and wipe off excess.
Why does my skillet emit a burnt smell even after cleaning?
Residual oil or food particles may have seeped into crevices. Try a vinegar‑water soak or a baking‑soda paste, then rinse thoroughly. Ensure the skillet is completely dry before the next use.
Pingback: How Boba Is Made - kitchenandhouseware.com
Pingback: How to Prepare Uncooked Link Pork Sausage - kitchenandhouseware.com
Pingback: How to Freeze Leftover Ham - kitchenandhouseware.com
Pingback: How to Know When Chorizo Is Done - kitchenandhouseware.com