Master the art of using a banneton with this easy‑to‑follow guide. From choosing the right material to perfecting your flour dusting technique, we cover every step so your loaves rise beautifully and release cleanly. Get practical tips, common mistakes to avoid, and FAQs that will boost your bread‑baking confidence.
Key Takeaways
- Choose the right banneton: wicker, cane, or linen each affect rise and shape.
- Flour the basket properly: a mixture of rice flour and all‑purpose flour prevents sticking.
- Cold proof in the fridge: enhances flavor and makes handling easier.
- Use a couche or parchment: for smooth release and clean cuts.
- Maintain your banneton: dry it thoroughly and store it upside‑down to avoid mold.
- Practice makes perfect: first attempts may stick, but technique improves quickly.
- Experiment with proof times: adjust based on dough hydration and ambient temperature.
📑 Table of Contents
- Introduction: Why a Banneton Is a Baker’s Best Friend
- 1. Picking the Perfect Banneton for Your Kitchen
- 2. Preparing Your Banneton for the First Use
- 3. Shaping and Placing Dough in the Banneton
- 4. Baking Directly From the Banneton
- 5. Caring for Your Banneton: Cleaning, Drying, and Storage
- 6. Pro Tips and Common Mistakes to Avoid
- Conclusion: Your Banneton Journey Starts Now
Introduction: Why a Banneton Is a Baker’s Best Friend
If you love sourdough, ciabatta, or any artisan loaf, you’ve probably heard the word “banneton.” It’s a French term that simply means “proofing basket.” The banneton gives dough a snug home while it rises, shaping the loaf and creating those coveted rust‑colored, crackly crusts.
Many home bakers start with a bowl or a towel, but a good banneton makes a noticeable difference. It supports the dough’s structure, absorbs excess moisture, and creates those beautiful “spokes” on the crust. In this guide we’ll walk through everything you need to know about how to use a banneton—from picking the right one to caring for it after each bake.
1. Picking the Perfect Banneton for Your Kitchen
Material Matters
There are three main types of bannetons:
Visual guide about How to Use a Banneton
Image source: i.pinimg.com
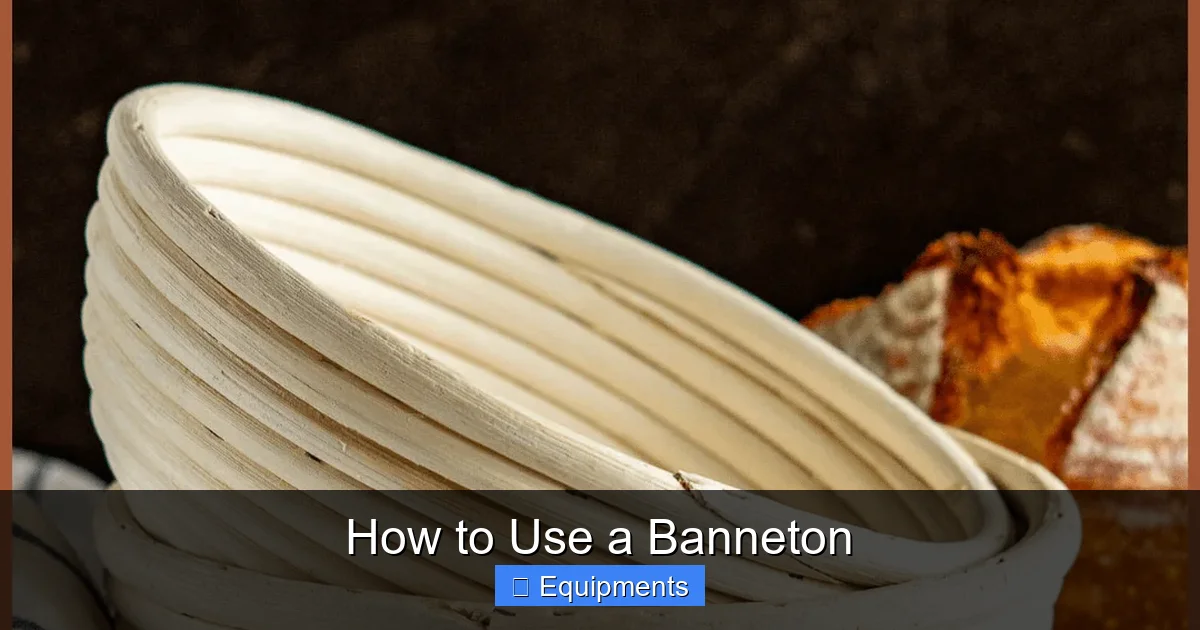
- Rattan or cane: Traditional, breathable, and lightweight. Ideal for high‑hydration doughs because the weave lets excess moisture escape.
- Wicker: Similar to cane but often sturdier. It holds shape well and is great for beginners.
- Linen (or cotton) liners: Flexible and easy to clean. They’re perfect for gluten‑free or very sticky doughs where a hard basket could tear.
All three work, but the choice depends on your dough’s hydration and how often you bake.
Size and Shape
Common shapes are round (8‑10 inches) and oval (12‑14 inches). Pick a size that matches the amount of dough you usually handle. A rule of thumb: the dough should fill the basket about two‑thirds full. Too full and it will overflow; too small and you lose the characteristic “spoke” pattern.
Cost vs. Quality
Entry‑level wicker baskets cost $15‑$25, while hand‑woven cane can run $40‑$60. If you bake often, invest in a higher‑quality piece; it will last longer and keep its shape better. For occasional bakers, a budget-friendly option works fine as long as you treat it gently.
2. Preparing Your Banneton for the First Use
Cleaning Before the First Bake
Even brand‑new baskets may have dust or loose fibers. Lightly brush the inside with a clean kitchen towel. Do not wash with water—excess moisture can cause the rattan to warp.
Visual guide about How to Use a Banneton
Image source: pantrymama.com
Flouring the Basket: The Secret to a Clean Release
The most common mistake is under‑flouring, which leads to dough sticking. Here’s a fool‑proof method:
- Mix equal parts rice flour and all‑purpose flour. Rice flour is low‑gluten and reduces stickiness.
- Place a piece of parchment paper on a flat surface.
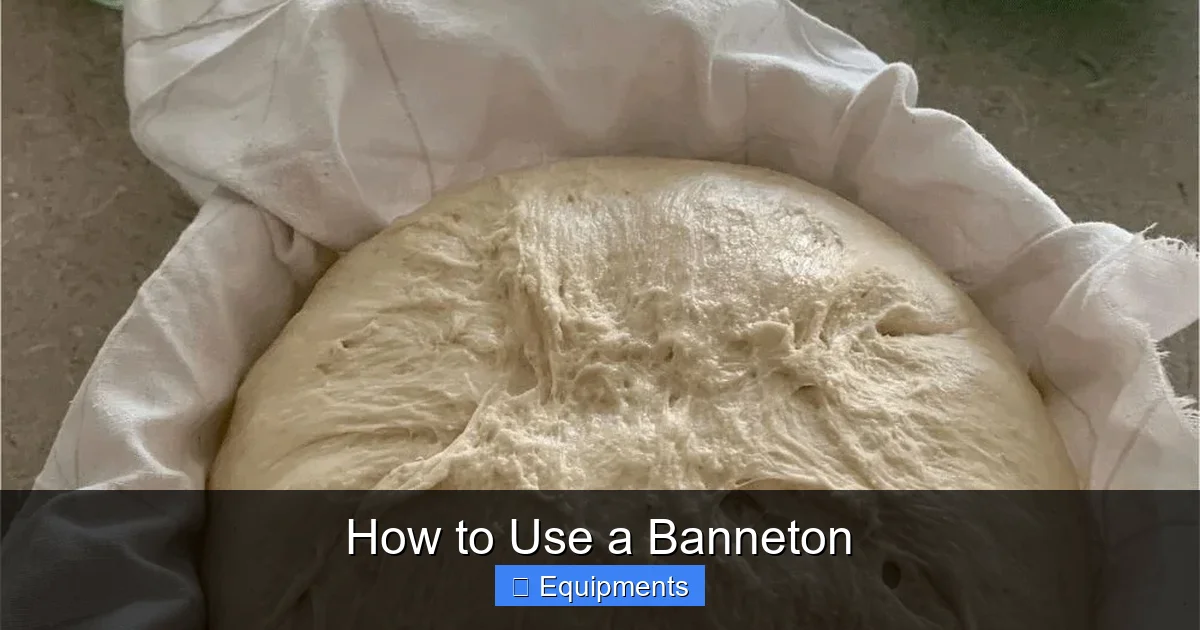
- Turn the banneton upside‑down and gently dust the inside with the flour mixture. Tap out excess.
- Flip the basket right‑side‑up and give it another light dusting.
For very wet doughs (80 %+ hydration), add a third part cornmeal to the mix. It adds texture and further prevents sticking.
Pre‑Proofing the Basket (Optional)
If you have time, let the flour‑dusted banneton sit uncovered for a few hours. This dries the surface and creates a slightly tacky layer that helps dough cling just enough to keep its shape.
3. Shaping and Placing Dough in the Banneton
Basic Shaping Steps
Whether you’re making a round boule or an oval bâtard, the shaping process is similar:
Visual guide about How to Use a Banneton
Image source: banneton-pain.com
- After bulk fermentation, turn the dough onto a lightly floured surface.
- Perform a series of “tightening” folds to build surface tension.
- Form the final shape by cupping the dough and pulling the sides toward the center.
The tighter the surface tension, the easier the dough will hold its shape in the basket.
Transferring the Dough
Here’s a step‑by‑step on how to use a banneton without a mess:
- Flour the top of the dough lightly (again, rice flour works best).
- Gently lift the dough with a bench scraper.
- Place it seam‑side up in the prepared banneton. The seam should face the center of the basket.
- Cover with a clean, lightly floured kitchen towel or a damp proofing cloth.
If the dough feels sticky, dust the top with a little more rice flour before moving it.
Proofing Time and Temperature
Typical proofing for sourdough is 2‑4 hours at room temperature (68‑72 °F). For a deeper flavor, you can retard the dough in the refrigerator for 12‑18 hours. The cold environment slows yeast activity, allowing enzymes to develop complex aromas.
4. Baking Directly From the Banneton
Pre‑heating the Oven and Dutch Oven
Most artisan bakers use a Dutch oven or a cloche. Pre‑heat your oven to 475 °F (245 °C) with the Dutch oven inside. This creates steam, which gives the crust its shine and helps the loaf expand.
Scoring the Loaf
When the dough has finished its final proof, turn the banneton upside‑down onto a piece of parchment. Use a sharp razor blade or a lame to score the surface. Typical patterns include a single slash for round loaves or a cross for oval shapes.
Transferring to the Oven
With the parchment still attached, lift the loaf and place it inside the hot Dutch oven. Cover and bake for 20 minutes, then remove the lid and bake another 20‑25 minutes until the crust is deep golden brown.
Cooling and Storage
Let the loaf cool on a wire rack for at least one hour before slicing. This lets the crumb set and prevents a gummy interior.
5. Caring for Your Banneton: Cleaning, Drying, and Storage
Immediate After‑Use Cleaning
After each bake, brush out any flour residue while the basket is still warm. Use a soft pastry brush; avoid metal tools that can damage the weave.
Deep Cleaning (Occasional)
If you notice a lingering smell or mold, give the banneton a deeper clean:
- Place the basket in a large plastic bag.
- Sprinkle a generous amount of rice flour inside.
- Shake the bag to coat the interior.
- Leave it overnight; the flour will absorb moisture and odors.
- In the morning, brush out the flour and let the basket air‑dry completely.
Drying and Storing
The key is to keep the banneton dry. Store it upside‑down in a breathable container (a paper bag works). Avoid plastic bags unless you’re sure it’s completely dry, as trapped moisture leads to mold.
When to Replace
With regular use, the fibers may start to fray after 2‑3 years. If the basket loses its shape or develops holes, it’s time for a replacement. A well‑maintained banneton can last many seasons, so treat it gently.
6. Pro Tips and Common Mistakes to Avoid
Pro Tip: Use a Proofing Cloth Inside the Banneton
Line the basket with a linen proofing cloth (cotton works too) before dusting with flour. This makes it easier to lift the dough out, especially for very sticky batters.
Pro Tip: Adjust Flour Ratios for Different Flours
If you bake with whole‑wheat or rye, increase the rice flour proportion to 60 % rice / 40 % all‑purpose. Whole‑grain flours are stickier, so extra rice flour helps.
Common Mistake #1: Over‑Proofing
When dough stays too long in the banneton, it can collapse and lose its airy crumb. Set a timer and check the dough’s “poke test”: gently press the surface; it should spring back slowly.
Common Mistake #2: Using Too Much Moisture
Very wet doughs (85 %+ hydration) can seep through the basket’s weave, leaving a soggy bottom. In such cases, line the basket with a couche or double‑layer of parchment before dusting.
Common Mistake #3: Not Flouring the Basket Enough
Even a thin layer of flour can cause sticking. Always dust, tap, and dust again. The “two‑tap” method—dust, tap excess, dust again—works wonders.
Pro Tip: Rotate the Basket During Proof
If your kitchen is warm on one side, rotate the banneton halfway through proofing. This ensures even rise and consistent crumb structure.
Conclusion: Your Banneton Journey Starts Now
Learning how to use a banneton is like adding a new brush to an artist’s palette. It may feel unfamiliar at first, but with a few practice rounds you’ll see the difference in crust, shape, and overall confidence. Remember to flour generously, keep the basket dry, and experiment with proof times. Before long, you’ll be pulling beautifully scored, oven‑springy loaves from your banneton like a seasoned baker.
Happy baking, and may every loaf rise to perfection!
Frequently Asked Questions
What is the best flour to use for dusting a banneton?
Rice flour is the top choice because it has low gluten and reduces sticking. A mix of rice flour and all‑purpose flour (or a touch of cornmeal for very wet doughs) works best.
Can I wash my banneton with water?
No. Water can warp the rattan or wicker. Instead, brush out flour and, if needed, use a dry rice‑flour “cleaning” method to absorb odors and moisture.
How long should I proof dough in a banneton?
Typical room‑temperature proof is 2‑4 hours, depending on dough strength and ambient temperature. For deeper flavor, refrigerate for 12‑18 hours.
Do I need a proofing cloth inside the banneton?
A proofing cloth is optional but helpful for very sticky doughs. It makes lifting the loaf easier and protects the basket’s weave.
Why does my dough stick to the banneton even after dusting?
It could be under‑floured, using the wrong flour mix, or the dough is too wet. Increase the rice‑flour proportion and ensure you tap out excess flour before placing the dough.
How should I store my banneton between uses?
Store it upside‑down in a breathable container (like a paper bag) after it’s completely dry. This prevents mold and keeps the basket’s shape intact.
Pingback: How Long to Let Bread Cool Down Before Slicing - kitchenandhouseware.com
Pingback: How Much Is 7/8cup - kitchenandhouseware.com