Keeping your Traeger grill grates clean is essential for great flavor and long‑lasting performance. Follow these simple, friend‑like instructions to scrub, season, and protect your grates, and enjoy hassle‑free cooking all year round.
Key Takeaways
- Understanding How To Clean Traeger Grates: Provides essential knowledge
📑 Table of Contents
- Why Clean Grates Matter on a Traeger
- Tools and Materials You’ll Need
- Step‑by‑Step Guide: Quick Clean After Every Cook
- Deep Cleaning: Monthly Maintenance for Best Performance
- Special Tips for Different Grate Types
- Common Mistakes to Avoid
- When to Replace Your Traeger Grates
- Putting It All Together: A Weekly Routine
- Conclusion
Why Clean Grates Matter on a Traeger
Traeger grills are prized for that authentic wood‑smoked taste. The secret lies in the grill’s grates, which sit directly over the heat source. When grease, ash, and food particles build up, they act like a barrier, causing hot spots, uneven cooking, and a bitter aftertaste. Clean grates also prevent flare‑ups and extend the life of your grill. In short, a little maintenance now saves you time, money, and disappointment later.
Think of your grates as the shoes of your grill. You wouldn’t wear muddy shoes to a dinner party, right? The same logic applies—clean grates keep your food looking and tasting its best, and they keep the grill itself running smoothly.
Tools and Materials You’ll Need
Basic cleaning kit
- Stainless‑steel grill brush or brass brush: Choose a brush that matches your grate material (stainless steel for steel grates, brass for cast iron).
- Putty knife or grill scraper: Helps lift stubborn residue without scratching.
- Heat‑resistant gloves: Protect your hands from hot surfaces.
- Soft cloth or paper towels: For wiping oil and drying.
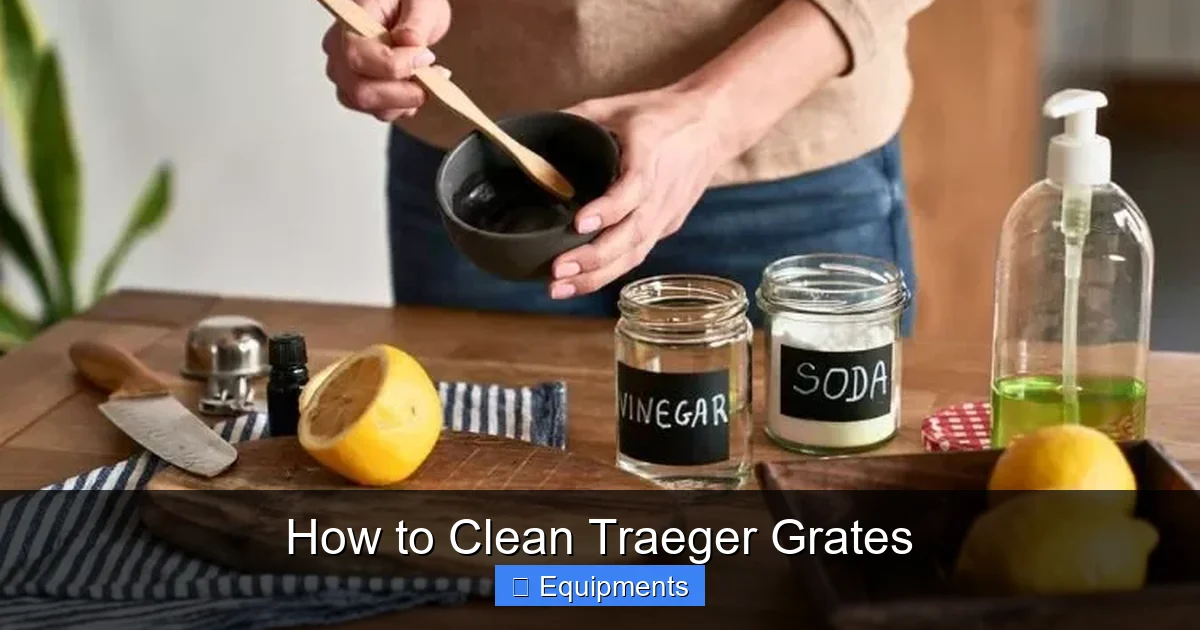
- Mild dish soap: Gentle enough not to affect flavor.
- Vegetable oil or high‑smoke‑point oil (e.g., canola, grapeseed): For seasoning after cleaning.
Optional deep‑clean supplies
- White vinegar or a 50/50 water‑vinegar solution.
- Large bucket or basin for soaking.
- Non‑abrasive sponge.
Step‑by‑Step Guide: Quick Clean After Every Cook
1. Let the grill cool (but stay warm)
The best time to clean is when the grates are still warm—around 150‑200°F. Warm metal releases grease more easily, yet it’s cool enough to handle safely with gloves.
Visual guide about How to Clean Traeger Grates
Image source: grillingiq.com
Visual guide about How to Clean Traeger Grates
Image source: thekitchenix.com
2. Brush off loose debris
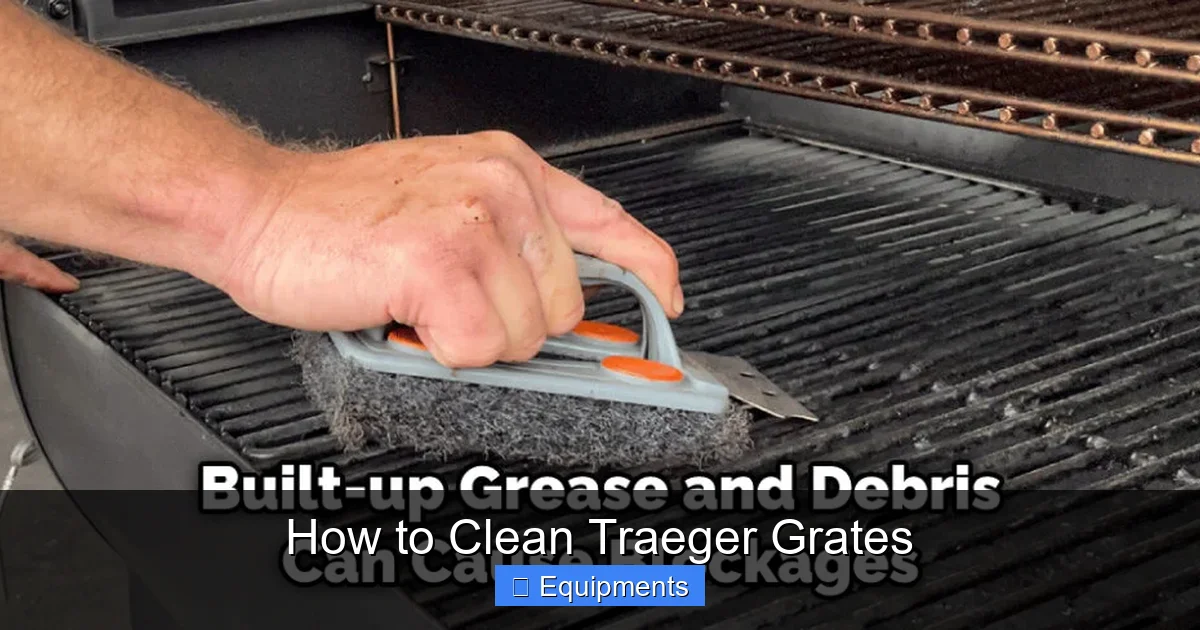
Using your stainless‑steel or brass brush, sweep the surface in one direction. This removes ash, crumbs, and bits of food. A quick back‑and‑forth motion does the trick.
3. Scrape stubborn spots
If you see charred bits clinging to the metal, gently run a putty knife or scraper across them. Apply just enough pressure to lift the residue without gouging the grate.
4. Wipe with a damp cloth
Lightly dampen a soft cloth with warm, soapy water. Wipe the surface to remove any remaining grease. Rinse the cloth and go over the grates again to ensure no soap remains.
5. Dry and season
Pat the grates dry with a clean towel. Then, using a paper towel dipped in a thin layer of oil, rub the entire surface. This creates a protective barrier that makes future cleaning easier and adds a non‑stick quality.
6. Reassemble and fire up
Place the grates back, close the lid, and let the grill run on high for 5‑10 minutes. This burns off any leftover moisture and sets the oil, leaving a nice, ready‑to‑cook surface.
Deep Cleaning: Monthly Maintenance for Best Performance
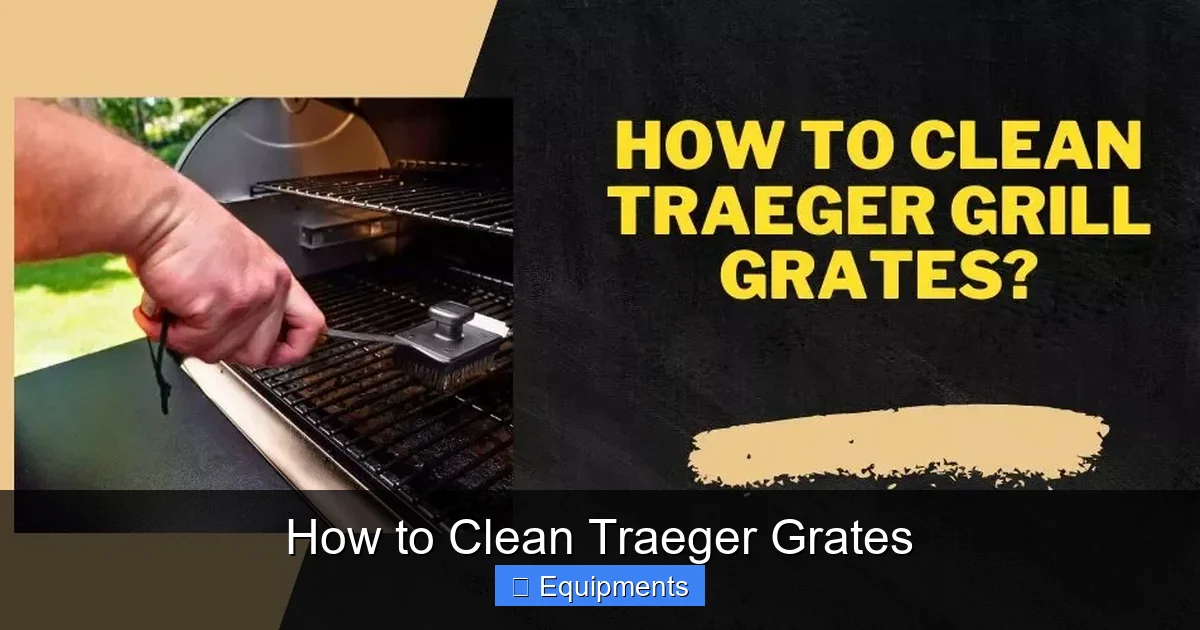
Even with daily care, grease and carbon can seep into the metal’s pores over time. A monthly deep clean removes this hidden buildup and restores the grates to near‑new condition.
Visual guide about How to Clean Traeger Grates
Image source: grillingiq.com
1. Remove and soak
Turn off the grill, unplug it, and let everything cool completely. Remove the grates and place them in a large bucket filled with hot water and a splash of dish soap. For extra power, add a cup of white vinegar.
2. Let sit
Allow the grates to soak for 30‑45 minutes. The hot, soapy water loosens baked‑on residue, while vinegar helps dissolve mineral deposits.
3. Scrub gently
After soaking, use a non‑abrasive sponge or the grill brush to scrub each grate. Work in sections, focusing on corners where grease tends to hide.
4. Rinse thoroughly
Rinse the grates under running water until no soap bubbles remain. Any leftover soap can affect the flavor of your next cook.
5. Dry completely
Pat the grates dry with a clean towel, then let them air‑dry for a few minutes. Moisture left on the metal can cause rust, especially on cast‑iron grates.
6. Re‑season
Apply a thin coat of oil to the entire surface, just as you would after a quick clean. Heat the grill on high for 10‑15 minutes to set the seasoning.
Special Tips for Different Grate Types
Stainless‑Steel Grates
Stainless steel resists rust but can develop a dull patina if not seasoned. Use a brass brush (softer than stainless steel) to avoid scratching. After cleaning, a light oil coat keeps the surface slick and shiny.
Cast‑Iron Grates
Cast iron is porous, so it benefits most from a solid seasoning layer. After each deep clean, apply a generous amount of oil and heat the grill for 20‑30 minutes. This builds a natural non‑stick surface and prevents rust.
Porcelain‑Enameled Grates
These grates look great but can chip if handled roughly. Stick to soft brushes and avoid metal scrapers. If a chip appears, replace the grate promptly to avoid rust exposure.
Common Mistakes to Avoid
Using harsh chemicals
Bleach, oven cleaners, or steel wool can damage the finish and leave residues that affect flavor. Stick to mild soap, vinegar, and proper brushes.
Skipping the seasoning step
Oil isn’t just for flavor; it protects the metal. Forgetting to season after cleaning makes the grates sticky and prone to rust.
Cleaning while hot
Touching a scorching grill can cause burns and warp metal. Wait until the grates are warm, not blazing hot, before handling.
Neglecting other grill parts
The firepot, drip tray, and exterior also collect ash and grease. Cleaning them regularly keeps airflow optimal and reduces flare‑ups.
When to Replace Your Traeger Grates
Even the best maintenance can’t save a grate that’s cracked, warped, or heavily rusted. Inspect your grates every month:
- Cracks or holes: Food can fall through, and heat distribution becomes uneven.
- Severe warping: The grill won’t close properly, leading to heat loss.
- Rust that won’t come off: Rust flakes can contaminate food and weaken the metal.
If you notice any of these issues, order a replacement from Traeger’s official parts store. Installing a new set is usually a quick swap—just follow the same cleaning routine to keep them in top shape.
Putting It All Together: A Weekly Routine
To make cleaning feel effortless, turn it into a habit:
- After each cook: Brush and wipe, then oil.
- Once a week: Inspect for wear, clean the firepot and drip tray.
- Once a month: Deep‑clean and re‑season the grates.
Following this schedule keeps your Traeger performing like new, and you’ll notice the difference in flavor and cooking speed.
Conclusion
Cleaning Traeger grates doesn’t have to be a chore. With the right tools, a simple step‑by‑step routine, and a little seasonal love, your grill will stay efficient, safe, and delicious for years. Remember: warm‑brush, gentle scrape, quick wipe, dry, oil, and heat. Repeat monthly with a soak, and you’ve got a maintenance plan that any home‑chef can stick to. Happy smoking!
Frequently Asked Questions
How often should I clean my Traeger grates?
Brush and wipe the grates after every cooking session. Perform a full deep clean and re‑seasoning about once a month, or more often if you cook frequently.
Can I use a wire brush on cast‑iron grates?
Yes, but use a softer brass brush for cast‑iron to avoid scratching. Follow up with a thorough oil seasoning to protect the surface.
Is it safe to use vinegar to clean the grates?
Absolutely. A 50/50 water‑vinegar solution helps dissolve mineral buildup without harming the metal. Rinse well and dry before seasoning.
What temperature should the grill be when I do a quick clean?
Warm the grates to about 150‑200°F. This makes grease easier to remove while staying safe enough to handle with gloves.
Do I need to clean the firepot when I clean the grates?
Yes. Ash and residue in the firepot affect airflow and temperature consistency, so give it a quick brush or wipe each time you clean the grates.
How can I tell if my grates need to be replaced?
Look for cracks, severe warping, or rust that won’t come off with cleaning. Any of these signs mean it’s time for a new set of grates.
