Hardwiring a dishwasher may seem daunting, but with the right tools and clear instructions, anyone can do it. This guide walks you through every stage—from turning off power to connecting the wires—so you can enjoy a fully installed appliance without hiring an electrician.
Key Takeaways
- Safety first: Always shut off the circuit breaker before touching any wires.
- Correct wiring: Match the dishwasher’s color‑coded wires to the house supply (black‑hot, white‑neutral, green‑ground).
- Tools matter: A voltage tester, wire stripper, and screwdriver are essential for a clean job.
- Code compliance: Follow NEC guidelines and local codes to avoid future problems.
- Testing: Verify voltage and continuity before sealing the connection.
- Secure mounting: Properly attach the dishwasher to prevent movement and water damage.
- Troubleshooting: Common wiring errors are easy to fix with a systematic check.
📑 Table of Contents
- Introduction: Why Hardwire Instead of Using a Plug?
- 1. Gather the Right Tools and Materials
- 2. Safety First: Turn Off Power and Verify
- 3. Remove the Old Connection (If Replacing an Existing Dishwasher)
- 4. Prepare the New Wiring Run
- 5. Connect the Wires: Hardwiring the Dishwasher
- 6. Secure the Dishwasher in Place
- 7. Test the Installation
- Conclusion: You’ve Mastered Hardwiring a Dishwasher
Introduction: Why Hardwire Instead of Using a Plug?
Most new dishwashers come with a power cord that plugs into a standard 120‑volt outlet. While that setup works fine for many homes, hardwiring the appliance directly to a dedicated circuit offers several advantages. A hardwired connection eliminates the chance of a loose plug, provides a more secure power source, and often meets the manufacturer’s installation requirements for larger, commercial‑grade units.
Hardwiring also frees up valuable outlet space in the kitchen and can improve the overall look of the installation. If you’re comfortable with basic electrical work, you can complete the job in an afternoon and save the cost of hiring a professional. This article will guide you through every step, from preparation to final testing, so you can hardwire your dishwasher with confidence.
1. Gather the Right Tools and Materials
Essential Tools
Before you start, assemble these tools. Having everything at hand prevents interruptions and keeps the job safe.
Visual guide about How to Hardwire Dishwasher
Image source: thekitchenix.com
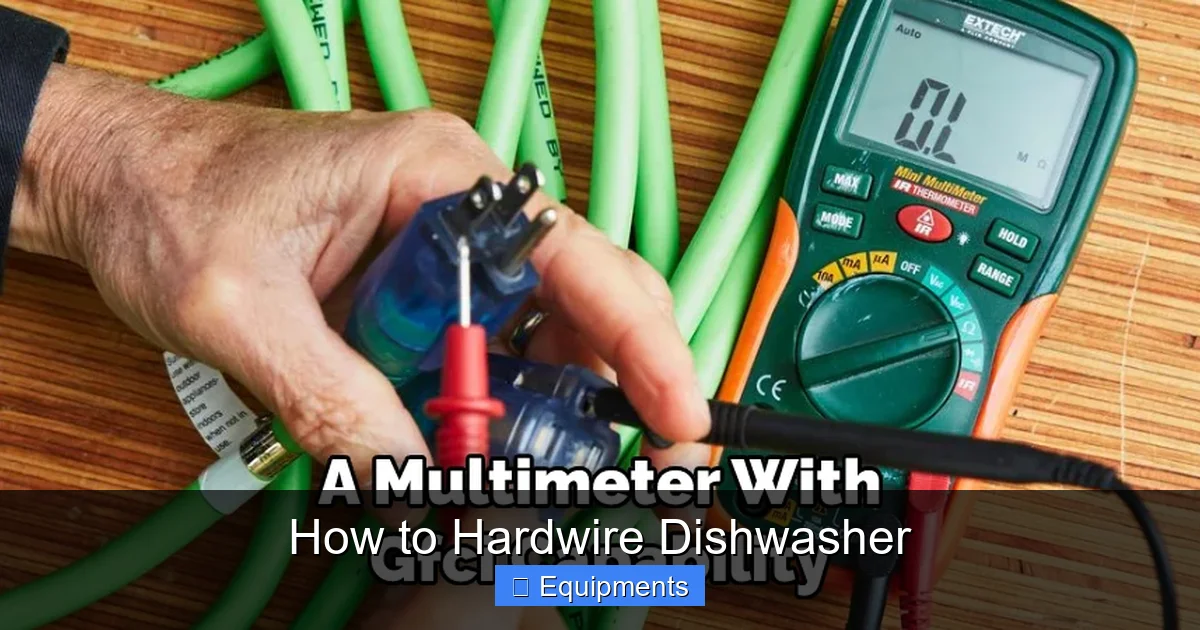
- Voltage tester or multimeter: Confirms that the power is off and checks proper voltage after wiring.
- Wire stripper/cutter: Removes insulation cleanly without damaging the copper.
- Phillips and flat‑head screwdrivers: For securing wire nuts and mounting brackets.
- Needle‑nose pliers: Handy for bending wires in tight spaces.
- Electrical tape: Provides extra insulation on connections.
- Safety gloves and goggles: Protects you from accidental shocks or sparks.
Materials You’ll Need
- 12‑gauge, 3‑wire NM cable (black, white, green/bare)
- Wire nuts (size 10‑30 mm)
- Grounding screw or grounding clip
- Dishwasher installation kit (often includes mounting brackets)
- Electrical conduit (if your local code requires it)
2. Safety First: Turn Off Power and Verify
Locate the Circuit Breaker
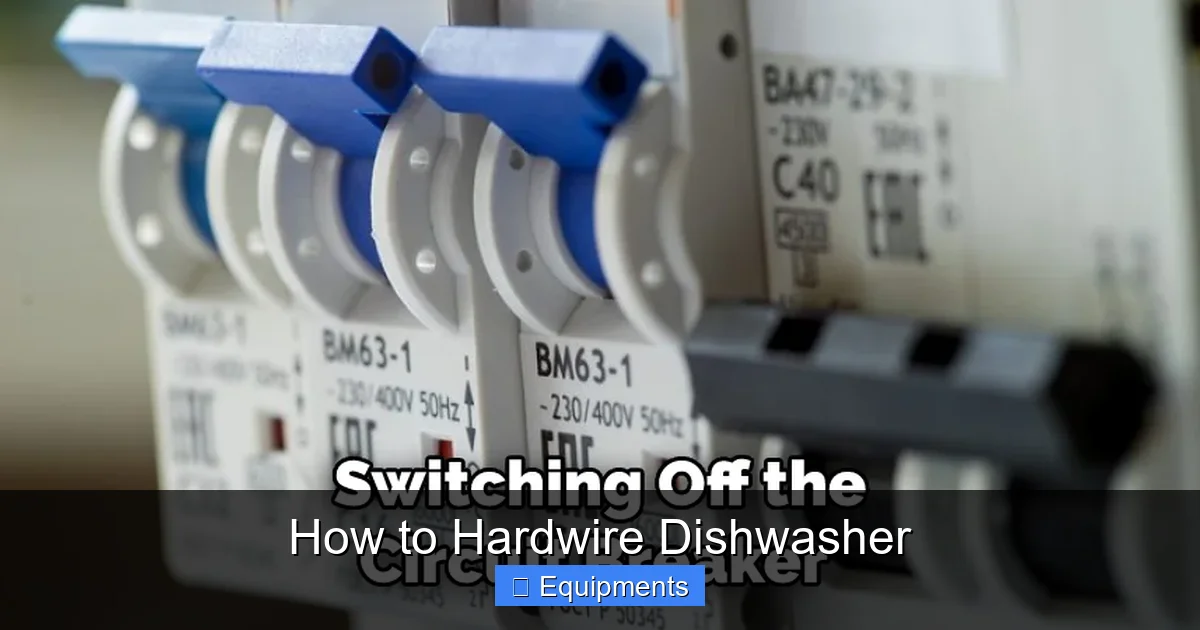
Find the breaker that supplies power to the kitchen’s dedicated 20‑amp circuit. Most dishwashers require a 20‑amp breaker, but check the appliance’s manual for exact specifications. Flip the breaker to the OFF position.
Visual guide about How to Hardwire Dishwasher
Image source: thekitchenix.com
Confirm No Voltage
Use a voltage tester on the existing outlet or the wires in the junction box. Touch the tester’s probes to the black (hot) and white (neutral) wires. If the tester shows zero volts, you’re safe to proceed. Double‑check because a mislabeled breaker can be a hidden hazard.
3. Remove the Old Connection (If Replacing an Existing Dishwasher)
Detach the Power Cord
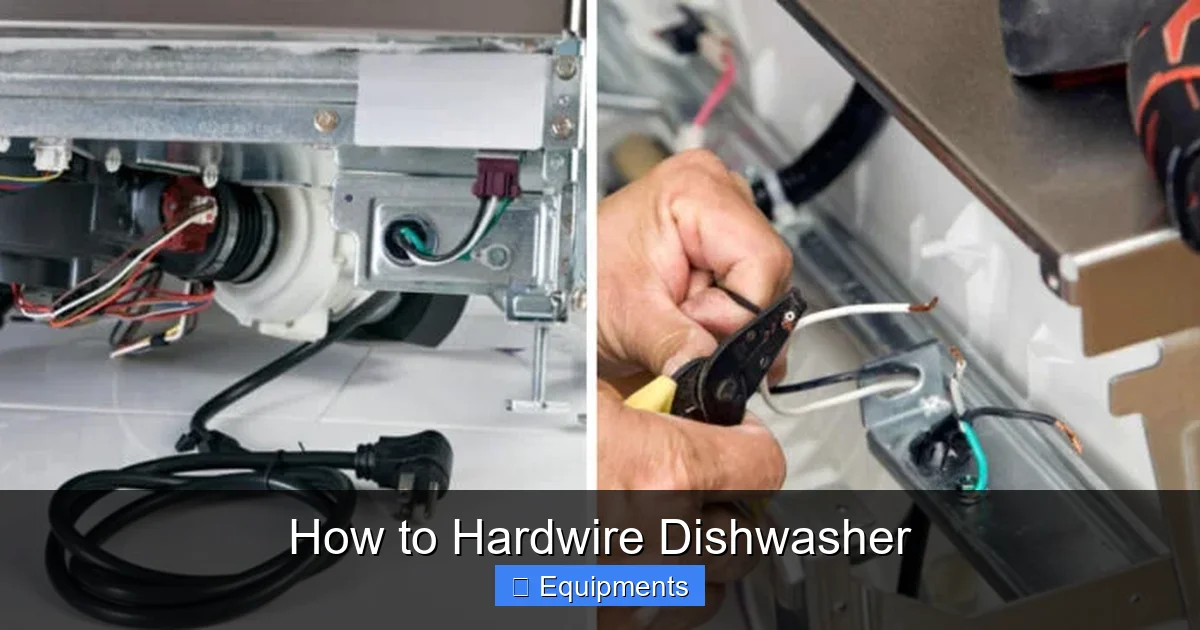
If your dishwasher currently uses a plug, unplug it and pull the cord through the access panel. Most panels are secured with a couple of screws; remove them and set the panel aside.
Visual guide about How to Hardwire Dishwasher
Image source: thekitchenix.com
Access the Wiring Junction
Behind the dishwasher, you’ll see a small junction box with three wires: black, white, and green/bare. Loosen the wire nuts and separate the wires. Keep the old cord handy in case you need to reference its length or routing.
4. Prepare the New Wiring Run
Run the NM Cable
Run a new 12‑gauge NM cable from the circuit breaker panel (or a nearby junction box) to the dishwasher’s location. If you’re routing the cable through walls, drill holes in the studs and use a fish tape to pull the wire. Keep the cable at least 1 inch away from water lines to avoid future leaks.
Secure the Cable
Clamp the cable with cable staples every 4‑6 feet. Avoid over‑tightening; you don’t want to crush the wires. If local code requires conduit, install a short piece of metal or PVC conduit where the cable passes through the countertop.
5. Connect the Wires: Hardwiring the Dishwasher
Identify the Dishwasher Wires
Inside the dishwasher’s wiring compartment, you’ll find three color‑coded wires:
- Black (or red): Hot (line) wire.
- White: Neutral wire.
- Green or bare copper: Ground wire.
These colors match the standard U.S. wiring code, making the connection straightforward.
Strip and Twist
Strip about ¾ inch of insulation from each end of the house wires (black, white, green). Twist the exposed copper strands together clockwise to create a tight bundle.
Make the Connections
Follow this order:
- Hot connection: Twist the black house wire together with the dishwasher’s black (or red) wire. Secure with a wire nut and wrap with electrical tape.
- Neutral connection: Twist the white house wire with the dishwasher’s white wire. Secure with a wire nut and tape.
- Ground connection: Twist the green/bare house wire with the dishwasher’s green/bare wire. Use a larger wire nut (or a grounding screw) and wrap with tape.
Make sure each knot is tight—give a gentle tug on the wires to confirm they won’t pull apart.
Mount the Wiring Junction
Place the connected wires back into the dishwasher’s wiring compartment. Some models have a small metal box with a cover; snap it shut. Ensure no stray wires are exposed.
6. Secure the Dishwasher in Place
Level and Align
Slide the dishwasher into its cabinet opening. Use a level to check that the unit is perfectly horizontal. Adjust the front legs (usually threaded) until the dishwasher sits level.
Attach Mounting Brackets
Most dishwashers come with two metal brackets that bolt to the sides of the cabinet. Secure them with the supplied screws. This prevents the dishwasher from shifting during use.
Reconnect Water Supply and Drain
While not part of the electrical hardwire, it’s a good time to double‑check the water supply line and drain hose. Tighten the supply hose to the inlet valve and ensure the drain hose loops high enough to prevent backflow.
7. Test the Installation
Restore Power
Flip the dedicated breaker back to ON. Use the voltage tester on the dishwasher’s wiring terminals to confirm you have 120 V between hot and neutral, and a proper ground connection.
Run a Quick Cycle
Close the dishwasher door, select a short wash cycle, and start it. Watch for any unusual noises, leaks, or error codes. If the dishwasher powers up and runs smoothly, the hardwire is successful.
Troubleshooting Common Issues
- No power: Verify the breaker is on and the wire nuts are tight. Check for a tripped GFCI outlet elsewhere on the same circuit.
- Flickering or intermittent power: Re‑strip the wires and ensure the connections are secure. Loose strands can cause arcing.
- Ground fault: Use a multimeter to test continuity between the ground wire and the metal chassis. A break in the ground path must be fixed immediately.
Conclusion: You’ve Mastered Hardwiring a Dishwasher
Hardwiring a dishwasher is a practical skill that saves money and gives you a cleaner, safer kitchen setup. By following the steps—turning off power, running the correct gauge cable, matching color‑coded wires, and testing the connection—you can complete the job in just a few hours. Remember, safety is non‑negotiable; if you ever feel unsure, consult a licensed electrician. With your new hardwired dishwasher, enjoy sparkling dishes and the peace of mind that comes from a solid, code‑compliant installation.
Frequently Asked Questions
Do I need a dedicated circuit to hardwire a dishwasher?
Yes, most dishwashers require a dedicated 20‑amp circuit to handle the load safely and meet code requirements.
Can I hardwire a dishwasher without a permit?
Permit requirements vary by locality. Many jurisdictions require a permit for new circuits, so check with your city or county building department.
What gauge wire should I use for a dishwasher?
Use 12‑gauge, 3‑wire NM cable (black, white, green/bare) for a standard 120‑volt, 20‑amp dishwasher circuit.
Is it safe to use a GFCI outlet with a hardwired dishwasher?
Dishwashers are typically hardwired directly to a breaker, not a GFCI outlet. However, a GFCI breaker can be installed in the panel for added protection.
How do I know if my wiring is up to code?
Follow the National Electrical Code (NEC) guidelines: proper gauge, secure connections, grounding, and a dedicated circuit. When in doubt, have a licensed electrician inspect the work.
What should I do if the dishwasher shows an error code after wiring?
First, double‑check all connections for tightness and correct placement. Then, consult the dishwasher’s manual for the specific error code, as it may indicate a water, sensor, or electrical issue.
Pingback: Portable Dishwasher on Wheels - kitchenandhouseware.com