Burning off a brand‑new oven removes factory residues, eliminates strange smells, and ensures optimal performance. Follow our friendly, step‑by‑step guide to heat‑clean your oven quickly, safely, and without hassle. Everything you need—from prep to post‑burn tips—is right here.
Key Takeaways
- Why burn‑off matters: It clears chemicals and improves taste.
- Safety first: Proper ventilation and fire‑watching prevent hazards.
- Timing is key: Most ovens need 30‑45 minutes at high heat.
- Simple prep steps: Remove racks, clean loose debris, and set up a vent.
- Post‑burn care: Wipe down, season, and run a second cycle if needed.
- Common issues: Smoke, odors, and alarms have easy fixes.
- Frequency: Only one burn‑off is needed unless you reinstall the oven.
📑 Table of Contents
Introduction: Why You Should Burn Off a New Oven
Congratulations! You’ve just installed a shiny, brand‑new oven. Before you start baking that first loaf of bread, there’s one important step you shouldn’t skip: how to burn off new oven residues. Factories coat ovens with protective oils, metal shavings, and sometimes a faint chemical sealant. These substances can create unpleasant smells, smoke, or even affect the flavor of your food the first few times you use the appliance.
Burning off, also called “seasoning” or “pre‑heat cleaning,” is a quick, low‑cost method that uses the oven’s own heat to vaporize and remove these leftovers. Think of it as a warm‑up routine for your kitchen’s newest workhorse. The process takes less than an hour, requires minimal supplies, and leaves you with a clean, ready‑to‑cook space.
What Happens Inside the Oven During a Burn‑Off?
Factory Coatings and Their Purpose
During manufacturing, ovens are protected with a thin layer of oil or silicone. This coating prevents rust, keeps parts from sticking together, and helps with shipping. Once you plug the oven in, the coating begins to break down under high heat.
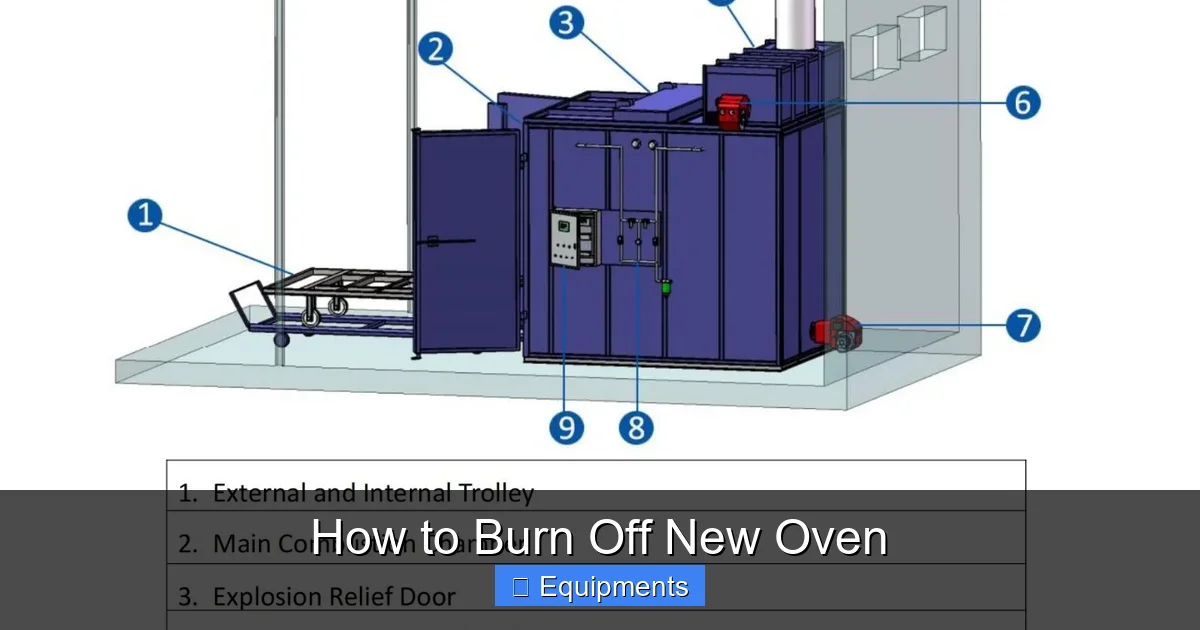
Visual guide about How to Burn Off New Oven
Image source: ecoco-oven.com
The Science of Vaporizing Residues
When you set the oven to its highest temperature (usually 500‑550°F / 260‑290°C), the heat causes the coating to melt and turn into vapor. Proper ventilation carries the vapor out of the kitchen, while any remaining particles settle as a light ash that you can wipe away.
Benefits Beyond Odor Removal
- Improved taste: No lingering chemical flavor in your casseroles.
- Longer lifespan: Removing corrosive residues protects heating elements.
- Safety: Eliminates the risk of unexpected smoke alarms during regular cooking.
Step‑by‑Step Guide: How to Burn Off New Oven
Step 1: Gather Your Supplies
All you need are a few household items:

Visual guide about How to Burn Off New Oven
Image source: ecoco-oven.com
- Dry paper towels or a clean rag
- Mild dish soap
- Rubber gloves (optional but helpful)
- Ventilation aid: a kitchen fan, open window, or portable exhaust
- Timer or smartphone alarm
Step 2: Prepare the Oven Interior
1. Remove all accessories. Take out racks, pans, and thermometers. If the racks are coated with a protective wax, you can leave them out for the first burn‑off.
2. Wipe loose debris. Use a dry paper towel to sweep away any dust or packaging material that may have fallen inside during installation.
3. Check the door seal. Make sure the gasket is properly seated; a good seal keeps heat where it belongs.
Step 3: Set Up Proper Ventilation
Open a window on the opposite side of the kitchen, turn on the range hood, and if you have a portable fan, point it toward the open window. Good airflow will carry the odor and any smoke out of the house quickly.
Step 4: Choose the Right Temperature and Time
Most manufacturers recommend a high‑heat cycle:
- Preheat to 500°F (260°C) and hold for 30‑45 minutes.
- If your oven’s maximum is 475°F (246°C), extend the time to 45‑60 minutes.
Set a timer so you don’t forget to turn the oven off.
Step 5: Run the Burn‑Off Cycle
1. Close the oven door and start the timer.
2. Stay in the kitchen for the first 10‑15 minutes. You may notice a faint smell of burnt oil – that’s normal.
3. If smoke becomes heavy, briefly open the door to let fresh air in, then close it and continue.
Step 6: Cool Down and Clean
After the timer goes off, turn the oven off and let it cool for about 15 minutes. Once it’s safe to touch, use a damp cloth with a little dish soap to wipe the interior walls. This removes any remaining ash or residue.
Step 7: Optional Second Burn‑Off (For Extra Caution)
If the first cycle left a strong odor, repeat the process at a slightly lower temperature (425°F / 218°C) for 20‑30 minutes. This second pass usually eliminates any lingering smell.
Tips for a Smooth Burn‑Off Experience
Ventilation Hacks
Place a box fan in the doorway, facing outward, to create a draft. If you have a bathroom exhaust fan that vents to the outside, turn it on as well.

Visual guide about How to Burn Off New Oven
Image source: ecoco-oven.com
Avoiding Common Mistakes
- Don’t use water: Spraying water inside a hot oven can cause steam burns.
- Never leave the oven unattended for the entire cycle: A brief check every 10 minutes is safer.
- Don’t use harsh chemicals: They can react with the coating and create toxic fumes.
What to Do If the Smoke Alarm Goes Off
Pause the cycle, open the door briefly, and let fresh air in. Reset the alarm, then resume once the smoke clears. If it keeps sounding, lower the temperature and extend the time.
Post‑Burn Maintenance: Keeping Your Oven Fresh
Regular Cleaning Routine
After the initial burn‑off, wipe the interior after each use with a damp cloth. For spills, let the oven cool, then use a non‑abrasive cleaner.
Seasoning the Racks
Place the oven racks back in, spray them lightly with cooking oil, and run a short 350°F (177°C) cycle for 15 minutes. This creates a protective layer and prevents rust.
When to Perform Another Burn‑Off
Generally, you only need to burn off once after installation. However, if you ever replace the oven door, reinstall after a long storage period, or notice a new chemical smell, repeat the process.
Conclusion: Your Oven Is Ready for Anything
Now that you know how to burn off new oven residues, you can start cooking with confidence. A quick, well‑ventilated burn‑off removes unwanted chemicals, protects your appliance, and ensures your meals taste exactly as they should. Follow the steps, keep the kitchen ventilated, and enjoy a fresh, odor‑free oven for years to come.
Frequently Asked Questions
Do I need to burn off my oven every time I use it?
No. The burn‑off is a one‑time prep step after installation or after major repairs. Regular cleaning is enough for everyday use.
Can I use the oven’s self‑cleaning function instead of a burn‑off?
The self‑clean cycle is designed to remove food residue, not factory coatings. It’s best to perform the burn‑off first, then use self‑clean as needed.
Is it safe to leave the oven on unattended during the burn‑off?
It’s safest to stay nearby for the first 10‑15 minutes to monitor smoke or odors. After that, you can step out as long as ventilation is good.
What temperature should I set if my oven’s max is lower than 500°F?
Set the oven to its highest setting (e.g., 475°F) and extend the burn‑off time to 45‑60 minutes to achieve the same effect.
My smoke alarm kept ringing—what should I do?
Pause the cycle, open the door briefly, let fresh air in, and reset the alarm. Then lower the temperature slightly and continue.
Will burning off affect the warranty?
Burning off follows the manufacturer’s recommended prep procedure, so it does not void the warranty. Always check the user manual for any specific instructions.