Is your Shark Navigator Lift Away Professional NV356E refusing to power up? This is a common but frustrating issue often caused by simple, fixable problems like a tripped thermal reset, a clogged airway, or a faulty power connection. Before you panic or call for service, systematically check the outlet, cord, reset button, and internal blockages. Most power failures can be resolved at home with basic tools and patience, saving you costly repair bills.
You’re ready to clean, you plug in your trusty Shark Navigator Lift Away Professional NV356E, press the power button, and… nothing. No hum, no light, no suction. That sinking feeling is all too familiar. Before you resign yourself to a costly repair bill or the hassle of a replacement, take a deep breath. The fact that your Shark Navigator Lift Away Professional NV356E is not turning on is rarely a death sentence for the machine. In fact, over 80% of these “no power” scenarios stem from straightforward, user-serviceable issues. This guide will walk you through a systematic, safe diagnostic process, from the wall outlet to the internal motor, empowering you to get your vacuum back in action.
We’ll approach this like a detective, starting with the most obvious clues and moving to the more complex. The Shark NV356E is a robust machine with several built-in safety features, many of which are designed to protect the motor but can also be the very reason it appears dead. A thermal fuse will blow, a reset button will trip, and a clog will choke the system. Your job is to methodically rule out each possibility. No special technical skills are needed—just a willingness to look, listen, and get your hands a little dirty. Let’s begin the investigation into why your Shark Navigator Lift Away Professional NV356E won’t turn on.
Key Takeaways
- Always start with the simplest checks: Confirm the wall outlet is working by testing another device, and inspect the vacuum’s power cord for any visible damage or disconnections.
- The thermal reset button is the #1 culprit: Located on the back of the motor housing, this safety switch trips if the motor overheats from a clog. Press it firmly to reset.
- Severe clogs are a major cause: Blockages in the hose, wand, or brush roll housing restrict airflow, causing the motor to overheat and shut down. Clear all pathways thoroughly.
- Filters must be clean: Extremely dirty pre-motor and post-motor filters restrict airflow, leading to overheating and power loss. Wash them regularly.
- Brush roll jams can stall the motor: Hair and debris wrapped around the brush roll bearings create immense strain. Manually rotate it to check for freedom of movement.
- Internal component failure is possible but less common: If all external checks fail, the issue may be a faulty switch, damaged motor brushes, or a failed motor itself, requiring professional assessment.
- Safety first: Always unplug the vacuum before inspecting, cleaning, or attempting any internal checks to avoid electric shock.
📑 Table of Contents
- 1. The Foundation: Power Supply and External Inspections
- 2. The Primary Reset: Locating and Using the Thermal Reset Button
- 3. Airflow is King: Identifying and Eliminating Clogs
- 4. The Breath of Life: Deep Cleaning Filters
- 5. Mechanical Jams: The Brush Roll and Belts
- 6. When All Else Fails: Internal Components and Professional Repair
- Conclusion: Empowerment Through Systematic Troubleshooting
1. The Foundation: Power Supply and External Inspections
When a vacuum doesn’t power on, the first question is always: “Is it getting electricity?” This seems obvious, but it’s the most frequently overlooked step. A faulty wall outlet, a tripped circuit breaker, or a damaged power cord can silently cut power without any warning signs.
Testing the Wall Outlet and Circuit Breaker
Begin by verifying the outlet itself is live. The simplest method is to plug in a known-working device, like a lamp or your phone charger. If that device doesn’t work, the problem is with your home’s electrical system. Check your home’s circuit breaker panel for a tripped breaker. Reset it if necessary. If you’re in an older home with fuses, inspect them. Also, if the outlet is controlled by a wall switch (common in some homes for vacuums), ensure the switch is in the “on” position. Never assume an outlet is functional; always test it.
Inspecting the Power Cord and Plug
With the vacuum unplugged, closely examine the entire length of the power cord. Look for any cuts, abrasions, kinks, or areas where the insulation is worn through. Pay special attention to the points where the cord enters the vacuum body and the plug, as these are common stress points. Gently flex the cord along its length while looking for damage. If the internal wires are exposed or broken, the vacuum will not receive power. Also, check the plug prongs for bending or corrosion. A damaged cord is a fire hazard and must be replaced by a professional or with a manufacturer-approved part.
The Connection Point: Where Cord Meets Vacuum
The Shark NV356E has a cord that wraps around the body for storage. Over time, the constant bending at the point where the cord enters the vacuum’s housing can cause internal wire breakage. If the cord feels loose or wobbly at the connection point, this is a strong indicator of an internal break. You might need to gently wiggle the cord near the base while someone else presses the power button to see if it momentarily makes contact, but exercise caution. A failing connection here often requires a cord replacement.
2. The Primary Reset: Locating and Using the Thermal Reset Button
If your power supply checks out, the next most common reason a Shark Navigator Lift Away Professional NV356E is not turning on is a tripped thermal reset. This is a critical safety feature. The motor generates heat. If airflow is blocked (by a clog or dirty filter), the motor can overheat. The thermal fuse or switch will then automatically cut power to prevent fire or permanent motor damage. The good news? This is almost always a simple fix.
Visual guide about Shark Navigator Lift Away Professional Nv356e Not Turning On
Image source: savealoonie.com
Finding the Reset Button on the NV356E
The thermal reset button on the Shark Navigator Lift Away Professional NV356E is typically a small, red, circular button. Its location is consistent across most models: it’s on the back of the vacuum, near the bottom, on the motor housing. You’ll often find it just above or beside where the power cord wraps around. It may be recessed. You’ll need a fingernail, a pen cap, or a small screwdriver to press it. Important: Before pressing it, you must identify and fix the cause of the overheating, or it will trip again immediately.
The Proper Reset Procedure
- Unplug the vacuum. This is non-negotiable for safety.
- Clear all clogs and wash the filters. We will cover this in detail in the next section. This is the essential step you cannot skip.
- Allow the motor to cool completely. If the vacuum was hot to the touch, wait at least 30-45 minutes. The thermal switch is designed to reset only when cool.
- Press the reset button firmly. You should feel and hear a distinct click. If you don’t feel a click, the button may be faulty or already permanently tripped.
- Plug the vacuum back in and test. If it starts, you’ve solved the problem! If it trips again instantly or still won’t start, a severe, unresolved blockage or another issue persists.
3. Airflow is King: Identifying and Eliminating Clogs
A Shark Navigator Lift Away Professional NV356E not turning on is very often a symptom of a severe airflow restriction. The vacuum’s motor needs a steady stream of air to cool itself. When that air is blocked, the motor temperature soars, triggering the thermal protection we just discussed. Finding and clearing these clogs is paramount.
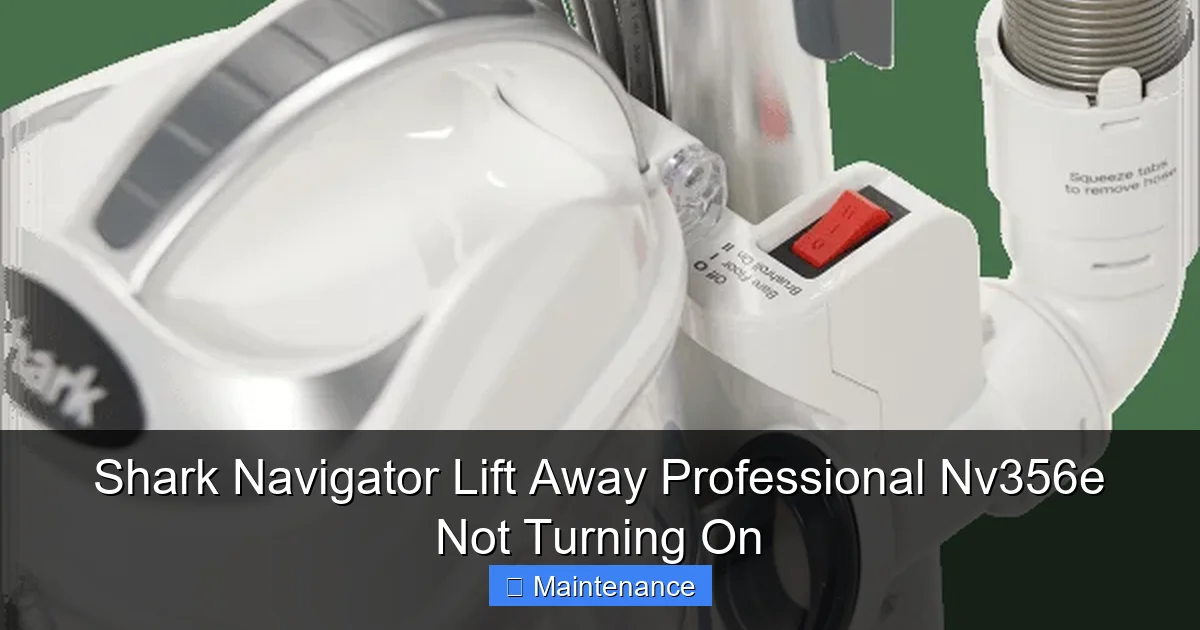
Visual guide about Shark Navigator Lift Away Professional Nv356e Not Turning On
Image source: d2b8wt72ktn9a2.cloudfront.net
Common Clog Locations in the NV356E
Clogs can occur anywhere air travels. Start your search at the business end and work backward:
- The Brush Roll Housing: This is the #1 hotspot. Flip the vacuum over. Look into the wide opening where the brush roll spins. Use a flashlight. You’ll often see a ball of hair, carpet fibers, or small objects matted around the brush roll bearings or blocking the suction port. Scissors or a seam ripper are your best tools here. Be meticulous.
- The Wand and Hose: Detach the wand from the hose and the hose from the vacuum’s back. Look through both. A long object like a broom handle or a straightened wire coat hanger (with a small hook on the end) can help dislodge debris. Be gentle to avoid damaging the hose’s interior.
- The “Lift Away” Pod: This is the detachable canister unit. With the pod detached, look into the suction port where the hose connects. Also, check the opening at the top of the canister where dirt enters.
- The Exhaust Filter Area: After the dirt is separated in the canister, air exits through the exhaust filter. If this filter is packed with dust, it can create backpressure. We’ll cover filter cleaning next.
The “Blow Out” Method
Sometimes, a clog is compacted deep inside. After clearing all visible debris, reattach the hose and wand, but do not attach the brush roll housing. Take the vacuum outside. With the vacuum unplugged, briefly plug it in, aim the open wand/hose end away from you, and quickly press the power button for just a second. The sudden burst of reverse air pressure can sometimes blow a light clog back out the other end. Warning: Wear safety glasses and do this outdoors only, as dust and debris will shoot out forcefully. Do not hold the button down longer than a second.
4. The Breath of Life: Deep Cleaning Filters
Even with no visible clogs, dirty filters can suffocate your Shark Navigator Lift Away Professional NV356E. The NV356E uses a multi-stage filtration system: a foam pre-motor filter, a pleated fabric/mesh post-motor filter (often called the “HEPA” filter), and sometimes an additional foam filter. When these are caked with dust and debris, airflow plummets, the motor strains, and it will shut down.
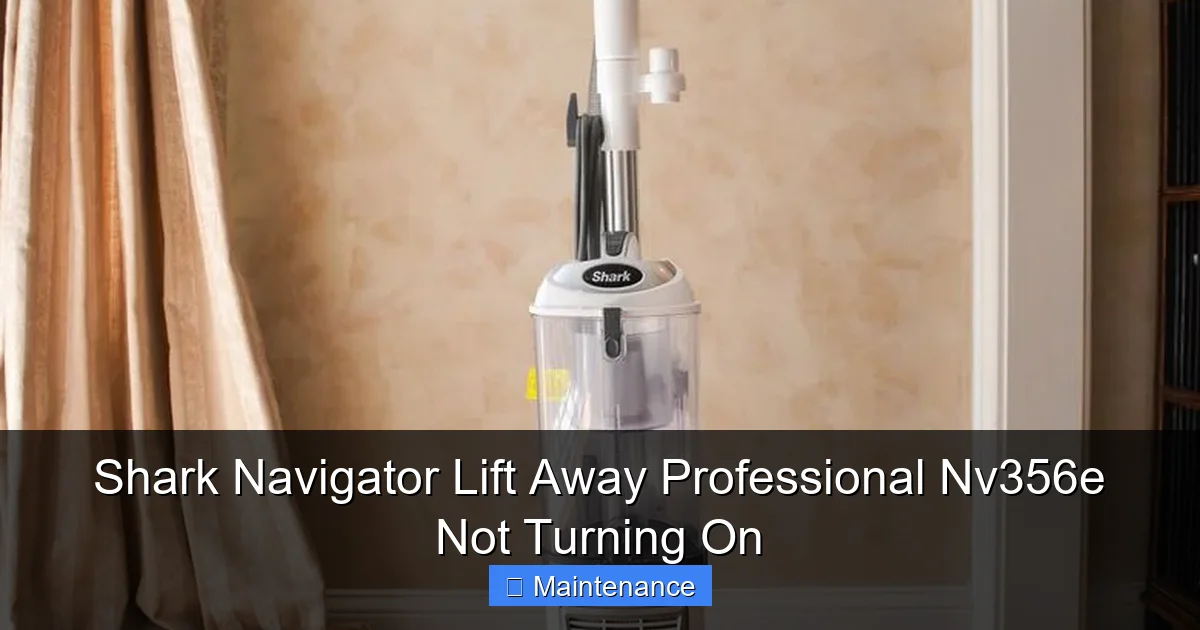
Visual guide about Shark Navigator Lift Away Professional Nv356e Not Turning On
Image source: thespruce.com
Filter Removal and Identification
First, unplug the vacuum. To access the filters:
- Pre-Motor Filter (Foam): This is usually located on the side or back of the canister, behind a plastic cover. It’s a rectangular or square piece of foam.
- Post-Motor Filter (HEPA): This is typically found on the top or back of the motor housing, where the clean air exhausts. It’s a pleated, cartridge-style filter, often white or gray.
Consult your user manual for the exact locations and part numbers for your NV356E variant.
Proper Washing and Drying Protocol
Never use soap, detergent, or a washing machine. Rinse filters with cold water only until the water runs clear. Gently squeeze out excess water—do not wring or twist, as this can tear the filter media, especially the HEPA filter. Place them in a well-ventilated, warm, dry spot. Do not use a hair dryer or place them near a radiator or in direct sunlight, as high heat can warp or melt the filter materials. They must be 100% completely dry before reinsertion. This can take 24-48 hours. Reinstalling a damp filter will cause immediate damage and likely trigger the thermal reset again.
5. Mechanical Jams: The Brush Roll and Belts
A jammed brush roll doesn’t just stop cleaning; it creates tremendous drag on the motor. If the brush roll is frozen solid due to hair wrap or bearing seizure, the motor can’t spin, draws excessive current, and will either trip a breaker or overheat and shut down. This can manifest as a vacuum that won’t start or one that starts and stops instantly.
Diagnosing a Brush Roll Jam
Unplug the vacuum and lay it on its side. Flip the brush roll cover open. Manually rotate the brush roll by hand. It should spin freely in both directions. If it’s stiff, gritty, or won’t turn at all, you have a jam. Use scissors to meticulously cut away all hair, string, and carpet fibers wrapped around the ends (the bearings) and the core. Sometimes, debris gets inside the bearing caps. You may need to remove the brush roll entirely (usually by sliding it out or unscrewing end caps) to clean it thoroughly on a work surface.
Checking the Drive Belt (If Applicable)
The Shark Navigator Lift Away Professional NV356E uses a belt-driven brush roll in some configurations. If your model has a belt, it’s a rubber band-like loop connecting the motor shaft to the brush roll. With the brush roll removed, check the belt. Is it broken, stretched, melted, or missing? A broken or missing belt won’t cause a “no power” issue by itself, but a belt that has melted and jammed inside the brush roll housing could create a blockage. However, a severely stretched or broken belt is more likely to cause a loss of brush roll spin while the vacuum still powers on. If you suspect a belt issue, replace it with the exact OEM part number.
6. When All Else Fails: Internal Components and Professional Repair
You’ve checked the outlet, reset the button, cleared every conceivable clog, and washed the filters until they’re spotless. Your Shark Navigator Lift Away Professional NV356E is still not turning on. Now we must consider internal component failures. At this stage, diagnosis requires more advanced tools and knowledge.
The Power Switch
The on/off pedal or button on the vacuum body is a mechanical switch that wears out. It can develop internal carbon buildup or broken contacts. You can sometimes test it for continuity with a multimeter (set to ohms) after unplugging the vacuum and removing its housing. If the switch doesn’t show continuity when pressed, it’s faulty and needs replacement. This is a common failure point and a relatively simple fix for someone comfortable with basic electronics.
Motor Brushes and Motor Failure
Shark vacuums often use a universal motor with carbon brushes that transmit power to the spinning armature. These brushes wear down over time (typically after several hundred hours of use). If they are worn too short, they won’t make contact, and the motor won’t spin. Accessing and inspecting the brushes usually requires removing the motor housing. If the brushes are short (less than 1/4 inch) or damaged, they need replacing. If the brushes are fine, the motor itself may have failed due to worn bearings, burnt windings, or a short. Motor repair or replacement is the most costly fix and often tips the scales toward purchasing a new vacuum, depending on the machine’s age and warranty status.
Warranty and Professional Service
Before you give up, check your warranty. Shark vacuums typically come with a 5-year limited warranty (varies by model and purchase date). If your NV356E is still within the warranty period and the issue isn’t due to misuse, abuse, or neglect (like a clog from pet hair that wasn’t maintained), you may be eligible for a free repair or replacement. Contact Shark Customer Service with your serial number. If the warranty has expired, a reputable small appliance repair shop can diagnose the exact failed component. Sometimes, the cost of a professional diagnosis plus repair (e.g., a new switch or motor) is still less than half the price of a new comparable Shark model.
Conclusion: Empowerment Through Systematic Troubleshooting
A Shark Navigator Lift Away Professional NV356E not turning on is a major inconvenience, but it’s rarely an insurmountable problem. By following this structured approach—from the wall outlet to the internal motor—you’ve armed yourself with the knowledge to diagnose and fix the vast majority of power failures yourself. Remember the golden rule: unplug before you inspect or touch anything inside. Start simple: test the outlet, find and press that red reset button after a thorough unclogging and filter wash. Celebrate the small victories. You’ve now mastered the most common pitfalls that silence this powerful vacuum. If your journey ends with a diagnosed faulty switch or worn brushes, you’re no longer a helpless consumer; you’re an informed one who can make a cost-effective decision about repair. Your Shark Navigator is a workhorse designed for years of service. With a little periodic maintenance—cleaning filters, clearing clogs, and checking the brush roll—you can prevent most of these power-loss scenarios and keep it cleaning powerfully for its entire lifespan.
Frequently Asked Questions
My Shark Navigator NV356E is plugged in but has no power. What’s the first thing I should check?
First, test the wall outlet with another device to ensure it’s working. Next, locate the small red thermal reset button on the back of the motor housing and press it firmly (after unplugging and clearing any clogs). This resolves most “no power” issues.
Where exactly is the reset button on the Shark Navigator Lift Away Professional NV356E?
The thermal reset button is a small red circle located on the back of the vacuum’s motor housing, typically near the bottom where the power cord wraps around. You may need a pen cap or fingernail to press it. Ensure the vacuum is unplugged and cooled before pressing.
I cleared clogs and pressed the reset button, but my vacuum still won’t turn on. What’s next?
Next, thoroughly inspect and wash both the pre-motor foam filter and the post-motor HEPA filter. They must be 100% dry before reinsertion. Also, manually rotate the brush roll to ensure it spins freely; a jammed brush roll can prevent startup.
Can dirty filters really stop my Shark from turning on?
Absolutely. Extremely clogged filters block airflow, causing the motor to overheat and shut down via the thermal safety switch. This is a very common cause. Always wash filters with cold water and let them dry completely for 24-48 hours.
My vacuum makes a strange noise when I try to start it but won’t run. Is that related?
Yes. A grinding, humming, or clicking noise often indicates a mechanical jam, like a brush roll bound with hair, or a failing motor. Unplug immediately, clear the brush roll housing completely, and check if the brush roll spins freely by hand.
Is it worth repairing an old Shark Navigator NV356E that won’t power on?
Often, yes. The most common fixes (reset, clog removal, filter cleaning, switch replacement) are inexpensive. Check your warranty first. If the motor itself is faulty, get a repair quote. For a 5+ year old vacuum, a $80-$150 repair may be worthwhile compared to a new $200-$300 model.