Vacuum sealing tomatoes is a game-changer for preserving their vibrant taste and texture far beyond the season. By removing air, you dramatically slow spoilage, prevent freezer burn, and create a versatile ingredient ready for any sauce, soup, or salad. Proper preparation, like blanching and drying, is the non-negotiable secret to success. Follow this complete guide to master the process, avoid common pitfalls, and enjoy garden-fresh tomatoes all year long.
Key Takeaways
- Blanching is Crucial: Always blanch tomatoes to loosen skins for easy peeling and to inactivate enzymes that cause texture and flavor degradation during storage.
- Dry Thoroughly: Any surface moisture on tomatoes will create ice crystals and compromise the vacuum seal. Pat them completely dry with a clean towel after peeling and coring.
- Choose the Right Prep: Decide how you’ll use the tomatoes (whole, halves, puree) *before* sealing. Each form has a specific best-practice method for optimal results.
- Leave Headspace: Always leave at least 1-2 inches of space between the food and the top of the bag to ensure a proper, airtight seal can form.
- Freeze First for Best Results: For long-term storage, freeze tomatoes solid on a tray before vacuum sealing to prevent crushing and ensure individual pieces stay separate.
- Label Everything: Always label bags with contents and date. Vacuum-sealed items can look very similar, and you’ll want to use the oldest first.
[FEATURED_IMAGE_PLACEHOLDER]
📑 Table of Contents
- Why Vacuum Seal Tomatoes? A Flavor-Saving Revolution
- Essential Prep: The Foundation of a Perfect Seal
- The Sealing Process: Methods for Every Form
- Storage and Shelf Life: Where and How Long
- Cooking with Your Vacuum-Sealed Tomatoes
- Troubleshooting and Pro Tips
- Conclusion: Your Year-Round Tomato Treasure
Why Vacuum Seal Tomatoes? A Flavor-Saving Revolution
There’s nothing quite like the taste of a perfectly ripe, sun-warmed tomato straight from the vine. That sweet, tangy, umami-packed explosion of summer is a fleeting pleasure. Most preservation methods—like canning—cook the tomato, altering its fresh character. Freezing alone often leads to a mushy, watery texture upon thawing. This is where vacuum sealing swoops in as a hero for the home cook and gardener.
Vacuum sealing removes the oxygen from the storage bag that bacteria, mold, and spoilage enzymes need to thrive. For tomatoes, this magic trick accomplishes three major goals. First, it locks in the fresh, garden-picked flavor and vibrant color with stunning efficiency. Second, it prevents freezer burn by eliminating the air that causes dehydration and oxidation in your freezer. Third, it creates a space-saving, organized pantry or freezer where flat bags stack neatly. The result? You can open a bag in the depths of winter and be greeted by the essence of summer, ready to transform a simple pasta dish or a hearty stew.
The Science of Freshness: Oxygen is the Enemy
Think of a cut apple turning brown. That’s oxidation in action—oxygen reacting with the fruit’s compounds. The same process happens to tomatoes, just more slowly. Oxygen fuels the metabolic activity of spoilage organisms and degrades delicate flavor molecules and pigments like lycopene (which gives tomatoes their red hue). By creating an anaerobic (oxygen-free) environment, vacuum sealing presses the “pause” button on this decay. It’s not a sterilization process, so vacuum-sealed tomatoes still require refrigeration or freezing for safe, long-term storage, but the quality retention is leagues above conventional freezing.
Essential Prep: The Foundation of a Perfect Seal
You can have the most expensive vacuum sealer on the market, but if your tomatoes aren’t prepped correctly, you’ll end up with a failed seal, ice crystals, or a soggy, off-flavored product. This stage is non-negotiable. The core principles are: remove air pockets from the tomato itself, eliminate all surface moisture, and prepare the fruit for its final form.
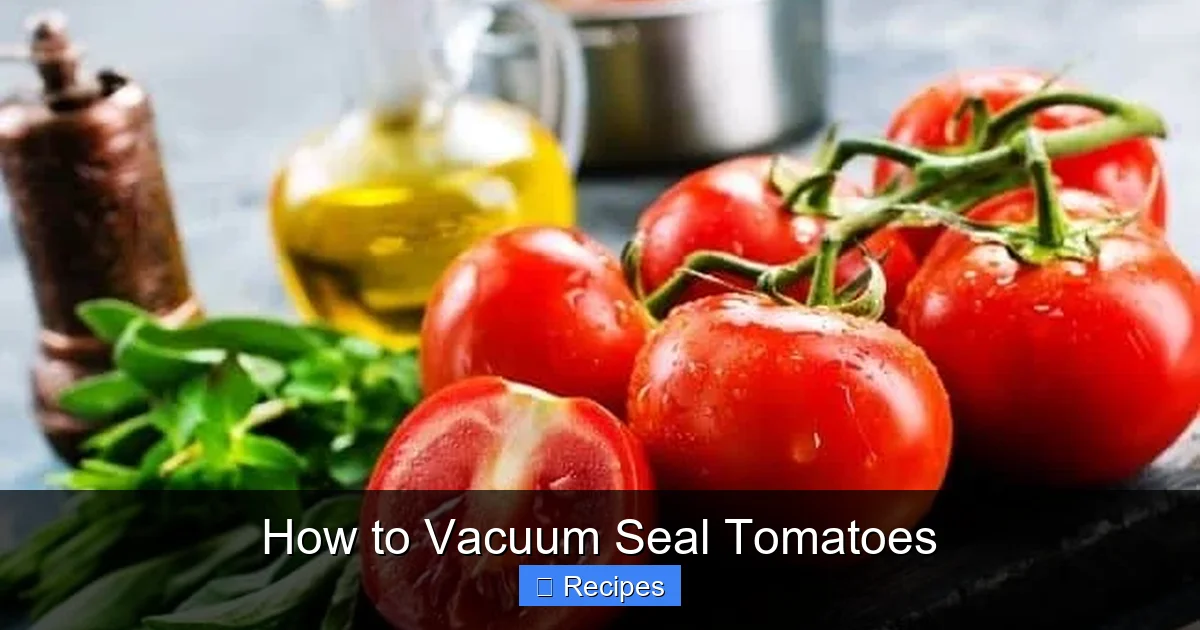
Visual guide about How to Vacuum Seal Tomatoes
Image source: vacuumsealerzone.com
Step 1: Selection and Washing
Start with the best tomatoes you can find. For vacuum sealing, firm, ripe but not overripe tomatoes work best. Overly soft heirlooms will become puree regardless of your intent. Give them a gentle rinse under cool running water to remove any dirt or debris. Use a soft cloth or vegetable brush for stubborn spots. Do not use soap. Pat them completely dry with a clean kitchen towel or paper towels. Any water left on the skin will end up inside your bag as ice.
Step 2: The Blanching Bath (Non-Negotiable)
Blanching—a quick dip in boiling water followed by an ice bath—is the single most important step. It serves two critical purposes. One, it shocks the skin, causing it to split and peel away effortlessly. Trying to peel a raw tomato is a frustrating, sticky mess. Two, it deactivates enzymes that would otherwise continue to break down the tomato’s cell structure during storage, leading to mushiness. Here’s how:
- Bring a large pot of water to a rolling boil. Have a bowl of ice water ready nearby.
- Using a slotted spoon, lower 4-5 tomatoes into the boiling water for 30-60 seconds. You’ll see the skins start to wrinkle and split.
- Immediately transfer them to the ice bath to stop the cooking process. Let them chill for 1-2 minutes.
Pro Tip: Score a small “X” on the bottom of each tomato with a paring knife before blanching. This helps the skin peel back even more easily after the ice bath.
Step 3: Peeling, Coring, and Cutting
Once cool, handle the tomatoes gently. The skins should slip right off with your fingers. If a piece resists, use a paring knife to help. Next, core the tomatoes. For whole sealing, you can leave them whole after coring. For halves or chopped, slice them now. This is your point of no return—decide how you plan to use them. Are they destined for a slow-simmered sauce? Go for halves or quarters. For a quick bruschetta topping, consider a coarse chop. For ultimate versatility, you can even blend them into a puree.
Step 4: The Drying Ritual
This cannot be overstated. Any moisture is a seal-killer. Spread your peeled, cored, and cut tomatoes in a single layer on a clean kitchen towel or multiple layers of paper towels. Gently pat them dry on all sides. Let them air-dry for 10-15 minutes on the towel. For pieces with lots of seeds and gel (like large beefsteak tomatoes), you can scoop out some of the inner seedy pulp with a spoon to reduce water content even further. A drier tomato seals better and freezes with less ice formation.
The Sealing Process: Methods for Every Form
Now for the main event. How you pack the tomatoes into the vacuum bag depends entirely on their final form. The golden rule for all methods: do not overfill the bag. Leave at least 1-2 inches of empty space (headspace) at the top of the bag. This gives the sealer room to create a complete, airtight seal without food interfering with the heat bar.
Visual guide about How to Vacuum Seal Tomatoes
Image source: i0.wp.com
Method 1: Vacuum Sealing Whole Tomatoes
This is the simplest method and offers great versatility. After coring and drying your blanched whole tomatoes, place them in a single layer in your vacuum bag. You can layer them gently, but avoid cramming. The goal is to have the bag lie flat. When you vacuum, you’ll see the bag shrink tightly around each tomato. Important: Whole tomatoes have air trapped inside their cavity. The vacuum will remove most external air, but you may still get a small pocket. This is usually fine for freezer storage, as the tomato will freeze solid. For absolute best results, consider “flash freezing” first: place the dried whole tomatoes on a parchment-lined baking sheet in a single layer and freeze until solid (2-4 hours). Then, quickly transfer the frozen tomatoes to the vacuum bag and seal. This prevents them from sticking together and gives a superior, crinkle-free bag.
Method 2: Sealing Halves, Quarters, or Chopped Tomatoes
For most cooking applications, pre-cut tomatoes are the most convenient. After cutting, ensure all pieces are dry. Place them in the bag, spreading them out to create a relatively even layer. If you have a lot, use multiple smaller bags instead of one overstuffed giant. A single layer seals best. For chopped tomatoes, the flash-freeze method is highly recommended. Spread the chopped pieces on a tray, freeze until solid, then bag and seal. This keeps each piece distinct, making it easy to grab a cup for a recipe without thawing the entire bag.
Method 3: Creating and Sealing Tomato Puree
For sauces, soups, and bases, puree is your best friend. To make it, blend your blanched, peeled tomatoes in a food processor or blender until smooth. For a smoother product, you can strain the puree through a fine-mesh sieve to remove seeds and excess pulp, but this step is optional. Critical Step: Pour the puree into a shallow pan or bowl and place it in the refrigerator for several hours or overnight. This allows any air bubbles trapped during blending to rise to the surface. Skim any foam or bubbles from the top. Then, carefully ladle the puree into your vacuum bags, leaving your headspace. Because it’s a liquid, you must be extra careful not to spill it into the sealer’s vacuum channel. Use a funnel or be very deliberate. Puree can also be frozen in ice cube trays first for perfect portion control, then the frozen cubes can be bagged and sealed.
Storage and Shelf Life: Where and How Long
Where you store your vacuum-sealed tomatoes dictates their lifespan and how you should use them. There are two primary paths: freezer and refrigerator. Contrary to some myths, vacuum sealing at room temperature is not safe for low-acid foods like tomatoes without additional, certified preservation steps (like pressure canning).
Visual guide about How to Vacuum Seal Tomatoes
Image source: i0.wp.com
Freezer Storage: The Long-Term Solution
The freezer is your best friend for storing vacuum-sealed tomatoes for 8-12 months with excellent quality. The combination of vacuum sealing and freezing is powerful. The vacuum prevents freezer burn and oxidation, while the cold halts all biological activity.
- Best Practice: Always label your bags with contents and the date. Use a permanent marker directly on the bag.
- Organization: Lay bags flat on a freezer shelf to freeze. Once solid, you can stand them up like books for efficient, visible storage.
- Thawing: For best results, thaw vacuum-sealed tomatoes in the refrigerator overnight. For sauces and soups, you can often add the frozen puree or halves directly to the pot and heat from frozen.
Refrigerator Storage: For Short-Term Freshness
If you’ve vacuum-sealed fresh, raw tomato slices or halves (note: this is less common and they won’t last as long as blanched/frozen), you can store them in the refrigerator. However, the cold temperature of a fridge is above freezing, so enzymatic activity, while slowed, still occurs. Expect a shelf life of 1-2 weeks for maximum freshness. The vacuum will keep them from drying out and will slow wilting significantly compared to an uncovered container. This is a great method if you’ve prepped tomatoes for salads or sandwiches a few days ahead.
Signs of Spoilage: When to Toss
Vacuum sealing is preservation, not immortality. Always inspect bags before use. If you see any of these signs, discard the contents immediately: a bag that has become bulged or puffy (indicating gas production from bacterial growth), any off-putting odors (sour, fermented, rotten) upon opening, visible mold (fuzzy spots of any color), or a slimy, unappealing texture. When in doubt, throw it out.
Cooking with Your Vacuum-Sealed Tomatoes
This is where your preservation efforts pay off. The flavor concentrated in your vacuum-sealed tomatoes is often more intense than even fresh out-of-season grocery store tomatoes because it was frozen at peak ripeness.
From Bag to Brilliance: No-Thaw Applications
For most cooked dishes, you don’t need to thaw. Simply cut a small slit in the bag and squeeze out the frozen tomatoes (whole, halves, or puree) directly into your saucepan, soup pot, or slow cooker. They’ll thaw and heat in the liquid. This is perfect for:
- Sauces & Gravies: Add frozen tomato halves or puree to a pot with sautéed onions, garlic, and herbs for an instant sauce base.
- Soups & Stews: Toss a bag of quartered tomatoes into minestrone, chili, or beef stew for a fresh, acidic note.
- Braises: Add a layer of frozen tomato halves to the bottom of a Dutch oven before braising chicken or pork. They’ll melt into the braising liquid.
Thawing for Fresh Applications
For applications where you need a more “fresh” texture, like on a pizza, in a salsa, or for bruschetta, you’ll need to thaw. Place the bag in the refrigerator overnight. Once thawed, drain any excess liquid (which is concentrated tomato water—save it for soups!) and pat the pieces gently if needed. The texture will be softer than a raw tomato but will hold its shape better than a typically frozen-and-thawed raw tomato. They are perfect for cooked fresh-style dishes.
Flavor Boost: The Concentrated Liquid
When you thaw vacuum-sealed tomatoes, especially puree or chopped pieces, you’ll often get a clear, reddish liquid in the bag. Don’t pour this down the drain! This is tomato essence—water, acids, and flavor compounds that leached out during freezing. Strain it through a fine-mesh sieve and use it as a base for soups, to cook rice or grains, or to add to cocktail sauces for an extra layer of tomato flavor.
Troubleshooting and Pro Tips
Even with the best instructions, things can go sideways. Let’s address common issues and elevate your game.
“My Bag Won’t Seal!”
This is the most frequent complaint. Causes are almost always: 1) Moisture on the bag’s sealing edge. Wipe the very top inch of the bag’s opening with a dry cloth. 2) Food particles caught in the seal. Ensure the bag’s seal area is completely clean and free of tomato seeds or juice. 3) Overfilling. You must have that headspace. 4) Worn or dirty sealer. Clean the sealing bar according to your manufacturer’s instructions. A torn or crumpled bag can also prevent a seal.
“The Tomatoes Are Mushy/Watery After Thawing”
This points to inadequate prep. The most likely culprit is insufficient blanching, allowing enzymes to break down the cell walls. Second, the tomatoes may not have been dried thoroughly enough, leading to large ice crystals that rupture cell walls. Finally, if you skipped the flash-freeze step for chopped pieces, they may have frozen in a solid block, and when thawed, the weight of the top layer crushed the bottom layer. Adhering strictly to the drying and flash-freezing steps solves this 95% of the time.
Pro Tips for Perfection
- Seasoning: Add a pinch of salt, a clove of garlic, or a sprig of fresh basil to the bag with the tomatoes before sealing for pre-seasoned convenience. The flavors will infuse during storage.
- Portion Control: Seal tomatoes in quantities you typically use for a single recipe (e.g., 2 cups for a pasta sauce, 1 cup for chili). This avoids repeatedly opening and resealing a large bag.
- Bag Reuse: With tomatoes, especially if they were frozen, do not reuse bags. The risk of cross-contamination and compromised seals is too high. Use new, food-safe vacuum bags for each batch.
- Chamber vs. External Sealers: If you vacuum seal a lot of moist foods like tomatoes, a chamber vacuum sealer is superior. It removes air from the entire chamber, so liquid won’t get sucked into the machine. External sealers can struggle with wet foods unless you use the “pulse” mode carefully and keep bags very dry at the top.
Conclusion: Your Year-Round Tomato Treasure
Mastering the art of how to vacuum seal tomatoes transforms your kitchen from a seasonal cooking space into a year-round flavor factory. It bridges the gap between the fleeting abundance of summer and the lean months of winter, allowing you to capture that irreplaceable sun-ripened taste at its absolute peak. The process—select, wash, blanch, peel, dry, cut, flash-freeze, seal—is a simple ritual with an enormous payoff. You’ll reduce food waste, save money, and have a supremely versatile ingredient always at the ready. That bag of frozen, vacuum-sealed tomato halves isn’t just food; it’s a stored moment of summer, a flavor time capsule waiting to unlock depth and brightness in your coldest, darkest meals. So grab your tomatoes, fire up your sealer, and start preserving the harvest. Your future self, stirring a pot of rich, vibrant sauce in January, will thank you.
Frequently Asked Questions
Can I vacuum seal raw, unblanched tomatoes?
Technically yes, but it is not recommended. Without blanching, the tomato’s enzymes remain active and will cause the texture to become mushy and the flavor to degrade much faster, even in the freezer. You’ll also have a very difficult time peeling them later. Blanching is essential for quality.
How long do vacuum-sealed tomatoes last in the freezer?
For optimal flavor and texture, vacuum-sealed tomatoes will maintain excellent quality for 8 to 12 months in a standard freezer. While they may remain safe to eat beyond that, you’ll likely notice a decline in taste and a potential for increased freezer burn if the seal was imperfect.
Can I vacuum seal canned tomatoes or store-bought tomato paste?
Yes, and it’s a great idea! You can open a can of whole peeled tomatoes, portion them out, and vacuum seal the portions for freezer storage, which prevents waste. For tomato paste in a can, once opened, it spoils quickly. Scoop out single-use portions (e.g., 2 tablespoons), place them on parchment to freeze solid, then vacuum seal the cubes. This keeps paste fresh for months.
Is it safe to vacuum seal tomatoes at room temperature for pantry storage?
No. Tomatoes are a low-acid food. Vacuum sealing alone does not create a safe environment for room temperature storage because it does not kill bacteria and spores (like those that cause botulism). For safe, long-term unrefrigerated storage, you must use a tested pressure canning method. Vacuum sealing is for refrigerator (short-term) or freezer (long-term) storage only.
What’s the best type of vacuum sealer for tomatoes?
p>A chamber vacuum sealer is ideal for wet foods like tomatoes because it removes air from the entire chamber, preventing liquid from being sucked into the machine. However, a good-quality external (edge) sealer with a “pulse” or “moist food” setting can work perfectly if you are meticulous about drying the top of the bag and keeping liquid away from the seal bar.
Can I vacuum seal frozen tomatoes that were previously frozen without sealing?
It’s not ideal. If you have a bag of frozen tomatoes that were loosely packed, you can certainly vacuum seal them now to prevent further freezer burn. However, they have already suffered from air exposure and ice crystals, so their texture will be softer. It’s better to follow the full process—blanch, dry, flash-freeze, then seal—from the start for the best results.
Pingback: Plum Tomatoes - kitchenandhouseware.com