The Instant Pot’s Rice setting is a pre-programmed function designed to automatically cook most types of white rice to fluffy perfection. It simplifies the process by setting a default cooking time (typically 10-12 minutes) and pressure level. To use it, you simply add rinsed rice and the correct amount of water to the inner pot, select the Rice setting, and allow for a natural pressure release. Mastering the correct water-to-rice ratio for your specific grain is the key to consistent success.
Key Takeaways
- The Rice Setting is Primarily for White Rice: This preset is optimized for long-grain white rice like jasmine or basmati. It uses a shorter cook time and may undercook heartier grains like brown rice or wild rice without adjustment.
- Water Ratio is Everything: The single most critical factor is using the correct water-to-rice ratio for your specific grain. The pot’s “Rice” label is a guide, not a rule; always refer to a trusted ratio chart for your rice type.
- Rinsing is Non-Negotiable: Always rinse rice until the water runs clear to remove excess surface starch. This prevents gummy, clumpy rice and is the first step to a perfect pot.
- Natural Pressure Release (NPR) is Key: After cooking, always let the pressure release naturally for 10-15 minutes. A quick release can cause the rice to finish cooking unevenly and become wet or sticky.
- Fluff, Don’t Stir: Once cooked, use a fork or rice paddle to gently fluff the grains. Vigorous stirring breaks the rice and releases starch, making it mushy.
- The Pot Can’t “See” Your Rice: The setting uses a timer, not a sensor. It doesn’t detect doneness. Your job is to provide the correct liquid and rice amount for the preset time to work.
- It’s a Starting Point, Not a Rule: Feel free to use the Rice setting’s time as a base for other grains (like quinoa or oats) but you will almost always need to manually adjust the cook time.
📑 Table of Contents
- Introduction: Your Instant Pot’s Secret Weapon for Perfect Rice
- Understanding the “Rice” Setting: What It Is (And Isn’t)
- The Step-by-Step Guide to Using the Rice Setting (For White Rice)
- Troubleshooting: Why Your Rice Didn’t Turn Out Perfect
- Beyond White Rice: Adapting the Setting for Other Grains
- Creative Uses for Your Perfect Instant Pot Rice
- Conclusion: Confidence in a Button
Introduction: Your Instant Pot’s Secret Weapon for Perfect Rice
So, you’ve unboxed your Instant Pot, marveled at its shiny presence on the counter, and maybe even made a few soups or pulled pork. But there’s one button that holds a special kind of magic for everyday meals: the Rice setting. It promises fluffy, separate grains with minimal effort—a game-changer for weeknight dinners. Yet, many new users find themselves confused. Why did my rice turn out mushy? Why is it still hard? The truth is, the “Rice” button is less of a smart sensor and more of a helpful timer. Its success hinges entirely on your preparation. This guide will demystify that button completely. We’ll walk through exactly how to use the rice setting on Instant Pot, from the non-negotiable first step to the final fluff, ensuring you get consistent, restaurant-quality results for white rice and learn how to adapt it for other grains. Forget guesswork; get ready for reliable, hands-off rice cooking.
Understanding the “Rice” Setting: What It Is (And Isn’t)
It’s a Preset Timer, Not a Crystal Ball
Let’s clear up the biggest misconception right away. The Instant Pot’s Rice setting does not have a special sensor that detects starch levels or grain doneness. Instead, it’s a pre-programmed button that selects a specific cooking time and pressure level optimized by the manufacturer for standard long-grain white rice. For a 6-quart model, this is typically 10-12 minutes at low pressure. For an 8-quart, it might be 12-14 minutes. It assumes you are using the standard 1:1 water-to-rice ratio (by volume) for rinsed white rice.
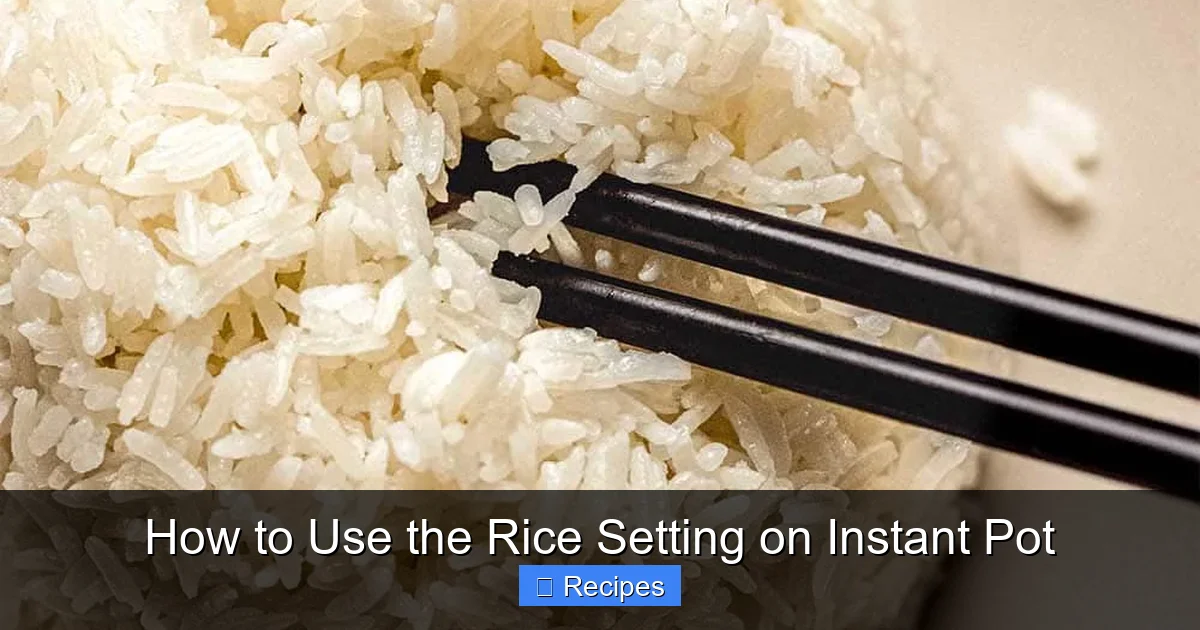
Visual guide about How to Use the Rice Setting on Instant Pot
Image source: platingsandpairings.com
What this means for you: The button is an excellent shortcut for its intended purpose. But if you use it for brown rice, sushi rice, or quinoa without adjusting the water or time, you will likely be disappointed. Think of it as a “White Rice Quick Cook” button. To use it successfully for other grains, you must manually override its simplicity with your knowledge of that grain’s needs.
Low Pressure vs. High Pressure
You might notice some Instant Pot models have both “Rice” and “Multigrain” settings. The key difference is often the pressure level. The standard Rice setting usually cooks on Low Pressure. This gentler pressure is ideal for delicate white rice, helping to keep the grains separate and prevent foaming. The Multigrain setting often defaults to High Pressure and a longer time to tackle tougher outer hulls, as needed for brown rice, wild rice, or barley. Understanding this helps you decide when to trust the preset and when to use the Manual/Pressure Cook function for full control.
The Step-by-Step Guide to Using the Rice Setting (For White Rice)
Follow these exact steps for flawless white rice (jasmine, basmati, long-grain) every single time using the Rice button.
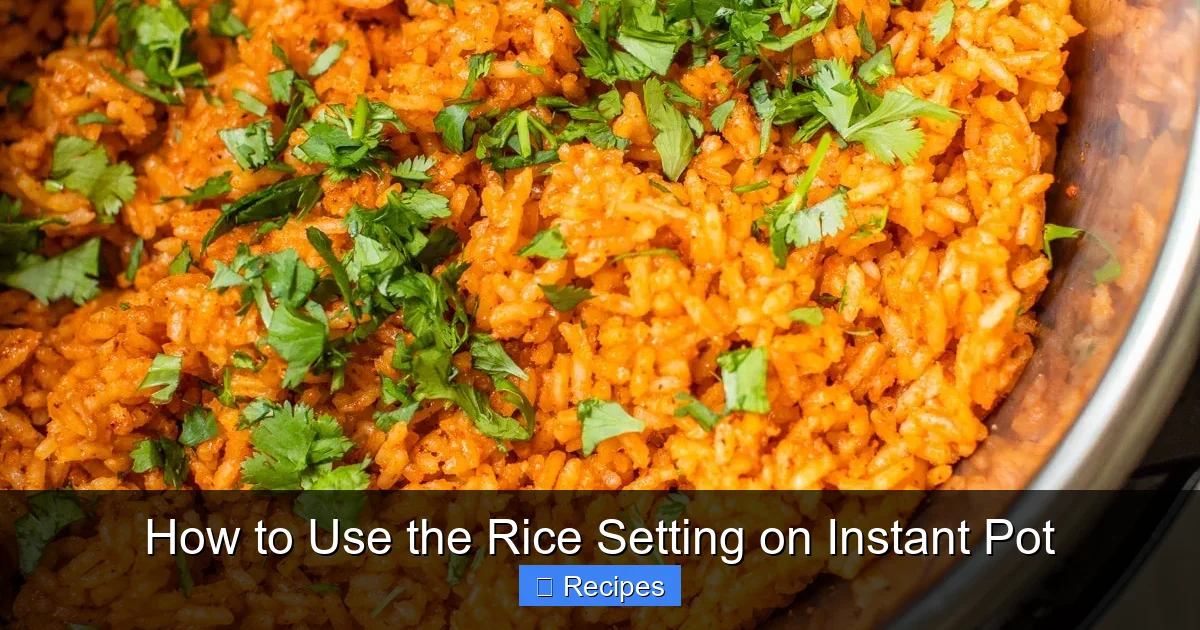
Visual guide about How to Use the Rice Setting on Instant Pot
Image source: thealmondeater.com
Step 1: Rinse, Rinse, Rinse
This is the golden rule. Place your rice in a fine-mesh strainer and rinse it under cold running water. Swirl it around until the water runs almost clear. This removes the outer starch coating. Skipping this step is the #1 cause of gummy, clumped rice in any cooking method, especially the Instant Pot where steam is trapped. Rinsing ensures each grain stays individual and fluffy.
Step 2: Measure Rice and Water Precisely
Use the same measuring cup for both rice and water for consistency. The standard ratio for rinsed white rice on the Rice setting is 1 cup rice to 1 cup water. However, this can vary slightly by rice type:
- Jasmine/Basmati: 1:1 ratio is perfect.
- Standard Long-Grain: 1:1 ratio works well.
- Sushi/Short-Grain: You may need slightly less water, try 1 cup rice to ¾ cup water for a stickier texture.
Critical Tip: Always use the cup that came with your Instant Pot to measure the water if you are using the pot’s “1 cup” rice marking. The inner pot markings are based on that specific cup size, which is usually 3/4 of a standard U.S. cup (160ml vs 240ml). For absolute accuracy, use your own measuring cups and ignore the pot’s markings.
Step 3: Combine in the Inner Pot
Add the rinsed and drained rice to the clean stainless steel inner pot. Pour the measured water over it. Give it a quick stir. Do not add oil or butter at this stage; it can interfere with the foam and potentially trigger the “Burn” warning on some models. You can add a pinch of salt if desired.
Step 4: Set and Seal
Place the inner pot in the base. Lock the lid, ensuring the steam release handle is set to Sealing. Press the Rice button. On most models, you cannot adjust the time for this preset. It will display “White Rice” or just “Rice” and begin the countdown. The pot will take 5-10 minutes to come to pressure, then the timer will start (e.g., 10 minutes).
Step 5: The Most Important Step: Natural Pressure Release (NPR)
When the cooking cycle ends, the Instant Pot will beep and switch to “Keep Warm.” Do not touch the steam release valve. Let the pot sit, undisturbed, for a full 10-15 minutes. This allows the residual heat and steam to finish cooking the rice gently and evenly. The pressure will release slowly on its own. After 10-15 minutes, you can carefully move the steam release handle to “Venting” to release any remaining pressure before opening the lid.
Step 6: Fluff and Serve
Open the lid. You should see perfectly cooked, separate grains with no standing liquid. Use a fork or the included rice paddle to gently fluff the rice, lifting from the bottom to the top. This aerates it and stops the cooking process. Serve immediately or keep on the “Keep Warm” setting for up to an hour.
Troubleshooting: Why Your Rice Didn’t Turn Out Perfect
Even with the best instructions, things can go awry. Here’s how to diagnose and fix common issues.
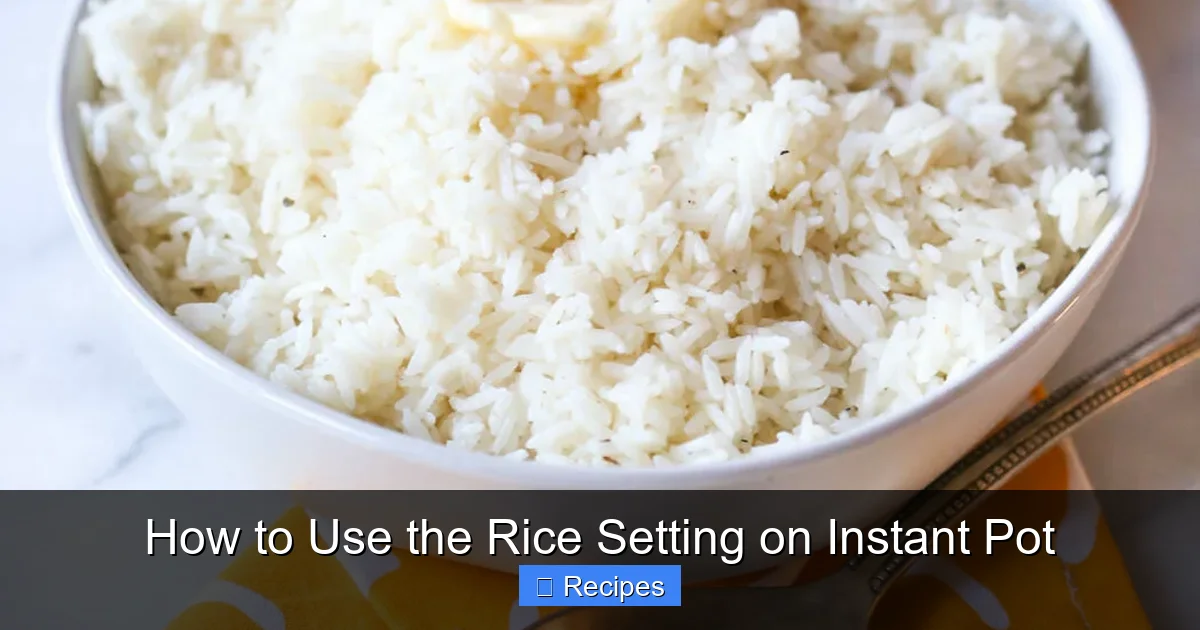
Visual guide about How to Use the Rice Setting on Instant Pot
Image source: ourbestbites.com
Problem: Rice is Undercooked or Hard in the Center
Cause: Most commonly, you used the Rice setting for a grain that needs more time (like brown rice). Alternatively, you may have used too little water or performed a quick pressure release (QPR).
Solution: For white rice, add ¼ cup more water, stir, and cook on Manual/High Pressure for 2-3 minutes followed by a 10-minute NPR. For brown rice, abandon the Rice setting and use the Multigrain setting or Manual/High Pressure for 22-28 minutes with a 1:1.25 (rice:water) ratio.
Problem: Rice is Mushy, Sticky, or Soupy
Cause: Too much water is the usual culprit. It could also be from not rinsing the rice (excess starch turns to glue) or performing a quick release, which forces excess moisture back into the rice.
Solution: Next time, reduce water by 2-4 tablespoons. Ensure you are rinsing thoroughly. Always use NPR. If it’s just slightly wet, fluff it and let it sit, uncovered, for 5 minutes to allow excess moisture to evaporate.
Problem>The “Burn” Message Appears
Cause: Food has browned and stuck to the bottom of the pot, triggering the thermal sensor. This can happen if you used too little liquid, didn’t rinse sticky rice varieties, or added ingredients like tomato paste directly to the pot without a liquid barrier.
Solution: For rice alone, ensure you have the minimum 1 cup of liquid (water or broth) in a 6-quart pot. Always rinse rice. If making a pilaf or flavored rice, sauté aromatics first, then deglaze the pot with liquid before adding rice. Never use the Rice setting for dishes with thick sauces or tomatoes mixed in; use the Manual/Pressure Cook setting with more liquid instead.
Beyond White Rice: Adapting the Setting for Other Grains
This is where you become an Instant Pot pro. You can use the Rice setting’s timer as a starting point, but you will almost always need to adjust the water ratio and sometimes use the Manual function for control.
Brown Rice (Short, Medium, Long-Grain)
The Rice setting’s 10-12 minutes is far too short. Use the Multigrain setting if your model has it (typically 25-30 minutes). If not, use Manual/High Pressure for 22-28 minutes. The water ratio is key: use 1 cup brown rice to 1¼ cups water. A 10-minute NPR is essential for fully cooked, tender grains.
Wild Rice
Technically a grass, wild rice needs much more time and water. Use Manual/High Pressure for 25-30 minutes with a ratio of 1 cup wild rice to 2 cups water or broth. A 10-minute NPR will yield perfectly chewy, split grains.
Quinoa
Quinoa cooks very quickly. The Rice setting’s time (10-12 min) is actually too long and will make it mushy. Use Manual/High Pressure for just 1 minute! Yes, one minute. The ratio is 1 cup quinoa to 1 cup water. A 5-minute NPR is sufficient. This method yields perfectly fluffy quinoa every time.
Oats (Steel-Cut or Rolled)
For a creamy, porridge-like texture, the Rice setting can work for rolled oats. Use 1 cup rolled oats to 1½ cups water/milk. For steel-cut oats, use 1:2 ratio and the Rice setting is often perfect. For a thicker, more “oatmeal” texture, use Manual/High Pressure for 3-4 minutes with a quick release. Always stir immediately after opening to prevent a skin from forming.
Creative Uses for Your Perfect Instant Pot Rice
Once you master the base, the possibilities are endless. The hands-off nature of the Instant Pot frees you up to create complete meals.
Flavored Rice & Simple Pilafs
Sauté minced garlic, onion, or shallots in the inner pot with a little oil using the Sauté function for 2-3 minutes. Add your rinsed rice and stir for 1 minute to toast lightly. Then add your measured liquid (broth instead of water adds huge flavor), stir, and pressure cook using the appropriate setting/time for your rice type. The rice will absorb all the delicious flavors.
Rice for Beans & Soups
Make a big batch of plain white rice using the Rice setting. It’s the perfect, neutral base for topping chili, bean soups, or stews. It also freezes beautifully for meal prep. Portion it into freezer bags or containers, and you have a ready-to-heat side for future you.
Breakfast Rice Pudding
After cooking white rice using the Rice setting, you can transform it into creamy rice pudding. Sauté the cooked rice with milk, sugar, cinnamon, and raisins on the Sauté function, stirring until thickened to your liking. It’s a fast, comforting breakfast.
Conclusion: Confidence in a Button
The Rice setting on your Instant Pot is a powerful tool for simplifying a staple food. Its true power isn’t in its automation, but in the consistent, hands-off results it delivers once you understand its mechanics. By mastering the fundamental steps—thorough rinsing, precise water measurement, and a patient natural pressure release—you can walk away from your kitchen and return to perfectly cooked white rice. More importantly, you now have the knowledge to adapt that timer for quinoa, brown rice, and beyond. Don’t be afraid to experiment with the Manual/Pressure Cook function for full control. With this guide, you’re not just pressing a button; you’re commanding your kitchen appliance to work for you, delivering fluffy, delicious grains that form the foundation of countless meals. Go ahead, cook that rice with confidence. Your future self, staring at a perfect pot of grains ready for a quick stir-fry or a side of beans, will thank you.
Frequently Asked Questions
Can I use the Rice setting for any type of rice?
No. The Rice setting is optimized for rinsed, long-grain white rice like jasmine or basmati. Using it for brown rice, wild rice, or short-grain sushi rice will likely result in undercooked, hard grains. For those, use the Multigrain setting or the Manual/Pressure Cook function with adjusted times and water ratios.
What is the correct water-to-rice ratio for the Rice setting?
For standard long-grain white rice, the ratio is 1 cup rinsed rice to 1 cup water. For sushi or short-grain rice, you may reduce water to ¾ cup per cup of rice for a stickier texture. Always use the same measuring cup for both and rinse the rice thoroughly first.
Is it okay to do a quick pressure release (QPR) for rice?
No, you should always do a Natural Pressure Release (NPR) for 10-15 minutes. A quick release forces steam and moisture back into the rice, making it wet, sticky, and unevenly cooked. The residual heat during NPR finishes the cooking process gently and perfectly.
Why is my rice still crunchy or hard after using the Rice setting?
The most likely reason is that you used the Rice setting for a grain that needs a longer cook time, like brown rice. Another cause is too little water. Next time, ensure you are using the correct water ratio for your specific rice type and use the appropriate setting (Multigrain or Manual) for heartier grains.
Can I cook quinoa on the Rice setting?
It’s not recommended. The Rice setting’s 10-12 minute cook time is too long for quinoa and will make it mushy. For perfect quinoa, use the Manual/Pressure Cook setting on High pressure for just 1 minute with a 1:1 water-to-quinoa ratio, followed by a 5-minute NPR.
My rice is mushy and sticky. What did I do wrong?
Mushy rice is usually caused by three things: 1) Too much water (reduce by 2-4 tbsp next time), 2) Not rinsing the rice (excess starch creates a gluey texture), or 3) Doing a quick pressure release (always use NPR). Correcting these will solve the problem.