Discover the simple steps to brew perfect coffee with a percolator while camping. This guide covers everything from choosing the right gear and mastering fire‑control to cleaning tips and tasty recipe ideas. Enjoy warm, camp‑ready coffee without hassle.
Key Takeaways
- Choose the right percolator: Opt for lightweight, stainless‑steel models designed for outdoor use.
- Master fire management: Learn how to build and control a campfire or use a portable stove for consistent heat.
- Measure water and coffee correctly: Accurate ratios prevent bitterness and ensure a smooth brew.
- Safety first: Use proper handles, keep the percolator stable, and never leave it unattended.
- Cleaning made easy: Simple rinsing and occasional deep cleaning keep your percolator tasting great.
- Flavor upgrades: Add spices, flavored syrups, or camp‑friendly milk alternatives for a gourmet touch.
- Pack smart: Efficient packing tips save space and weight in your backpack.
📑 Table of Contents
- Introduction: Coffee, Campfires, and the Joy of Percolating
- 1. Picking the Perfect Percolator for the Outdoors
- 2. Preparing Your Campfire or Stove
- 3. Mastering the Brewing Process
- 4. Enhancing Flavor in the Wild
- 5. Cleaning and Maintaining Your Percolator
- 6. Packing Smart: What to Bring and What to Leave Behind
- Conclusion: Brew Memories, Not Just Coffee
Introduction: Coffee, Campfires, and the Joy of Percolating
There’s something magical about waking up in the woods, hearing birds chirp, and sipping a hot cup of coffee brewed over a crackling fire. If you love coffee as much as you love the outdoors, a percolator is the perfect companion. Unlike single‑serve packs, a percolator lets you brew a full pot, share it with friends, and enjoy the ritual of watching water bubble through coffee grounds.
In this guide, we’ll walk you through every step of using a percolator while camping. From selecting the right model to mastering fire control, measuring water, and cleaning up, you’ll finish feeling confident enough to impress any campsite crew. Let’s dive in and make your next adventure taste amazing.
1. Picking the Perfect Percolator for the Outdoors
Material Matters
When you’re on the trail, weight and durability are king. Most campers choose between two main materials:
Visual guide about How to Use Percolator Camping
Image source: i.pinimg.com
- Stainless steel: Rust‑resistant, lightweight, and easy to clean. Ideal for backpacking.
- Aluminum: Slightly lighter but can react with acidic coffee over time. Look for anodized finishes.
Both work well, but stainless steel wins for long‑term use and flavor purity.
Size and Capacity
Consider how many people you’ll be serving. A 4‑cup percolator (about 1 liter) is great for two people. A 10‑cup model (2.5 liters) suits larger groups. Remember, a bigger percolator adds weight, so balance capacity with your pack weight budget.
Features to Look For
- Collapsible handles: Saves space.
- Built‑in thermometer: Helps you keep water at the optimal 200°F (93°C).
- Secure lid with vent: Prevents boiling over and controls steam.
2. Preparing Your Campfire or Stove
Choosing the Heat Source
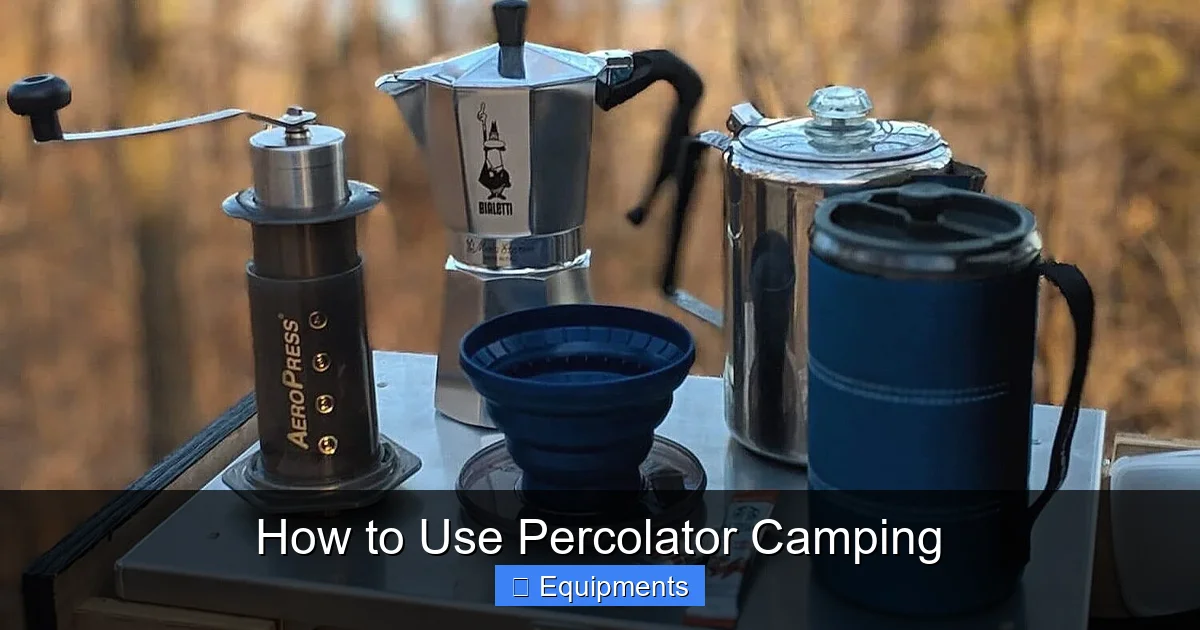
You can percolate over a traditional campfire, a portable propane stove, or a compact canister stove. Each has pros and cons:
Visual guide about How to Use Percolator Camping
Image source: images.squarespace-cdn.com
- Campfire: Offers authentic flavor but requires careful fire management.
- Propane stove: Provides steady, controllable heat—great for beginners.
- Canister stove: Lightweight and efficient, perfect for backpacking.
Building a Stable Fire Base
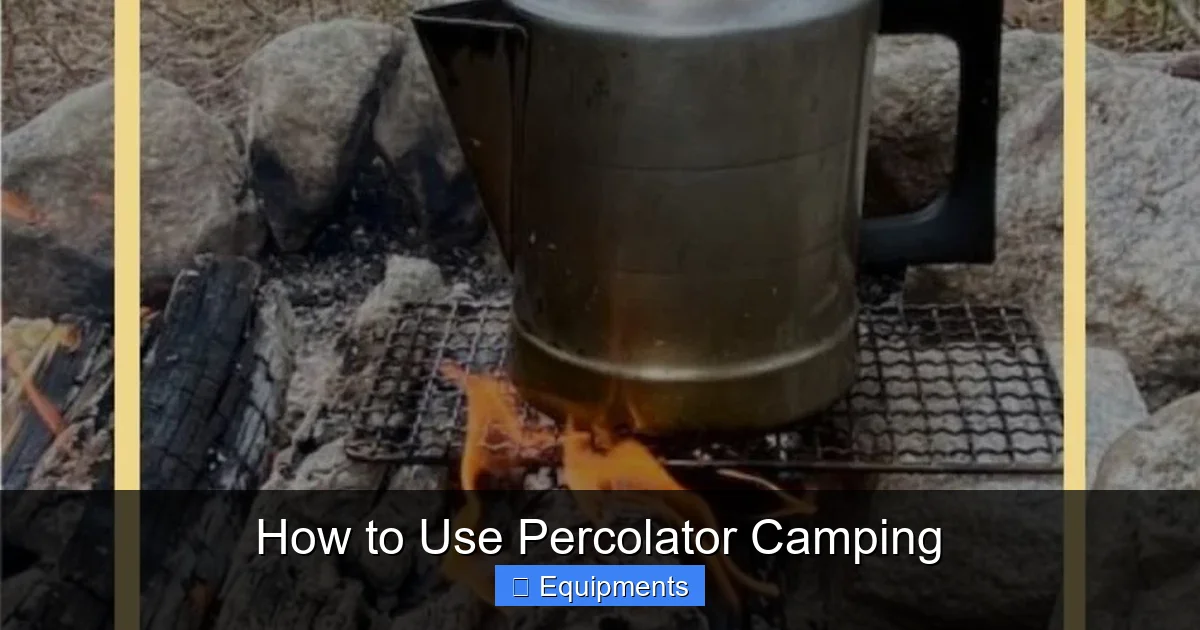
If you opt for a campfire, create a flat, heat‑resistant base using a fire ring or a layer of stones. This prevents the percolator from wobbling and scorching the bottom.
Controlling the Flame
Whether you’re using wood or fuel, aim for a medium‑low flame. Too high, and the water will boil too fast, causing over‑extraction (bitter coffee). Too low, and the brew will be weak. A good rule of thumb: keep the flame just touching the bottom of the percolator.
3. Mastering the Brewing Process
Step‑by‑Step Guide
- Measure water: Fill the percolator to the “max” line. Use a measuring cup if you’re unsure.
- Add coffee grounds: Place a paper filter or metal basket inside the percolator and add 1 tablespoon of medium‑coarse grounds per cup of water.
- Seal the lid: Ensure the vent is open to allow steam to escape.
- Heat the water: Place the percolator on your fire or stove. Watch for the first signs of bubbling—usually 5‑7 minutes.
- Start percolating: Once bubbles rise, reduce the heat to maintain a gentle, steady percolation. This stage lasts 4‑6 minutes.
- Turn off the heat: Remove the percolator from the flame and let it sit for a minute to settle.
- Serve: Carefully pour into mugs. Add milk, sugar, or spices as desired.
Understanding Coffee Ratios
The classic ratio is 1 tablespoon (≈7 grams) of coffee per 6 ounces (≈180 ml) of water. Adjust to taste—more coffee for a stronger brew, less for a milder cup.
Visual guide about How to Use Percolator Camping
Image source: i.ytimg.com
Common Mistakes and How to Fix Them
- Over‑extraction: Coffee tastes bitter. Reduce brewing time or lower the heat.
- Under‑extraction: Coffee is weak and sour. Increase the percolation time or add more grounds.
- Spillover: Keep the vent closed only when the water is near boiling. Open it early to release excess steam.
4. Enhancing Flavor in the Wild
Spice It Up
Bring a small pouch of cinnamon sticks, nutmeg, or cardamom pods. Add a pinch to the grounds before brewing for a warm, aromatic cup.
Creamy Alternatives
Powdered milk, shelf‑stable plant milks, or a small tin of evaporated milk travel well. Stir in after brewing for a silky finish.
Sweeteners That Travel
Honey, agave syrup, or a few packets of sugar are lightweight and dissolve easily in hot coffee.
Campfire Coffee Recipes
- Campfire Mocha: Add a teaspoon of cocoa powder and a dash of cinnamon.
- Spiced Trail Latte: Mix brewed coffee with powdered milk, a pinch of ginger, and honey.
- Cold Brew Surprise: After brewing, add ice and a splash of orange juice for a refreshing post‑hike drink.
5. Cleaning and Maintaining Your Percolator
Quick Rinse After Each Use
While the percolator is still warm, dump the grounds into a biodegradable bag. Rinse with clean water to prevent residue buildup.
Deep Cleaning Techniques
Once a week, soak the percolator in a solution of 1 part white vinegar to 2 parts water for 30 minutes. Scrub the basket with a soft brush, rinse thoroughly, and dry completely.
Storing for the Next Trip
Make sure the percolator is completely dry to avoid rust. Store it in a padded pouch or its original case to protect against dents.
6. Packing Smart: What to Bring and What to Leave Behind
Essential Packing List
- Stainless‑steel percolator (size based on group)
- Portable stove or fire‑starter kit
- Measuring cup or marked bottle
- Coffee grounds (pre‑measured packets work great)
- Paper filters or reusable metal basket
- Lightweight spice blend, sweetener, and milk alternative
- Collapsible mug or insulated cup
Weight‑Saving Tips
Use bulk coffee beans and grind them at home, then portion into zip‑lock bags. Replace heavy ceramic mugs with silicone or aluminum cups. A compact, foldable fire‑starter (like a magnesium rod) saves space compared to bulky matches.
Conclusion: Brew Memories, Not Just Coffee
Using a percolator while camping transforms a simple morning routine into an adventure. With the right gear, a steady flame, and a few pro tips, you’ll serve up café‑quality coffee under the pine trees. Remember to respect fire safety, clean your equipment, and experiment with flavors. The next time you set up camp, let the percolator be the star of your breakfast table—and watch friends gather around the warmth of both fire and friendship.
Frequently Asked Questions
Can I use a percolator on a propane stove?
Yes. A propane stove provides consistent heat, making it easier to control the percolation process compared to an open fire.
What coffee grind size works best for percolators?
Use a medium‑coarse grind. Too fine will slip through the filter and cause bitterness; too coarse will result in weak coffee.
How do I prevent my percolator from boiling over?
Keep the vent open slightly and watch the bubbling. Reduce the flame as soon as the water reaches a rolling boil.
Is it safe to leave a percolator unattended on a campfire?
No. Always stay near the fire and the percolator. Sudden flare‑ups can cause over‑extraction or spills.
Can I brew tea in a percolator?
Yes, but use a separate basket for tea bags or loose leaf tea to avoid mixing flavors with coffee.
What’s the best way to carry coffee grounds on a hike?
Pre‑measure grounds into lightweight zip‑lock bags or reusable silicone pouches. This keeps them dry and easy to portion.