Keeping your dishwasher arms clean is essential for sparkling dishes and optimal performance. This guide walks you through easy, low‑cost methods to remove buildup, prevent clogs, and extend the life of your appliance. Follow the simple steps and maintenance tricks to enjoy hassle‑free cleaning every time.
Key Takeaways
- Regular inspection: Check arms every 3‑6 months to catch buildup early.
- Use the right tools: A soft brush, toothpick, and vinegar are all you need.
- Deep‑clean with soaking: Soaking arms in warm, soapy water loosens stubborn debris.
- Prevent future clogs: Run a monthly cleaning cycle with vinegar or a dishwasher cleaner.
- Re‑assemble correctly: Ensure arms spin freely after cleaning to avoid spray issues.
- Safety first: Disconnect power and shut off water before working.
- Maintenance schedule: A simple routine keeps arms performing like new for years.
📑 Table of Contents
Introduction: Why Clean Dishwasher Arms Matter
Imagine loading a fresh batch of plates only to find them still speckled with food after the cycle ends. Most homeowners blame the detergent or the water temperature, but the real culprit is often the dishwasher’s spray arms. These rotating nozzles are the heart of the cleaning process. When they become clogged with mineral deposits, food particles, or grease, the water spray weakens, and dishes come out less than pristine.
Cleaning dishwasher arms is not a task reserved for the pros. With a few everyday tools and a little patience, you can restore full spray power in under an hour. This article explains how to clean dishwasher arms step by step, offers preventive tips, and answers the most common questions you might have.
Understanding Dishwasher Arms
What Are They?
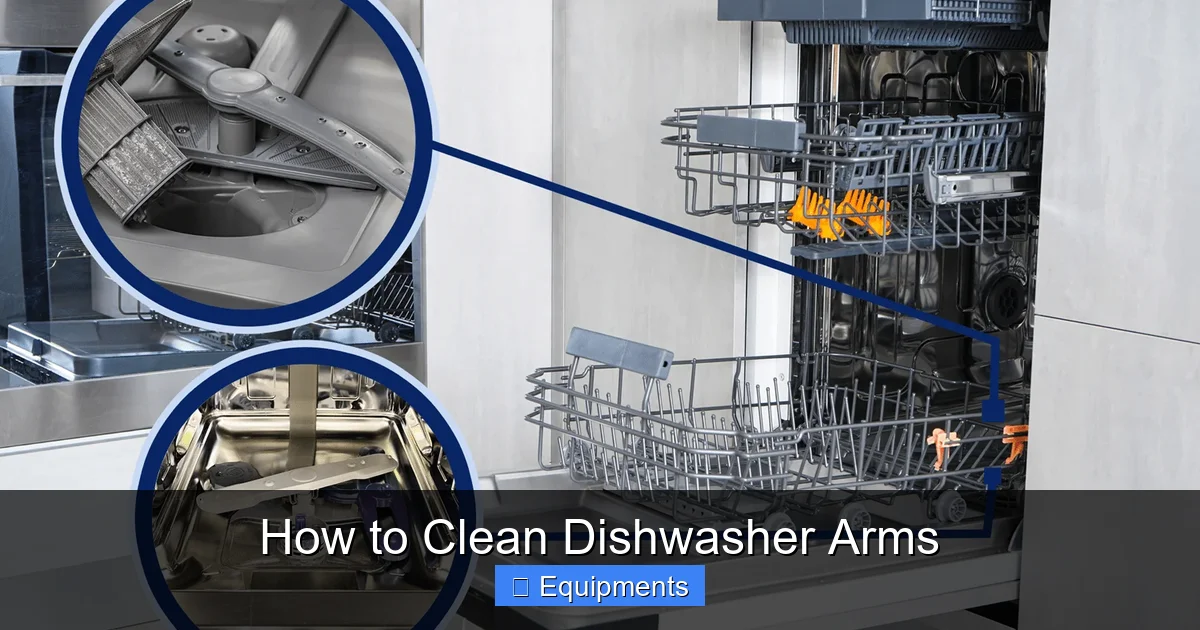
Dishwasher arms are usually made of stainless steel or plastic. They sit on the bottom and sometimes on the top of the tub. Small holes or slots in the arms allow water to jet out at high pressure, reaching every corner of the rack.
Visual guide about How to Clean Dishwasher Arms
Image source: kitchenseer.com
How They Work
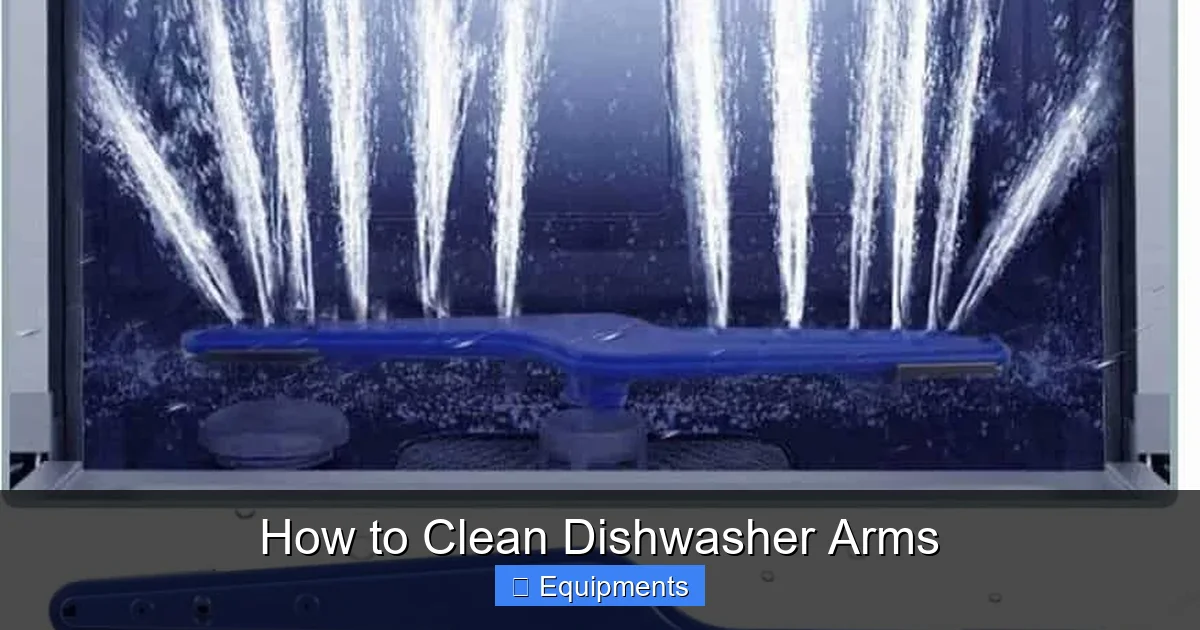
During a wash cycle, the dishwasher’s pump pushes water up through the arms. The arms spin, distributing water evenly. If a hole is blocked, that portion of the arm stops spraying, leaving a blind spot.
Common Causes of Clogging
- Hard water: Calcium and magnesium leave white, chalky deposits.
- Food residue: Bits of rice, pasta, or grease can melt and stick.
- Detergent buildup: Powder detergents may leave a powdery film.
- Improper loading: Large items can block the arm’s rotation.
Tools and Materials You’ll Need
Basic Toolkit
- Soft‑bristled toothbrush or small dish‑washing brush
- Toothpick or thin wire
- Adjustable wrench (optional, for metal arms)
- Rubber gloves
- Bucket or large bowl
- Warm water
- Dish soap
- White vinegar
- Commercial dishwasher cleaner (optional)
Why These Tools?
Soft brushes prevent scratching the arm’s surface, while a toothpick can reach deep into tiny holes. Vinegar is a natural descaler that dissolves mineral buildup without harsh chemicals.
Visual guide about How to Clean Dishwasher Arms
Image source: thekitchenix.com
Step‑by‑Step Guide: How to Clean Dishwasher Arms
1. Safety First – Power Down
Unplug the dishwasher or turn off the circuit breaker. Shut off the water supply if your model has a dedicated valve. This prevents accidental starts and water leaks while you work.
Visual guide about How to Clean Dishwasher Arms
Image source: dishwasherusa.com
2. Remove the Racks
Slide out the lower rack completely. This gives you clear access to the bottom spray arm. If your dishwasher has a top arm, remove the upper rack as well.
3. Locate and Detach the Arms
Most arms are secured with a central nut or a snap‑in clip. Use an adjustable wrench to loosen the nut gently—don’t over‑tighten, or you could strip the threads. For snap‑in arms, press the release tabs and lift the arm out.
4. Inspect for Visible Clogs
Hold the arm over a sink or bucket. Rotate it by hand; you’ll see where water streams are weak or missing. Look for obvious debris stuck in the holes.
5. Pre‑Soak the Arms
Fill a bucket with warm water, add a squirt of dish soap, and drop the arms in. Let them soak for 10‑15 minutes. The soap softens grease and loosens food particles.
6. Brush Away Residue
Take a soft toothbrush and scrub each hole gently. For stubborn spots, dip a toothpick into the soapy water and poke through the holes. Be careful not to enlarge the openings.
7. Vinegar Soak for Mineral Deposits
If you have hard water, fill a second bucket with equal parts warm water and white vinegar. Submerge the arms for 20‑30 minutes. The acidity dissolves calcium buildup.
8. Rinse Thoroughly
After soaking, rinse each arm under running water. Use a garden hose or faucet to flush water through the holes, ensuring all soap and vinegar are gone.
9. Re‑attach the Arms
Place the arm back onto its mounting hub. Tighten the nut just enough to hold it securely; it should still spin freely. Re‑install any snap‑in clips if applicable.
10. Run a Test Cycle
Put the racks back in, load a few dishes, and run an empty hot‑water cycle. Check that the arms spin smoothly and that water sprays from all nozzles.
Preventive Maintenance: Keep Arms Clean Longer
Monthly Vinegar Rinse
Place a cup of white vinegar on the top rack and run a normal cycle. The vinegar circulates through the system, cleaning the arms and removing odors.
Use a Rinse Aid
Rinse aids lower surface tension, helping water sheet off the arms and preventing mineral film buildup.
Load Dishes Properly
Make sure large items don’t block the arms. Keep pots and pans angled so water can reach all surfaces.
Choose the Right Detergent
Liquid detergents dissolve more completely than powders, reducing the chance of residue clinging to the arms.
Install a Water Softener
If you live in a hard‑water area, a whole‑house softener or an inline dishwasher softener can dramatically reduce mineral deposits.
When to Call a Professional
Most homeowners can handle routine cleaning, but certain signs indicate a deeper issue:
- Arms won’t spin even after cleaning.
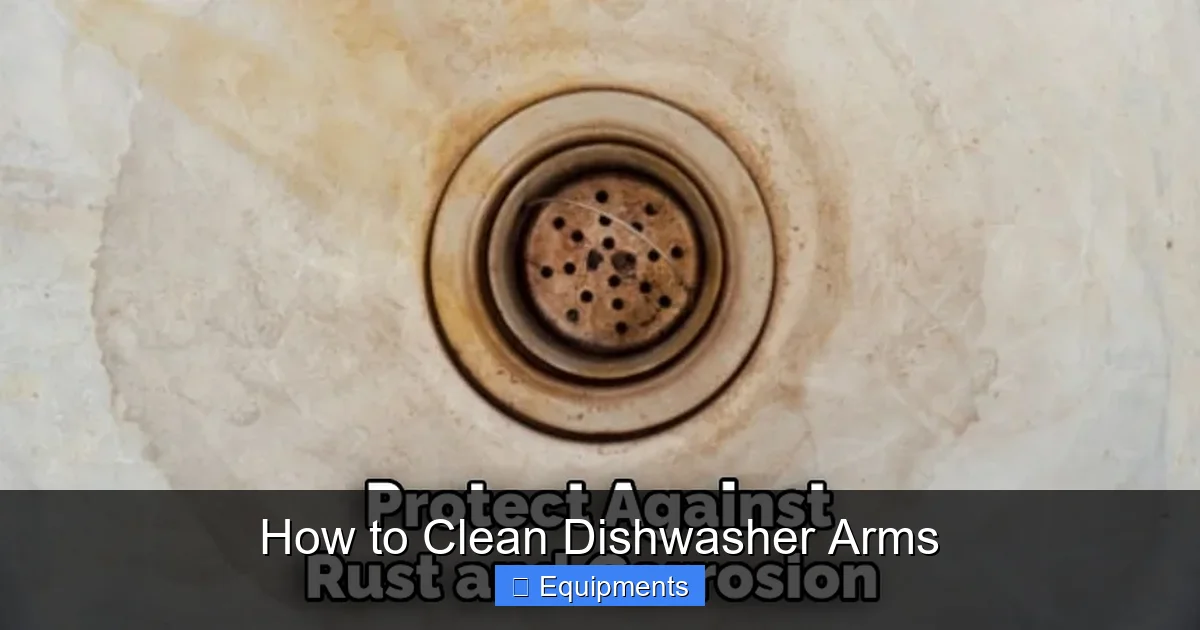
- Persistent rust or corrosion on metal arms.
- Water leaks from the arm mounting area.
- Repeated cleaning with no improvement.
If you notice any of these, it’s best to contact a qualified appliance technician. Attempting major repairs without proper tools can void warranties.
Conclusion: A Small Task with Big Rewards
Cleaning dishwasher arms may seem like a minor chore, but it has a huge impact on your dishwasher’s performance and your dish‑washing experience. By following the simple steps outlined above, you’ll enjoy brighter dishes, shorter cycles, and a longer‑lasting appliance. Make the cleaning routine a part of your monthly kitchen upkeep, and you’ll never wonder why your dishes aren’t coming out clean again.
Frequently Asked Questions
How often should I clean my dishwasher arms?
Inspect and clean the arms every 3‑6 months. If you have hard water, aim for the shorter interval.
Can I use a toothbrush to clean the spray holes?
Yes, a soft‑bristled toothbrush is ideal. It removes debris without damaging the arm’s surface.
Is vinegar safe for all dishwasher arms?
White vinegar is safe for stainless steel and most plastic arms. Avoid using acidic cleaners on painted or coated arms.
What if water still doesn’t spray after cleaning?
Check that the arm spins freely and that no pieces of broken nozzle are stuck inside. If the problem persists, a professional may need to replace the arm.
Do I need to disconnect the power before cleaning?
Yes. Always unplug the dishwasher or turn off the circuit breaker to prevent accidental starts.
Can I use a commercial dishwasher cleaner instead of vinegar?
Commercial cleaners work well for heavy buildup. Follow the manufacturer’s instructions and rinse thoroughly afterward.