Discover the easiest way to master your Hotpoint oven with clear, step‑by‑step instructions, safety tips, and cooking tricks. Whether you’re baking a cake or roasting a chicken, this guide makes every meal effortless.
Key Takeaways
- Understanding controls: Learn the meaning of every knob, button, and digital display on a Hotpoint oven.
- Pre‑heat properly: Know why pre‑heating matters and how long to wait for different cooking modes.
- Cooking modes explained: Choose the right setting—bake, broil, convection, grill, or defrost—for perfect results.
- Safety first: Follow essential safety habits to avoid burns, fire hazards, and damage to your oven.
- Cleaning & maintenance: Simple daily and monthly routines keep your Hotpoint oven performing like new.
- Quick troubleshooting: Identify common issues and fix them without calling a technician.
- Recipe shortcuts: Handy tips for common dishes so you can start cooking with confidence.
📑 Table of Contents
- Introduction: Why Knowing Your Hotpoint Oven Matters
- 1. Getting to Know Your Hotpoint Oven Controls
- 2. Pre‑Heating: The First Step to Perfect Results
- 3. Choosing the Right Cooking Mode
- 4. Practical Cooking Tips and Examples
- 5. Safety Practices Every Hotpoint Owner Should Follow
- 6. Cleaning and Maintenance for Longevity
- Conclusion: Your Hotpoint Oven, Mastered
Introduction: Why Knowing Your Hotpoint Oven Matters
Imagine opening your kitchen and hearing the gentle hum of a reliable oven ready to turn raw ingredients into delicious meals. That’s the promise of a Hotpoint oven—if you know how to use it. Many new owners stare at the control panel, unsure which button does what, and end up overcooking or under‑cooking their dishes. This guide removes the guesswork.
We’ll walk you through every essential step, from setting the temperature to cleaning the interior, all in a friendly, conversational style. Think of it as a chat with a friend who just happens to love cooking and knows every Hotpoint trick. By the end, you’ll feel confident using bake, broil, convection, and more—without the need to call customer service.
1. Getting to Know Your Hotpoint Oven Controls
1.1 The main control panel
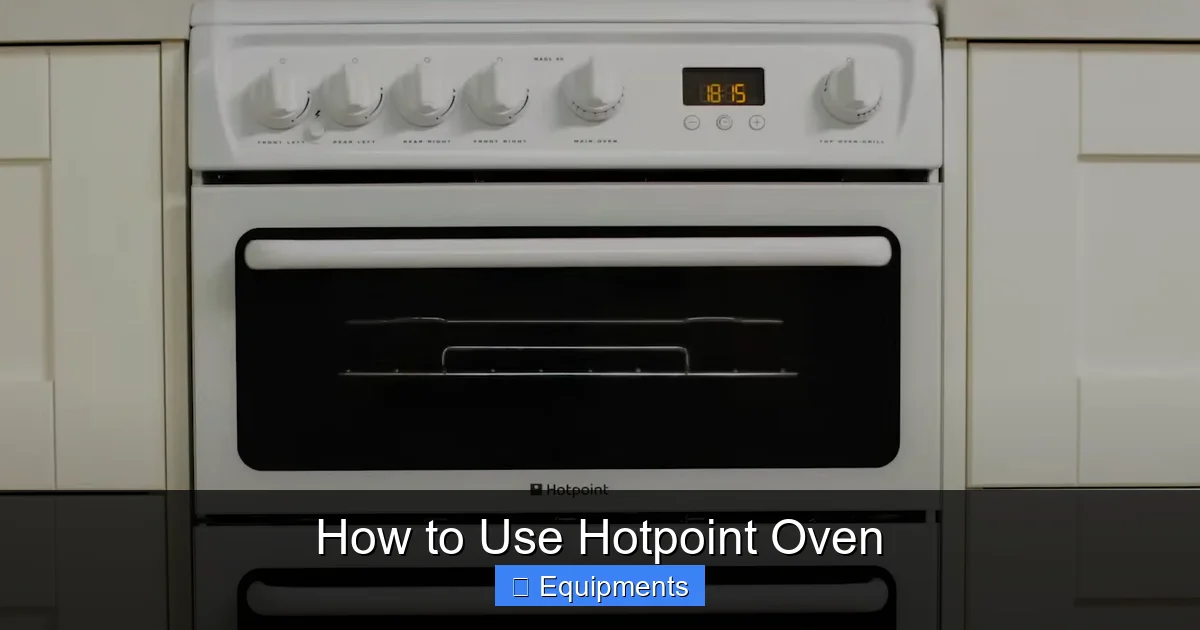
The heart of any Hotpoint oven is its control panel. Most modern models feature a digital display with a few key buttons:
Visual guide about How to Use Hotpoint Oven
Image source: hotpointuk.vtexassets.com
- Power/On‑Off: Turns the oven on and off. Some models have a standby mode that saves energy.
- Temperature dial or keypad: Sets the exact heat level, usually from 100°F (38°C) up to 500°F (260°C).
- Mode selector: Switches between Bake, Broil, Convection, Grill, and Defrost.
- Timer: Counts down the cooking time; you can also use it as a reminder for when to check food.
- Start/Pause: Begins the cooking cycle or pauses it if you need to add ingredients.
1.2 Understanding the digital read‑out
The LCD screen shows three main pieces of information:
- Current temperature (what the oven thinks it is).
- Set temperature (what you asked for).
- Time remaining (if a timer is active).
When the oven reaches the set temperature, the display often flashes or a beep sounds—this is your cue to slide the rack in or start cooking.
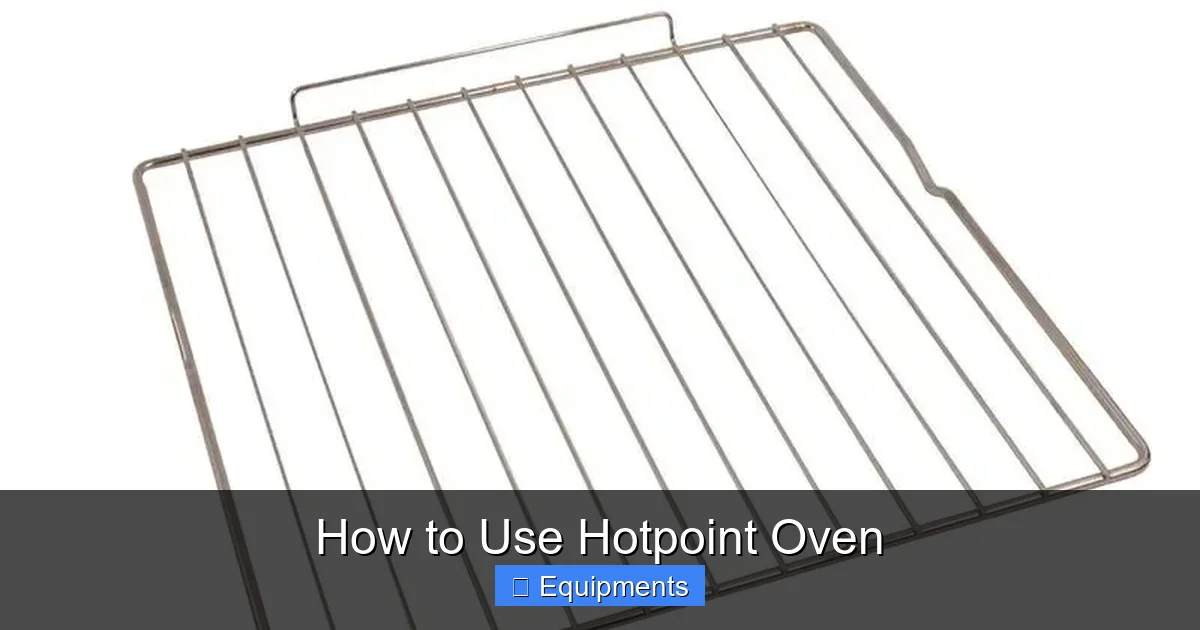
1.3 Racks and positioning
Hotpoint ovens usually come with three to four adjustable racks. The placement of your food matters:
- Upper rack: Best for broiling and quick browning.
- Middle rack: Ideal for most baking and roasting.
- Lower rack: Good for slow‑cooking casseroles or when you need extra space.
Always check your recipe for rack recommendations, then adjust the oven’s interior before you pre‑heat.
2. Pre‑Heating: The First Step to Perfect Results
2.1 Why pre‑heat?
Pre‑heating brings the oven to a stable temperature before the food goes in. Skipping this step can cause uneven cooking, soggy crusts, and longer bake times. Think of it like warming up before a run—your oven performs best when it’s ready.
Visual guide about How to Use Hotpoint Oven
Image source: appliancehunter.co.uk
2.2 How long does it take?
Most Hotpoint models reach 350°F (175°C) in about 10‑12 minutes. Larger ovens or those with convection fans may take a minute or two longer. Use the display: when the set temperature and current temperature match, you’re good to go.
2.3 Quick pre‑heat hacks
- Use the “quick‑heat” button: Some models have a dedicated button that boosts the heating element for faster warm‑up.
- Keep the door closed: Every time you open the door, temperature drops.
- Don’t overload the oven: Too many dishes block heat flow and extend pre‑heat time.
3. Choosing the Right Cooking Mode
3.1 Bake – the everyday workhorse
Bake uses the bottom heating element and is perfect for cakes, breads, casseroles, and most roasted vegetables. Set the temperature, pre‑heat, and slide your dish onto the middle rack.

Visual guide about How to Use Hotpoint Oven
Image source: appliancehunter.co.uk
3.2 Broil – high heat from the top
Broil delivers intense heat from the top element, ideal for melting cheese, crisping tops, or giving steaks a seared finish. Place food on the upper rack, set the broil level (high or low if your model allows), and watch closely—broiling can go from perfect to burnt in seconds.
3.3 Convection – fan‑assisted cooking
Convection adds a fan that circulates hot air, cooking food faster and more evenly. Reduce the recipe temperature by 25°F (about 14°C) and shorten cooking time by roughly 20 %. Great for multiple trays of cookies or a golden‑brown turkey.
3.4 Grill – a hybrid of broil and bake
Grill combines top heat with a lower element, giving a slightly slower roast than pure broil. Use it for fish fillets, vegetables, or a quick pizza reheat.
3.5 Defrost – gentle thawing
Defrost uses low heat and a fan to thaw frozen foods without cooking them. Place the item on a tray, select Defrost, and set the timer based on weight. This is safer than a microwave for large cuts of meat.
4. Practical Cooking Tips and Examples
4.1 Baking a simple chocolate cake
- Pre‑heat to 350°F (175°C) using the Bake mode.
- Grease a 9‑inch round pan and pour in batter.
- Place the pan on the middle rack.
- Bake for 30‑35 minutes, or until a toothpick comes out clean.
- Let cool 10 minutes, then remove and serve.
Tip: Rotate the pan 180° halfway through for an even rise.
4.2 Roasting a whole chicken
- Pre‑heat to 425°F (220°C) on Bake.
- Pat the chicken dry, rub with olive oil, salt, and herbs.
- Place on a roasting rack in a shallow pan, breast side up, on the middle rack.
- Roast 1 hour 15 minutes, basting once halfway.
- Check internal temperature—165°F (74°C) at the thickest thigh.
Tip: Let the chicken rest 10 minutes before carving; juices redistribute for juicier meat.
4.3 Broiling a salmon fillet
- Set the oven to Broil, high setting.
- Line a baking sheet with foil; place salmon skin‑side down.
- Season with lemon, dill, and a drizzle of olive oil.
- Broil for 6‑8 minutes, depending on thickness.
- Remove when the flesh flakes easily with a fork.
Tip: Keep the oven door slightly ajar (if your model allows) to prevent overheating.
4.4 Using convection for multiple cookie trays
Arrange trays on the upper and lower racks, leaving a few inches of space. Set Convection at 325°F (163°C) and bake for 10‑12 minutes, rotating trays halfway. The fan ensures even browning on both trays.
5. Safety Practices Every Hotpoint Owner Should Follow
5.1 Preventing burns
- Always use oven mitts—heat conducts through metal quickly.
- Never touch the interior glass until the oven has cooled.
- Keep handles turned inward to avoid accidental knocks.
5.2 Fire safety
Keep the oven interior free of food debris. Grease buildup can ignite. If a flare‑up occurs, turn off the oven, keep the door closed, and call emergency services if the fire spreads.
5.3 Child safety
Use the child lock feature (available on many Hotpoint models) to disable the control panel while cooking. Store cookware on high shelves out of reach.
6. Cleaning and Maintenance for Longevity
6.1 Daily cleaning routine
After each use, let the oven cool, then wipe the interior with a damp cloth and a mild dish soap. Avoid abrasive pads that can scratch the enamel.
6.2 Monthly deep clean
- Remove racks and soak them in warm, soapy water.
- Apply a commercial oven cleaner or a homemade mix of baking soda and water to the interior walls.
- Let sit 20‑30 minutes, then scrub with a non‑scratch sponge.
- Rinse with a damp cloth and dry.
Tip: Run a short 200°F (93°C) cycle with a bowl of water and a slice of lemon to steam‑clean stubborn spots.
6.3 Maintaining the self‑cleaning feature
If your Hotpoint has a pyrolytic self‑clean mode, use it no more than once every 3‑4 months. Remove all food debris first, then select the cleaning cycle. The oven will heat to >900°F (482°C) to ash away residue. Allow it to cool completely before opening.
Conclusion: Your Hotpoint Oven, Mastered
Using a Hotpoint oven doesn’t have to be a mystery. By understanding the controls, pre‑heating correctly, selecting the right cooking mode, and following safety and cleaning habits, you’ll enjoy consistent, tasty results every time. Treat your oven as a trusted kitchen partner—feed it proper care, and it will reward you with perfectly baked cakes, succulent roasts, and crisped‑to‑perfection veggies for years to come.
Now that you have a step‑by‑step roadmap, go ahead and fire up that oven. Experiment with the tips, share the results with friends, and watch your confidence grow. Happy cooking!
Frequently Asked Questions
How do I know when my Hotpoint oven has reached the set temperature?
The digital display will show the current temperature matching the set temperature, and many models emit a beep or flash the screen to signal it’s ready.
Can I use aluminum foil in a Hotpoint oven?
Yes, you can line the bottom rack with foil to catch drips, but avoid covering the entire floor or blocking the fan in convection mode.
What’s the difference between broil and grill on a Hotpoint oven?
Broil uses only the top heating element for very high heat, while grill combines top heat with a lower element for a gentler, more even cooking.
How often should I clean the oven’s interior?
Wipe down after each use and perform a thorough cleaning (or self‑clean cycle) every 3‑4 months, depending on how often you cook.
My oven won’t heat up. What should I check first?
Make sure the door is fully closed, the power is on, and the timer isn’t set to “0.” If it still won’t heat, the heating element may need replacement.
Is it safe to use metal pans on the convection setting?
Absolutely. Metal pans conduct heat well and work perfectly with convection, which circulates hot air around them for even cooking.