Got a leaky faucet? You can stop the drip in minutes by learning how to tighten a sink faucet yourself. This guide walks you through every step, from identifying the problem to testing your repair, using common tools and simple techniques. Save water, avoid costly plumber fees, and feel confident fixing your faucet today.
Key Takeaways
- Identify the faucet type: Knowing whether you have a compression, ball, cartridge, or ceramic‑disk faucet tells you which parts to adjust.
- Gather the right tools: An adjustable wrench, screwdriver set, pliers, and plumber’s grease are usually enough.
- Turn off water supply first: Prevent flooding by shutting off the shut‑off valves under the sink.
- Check for worn parts: O‑rings, washers, and seals often need replacement, not just tightening.
- Don’t overtighten: Too much force can strip threads or crack the faucet body.
- Test after each step: Run water to see if the leak stops before moving on.
- Maintenance matters: Periodic tightening and cleaning extend faucet life and keep drips away.
📑 Table of Contents
- Introduction: Why a Leaky Faucet Isn’t Just Annoying
- 1. Know Your Faucet: Types and Common Leak Points
- 2. Gather Your Tools and Prepare the Work Area
- 3. Step‑by‑Step: How to Tighten Sink Faucet
- 4. Troubleshooting: When Tightening Isn’t Enough
- 5. Maintenance Tips to Keep Your Faucet Leak‑Free
- Conclusion: You’ve Got This!
Introduction: Why a Leaky Faucet Isn’t Just Annoying
Imagine hearing that steady “drip‑drip‑drip” every time you wash your hands. It’s not only irritating; it can waste hundreds of gallons of water each year. The good news? Most faucet leaks are caused by something you can tighten yourself.
In this article we’ll show you how to tighten sink faucet parts correctly, avoid common mistakes, and know when to call a professional. By the end, you’ll have a clear, step‑by‑step plan that anyone can follow—no plumbing degree required.
1. Know Your Faucet: Types and Common Leak Points
1.1 Compression Faucets
These are the classic “two‑handle” faucets found in many older homes. They use rubber washers that sit inside a brass seat. When you turn the handle, the washer compresses against the seat, stopping water flow.
Visual guide about How to Tighten Sink Faucet
Image source: kitchenra.com
Typical leak spots: The base of the handle, the stem, or the washer itself.
1.2 Ball Faucets
Popular in kitchens, ball faucets have a single lever that moves a metal ball inside the valve body. The ball aligns holes to control temperature and flow.
Typical leak spots: The ball assembly, the cam, or the gasket around the faucet body.
1.3 Cartridge Faucets
These use a replaceable cartridge (plastic or brass) that slides up and down. Turning the handle moves the cartridge to open or close water flow.
Typical leak spots: The cartridge housing and the O‑rings on the cartridge.
1.4 Ceramic‑Disk Faucets
Found in many modern homes, ceramic‑disk faucets have two thin ceramic disks that slide over each other. They’re durable but can develop leaks at the stem or the base.
Typical leak spots: The disk assembly, the stem, or the mounting nut.
2. Gather Your Tools and Prepare the Work Area
2.1 Essential Tools
- Adjustable wrench (6‑inch works for most nuts).
- Phillips and flat‑head screwdrivers.
- Channel‑lock pliers (optional but helpful).
- Plumber’s grease or silicone lubricant.
- Replacement washers/O‑rings (buy a faucet repair kit that matches your model).
- Cloth or rag to protect finishes.
2.2 Safety First
Before you start, place a bucket under the faucet to catch any stray water. Wear gloves if you have sensitive skin; the metal parts can be cold and sometimes sharp.
Visual guide about How to Tighten Sink Faucet
Image source: indoorense.com
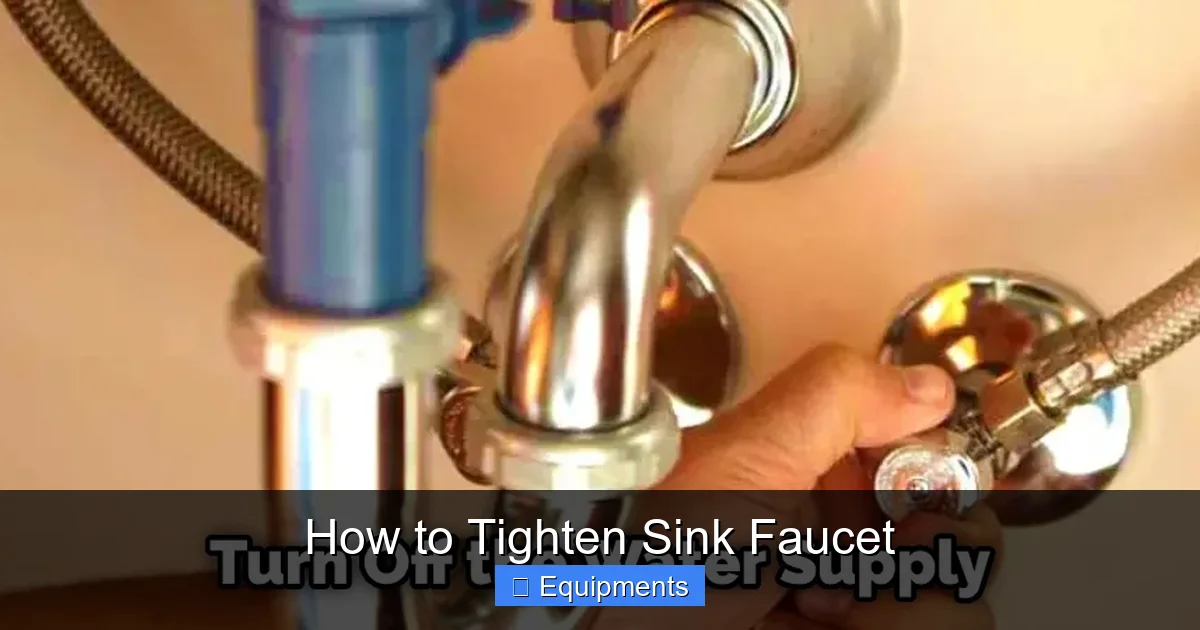
2.3 Shut Off the Water
Locate the shut‑off valves beneath the sink—usually a pair of small knobs labeled hot and cold. Turn each clockwise until they stop. If you can’t find them, turn off the main house water supply.
3. Step‑by‑Step: How to Tighten Sink Faucet
3.1 Remove the Faucet Handle
1. Look for a set screw on the handle’s base (often hidden under a decorative cap).
2. Use the appropriate screwdriver to loosen the screw.
3. Gently lift the handle off. If it’s stuck, wiggle it while pulling upward.

Visual guide about How to Tighten Sink Faucet
Image source: wowowfaucet.com
3.2 Access the Stem or Cartridge
Depending on faucet type, you’ll see either a stem (compression) or a cartridge (ball, cartridge, ceramic‑disk). The goal is to tighten the nut that holds this component in place.
3.3 Tighten the Packing Nut (Compression Faucets)
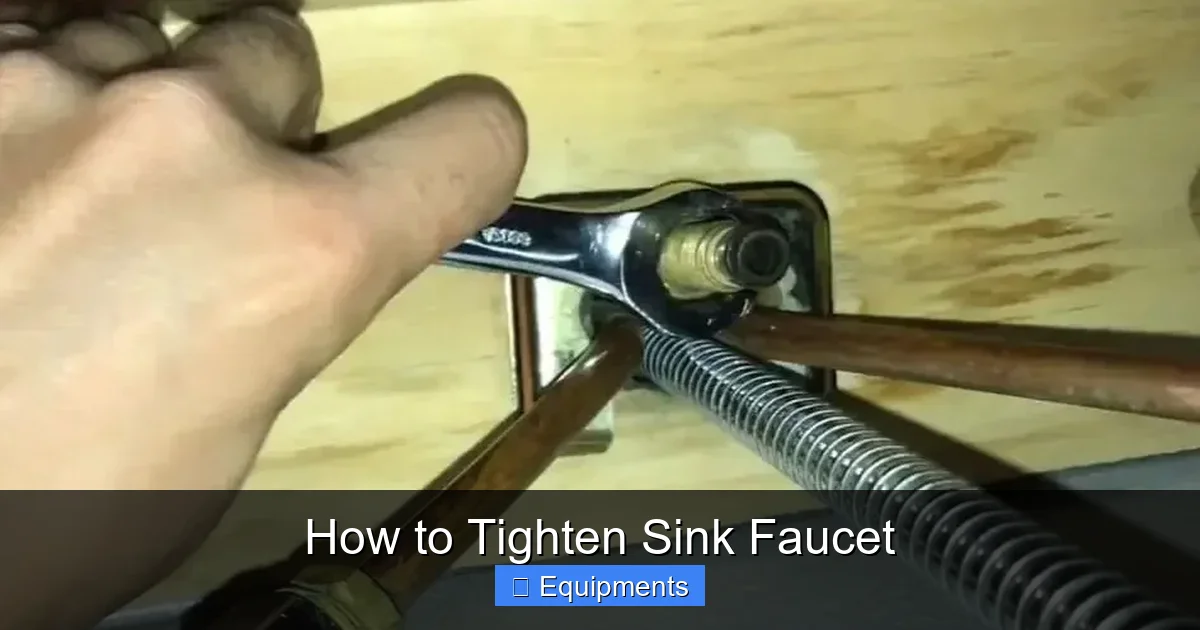
1. Use the adjustable wrench on the packing nut just below the handle.
2. Turn clockwise a quarter turn at a time.
3. After each turn, turn the handle to see if the leak stops. Over‑tightening can strip the threads.
3.4 Tighten the Cartridge Retaining Nut (Cartridge & Ceramic‑Disk)
1. Locate the retaining nut that secures the cartridge.
2. Place a cloth over the nut to protect the finish.
3. Turn clockwise gently—again, a quarter turn at a time.
4. Re‑install the handle and test.
3.5 Adjust the Ball Assembly (Ball Faucets)
1. With the handle removed, you’ll see a metal collar around the ball.
2. Use the wrench to tighten the collar a little.
3. If the leak persists, the ball may need cleaning or the gasket replaced.
3.6 Check and Replace Worn Parts
Even if tightening stops the drip, it’s wise to replace washers, O‑rings, or the entire cartridge if they look cracked or hardened. Apply plumber’s grease to new parts before installation.
3.7 Re‑assemble and Test
1. Slip the handle back on.
2. Tighten the set screw.
3. Turn the shut‑off valves back on slowly.
4. Run both hot and cold water, watching for drips at the base, spout, and underneath.
4. Troubleshooting: When Tightening Isn’t Enough
4.1 Persistent Drip After Tightening
If the faucet still leaks, the problem may be a cracked seat, corroded valve, or a damaged faucet body. In many cases, replacing the cartridge or the entire faucet is more cost‑effective.
4.2 Leaks From the Supply Lines
Sometimes the water appears to come from the faucet, but the real source is a loose supply line connection. Tighten the coupling nuts with a wrench, and replace any frayed hoses.
4.3 Water Pressure Issues
Over‑tightening can restrict water flow, making the faucet feel “thin.” Loosen the nut slightly and test again. If pressure is still low, there may be a blockage in the aerator—unscrew it and clean out debris.
4.4 When to Call a Professional
- Corroded or broken faucet body.
- Multiple leaks after several attempts.
- Lack of proper tools or confidence in disassembly.
Calling a plumber can save time and prevent water damage.
5. Maintenance Tips to Keep Your Faucet Leak‑Free
5.1 Regular Cleaning
Wipe the faucet daily with a soft cloth to avoid mineral buildup. Once a month, soak the aerator in vinegar to dissolve hard water deposits.
5.2 Lubricate Moving Parts
Apply a thin layer of plumber’s grease to O‑rings and the stem every six months. This reduces friction and extends the life of seals.
5.3 Inspect for Wear Annually
During a routine home check, look for cracks, corrosion, or loose nuts. Tighten any loose connections before they become a leak.
5.4 Upgrade When Appropriate
If your faucet is more than 15‑20 years old, consider swapping it for a modern, water‑efficient model. Newer designs often have fewer leak points and can lower your water bill.
Conclusion: You’ve Got This!
Fixing a leaky faucet is one of the most rewarding DIY projects you can tackle. By understanding your faucet type, gathering the right tools, and following the simple steps outlined above, you’ll know exactly how to tighten sink faucet components without causing damage. Remember to shut off the water, tighten gradually, and replace worn parts when needed.
With a little practice, you’ll not only stop that annoying drip but also save water and money. Keep this guide handy for future repairs, and enjoy the confidence that comes with knowing you can handle minor plumbing issues yourself.
Frequently Asked Questions
Why does my faucet keep leaking after I tighten the nut?
The leak may be coming from a worn washer or O‑ring rather than a loose nut. Replacing those small parts usually stops the drip.
Can I use any wrench to tighten the faucet parts?
An adjustable wrench works for most nuts, but a small socket or a basin wrench can give you better reach and protect the faucet finish.
Do I need to turn off the main water supply if I can’t find the shut‑off valves?
Yes. If the individual shut‑off valves are missing or broken, shut off the main valve for the house to avoid flooding.
How often should I replace the cartridge in a cartridge faucet?
Most manufacturers recommend replacing the cartridge every 5‑7 years, or sooner if you notice frequent leaks.
Is it normal for the handle to feel stiff after I tighten the faucet?
A little stiffness can happen if the packing nut is tightened too much. Loosen it just a quarter turn and test the handle again.
What should I do if I strip the threads while tightening?
Stop tightening immediately. You may need a thread repair kit or a new faucet body. In many cases, a plumber can re‑thread the area for you.
