Turning on a Wolf induction stove top is a deliberate, simple process designed for safety and precision. You must first place a magnetically compatible pan on the cooking zone, then press and hold the dedicated power button for that zone until the display activates. The cooktop will not turn on without proper cookware, a key safety feature. Once activated, use the +/- touch sliders to set your desired power level. Understanding this “pan presence” requirement is the first and most critical step to successful induction cooking.
So, you’ve unboxed your beautiful new Wolf induction cooktop, or perhaps you’ve just moved into a home with one gleaming in the kitchen. It looks sleek, futuristic, and utterly silent. You reach for the knob or touch the sleek glass surface, expecting a familiar click or a flame to spring to life. Nothing happens. A wave of confusion—or even frustration—might wash over you. “Is it broken?” you wonder. The answer is almost certainly no. You’ve simply encountered the fundamental, and brilliantly designed, safety protocol of induction cooking. Turning on a Wolf induction stove top isn’t like lighting a gas burner or turning a dial on an electric coil. It’s a deliberate interaction between you, the cookware, and the intelligent cooktop. This guide will walk you through every single step, from the absolute basics to nuanced tips, ensuring you move from hesitant tapping to confident, precise control. Let’s demystify that beautiful, blank surface together.
Key Takeaways
- Pan Presence is Mandatory: The cooktop will not activate unless a ferromagnetic (magnet-attracting) pan is centered on the specific zone you wish to use.
- Power Button Activation: Each zone has a dedicated power button (often with a power symbol). You must press and hold this button for 1-2 seconds until the display illuminates.
- Use the Touch Sliders: Once the zone is on, adjust the heat level using the (+) and (-) touch sliders or the central rotary dial, depending on your specific Wolf model series.
- Listen for the “Click”: A faint audible click when pressing the power button confirms the control has been engaged. The absence of a click often indicates the pan is not detected.
- Safety First: The cooktop surface will not get dangerously hot to the touch like a gas or electric coil; heat is generated directly in the pan. However, the pan itself and the immediate cooktop area will become hot from use.
- Error Codes are Helpful: If the display shows an “E” or “F” code instead of a power level, it’s a diagnostic clue. Note the code and consult your manual for the specific meaning (e.g., E1 often indicates a pan detection issue).
- Manual is Your Best Friend: Wolf has several control panel designs (e.g., Series 2, 3, 4, 5). Your user manual provides the exact diagram and instructions for your specific model’s buttons and displays.
📑 Table of Contents
Understanding the Core Philosophy: Why It’s Different
Before we dive into button-pressing, it’s crucial to understand why Wolf induction cooktops are designed this way. Traditional cooking methods—gas and electric—generate heat first, which then transfers to your pan. The burner or coil gets hot, and that heat radiates upward. Induction technology flips this paradigm. An electromagnetic field beneath the glass-ceramic surface induces an electrical current in the ferromagnetic (iron-based) cookware, making the pan itself become the heating element. The cooktop surface remains relatively cool, with only residual heat from the pan transferring back down.
This incredible efficiency and safety come with a prerequisite: the system must detect a compatible pan to create that magnetic circuit. Without the right cookware, the induction coils are inert. Therefore, the very first rule of turning on your Wolf induction cooktop is this: you must have the correct pan on the zone you want to use. The cooktop is intelligent enough to know if the pan is removed during cooking and will automatically shut off or display a warning. This “pan presence” sensor is the gatekeeper to the entire system. Your first action is always to place a suitable pot or pan on the zone.
What Cookware Works? The Magnet Test
Not all pots and pans are created equal in the eyes of induction. The key is magnetism. Take a simple refrigerator magnet and hold it against the bottom of your pan. If it sticks firmly and doesn’t slide off easily, that pan is induction-compatible. Look for cookware labeled “induction ready,” “for induction,” or made from materials like stainless steel with an iron or magnetic stainless steel layer, cast iron, or enameled cast iron. Many popular brands, such as All-Clad (certain lines), Demeyere, Staub, and Le Creuset (their cast iron line), are fully compatible. Aluminum, copper, and non-magnetic stainless steel (like the 18/10 variety common in some European brands) will not work unless they have an induction disk or a special magnetic base layer. Always perform the magnet test to be sure.
The Step-by-Step Activation Sequence
With your compatible pan centered on the desired cooking zone, you are ready for the activation sequence. While button layouts vary slightly across Wolf’s product lines (Series 2, 3, 4, 5, and their professional ranges), the core logic remains identical. Let’s break it down.
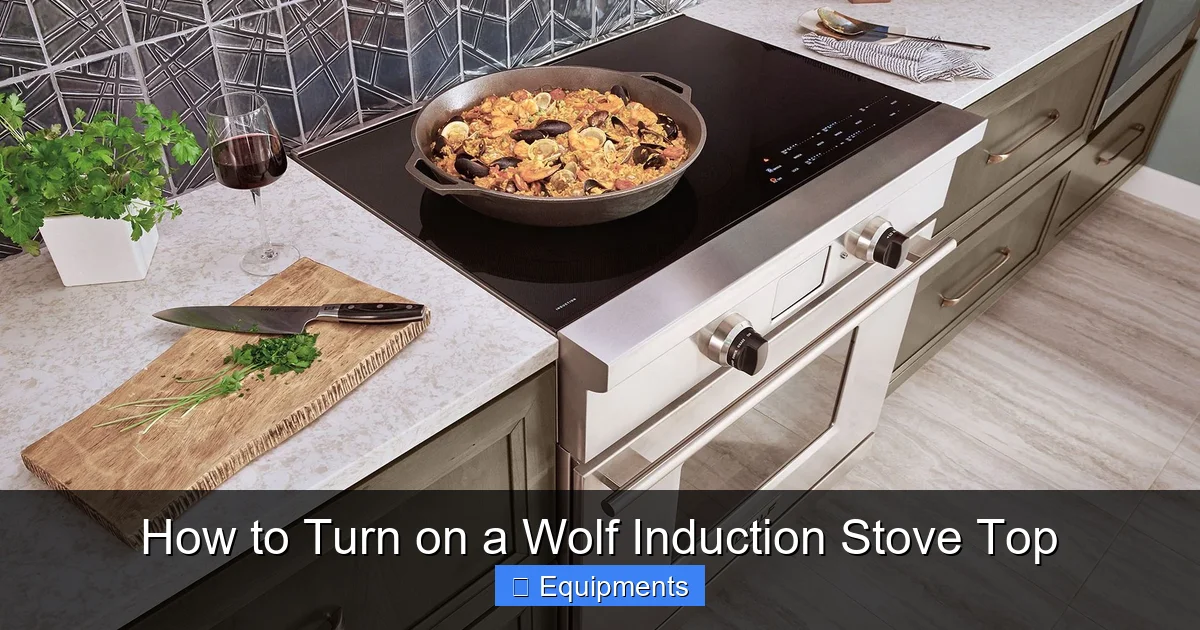
Visual guide about How to Turn on a Wolf Induction Stove Top
Image source: subzero-wolf.com
Step 1: Locate the Power Button
Examine the control panel directly in front of or beside the cooking zone you’ve placed your pan on. You are looking for a button with a universal power symbol—a circle with a vertical line through the top. On many Wolf models, this is a dedicated, tactile button separate from the +/- sliders or the central control knob. On models with a single central knob or a full touch-tile panel, the power function is often integrated; you might need to touch the zone’s icon on the digital display or press the center of the knob. Your user manual’s control panel diagram is indispensable here. Identify the specific control that initiates power for that individual zone.
Step 2: Press and HOLD
This is the most common point of failure for new users. You do not simply tap the power button. You must press it and continue holding it down. The duration is typically 1 to 2 full seconds. You should feel a slight tactile click (on models with physical buttons) and/or see a small indicator light (like an LED) illuminate next to the button. If you release too quickly, nothing will happen. Think of it like a “key of intent.” You are telling the cooktop, “I am committed to using this zone with this pan.” The hold action confirms the pan’s presence is intentional and not a fleeting metal object like a spoon.
Step 3: Observe the Display
As you hold the button, watch the small LCD or LED display associated with that cooking zone. After the 1-2 second hold, it should spring to life. It will typically flash a default power level (often “5” or “6” on a scale of 1-10) or show a series of dashes before settling. This illuminates confirms successful activation. The magnetic field is now active, and your pan is being heated. The display is your primary interface for setting the exact power level.
Step 4: Set Your Desired Heat Level
Now that the zone is on, you adjust the intensity. You will use the (+) and (-) touch sliders or buttons adjacent to the display. On models with a central rotary knob, turning the knob clockwise increases power, counter-clockwise decreases it. The numbers on the display will change accordingly. Wolf induction power levels are not linear degrees like an oven; they are precise, repeatable power settings. A “5” is a medium simmer, a “9” or “10” is a rapid boil. Get to know your cooktop’s “sweet spots”—often 3-4 for a gentle simmer, 6-7 for a steady simmer or gentle boil, and 8-10 for searing or bringing water to a rapid boil quickly.
Model-Specific Nuances: Series 2 Through 5
Wolf has evolved its control interface over the years. Knowing the general family your model belongs to helps tailor the instructions.
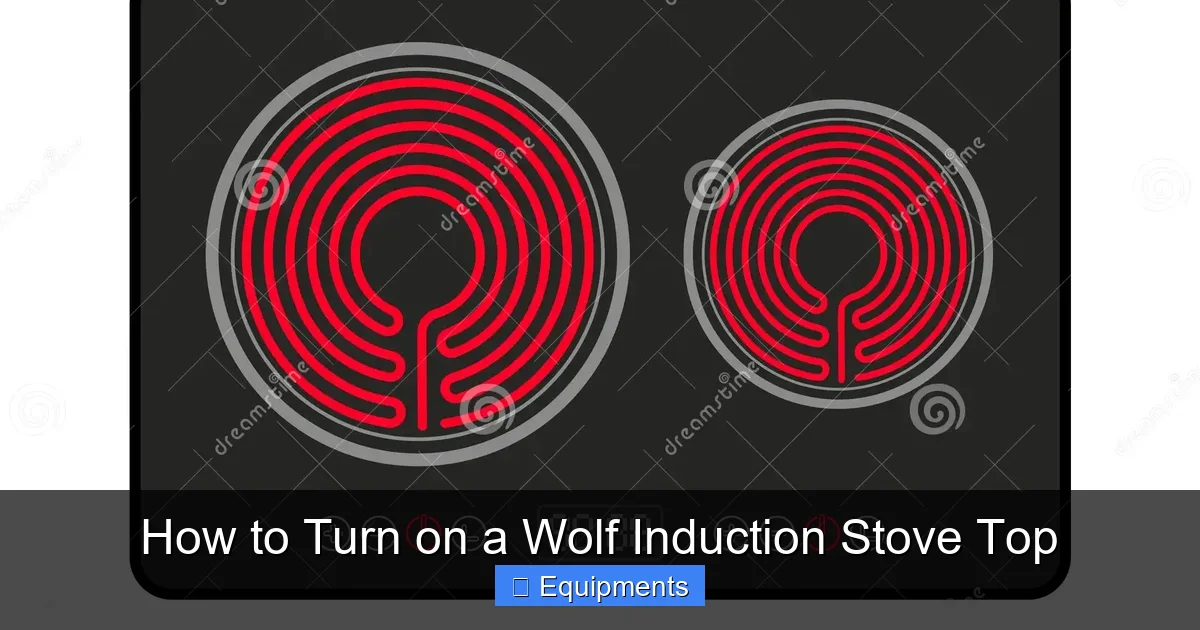
Visual guide about How to Turn on a Wolf Induction Stove Top
Image source: thumbs.dreamstime.com
Series 2 & 3 (Older Models with Dedicated Buttons)
These models typically feature a separate, physical power button for each zone, often located at the front edge of the cooktop. The button is distinct from the +/- sliders. The activation is a firm press-and-hold. The display is a simple 7-segment LED showing numbers 1-10. The “child lock” is usually activated by holding the “+” button for several seconds, indicated by a “CL” or lock symbol.
Series 4 & 5 (Modern Touch-Tile Panels)
These newer models often have a seamless glass surface with illuminated touch tiles. The power function is integrated. You touch the specific zone’s icon (which may show a pan symbol or the zone number) and hold it until the display activates. Sometimes, you first touch the zone to “select” it (a light may glow around the tile), then you use a central “+” or “-” button, or a central rotary knob, to both turn on and adjust. The displays are more graphical, sometimes showing a bar graph of power. A “bridge” function allows two zones to be combined for a long griddle or fish pan. To activate a bridged zone, you typically press and hold the power button on the left or right zone first, then the other.
Professional Ranges (L, M Series)
Wolf’s professional ranges often have more robust controls, sometimes with a dedicated knob per zone or a master control panel. The principle remains identical: pan on zone, press/hold the zone’s power control. These models may have additional features like a “Boost” function (a temporary maximum power setting) accessible via a dedicated button after activation. Always defer to the manual for these high-end models.
Troubleshooting: When It Won’t Turn On
You’ve placed your cast iron skillet. You’ve pressed and held the power button for a solid three seconds. The display remains dark. Don’t panic. Here is your systematic checklist.
Visual guide about How to Turn on a Wolf Induction Stove Top
Image source: wolf-appliance-repair-expert.com
1. The Pan Check (Most Common Issue)
- Is it truly magnetic? Use a fridge magnet. Does it stick strongly to the entire bottom surface? Some pans have a magnetic ring but a non-magnetic center, which can confuse sensors.
- Is it centered? The pan must be roughly centered over the cooking zone’s inductive coil. A small saucepan on a large 12-inch zone may not be detected if it’s off-center.
- Is it flat and clean? Warped pan bottoms or caked-on food residue can create an air gap, disrupting the magnetic field. Ensure the bottom is flat and clean.
- Is it the right size? Very small pans (e.g., a 4-inch butter melting pan) on a large 9-inch zone may fall below the sensor’s detection threshold. Use a pan size appropriate for the zone.
2. The Control Check
- Are you holding long enough? Time it. Hold for a full 2 seconds. Try pressing a bit more firmly if it’s a tactile button.
- Is the cooktop locked? Look for a key or lock icon on the display. Many models have a child lock that disables all controls. To unlock, you usually hold a specific combination (e.g., “+” and “-” together for 3 seconds, or a dedicated lock button). See your manual.
- Is there a power issue? Ensure the circuit breaker for the cooktop is in the “ON” position. Check that the cooktop is properly connected to its dedicated electrical circuit. No lights at all on the panel? This is an electrical supply issue, not a cookware one.
3. Decoding Error Codes
If the display shows something like “E1,” “F2,” or a flashing symbol, it’s telling you something. Do not ignore it. Common codes:
- E1 / Pan Symbol Flashing: Pan not detected. Re-check cookware and placement.
- E2 / Overheat: The cooktop’s internal temperature is too high. This can happen if a hot pan is left on an off zone, or if ventilation is blocked. Turn off the cooktop, let it cool completely, and ensure vents are clear.
- F Codes: Usually indicate a more serious internal fault requiring a service technician.
Write down the exact code and consult your manual’s troubleshooting section. A simple pan adjustment fixes 90% of “E1” errors.
Pro Tips and Best Practices
Once you’ve mastered the on-switch, elevate your experience with these insights.
The “Residual Heat” Indicator
After you turn a zone off, the cooktop may display an “H” or a hot surface symbol (often a triangle or exclamation point). This is not an error! It’s a critical safety warning that the cooktop surface is still hot from the pan’s residual heat. Do not touch it. The indicator will stay on until the surface cools to a safe temperature (usually below 140°F/60°C). This feature prevents accidental burns, a significant advantage over gas or electric coils that are invisible when hot.
Perfect Pan Placement
For optimal heating efficiency and even cooking, always center your pan. The induction energy is most concentrated directly over the coil. An off-center pan will heat unevenly, with one side hotter than the other. Use the etched ring on the glass surface (if your model has one) as a guide for centering.
Mastering the Power Levels
Learn the language of your cooktop’s numbers. Level 1-2: Melt chocolate, keep food warm. Level 3-4: Gentle simmer, delicate sauces. Level 5-6: Standard simmer, boiling potatoes. Level 7-8: Vigorous boil, searing meat. Level 9-10: Rapid boil, wok cooking, bringing large pots of water to a boil in record time. The response is instantaneous—no lag time to heat up the burner itself.
Using the Bridge Function
If you have a large griddle, fish poacher, or paella pan, you can bridge two adjacent zones. On compatible models, place your large pan so it spans both zones. Press and hold the power button on the left zone first, then press and hold the power button on the right zone. The displays will usually show a combined bridge symbol or the same power level across both zones. Adjust the power using the controls for either zone. This creates one large, unified heating surface.
Safety and Maintenance: The Long-Term Relationship
Your Wolf induction cooktop is an investment in performance and design. Treat it well, and it will serve you flawlessly for years.
Cleaning: Cool is the Rule
Never attempt to clean the cooktop while it is warm or hot. Residual heat can bake on spills and make them harder to remove. Wait for the surface to be completely cool to the touch. Use a soft cloth or non-abrasive sponge with a mild cooktop cleaner (Weiman, Cerama Bryte are good choices) or a solution of vinegar and water. For stubborn, melted-on sugar or plastic, use a single-edge razor blade held at a 45-degree angle to gently scrape it off while the surface is cool. Never use abrasive powders, steel wool, or oven cleaner, as they will scratch the glass-ceramic surface.
Ventilation is Non-Negotiable
Induction cooking is efficient, but it still produces steam, grease vapors, and heat. Your Wolf cooktop must be installed over a properly sized and functioning vent hood. The downdraft vents on some models are not designed to handle all the steam and grease from high-heat searing or boiling pots. A good range hood exhausted to the outside is essential for kitchen air quality and to prevent grease buildup on your cooktop and surrounding cabinetry.
Cookware Care
Use flat-bottomed pans. Warped pans will not make proper contact, leading to inefficient cooking, uneven heating, and potential error codes. Avoid dragging empty pans across the glass surface, as this can cause micro-scratches. Lift and place instead. Hand-wash cast iron and carbon steel to prevent rust, and ensure they are thoroughly dried before storing on the cooktop.
Conclusion: Confidence Through Understanding
Turning on your Wolf induction stove top is less about a secret trick and more about embracing its intelligent design. The “press and hold” ritual with a proper pan is the fundamental handshake between you and this sophisticated appliance. Once you internalize that the cooktop is a tool that requires a key (the pan) to start, the mystery vanishes. You gain precise, immediate control over heat that is both powerful and efficient. The silent, cool-to-the-touch surface is no longer intimidating but a feature—a clean, modern workspace where the only heat is exactly where you want it: in your food. By following the steps in this guide, performing the simple magnet test for your cookware, and understanding the basic troubleshooting for those rare moments of confusion, you unlock the full potential of your Wolf induction cooktop. You move from user to maestro, commanding heat with a touch and enjoying the unparalleled performance and sleek beauty that makes Wolf a leader in professional-grade home kitchens. Now, go place that pan, press and hold, and sear the perfect steak or simmer the most delicate sauce. You’ve got this.
Frequently Asked Questions
Why won’t my Wolf induction cooktop turn on even with a pan on it?
First, perform the magnet test to confirm your pan is truly ferromagnetic. Second, ensure the pan is centered and flat-bottomed on the zone. Third, check if the child lock is activated (look for a lock icon). Finally, verify the circuit breaker is on. If all else fails, note any error code on the display and consult your manual.
What does the “H” or hot surface symbol mean after I turn the cooktop off?
This is a safety warning, not an error. It means the cooktop surface is still hot from residual heat transferred from your pan. Do not touch the surface or place anything heat-sensitive on it until the symbol disappears, indicating the surface has cooled to a safe temperature.
Can I use my old stainless steel pots on an induction cooktop?
It depends. Some stainless steel is magnetic (usually indicated by a 430 stainless steel base or “magnetic stainless steel”) and will work. Other types, like 18/10 stainless, are not magnetic and will not work. The only sure way is to test the bottom with a refrigerator magnet.
What should I do if my cooktop displays an error code like “E1”?
An “E1” or similar code typically indicates a pan detection error. Remove the pan, ensure it is compatible and centered, then place it back and try reactivating the zone. If the code persists, there may be an issue with the cooktop’s sensor, and you should contact Wolf customer service or a certified technician.
Is it normal for the cooktop to make a faint humming or buzzing sound?
Yes, a very faint, high-frequency hum or buzz is normal during operation, especially at higher power levels. This is the sound of the electromagnetic field at work. The sound level can vary depending on the cookware (thin-bottomed pans may hum more than heavy clad or cast iron). If the sound is loud, rattling, or accompanied by error codes, discontinue use and contact a technician.
How do I unlock the child lock on my Wolf induction cooktop?
The method varies by model series. Common methods include: pressing and holding the “+” button for 3-5 seconds, or pressing and holding a dedicated lock icon button. Some models require pressing “+” and “-” simultaneously. The display will usually show “CL” or a lock symbol when engaged and will disappear or show “un” when successfully disabled. Always refer to your specific model’s manual for the exact procedure.
