Want to make sure your Instant Pot is safe and cooking perfectly? This guide walks you through simple visual checks, seal tests, pressure checks, and real‑world cooking trials. Follow each step, catch problems early, and enjoy reliable, delicious meals every time.
Key Takeaways
- Visual inspection: Spotting dents, rust, or broken parts prevents bigger failures.
- Seal & gasket test: Ensures the pressure cooker locks in steam for consistent results.
- Pressure release function: Verifies the safety valve works before every use.
- Electrical safety check: Detects faulty cords or outlets that could cause shocks.
- Performance cooking test: Uses a simple rice or water test to confirm temperature and pressure accuracy.
- Regular maintenance: Cleaning the inner pot, lid, and accessories extends the life of your Instant Pot.
- When to replace parts: Knowing the signs of wear helps you decide between repair and replacement.
📑 Table of Contents
- Introduction: Why Testing Your Instant Pot Matters
- 1. Visual Inspection – The First Line of Defense
- 2. Gasket and Seal Test – Keeping the Pressure In
- 3. Pressure Release Valve Check – Safety First
- 4. Electrical Safety Test – Power Without Panic
- 5. Performance Cooking Test – Does It Cook Right?
- 6. Routine Maintenance – Keep Your Instant Pot Happy
- Conclusion: Confidence in Every Dish
Introduction: Why Testing Your Instant Pot Matters
Instant Pots have become kitchen staples because they combine pressure cooking, slow cooking, sautéing, and more in one sleek appliance. But like any piece of equipment, they can develop problems over time. A leaky gasket, a faulty pressure valve, or a frayed power cord can turn a convenient meal‑maker into a safety hazard.
Testing your Instant Pot isn’t about finding excuses to avoid cooking; it’s about confidence. When you know the device is sealed, the pressure builds correctly, and the electronics work, you can focus on flavor, not fear. The good news? Most tests take only a few minutes and require nothing more than the tools you already have at home.
1. Visual Inspection – The First Line of Defense
Check the outer body for dents and scratches
Start by unplugging the unit and giving it a quick once‑over. Look for any dents, cracks, or corrosion on the metal housing. Even small dents near the pressure release valve can affect how steam escapes, leading to inaccurate pressure.
Visual guide about How to Test Instant Pot
Image source: pressurecookrecipes.com
Inspect the inner pot
The stainless‑steel inner pot should be smooth, free of warping, and without deep scratches. Warped bottoms can cause uneven heating, while deep scratches may trap food and promote bacterial growth.
Examine the power cord and plug
Pull the cord gently; it should feel firm, not frayed. The plug’s prongs must be straight and clean. If you notice any exposed wires or a loose connection, replace the cord before using the pot again.
Look at the lid and locking mechanisms
The lid’s locking arms must move freely and click securely into place. Any wobble or resistance could indicate a broken latch, which compromises the seal.
2. Gasket and Seal Test – Keeping the Pressure In
Remove and examine the silicone gasket
Turn the lid upside down and gently pull the silicone sealing ring out. Look for tears, discoloration, or food particles embedded in the material. A compromised gasket loses its airtight seal, causing pressure leaks.
Visual guide about How to Test Instant Pot
Image source: pressurecookrecipes.com
Clean or replace the gasket
If the gasket is dirty, soak it in warm, soapy water for 10 minutes, then rinse and dry thoroughly. Replace it if you see cracks, hardened edges, or a strong odor that won’t wash away.
Seal test with water
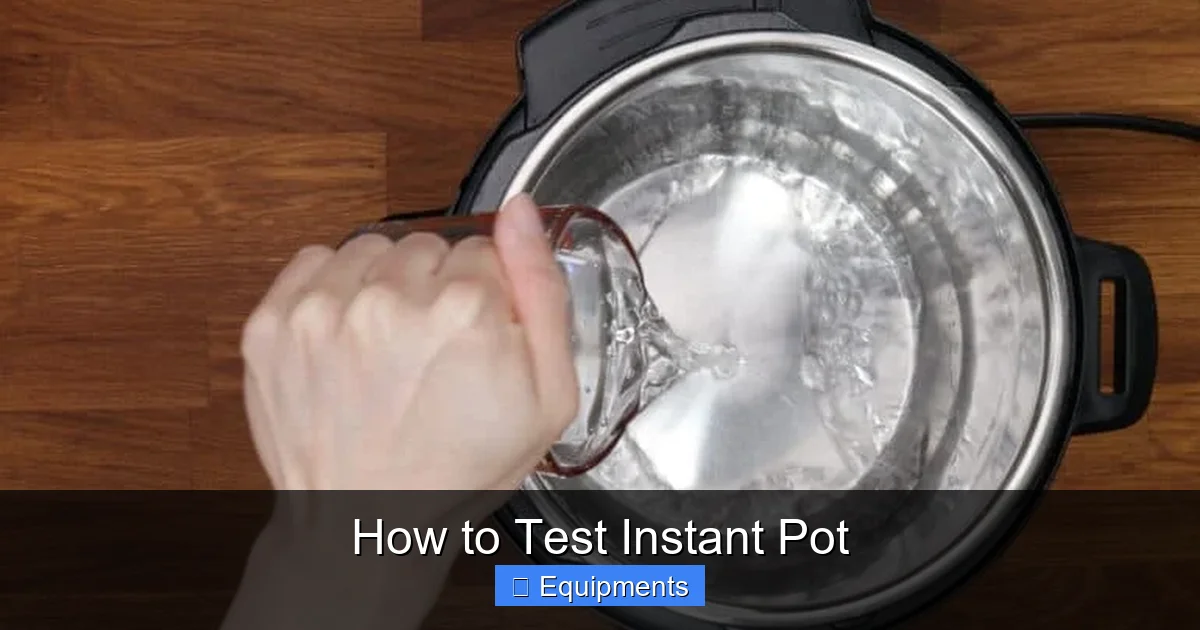
Place a cup of water inside the inner pot, re‑attach the lid, and lock it. Set the Instant Pot to “Steam” for 5 minutes. When the timer ends, carefully open the lid using the quick‑release valve. If you hear a strong hiss of steam escaping, the seal is working. Little to no hiss may mean the gasket isn’t sealing properly.
3. Pressure Release Valve Check – Safety First
Locate the pressure release (steam) valve
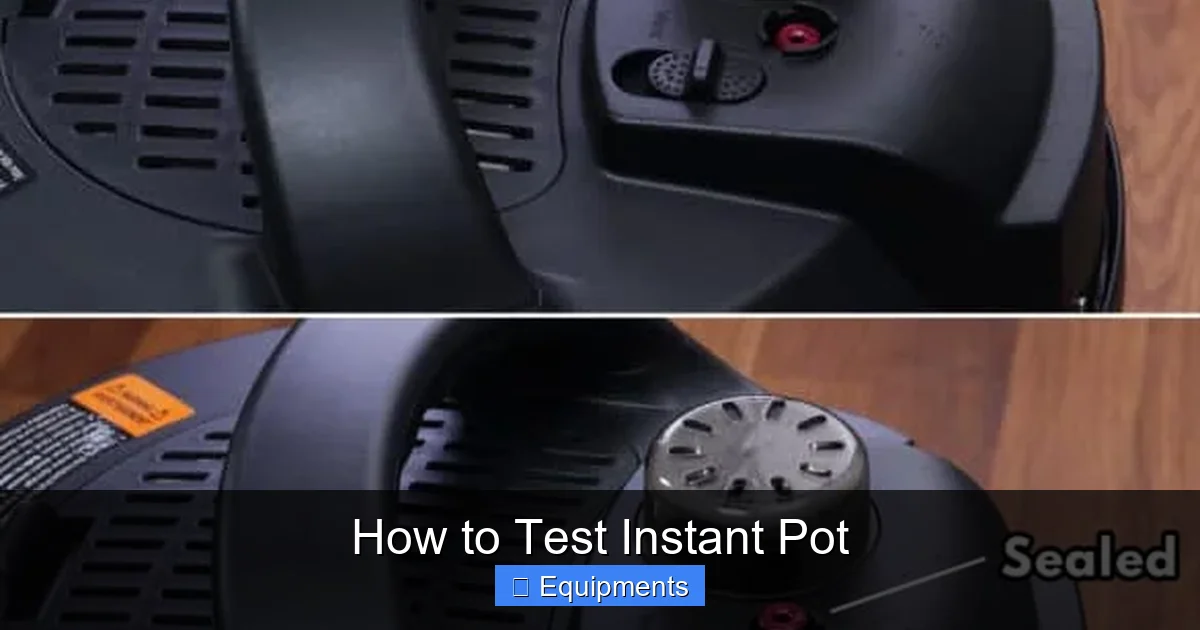
The valve is usually a small metal knob on the lid. It must move freely between the “Sealing” and “Venting” positions.

Visual guide about How to Test Instant Pot
Image source: instantpoteats.com
Test the valve’s movement
With the pot empty and unplugged, turn the valve to “Venting.” You should feel a slight resistance, then a smooth click as it opens. Return it to “Sealing” and feel the same resistance. If it sticks or feels loose, clean any food debris or replace the valve assembly.
Steam test for proper venting
Fill the pot with 2 cups of water, lock the lid, and set to “Manual” high pressure for 2 minutes. After the timer, switch the valve to “Venting” and listen. A steady, audible release of steam indicates the valve is functioning correctly.
4. Electrical Safety Test – Power Without Panic
Use a multimeter (optional)
If you have a multimeter, set it to the continuity setting. Plug the Instant Pot into a grounded outlet, then test the power cord’s pins for continuity. No continuity means a broken wire inside the cord.
Simple outlet test
Plug the Instant Pot into a known‑good outlet and turn it on. The display should light up within a second. If the unit doesn’t respond, try a different outlet. Persistent issues point to a faulty internal power board.
Check for overheating
Run the “Sauté” function for 1 minute with the pot empty. Feel the exterior; it should stay warm, not hot to the touch. Excess heat may indicate a malfunctioning thermostat.
5. Performance Cooking Test – Does It Cook Right?
Rice test (the classic)
Rinse 1 cup of white rice and add 1.25 cups of water to the inner pot. Lock the lid, set to “Rice” mode, and let the cycle finish. When the pot beeps, open it and check the rice texture. Perfectly cooked rice means the temperature and pressure are accurate.
Water boil test for pressure accuracy
Place 2 cups of water in the pot, lock the lid, and select “Manual” high pressure for 5 minutes. After the cycle, use a food‑grade thermometer to measure the water temperature. It should read around 240°F (115°C). A significant deviation suggests the pressure sensor may need calibration.
Quick‑release vs. natural‑release comparison
Repeat the water boil test, but this time let the pot release pressure naturally for 10 minutes. Compare the steam output and temperature. Consistent results confirm the release mechanisms are working together properly.
6. Routine Maintenance – Keep Your Instant Pot Happy
Cleaning the inner pot and lid
After each use, wash the inner pot with mild detergent and a non‑abrasive sponge. The lid’s silicone ring can be hand‑washed or placed in the dishwasher (top rack only). Dry all parts completely before re‑assembly.
Descaling the heating element
Every 3–4 months, fill the pot with 1 cup of white vinegar and 2 cups of water. Run a “Steam” cycle for 10 minutes, then let it sit for another 10 minutes. Rinse thoroughly. This removes mineral buildup that can affect heating efficiency.
Replacing the gasket and valve
Most manufacturers sell replacement gaskets and valves as part of a “maintenance kit.” Keep a spare gasket on hand; they’re inexpensive and replaceable in under five minutes.
Conclusion: Confidence in Every Dish
Testing your Instant Pot doesn’t have to be a chore. A quick visual check, a seal test, a pressure valve check, and a simple cooking trial can reveal most issues before they become safety hazards or ruined meals. By incorporating these steps into your regular kitchen routine, you’ll extend the life of your appliance and keep your meals predictable, delicious, and safe.
Remember, the goal isn’t to become a technician; it’s to gain peace of mind. When you hear that satisfying hiss of steam, see the perfectly cooked rice, and know the power cord is solid, you can focus on what really matters—experimenting with new recipes and sharing good food with friends and family.
Frequently Asked Questions
How often should I test the seal on my Instant Pot?
Perform a quick seal test with water every month, or anytime you notice steam escaping during cooking.
Can I use any silicone gasket as a replacement?
It’s best to use the manufacturer‑approved gasket for your specific model to ensure proper fit and safety.
What does it mean if the pressure release valve sticks?
A sticking valve usually means food residue is blocking it. Clean it with a soft brush and warm, soapy water, then test again.
Is it safe to run a pressure test with the pot empty?
No. Running pressure cycles with no liquid can overheat the heating element and damage the unit. Always add at least 1 cup of water.
My Instant Pot won’t turn on—what should I check first?
Verify that the outlet works, the power cord is undamaged, and the lid is properly locked. If it still won’t power up, the internal fuse may need replacement.
When is it time to replace the entire Instant Pot?
If multiple components—gasket, valve, power cord—are failing, or if the unit shows signs of rust or severe wear, replacing it is often more cost‑effective than repeated repairs.
Pingback: Scoville Test - kitchenandhouseware.com