Properly storing your snickerdoodles is the secret to enjoying their signature soft, chewy texture and crackly cinnamon-sugar topping for days. The golden rule is an airtight container at room temperature, but for longer storage, freezing is your best friend. Avoid the fridge, as it will make them stale and tough. With these simple techniques, you can savor homemade snickerdoodles just as much as the day they were baked.
Key Takeaways
- Use an Airtight Container: This is non-negotiable for preventing air from drying out the cookies and making the sugar coating stale.
- Room Temperature is Best for Short-Term: Store in a cool, dark pantry for up to 5 days for optimal texture and flavor.
- Freeze for Long-Term Freshness: Snickerdoodles freeze exceptionally well for up to 3 months with proper packaging.
- Never Refrigerate: The cold, humid air of the refrigerator will turn your soft cookies hard and tough within hours.
- Separate Layers with Parchment: Always place parchment paper between cookie layers to prevent sticking and protect the delicate sugar coating.
- Revive Stale Cookies: A quick 3-5 minute zap in a 300°F oven or a slice of fresh bread in the container can restore softness.
- Store Fully Cooled: Ensure cookies are completely cool before storing to prevent condensation, which creates sogginess.
📑 Table of Contents
- The Sweet Challenge of Storing Snickerdoodles
- The #1 Rule: Airtight is Everything
- Room Temperature Storage: For Immediate Gratification (5 Days)
- The Freezing Solution: For Long-Term Love (Up to 3 Months)
- The Refrigerator: A Snickerdoodle’s Worst Nightmare
- Moisture Management: The Secret to Perfect Texture
- Reviving and Serving: The Final Act
- Conclusion: Cookie Storage Confidence
The Sweet Challenge of Storing Snickerdoodles
There’s something magical about a perfect snickerdoodle. That tender, buttery interior, the delightful crackly top from the cinnamon-sugar coating, and that subtle tang from the cream of tartar. Baking a batch is a joy, but the real question comes once the last one is plucked from the sheet: how on earth do you store snickerdoodles so they stay just as incredible tomorrow, and the next day, and maybe even a week later? Unlike some crisp, delicate cookies, snickerdoodles have a unique texture profile—soft, chewy, and slightly cakey—that makes them both wonderfully rewarding and a bit finicky to preserve. The enemy is air. Air steals moisture, hardens the sugar, and turns your labor of love into a sad, crumbly memory. But fear not! With a few science-backed strategies and some simple kitchen habits, you can become a master of snickerdoodle storage. This guide will walk you through every method, from the everyday to the long-term, ensuring your cookie jar always holds happiness.
The #1 Rule: Airtight is Everything
Before we dive into specific locations, we must establish the foundational principle of storing any soft cookie, especially our beloved snickerdoodles: airtight containment is absolutely critical. The soft, chewy texture you love comes from retained moisture. Airflow is a moisture-thief. It slowly evaporates the water and fats from the cookie’s crumb, leading to a dry, hard, and unappealing bite. Furthermore, that beautiful cinnamon-sugar coating is hygroscopic, meaning it loves to absorb moisture from the air. Without protection, it turns from a sparkling, flavorful crust into a damp, clumpy, and sticky mess.

Visual guide about How to Store Snickerdoodles
Image source: storables.com
Choosing Your Airtight Vessel
Not all containers are created equal. Here’s a breakdown of your best options:
- Glass or Plastic Cookie Jars with Rubber Seals: These are the classic champions. The rubber gasket creates a true vacuum seal when closed, blocking nearly all air. Look for jars with a clamp-lock mechanism for an extra-secure seal.
- Heavy-Duty Plastic Food Storage Containers: Brands like Snapware or Rubbermaid with locking lids and silicone seals work brilliantly. Ensure the lid fits snugly without warping.
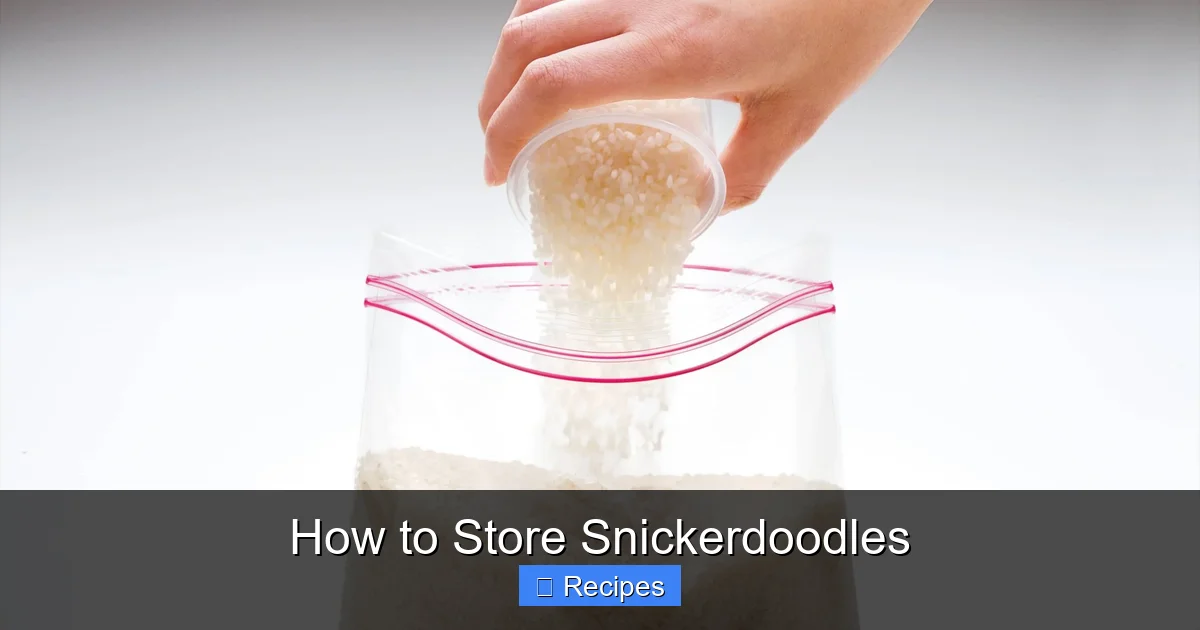
- Resealable Freezer Bags (for freezing):strong> For freezer storage, high-quality, heavy-duty freezer bags are ideal. Squeeze out as much air as possible before sealing.
- What to Avoid: Tins with loose lids, decorative jars without seals, and any container where you can see or feel air gaps. Bread boxes are also a no-go; they are designed for airflow to keep bread from getting soggy, which is the opposite of what your snickerdoodles need.
Room Temperature Storage: For Immediate Gratification (5 Days)
For the vast majority of us who bake a batch to enjoy over the next few days, room temperature storage in an airtight container is the undisputed champion. This method preserves the perfect balance of soft interior and slightly crisp top that defines a great snickerdoodle.
Visual guide about How to Store Snickerdoodles
Image source: storables.com
The Step-by-Step Process
- Cool Completely: This is the most important first step. Let the cookies sit on the baking sheet for 5 minutes after coming out of the oven, then transfer them to a wire cooling rack. They must be completely cool to the touch, all the way through to the center. Any residual warmth will create steam inside the container, which condenses into water droplets and makes the cookies soggy. Patience is key!
- Prepare the Container: Line the bottom of your clean, dry airtight container with a sheet of parchment paper.
- Layer with Care: Place a single layer of cooled snickerdoodles in the container, ensuring they don’t touch. If your container is large, you can create multiple layers, but you must separate each layer with a sheet of parchment paper. This prevents the delicate cinnamon-sugar topping from being scraped off onto the cookie below and stops them from sticking together.
- Seal and Store: Once filled, close the lid tightly. Store the container in a cool, dark place away from direct sunlight, the stove, or any heat source. A pantry cupboard is perfect. Avoid the counter if it gets warm.
Expected Shelf Life and Texture
Stored this way, your snickerdoodles will maintain their peak texture and flavor for 3 to 5 days. The first 2-3 days will be sublime. By day 4 or 5, you may notice they are slightly less pillowy and the sugar coating is a touch less vibrant, but they will still be delicious. The container’s seal is working against the slow, inevitable pull of ambient air. This method is perfect for a family treat that will disappear quickly.
The Freezing Solution: For Long-Term Love (Up to 3 Months)
Discovered you have a surplus? Or baked ahead for the holidays? Freezing is the ultimate preservation technique for snickerdoodles. When done correctly, frozen snickerdoodles thaw with a texture and taste nearly indistinguishable from fresh-baked. The rapid temperature drop essentially pauses all the staling processes.
Visual guide about How to Store Snickerdoodles
Image source: storables.com
Flash Freezing: The Essential First Step
You cannot just toss a warm cookie into a bag and freeze it. That creates a solid block of cookies and ice crystals. You must flash freeze them first.
- Cool Completely: As with room temp storage, this is step zero. No exceptions.
- Prepare a Baking Sheet: Line a baking sheet with parchment paper.
- Arrange in a Single Layer: Place the cooled cookies on the sheet, ensuring they are not touching. Give them space.
- Freeze Solid: Place the tray in the freezer for 1-2 hours, or until the cookies are rock hard. This process freezes them individually, so they won’t stick to each other later.
Packaging for the Deep Freeze
Once flash-frozen, you need to package them to protect against freezer burn—that dry, tough, off-tasting layer that forms when food is exposed to air in the freezer.
- Method 1: Freezer Bags: Gently pack the frozen cookies into a heavy-duty freezer bag. Press out all the air you can before sealing. For extra protection, you can double-bag them.
- Method 2: Airtight Containers: Place the flash-frozen cookies into an airtight container, again using parchment paper between layers if you are stacking them. Fill the container as much as possible to minimize air space.
- Label and Date: Use a permanent marker to note the contents and date. Snickerdoodles are best used within 2-3 months for peak quality, though they will be safe indefinitely from a food safety perspective.
How to Thaw Frozen Snickerdoodles
The key to perfect thawing is slowness and avoiding condensation. Do not thaw on the counter. Instead, transfer the desired number of cookies (still in their bag or container) to the refrigerator and let them thaw overnight. This slow process allows them to come to temperature without generating moisture. For a just-baked experience, you can also reheat thawed cookies in a 300°F oven for 3-5 minutes. This revives the soft interior and re-crisps the top beautifully.
The Refrigerator: A Snickerdoodle’s Worst Nightmare
Let’s address the common misconception: putting cookies in the fridge to keep them fresh. This is the single worst thing you can do for snickerdoodles. Refrigerators are cold and humid environments. The cold temperature causes the starch molecules in the cookie to recrystallize (staling) much faster. The humidity is absorbed by the sugar coating, making it sticky and wet, and is drawn from the cookie itself, drying it out from the inside. The result? A cookie that is simultaneously tough, crumbly, and has a soggy, unpleasant top. It’s a lose-lose scenario. The refrigerator is for items that need to be kept cold to be safe, like dairy or raw eggs. Your baked, low-moisture snickerdoodles do not belong there. Keep them out of the cold, in the airtight container, on the counter or in the freezer.
Moisture Management: The Secret to Perfect Texture
Beyond just sealing out air, managing moisture is a nuanced part of cookie storage. Sometimes, even in an airtight container, cookies can interact with their environment.
The Bread Trick (A Last-Rescue Hack)
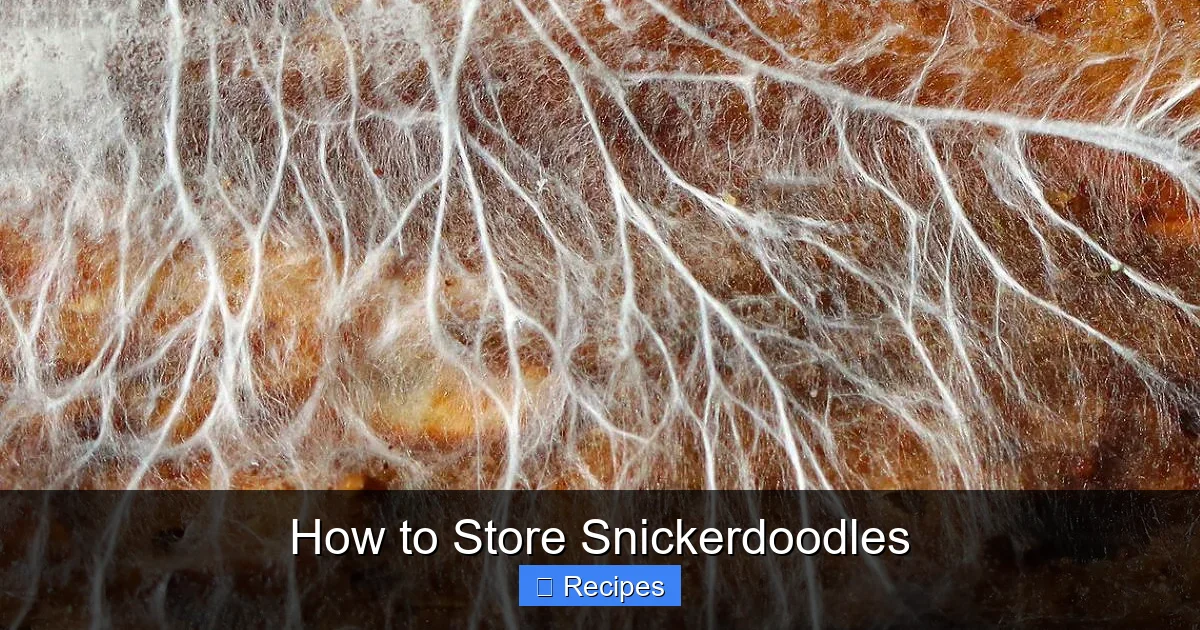
If your snickerdoodles have already started to dry out slightly (perhaps from a less-than-perfect seal), all is not lost! Place a single slice of fresh white bread in the airtight container with the cookies. Seal it tightly. Over the next 2-4 hours, the bread will release its moisture into the closed environment, and the cookies will gently reabsorb some of it, regaining a softer texture. Remove the bread slice after this period, as leaving it in too long can cause the cookies to become overly moist or even moldy. This trick works because the cookie and bread moisture levels seek equilibrium.
Handling Humidity in Your Kitchen
If you live in a very humid climate, your counter is a moist place. Always store your cookie container in a cupboard or pantry, not on the open counter where it’s exposed to daily humidity fluctuations. The container’s seal is your primary defense, but starting in a stable environment helps.
Reviving and Serving: The Final Act
Even with perfect storage, cookies are at their absolute best when they have a hint of warmth. Here’s how to bring your stored snickerdoodles back to life for serving.
The Oven Revival Method
This is the gold standard. Preheat your oven to 300°F (150°C). Place the cookies on a baking sheet, leaving space between them. Heat for just 3-5 minutes. This gentle heat does three things: it melts and re-distributes the fats, it softens the crumb, and it re-crisps the cinnamon-sugar topping. Watch them closely! You want them warm and soft, not baked further. Let them cool for a minute on the sheet—they will be fragile when hot—and then enjoy.
The Microwave Method (Use with Caution)
The microwave can work in a pinch, but it’s risky. It heats unevenly and can make the cookie rubbery or melt the sugar into a gooey mess. If you must, place a single cookie on a microwave-safe plate and heat for 5-8 seconds only. Check it. The goal is just to take the chill off, not to cook it. This method is best for when you want one warm cookie immediately and don’t mind a slightly compromised texture.
Serving Temperature Matters
Snickerdoodles are a fantastic room-temperature cookie, but they are transcendent when gently warmed. The heat intensifies the buttery flavor and makes the texture melt-in-your-mouth. Always aim to serve them within 15 minutes of their revival heat for the ultimate experience.
Conclusion: Cookie Storage Confidence
Storing snickerdoodles doesn’t require fancy equipment, just a clear understanding of what hurts them (air, humidity, cold) and what helps them (sealed containers, controlled temperatures). By committing to the airtight container for short-term joy and embracing the flash-freeze method for long-term preservation, you ensure that every single cookie from your batch delivers that signature soft, chewy, cinnamon-sugar bliss. You’ve already done the hard work of baking them. Now, with these simple steps, you can protect your delicious investment and make the joy of a homemade snickerdoodle last. So bake with abandon, store with confidence, and enjoy every last crackly, tender bite.
Frequently Asked Questions
Can I store snickerdoodles in a cookie tin without a seal?
No, traditional cookie tins are not airtight. They will allow air to circulate, which will dry out the cookies and make the sugar coating stale within a day or two. For best results, always use a container with a tight-sealing lid.
Is it okay to stack snickerdookies directly on top of each other?
It’s not recommended. The weight of the top cookie will press into the one below, potentially sticking and damaging the delicate cinnamon-sugar topping. Always use a sheet of parchment paper between layers to create a barrier and protect the surface.
How long do snickerdoodles last in an airtight container on the counter?
When stored properly in a cool, dark pantry in a truly airtight container, snickerdoodles will stay soft, fresh, and delicious for 3 to 5 days. Their quality will slowly decline after that as they gradually lose moisture to the minimal air trapped inside.
Do snickerdoodles with nuts or chocolate chips store differently?
Not significantly. The core storage principles remain the same: airtight, cool, and dry. However, cookies with mix-ins like nuts might have a slightly different moisture content. The same rules against refrigeration and for parchment paper between layers apply. Freezing is still an excellent option for any variation.
My snickerdoodles are already a little stale. Can I fix them?
Yes! The bread trick can often revive slightly stale cookies. Place a fresh slice of white bread in the airtight container with the cookies for 2-4 hours. The cookies will absorb moisture from the bread. For a more reliable fix, briefly reheat them in a 300°F oven for 3-5 minutes, which can restore both softness and crispness.
Can I freeze the cookie dough instead of the baked cookies?
Absolutely! Freezing the dough is a fantastic option. Scoop the dough balls, roll them in the cinnamon-sugar mixture, and flash-freeze them on a baking sheet. Once solid, transfer the dough balls to a freezer bag. You can bake them straight from the freezer, adding 1-2 extra minutes to the bake time. This yields cookies that taste freshly baked every time.