To keep carrot greens crisp and fresh, refrigerate them in a sealed bag with a damp paper towel. Ensure they are completely dry before storing to prevent mold, and enjoy them within a week for peak taste.
Key Takeaways
- Refrigerate promptly: Place carrot greens in the crisper drawer for up to one week of freshness.
- Maintain moisture: Wrap leaves in a damp paper towel before storing to prevent wilting.
- Ensure ventilation: Use a perforated bag to allow airflow and reduce sogginess.
- Separate from roots: Detach greens from carrots to avoid moisture transfer and decay.
- Use airtight containers: Seal greens in containers for short-term crispness retention.
- Consider long-term methods: Freeze or dehydrate excess greens for extended use.
- Monitor for spoilage: Inspect daily and discard any yellowing or slimy leaves immediately.
📑 Table of Contents
- From Trash to Treasure: Why Learning to Store Carrot Greens Changes Everything
- Understanding Your Ingredient: What Exactly Are Carrot Greens?
- The Golden Rule: Immediate Action After Purchase or Harvest
- Short-Term Storage Solutions: For Use Within 2-4 Days
- Long-Term Storage: Preserving Your Greens for Weeks or Months
- Creative & Delicious Ways to Use Your Stored Carrot Greens
- Troubleshooting Guide: When Storage Goes Wrong
- Conclusion: Embracing the Whole Vegetable
From Trash to Treasure: Why Learning to Store Carrot Greens Changes Everything
Let’s be honest. How many times have you brought home a beautiful bunch of carrots, eagerly twisted off the green tops, and tossed them straight into the compost or trash without a second thought? I used to do this all the time. For years, I viewed those lacy, vibrant greens as nothing more than a nuisance—a protective layer for the root that had to be removed to access the sweet, crunchy vegetable inside. It felt like the right thing to do; after all, most grocery store signage doesn’t exactly champion the carrot top.
Then, one summer, I joined a community-supported agriculture (CSA) box. The first delivery arrived with full, muddy carrots still proudly wearing their leafy crowns. My initial reaction was mild panic. Now I have to deal with all this extra green stuff? But a quick online search opened my eyes to a whole new world. Those so-called “greens” are not just edible; they’re nutritional powerhouses, packed with vitamins A, C, and K, chlorophyll, and potassium. They have a unique, earthy, slightly bitter flavor—some say reminiscent of parsley and arugula—that can transform a simple dish. The only problem? They wilt. And they wilt fast. This discovery launched my personal mission to master the art of how to store carrot greens properly. Because what’s the point of rescuing them from the bin if they just end up a slimy mess in your fridge drawer a day later?
This guide is everything I wish I had back then. We’re going beyond the basic “wrap in a towel” tip. We’ll explore the science behind why they deteriorate, dive into multiple storage methods for different timeframes, troubleshoot common problems, and finally, give those beautiful greens the respect they deserve with delicious ways to use them. Consider this your ultimate handbook for turning a potential food waste problem into a culinary opportunity. Let’s stop throwing away flavor and nutrition, one carrot top at a time.
Understanding Your Ingredient: What Exactly Are Carrot Greens?
Before we talk storage, we need to understand what we’re dealing with. Carrot greens, also called carrot tops or fronds, are the feathery, above-ground foliage of the Daucus carota plant. They are not just random leaves; they are the photosynthetic engine of the plant, responsible for converting sunlight into energy to feed the growing root below. This biological fact is key to understanding their storage needs and culinary character.
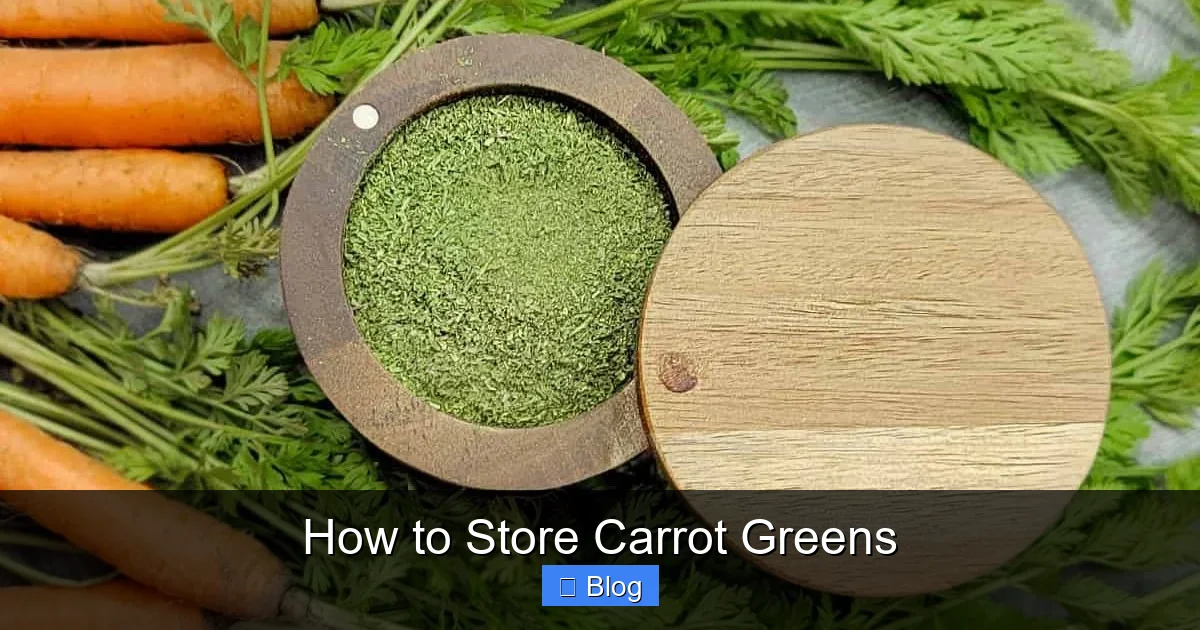
Visual guide about How to Store Carrot Greens
Image source: storables.com
The Biology of Bitterness and Moisture
That distinct, sometimes sharp bitterness you might taste in carrot greens isn’t a flaw—it’s a defense mechanism. The plant produces compounds called falcarinol and falcarindiol to deter pests. These same compounds are being studied for their potential anti-inflammatory and anti-cancer properties, so that bitterness is actually a sign of beneficial phytonutrients. However, improper storage can exaggerate this bitterness and introduce unpleasant, acrid notes as the greens break down.
Moisture is the biggest enemy. The delicate, lace-like structure of the leaves has a incredibly high surface area, making them prone to rapid moisture loss (wilting) and, conversely, to trapping excess moisture which leads to sliminess and mold. The goal of any storage method is to manage this moisture balance—keeping the greens hydrated enough to stay crisp but dry enough to prevent microbial growth.
Varieties Matter: Not All Greens Are Created Equal
You might notice that some carrot tops are darker green and more robust, while others are lighter and almost fern-like. This often depends on the carrot variety. Deeply colored carrots, like purple or red varieties, sometimes have slightly more robust, sometimes even reddish-tinged stems. Standard orange carrot tops are typically a bright, grassy green. The storage principles remain the same, but you might find the sturdier stems hold up a day or two longer in certain methods.
The Golden Rule: Immediate Action After Purchase or Harvest
The moment you bring your carrots home—whether from the store, farmers market, or your garden—is the most critical window for ensuring your greens stay fresh. What you do in the first 10 minutes can add or subtract several days from their usable life. Rushing to put everything in the fridge without a moment’s thought is the number one mistake.
Visual guide about How to Store Carrot Greens
Image source: tastingtable.com
Step 1: The Gentle Separation
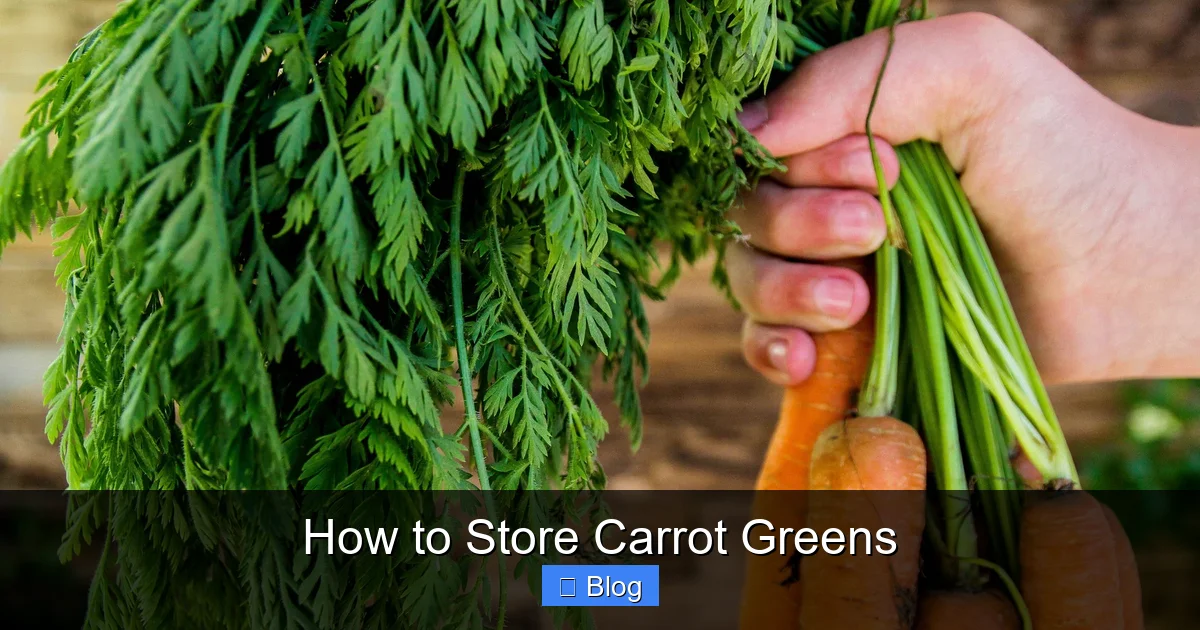
If your carrots still have their tops attached, you have a choice to make. You can store them together or separate them. For maximum longevity of both the root and the greens, separation is best. The greens will continue to draw moisture and nutrients from the root, causing the carrot to become limp and the greens to become overly moist and soggy. To separate, use a sharp knife to cut the stems off about ½ inch from the crown of the carrot. Don’t just twist; a clean cut prevents damage and potential rot entry points.
Step 2: The Essential “First Aid” Treatment
Whether you separate them or not, your greens need a quick refresh. Fill a large bowl with ice water. Gently submerge the carrot greens, swishing them lightly to dislodge any dirt or tiny insects. Let them soak for 5-10 minutes. This does two things: it hydrates any slightly wilted leaves and gives you a chance to inspect them. Remove any yellowed, damaged, or slimy leaves now. This small step prevents one bad leaf from spoiling the whole bunch later. After their ice bath, give them a gentle shake and spin in a salad spinner to remove excess surface water. They should be damp, not dripping wet.
Short-Term Storage Solutions: For Use Within 2-4 Days
Now that your greens are prepped, let’s get them into the fridge. For immediate use within the next few days, you have two excellent, low-effort options. The key is to balance humidity with airflow.
Visual guide about How to Store Carrot Greens
Image source: minnetonkaorchards.com
The Towel Method: The Classic, Reliable Approach
This is the most common and consistently effective method for most people.
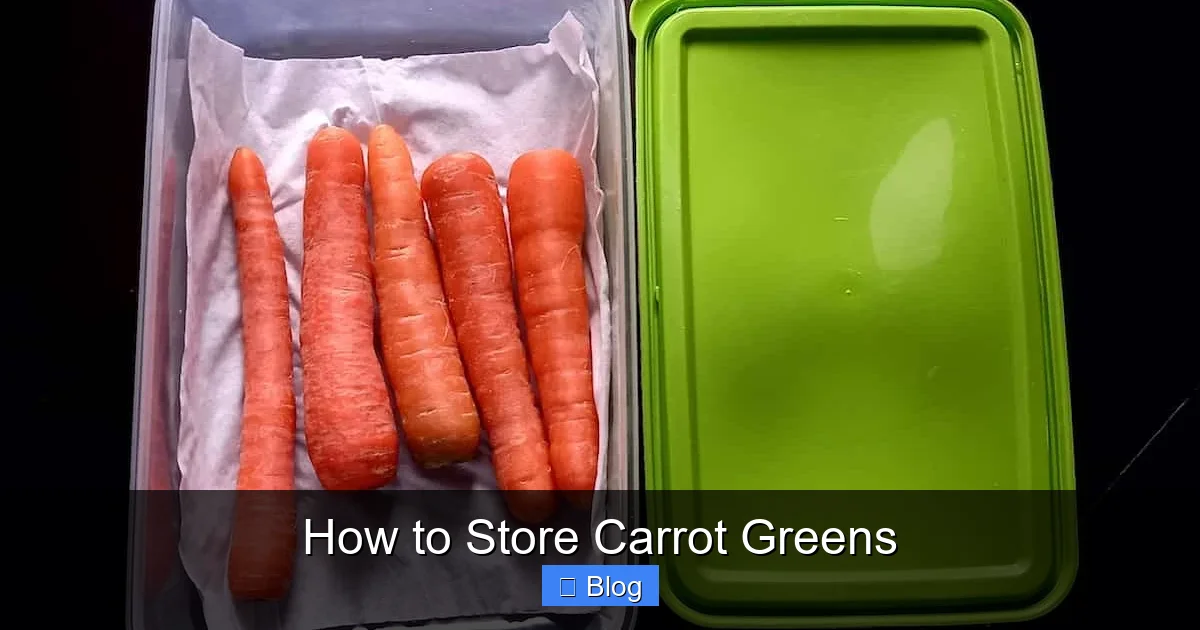
- Take a clean, dry paper towel or a lint-free kitchen towel (like a flour sack towel).
- Lay the damp (not wet) carrot greens on the towel.
- Gently roll the towel up with the greens inside, like a sleeping bag.
- Place the rolled towel in a plastic bag (a produce bag or a zip-top bag works) but leave the bag open. This allows for some air circulation while the towel creates a humid microclimate.
- Store in the crisper drawer of your refrigerator.
Why it works: The towel absorbs any excess moisture that could cause sogginess while providing enough humidity to prevent the leaves from drying out completely. The open bag prevents condensation from building up.
The Jar Method: For Ultimate Crispness
If you want your greens to look and feel like they were just picked, this method is fantastic, especially for the stemmier parts.
- Fill a small jar or glass with about 1-2 inches of water.
- Trim the very ends of the carrot green stems (about ½ inch) to open up the water-absorbing vessels.
- Place the stems in the water, like you would with a bouquet of flowers. The leaves should be above the rim of the jar.
- Loosely cover the leafy tops with a plastic bag to create a humid dome.
- Store in the fridge door or a shelf (not the cold, humid crisper drawer, which can be too moist for this setup).
Why it works: The stems can actively drink water, keeping them plump and firm. The bag over the leaves provides humidity without submerging the delicate foliage, which would cause rot. Check the water daily and refresh if cloudy.
Long-Term Storage: Preserving Your Greens for Weeks or Months
What if you have a massive bunch of carrot tops from a farmer’s market or a bumper garden harvest? You need strategies that go beyond the fridge. Here, we move into preservation territory.
Option 1: Dehydration – The Shelf-Stable Champion
Drying is arguably the best way to store carrot greens long-term, locking in flavor and nutrients for use as a seasoning or herb.
- Wash and thoroughly dry your greens. A salad spinner is your best friend here.
- Remove any large, thick stems if desired—they take longer to dry.
- Use a food dehydrator set to 95-115°F (35-46°C), or your oven on the lowest setting with the door propped open slightly.
- Spread the leaves in a single layer on dehydrator trays or a baking sheet.
- Dry for 4-8 hours, until they are crisp and crumble easily.
- Store the completely cooled, dried leaves in an airtight glass jar in a cool, dark pantry for up to 6 months.
Pro-Tip: Crumble the dried greens and mix with sea salt to make a vibrant, nutritious “carrot top finishing salt.”
Option 2: Freezing – For Smoothies, Soups, and Pesto
Freezing changes the texture (they will be limp when thawed), but preserves the flavor and nutrients perfectly for cooked applications.
- Blanching (Recommended): Bring a pot of water to a boil. Submerge greens for 30-60 seconds, then immediately plunge into an ice bath. This halts enzyme activity that can cause loss of flavor and color over time. Squeeze out excess water, form into portions (like in ice cube trays), and freeze. Transfer frozen cubes to a bag.
- Raw Freezing: Simply chop, pack into freezer bags, squeeze out air, and freeze. Easier, but the flavor and color may degrade slightly faster.
Option 3: The Surprising Root Cellar Method
If you have a truly cold (32-40°F / 0-4°C), humid (90-95% humidity), dark root cellar or garage, you can store whole carrots with their greens attached for several weeks. Bury the carrots in damp sand, sawdust, or peat moss, keeping the greens above the medium. This mimics the natural underground environment. However, for most modern homes, the fridge methods above are more practical and reliable.
Creative & Delicious Ways to Use Your Stored Carrot Greens
Storing them is only half the battle. Knowing what to do with them is the reward! Don’t be intimidated. Think of them as a cross between parsley, cilantro, and arugula.
Fresh Applications (From Short-Term Storage)
- Pesto & Chimichurri: Swap half the basil or parsley in your favorite pesto recipe for carrot greens. Their slight bitterness adds a wonderful complexity. Blend with garlic, nuts (pine nuts, walnuts, or almonds), Parmesan, olive oil, and lemon juice.
- Salad Boost: Chop finely and toss into green salads for a peppery kick. Massage tougher leaves with a little dressing to soften them.
- Garnish & Finishing Herb: Sprinkle chopped greens over soups, roasted vegetables, grilled fish, or avocado toast for a fresh, herbal note and pop of color.
- Simple Sauté: Heat olive oil, add a clove of garlic, then toss in a big handful of greens. Sauté for 2-3 minutes until wilted. Finish with a squeeze of lemon and a pinch of salt. It’s a fantastic, nutritious side dish.
Cooked & Preserved Applications (From Long-Term Storage)
- Soups & Stews: Add a handful of dried or frozen greens to any broth-based soup in the last 10 minutes of cooking. They rehydrate beautifully.
- Frittatas & Omelets: Sauté fresh or rehydrated greens and fold into eggs.
- Dried Seasoning: Crumble your dehydrated greens into spice blends, rubs for meat, or sprinkle over popcorn.
- Smoothie Power-Up: Toss a frozen green cube into your morning smoothie. You won’t taste it, but you’ll get a nutrient boost.
Troubleshooting Guide: When Storage Goes Wrong
Even with the best methods, things can sometimes go awry. Here’s how to identify and fix common issues.
| Problem | Likely Cause | Solution |
|---|---|---|
| Slimy, wet texture | Stored while still wet; trapped moisture in sealed bag; old/damaged leaves not removed. | Discard slimy leaves. Rinse remaining greens, spin dry, and re-store using the towel method with a fresh, dry towel. Ensure bag is open. |
| Quick wilting, dry leaves | Not enough humidity; stored in a very dry part of the fridge (like the door). | Use the jar method for stems or ensure towel is slightly damp when re-rolling. Move to crisper drawer. |
| Excessively bitter taste | Greens were old or stressed before storage; some varieties are naturally more bitter; storage in direct light. | Always use the freshest greens possible. A quick blanch can mellow bitterness. Pair with acidic (lemon, vinegar) or fatty (olive oil, cheese) ingredients to balance. |
| Yellowing leaves | Natural aging process; ethylene gas from nearby fruits (apples, bananas). | Remove yellowed leaves immediately. Store carrot greens away from high-ethylene produce. |
| Mold growth | Stored while wet in an airtight container; old leaves present. | Discard entire bunch if mold is widespread. If localized, cut away moldy parts plus an inch around it. For future, ensure greens are dry and storage has airflow. |
Conclusion: Embracing the Whole Vegetable
Learning how to store carrot greens properly is more than just a kitchen hack; it’s a shift in mindset. It’s about seeing the entire vegetable—root and top—as a package of potential rather than a disposable byproduct. That small act of separation, that extra five minutes spent prepping and storing the greens, connects you more deeply to your food. It reduces waste, saves money, and boosts your nutritional intake with something that would otherwise be discarded.
Start small. Next time you buy carrots, try the simple towel method. Sauté those greens with a little garlic as a side dish for your roasted chicken or salmon. Taste the unique, earthy flavor. Feel the satisfaction of using every part. Once you experience that “aha!” moment, you’ll never look at a carrot the same way again. You’ll start seeking out bunches with beautiful, fresh tops at the market. You might even grow your own just for the fronds.
So, I encourage you to give it a try. Rescue those carrot tops from their fate. Store them with care, cook them with curiosity, and discover a new layer of flavor and sustainability in your everyday cooking. Your taste buds—and your conscience—will thank you for it. Here’s to less waste and more delicious, green possibilities on your plate.
Frequently Asked Questions
How do I store carrot greens to keep them fresh?
To store carrot greens and keep them fresh, first remove any rubber bands or ties. Trim the very ends of the stems and place them upright in a glass of water, loosely covering the leaves with a plastic bag. Refrigerate this setup for the best crispness.
Can you store carrot greens in the refrigerator?
Yes, the refrigerator is the best place to store carrot greens for short-term use. After trimming the ends, wrap the greens loosely in a damp paper towel and place them in a perforated plastic bag in the crisper drawer. This method helps maintain moisture without causing sogginess.
What’s the best way to store carrot greens for later use?
For long-term storage, the best way to preserve carrot greens is by blanching and freezing. Briefly boil the greens, then shock them in ice water, drain thoroughly, and pack them into freezer bags or containers. This method locks in flavor and nutrients for several months.
How long will carrot greens last in the fridge?
When stored properly in the refrigerator, fresh carrot greens will typically last for about 5 to 7 days. Their quality will decline over time, with leaves eventually wilting and turning yellow, so it’s best to use them within the first few days for optimal flavor and texture.
Should I wash carrot greens before storing them?
It’s best not to wash carrot greens thoroughly before storing, as excess moisture will speed up spoilage. Instead, store them dry and only give them a good rinse right before you are ready to use them in your cooking or recipes.
Can I store carrot greens with the carrots attached?
You can store carrot greens still attached to the whole carrot, but it’s not ideal for long-term freshness. The greens will draw moisture from the root, causing the carrot to become limp. For best results, separate the greens from the carrot and store each part using its optimal method.
