Burning on the bottom of your pressure cooker is a common but frustrating issue that ruins meals and damages your appliance. It almost always happens due to insufficient liquid, improper ingredient layering, or using the wrong heat setting. The solution is understanding your cooker’s mechanics: always use the minimum liquid required, create a proper food-to-liquid barrier with delicate ingredients on top, and never exceed medium heat. By mastering these fundamentals, you’ll prevent scorching, ensure even cooking, and extend the life of your pressure cooker.
Key Takeaways
- Liquid is Non-Negotiable: The minimum required liquid (usually 1 cup) creates essential steam. Never cook without it, as it’s the primary barrier between food and the hot metal pot.
- Layer Smart, Not Random: Place heartier, starchy, or sugary foods (tomatoes, beans, rice) in the bottom *with* the liquid. Delicate foods (fish, veggies) go on a trivet or rack *above* the liquid.
- Heat Control is Critical: Always bring to pressure over medium or lower heat. High heat forces rapid boiling, causing violent bubbles that can dislodge food into direct contact with the pot bottom.
- Deglaze After Sautéing: If you sauté onions or meat first, always add your liquid *and* scrape the browned bits (fond) from the pot bottom before locking the lid.
- Natural Pressure Release (NPR) is Your Friend: For starchy or sugary recipes, allow pressure to release naturally (10-15 minutes) to prevent a sudden boil-over and scorching from concentrated bubbling.
- Your Cooker is Not a Deep Fryer: Never fill beyond the ⅔ “max fill” line for solids or the ½ line for liquids/expandable foods. Overfilling blocks steam circulation and leads to scorching.
- Maintenance Matters: A warped, dented, or dirty inner pot (especially on the bottom) creates hot spots. Regularly inspect and clean the pot, ensuring the heat distributor plate is clear.
📑 Table of Contents
- The Dreaded Scorch: Why Your Pressure Cooker Bottom Keeps Burning
- The Science of Scorch: Understanding the “Why”
- Golden Rule #1: The Liquid Imperative
- Golden Rule #2: Masterful Ingredient Layering
- Golden Rule #3: Heat Management & Sautéing
- Troubleshooting: What to Do When Scorching Happens
- Prevention Protocol: Your New Cooking Ritual
- Conclusion: From Fear to Flawless Flavor
The Dreaded Scorch: Why Your Pressure Cooker Bottom Keeps Burning
You hear it. That faint, acrid smell. Then you see it. A dark, stubborn patch of charred food welded to the bottom of your beloved pressure cooker. It’s a moment of pure kitchen dread. That beautiful pot roast, that hearty bean stew, that perfectly curated recipe—all seemingly ruined in an instant. The “pressure cooker burning on bottom” problem is one of the most common and frustrating issues for both new and experienced users. But here’s the empowering truth: it is almost always 100% preventable. It’s not a flaw in your appliance; it’s a misunderstanding of its fundamental mechanics. This guide will move you past frustration to mastery. We’ll dissect the science of scorching, arm you with foolproof techniques, and transform your pressure cooker from a potential hazard into a consistently reliable, flavor-enhancing marvel. Let’s put an end to burnt bottoms for good.
The Science of Scorch: Understanding the “Why”
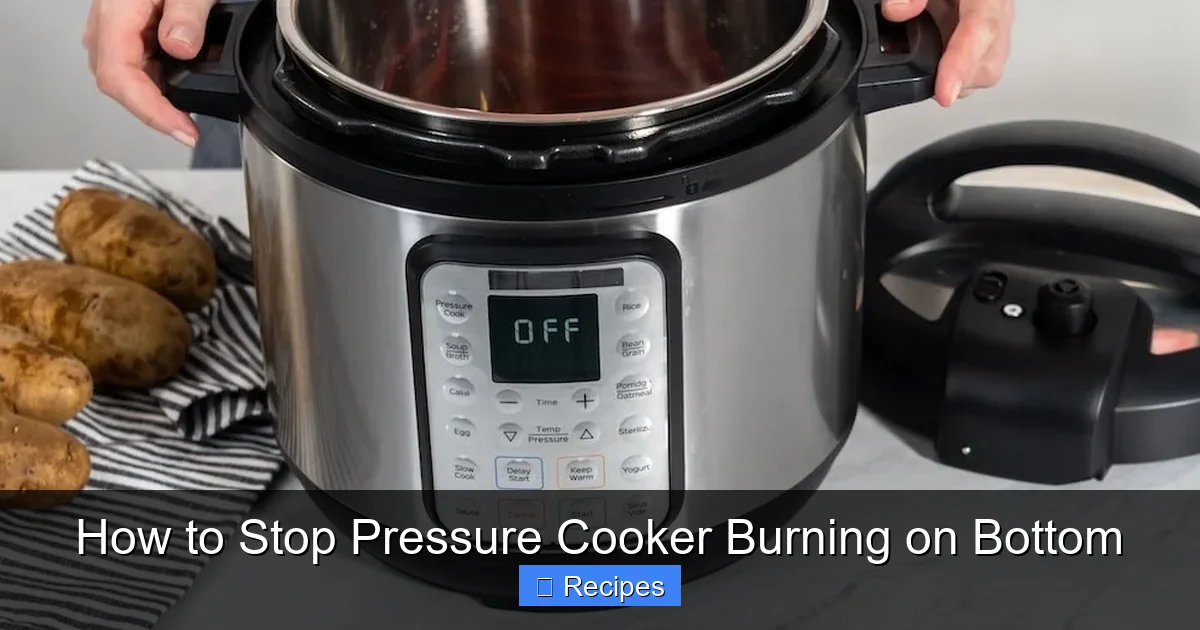
Before we fix it, we must understand it. Pressure cooking is a dance of steam, heat, and liquid. The inner pot sits directly on a powerful heating element. When you add liquid and heat it, that liquid turns to steam. The steam builds pressure, which raises the boiling point of the liquid inside the sealed pot from 212°F (100°C) to around 240°F (116°C) or higher. This superheated liquid and steam cook food rapidly and gently.
Visual guide about How to Stop Pressure Cooker Burning on Bottom
Image source: eadn-wc01-2912785.nxedge.io
The Role of the Liquid Barrier
That liquid at the bottom of your pot is not just for steam; it is a critical physical barrier. It must remain between the food and the direct, intense heat of the burner. When this barrier fails—because there’s not enough liquid, or food settles directly onto the hot metal—the temperature at that contact point skyrockets far above the boiling point. Sugars and starches caramelize and char instantly. Proteins weld themselves to the metal. This is scorching. Once it happens, it’s incredibly difficult to clean and it taints the entire dish with a bitter, burnt flavor.
Hot Spots and the “Ring of Fire”
Most stovetop pressure cookers (non-electric) have a focused heat source. The center of the pot bottom gets the most direct heat, creating a “hot spot.” If liquid levels are low, or if ingredients like tomato paste or thick stews are in direct contact with this central area, they will cook—and burn—much faster than the rest of the meal. This often results in a perfect ring of char around the center. Electric pressure cookers (Instant Pots, etc.) have heating plates that can still create uneven hot spots, especially if the pot is not seated correctly or is dirty.
Golden Rule #1: The Liquid Imperative
This is the single most important rule. You must always have the minimum required amount of liquid stated in your manufacturer’s manual. For most 6-quart stovetop models, this is 1 cup (250ml). For electrics, it’s often ½ to 1 cup. This liquid is not optional; it is the steam generator and the protective barrier.
Visual guide about How to Stop Pressure Cooker Burning on Bottom
Image source: eadn-wc01-2912785.nxedge.io
What Counts as “Liquid”?
This is where confusion happens. “Liquid” means any free-flowing, water-based fluid that will turn to steam. This includes:
- Water, broth, stock, wine, beer, juice.
- Canned tomatoes with their juice. (But be careful—the solids can settle).
- Sauces and soups that are very thin. (Test by tilting the pot; it should flow freely).
What does NOT count as sufficient liquid for the initial barrier?
- Vegetable juices released during cooking. They come too late.
- Frozen foods with ice crystals. They may not release enough liquid quickly enough.
- Thick pastes, purees, or condensed soups. They are too viscous to create a proper boiling, bubbling action at the bottom. They sit and scorch.
Pro Tip: When in doubt, add an extra ¼ cup of water or broth. The cooker will vent any excess. It’s far better to have slightly more liquid than the absolute minimum.
Golden Rule #2: Masterful Ingredient Layering
How you place ingredients in the pot is as important as the liquid itself. Think of the pot in layers: the bottom is the “high-heat, high-liquid” zone. The top (on a trivet or rack) is the “gentle-steam” zone.
Visual guide about How to Stop Pressure Cooker Burning on Bottom
Image source: eadn-wc01-2912785.nxedge.io
The Bottom Layer: Foundation Foods
Place ingredients that benefit from direct contact with hot liquid in the bottom. This includes:
- Dried beans and lentils (they need to rehydrate in liquid).
- Tough cuts of meat (they braise in the liquid).
- Whole grains like rice, barley, and quinoa.
- Root vegetables (potatoes, carrots, beets).
- Any ingredient that is a primary source of the cooking liquid (e.g., a can of crushed tomatoes with its juice).
Critical Note on Tomatoes & Sugary Foods: These are notorious for scorching because their sugars caramelize quickly. Always ensure they are fully submerged in the minimum liquid. Never put a thick layer of tomato paste or crushed tomatoes directly on the pot bottom without sufficient liquid to float them.
The Top Layer: Delicate & Quick-Cooking Foods
Use the included trivet or rack. Place on it:
- Fish fillets and seafood.
- Chicken breasts or cutlets.
- Leafy greens, broccoli, cauliflower florets.
- Dumplings or pre-cooked sausages.
These foods cook quickly in the steam and don’t need to be in the boiling liquid. Keeping them up and out prevents them from breaking down, turning to mush, and—most importantly—settling to the bottom where they can burn.
The “Food Release Method” for One-Pot Meals
For soups and stews where everything goes in together, you must release pressure slowly (Natural Pressure Release – NPR) for 10-15 minutes before quick-releasing any remaining pressure. This allows the intense, violent boiling to subside gradually. If you quick-release immediately, the sudden depressurization causes a massive, rapid boil that can slosh food particles down to the bottom where they instantly scorch on the still-superheated metal. The NPR is a non-negotiable step for starchy or tomato-based one-pot meals.
Golden Rule #3: Heat Management & Sautéing
The burner is your tool, not your enemy. Misusing it is a prime cause of burning.
The “Medium-Or-Lower” Rule for Pressurizing
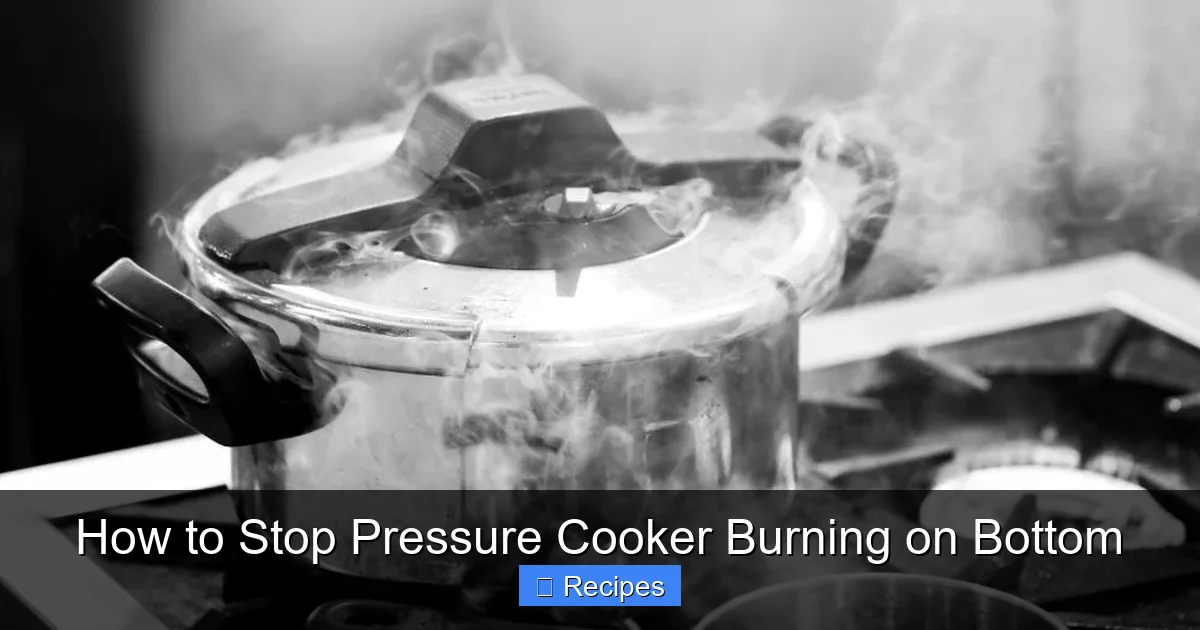
Never, ever use high heat to bring your pressure cooker to pressure. High heat causes the liquid to boil too violently. This turbulence can:
- Force food particles under the trivet or through gaps, sending them to the bottom.
- Cause the liquid to evaporate too quickly, lowering the barrier.
- Create an unstable pressure buildup.
Correct Method: Heat over medium or medium-low. You should see a steady stream of steam from the vent (or the pressure indicator start to rise) within 5-10 minutes. Patience is key. A slower, gentler build-up keeps everything in its place.
The Essential Deglaze Step After Sautéing
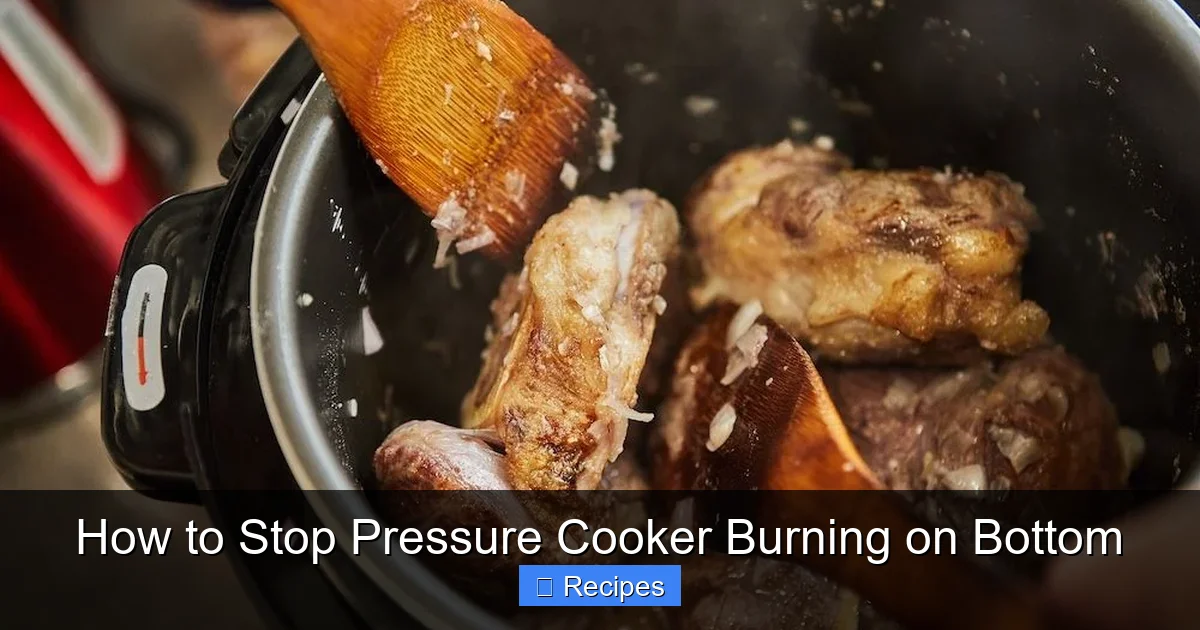
This is the most common mistake after using the sauté/browning function. You beautifully brown onions and meat, creating delicious browned bits (fond) on the pot bottom. Then you add your other ingredients and liquid and seal it up. Big mistake. Those browned bits are now stuck directly to the hot metal. When you apply heat again, they will burn instantly and impart a bitter taste to the entire pot.
The Fix: After sautéing, with the pot still on the heat, immediately add your liquid (water, broth, wine). Use a wooden spoon to scrape the bottom vigorously, lifting all those glorious browned bits and dissolving them into the liquid. Only then should you add other ingredients and lock the lid. You’ve turned a potential burning hazard into a flavor foundation.
Troubleshooting: What to Do When Scorching Happens
Despite our best efforts, sometimes we get a whiff of something wrong. Here’s your emergency protocol.
Immediate Action: The “Cold Water Shock”
DO NOT try to quick-release pressure and then scrape a hot pot. The sudden temperature change can warp the metal, and the steam is dangerously hot. Instead:
- Turn off the heat.
- Let the pressure release naturally for 5-10 minutes. This cools the pot slightly and lowers the internal temperature.
- Then, carefully quick-release the remaining pressure.
- Once all pressure is gone and the pot is safe to open, remove the lid and immediately place the inner pot in the sink.
- Run COLD water over the bottom of the pot. This stops the cooking process and prevents the burned area from getting worse.
Now you can assess. If the burn is light (a light tan or brown film), you can often salvage the meal by transferring the contents to a new pot, carefully avoiding the burned bits at the bottom. The dish may have a slightly caramelized, deeper flavor (not bitter). If it’s black and acrid, the meal is a loss. Focus on cleaning.
Cleaning a Scorched Pressure Cooker Pot
For light burns: Soak in hot, soapy water and use a non-abrasive pad. The burnt-on layer should soften.
For stubborn, blackened burns: Do not use steel wool or harsh abrasives. You’ll scratch the surface, creating more future hot spots.
- Baking Soda Paste: Make a thick paste with baking soda and water. Apply to the burnt area, let sit for an hour, then scrub with a non-scratch pad.
- Vinegar Simmer: Fill the pot with a 1:1 solution of water and white vinegar. Bring to a simmer on the stove (no lid) for 5-10 minutes. Let cool, then scrub. The acid helps break down the carbonized food.
- Boiling Water & Dish Soap: Fill the pot with water, add a few drops of dish soap, bring to a boil, then turn off and let soak overnight.
For electric inner pots: Many are dishwasher safe, but hand washing is gentler. Always check your manual. For the heating plate/base of an electric unit, never immerse. Wipe with a damp cloth when completely cool.
Prevention Protocol: Your New Cooking Ritual
Let’s synthesize everything into a simple, repeatable checklist you can use every single time.
The 5-Minute Pre-Cook Check
- Inspect the Pot: Is the bottom clean, flat, and free of old, baked-on residue? Is the heat distributor plate (if your model has one) clear?
- Check Your Ingredients: Do you have the minimum required liquid? Is it truly liquid? Have you layered correctly—hearty foods in the liquid, delicate foods up top?
- Recall Your Heat Plan: Will you use medium or lower heat to reach pressure? Have you planned for a 10-minute Natural Pressure Release for starchy/tomato recipes?
- If You Sautéed: Did you deglaze thoroughly with liquid and scrape the bottom clean before proceeding?
This 5-minute ritual eliminates 95% of burning incidents. It turns guesswork into guaranteed success.
Special Considerations for Different Foods
Beans & Legumes: Soaking is not just for softness; it helps them cook evenly and release gas. Always use enough liquid (they absorb a lot). Add 1 tbsp oil or a piece of kombu seaweed to the pot to reduce foaming and potential clogging of the vent, which can cause pressure issues that indirectly lead to burning if the cook time is extended.
Tomato-Based Sauces & Curries: These are the #1 culprits. Use plenty of liquid. Consider adding a layer of oil (1-2 tbsp) on top of the sauce before sealing. The oil creates a thin barrier that can help prevent foaming and sugar from sticking directly to the pot. Still, NPR is mandatory.
Rice & Grains: Rinse until water runs clear to remove excess starch, which can foam and cause messy, sticky residue that might burn. Ensure the rice is fully submerged in the measured liquid.
Conclusion: From Fear to Flawless Flavor
The pressure cooker is one of the most transformative tools in the modern kitchen. It tenderizes tough cuts in minutes, infuses beans with flavor without hours of soaking, and locks in moisture like no other method. The “pressure cooker burning on bottom” fear should not keep you from harnessing this power. Burning is not a random act of kitchen cruelty; it is a predictable, physics-based outcome with clear, actionable causes. By respecting the liquid barrier, mastering ingredient layering, and wielding controlled heat, you take complete command of the process. You move from hoping for a good result to knowing you will get one. You save money on ruined meals, protect your investment in a quality appliance, and most importantly, you gain confidence. So go ahead, sauté those aromatics, deglaze with confidence, layer your ingredients with purpose, and listen for the gentle hiss of perfectly building pressure. Your meals—and your pressure cooker’s bottom—will thank you.
Frequently Asked Questions
Can I use oil instead of water to prevent burning?
No. Oil does not turn to steam and cannot create the essential pressure-building steam barrier. You must use a water-based liquid. A small amount of oil (1-2 tbsp) can be added *on top* of saucy dishes to help reduce foaming, but it is not a substitute for the minimum water requirement.
Why does my pressure cooker burn even when I use enough liquid?
This usually points to improper layering. If sugary or starchy foods (like crushed tomatoes or rice) are not fully submerged and settle directly on the hot pot bottom, they will scorch. Ensure all such ingredients are covered by liquid, and use a trivet for delicate items. Also, confirm you are not using high heat to reach pressure.
Is burning more common on gas or electric stoves?
It can happen on both, but the causes differ. Gas stoves often have more intense, direct flames that can cause “ring of fire” hot spots if the pot is oversized for the burner. Electric stoves can have uneven heating elements. The solution for both is the same: use medium heat, ensure the pot size matches the burner, and keep the bottom perfectly clean for optimal contact.
My recipe doesn’t call for much liquid. What should I do?
You must add the minimum required liquid regardless of the recipe. For very dry dishes, you can often add just water or broth to meet the minimum, and the final dish will still be thick. For example, a recipe for “dry” chili might only have ½ cup of liquid in the ingredients. You must add an extra ½ cup of water or broth to reach the 1-cup minimum to operate safely and prevent burning.
Can I prevent burning by always doing a Natural Pressure Release?
NPR is crucial for starchy and tomato-based recipes to prevent post-cooking boil-over and scorching. However, it is not a cure-all. If the problem is insufficient initial liquid or poor layering, burning can still occur during the cooking cycle before you even get to the release phase. NPR is a vital part of prevention, but it works in tandem with proper liquid and layering.
Is a burnt pot ruined? Can it be saved?
Often, yes! A lightly burnt pot (tan or light brown) can usually be cleaned with baking soda paste, a vinegar simmer, or overnight soak. A severely blackened, pitted pot may be permanently damaged and could create future hot spots. Prevention is always easier than restoration, but most minor burns are salvageable with patience and gentle, non-abrasive cleaners.