Canning green beans in an Instant Pot is a convenient way to preserve your harvest, but it must be done with extreme caution. Only specific Instant Pot models (Duo, Duo Plus, Elite) with a dedicated pressure canning function can be used, and even then, it deviates from official USDA guidelines. This guide provides detailed, safety-focused steps for pressure canning fresh green beans, covering essential equipment, proper preparation, precise processing times based on jar size and altitude, and critical storage checks to prevent foodborne illness.
There’s nothing quite like the crisp snap of a fresh green bean, and when your garden or a farmers’ market haul gives you a bounty beyond what you can eat fresh, preserving becomes the next logical step. While freezing is a popular option, many home cooks crave the shelf-stable, no-electricity-required convenience of canned vegetables. And if you own an Instant Pot, you might wonder: can this magical kitchen gadget handle the job? The short answer is yes, but with a very significant asterisk and a heap of caution. Canning green beans in an Instant Pot is possible using its pressure canning function, but it is a process that demands strict adherence to safety guidelines because the USDA and major university extension services do not officially endorse electric multi-cookers for canning due to potential inconsistencies in pressure and temperature regulation compared to traditional stovetop pressure canners.
This comprehensive guide is designed for the experienced home canner who understands the stakes of improper preservation. We will walk through every single step, from understanding your Instant Pot’s capabilities to the final seal check. Our focus is on pressure canning, the only safe method for low-acid foods like green beans. Water bath canning is not an option here, as it cannot reach the high temperatures needed to destroy the spores of Clostridium botulinum, the bacteria that causes botulism. If you are new to pressure canning, it is highly recommended to first learn the process using a stovetop pressure canner under the guidance of a tested resource. This guide assumes you have foundational knowledge of canning safety, sanitation, and terminology.
Key Takeaways
- Model Limitation: Only Instant Pot models with a “Pressure Canning” or “Manual” mode set to high pressure (10-11 PSI) can be used for canning. The slow cooker function is NOT safe for canning.
- Safety First: The USDA does not officially endorse electric pressure cookers for canning due to inconsistent pressure and temperature regulation. You assume all risk; following tested methods is non-negotiable for preventing botulism.
- Equipment is Non-Negotiable: You must use standard, two-piece metal canning lids and rings with glass mason jars. Do not use the Instant Pot’s inner pot for processing; use a rack and water bath inside the pot.
- Prep is Key: Use fresh, crisp green beans. Trim ends, cut to jar length, and pack loosely. Always add 1 teaspoon of canning salt per pint for flavor (optional but traditional).
- Processing Times Vary: Times are based on jar size (pints vs. quarts) and your altitude. For pints at 0-1000 ft, process 25 minutes at 10-11 PSI. Add time for higher altitudes.
- Cooling & Sealing: After processing, let pressure release naturally for 10 minutes, then quick release. Remove jars and let cool undisturbed for 12-24 hours. Check seals; any unsealed jars must be refrigerated and used immediately.
- Storage & Inspection: Store sealed jars in a cool, dark place for up to 1 year. Before use, always inspect for broken seals, bulging lids, leaks, or off smells. When in doubt, throw it out.
📑 Table of Contents
Understanding Your Instant Pot: Can It Actually Can?
Before we touch a single bean, we must have an honest conversation about your appliance. Not all Instant Pots are created equal in the canning world. The ability to pressure can is a feature found only in specific models and program settings.
The Right Models and Settings
You are looking for an Instant Pot that has a dedicated “Pressure Canning” preset or a “Manual” or “Pressure Cook” setting that allows you to achieve and maintain a high pressure of 10-11 PSI (pounds per square inch). This is the standard pressure required for pressure canning vegetables. Models that typically include this feature are the Instant Pot Duo, Duo Plus, and Elite. The newer Pro models often have a “Pressure Cook” function that reaches this pressure. Critical: The “Slow Cook” function is for cooking, not canning. It does not generate the necessary pressure or temperature. Always consult your specific model’s manual to confirm its pressure canning capabilities and any manufacturer warnings.
Why the Caution? Traditional stovetop pressure canners are weighted or dial-gauge instruments designed to consistently hold a precise pressure. Electric pressure cookers like the Instant Pot regulate pressure electronically. There are concerns that the heating element may not maintain a perfectly steady pressure throughout the processing time, especially with varying amounts of liquid or jar placement. Furthermore, the unit’s internal sensors and safety mechanisms are designed for cooking, not for the rigorous, sustained pressure demands of canning. Proceed with the full understanding that you are using the appliance outside of its primary intended purpose as outlined by the manufacturer.
The Golden Rule: Follow Tested Recipes
In the world of canning, “inventing” your own process is a dangerous gamble. You must use processing times and pressures from a trusted, scientifically validated source. For this guide, we rely on the standards set by the National Center for Home Food Preservation (NCHFP) and university extension services like Penn State and the University of Georgia. These times are calculated to destroy the most heat-resistant pathogens in the specific food, jar size, and packing style (raw vs. hot pack). Do not deviate from these times, pressures, or jar sizes. The times provided for green beans in a stovetop canner are the same times you will use in your Instant Pot, as the critical factor is the temperature achieved at 10-11 PSI, not the heat source.
Essential Equipment for Instant Pot Canning
Success in canning is 90% preparation. Having the right tools on hand before you start is essential for a smooth, safe process. Do not attempt to improvise or substitute.

Visual guide about How to Can Green Beans in Instant Pot
Image source: i0.wp.com
Core Canning Supplies
- Instant Pot: As established, a model with a high-pressure canning function.
- Canning Rack: A metal rack that fits inside your Instant Pot’s inner pot. This keeps jars off the bottom and allows water to circulate. You cannot use the standard steam rack that comes with most Instant Pots for this purpose; it’s often too small and unstable for filled jars. You need a rack designed for canning, typically with legs about 1-inch tall.
- Standard Mason Jars: Use only modern, two-piece lid and band (ring) systems. We recommend pint (16 oz) or quart (32 oz) size. Do not use antique jars, jars with wire bails, or any jar not specifically marketed for home canning. Check for nicks or cracks in the jar rims.
- New Canning Lids: The flat metal lids with the sealing compound are single-use only. Never reuse them. The bands/rings can be reused if not rusted or bent.
- Canning Salt (Optional but Recommended):strong> Pure pickling or canning salt, without iodine or anti-caking agents. Table salt can be used but may discolor the beans.
- Large Pot for Pre-heating Water: You will need enough water for the canning rack plus 2-3 inches of water covering the jars in the Instant Pot inner pot. A separate pot to heat this water on the stove speeds up the process immensely.
- Jar Lifter, Funnel, Bubble Remover/Headspace Tool, Clean Cloths: These are the basic tools of any canner. The jar lifter is non-negotiable for safely handling hot jars.
- Large Bowl or Pot for Cold Water Bath: For shocking the beans after blanching.
Sanitation: The Unseen Guardian
Canning is a sterile process. All jars, lids, and tools that will contact the food or jar rim must be impeccably clean. Wash everything in hot, soapy water and rinse well. You do not need to sterilize jars if you are processing for 10 minutes or more (which we are), but they must be clean and hot when filled. Keep jars warm by placing them in a warm oven (170°F) or a sink of hot water until ready to use. This prevents thermal shock when filling with hot liquid or beans.
Step-by-Step: Canning Green Beans in Your Instant Pot
Now, the method. We will use the raw pack method for green beans, where raw, trimmed beans are packed into jars and then covered with boiling water. This is the most common and recommended method for green beans as it helps maintain texture. The hot pack method (pre-cooking the beans) is also acceptable but can result in a softer product.
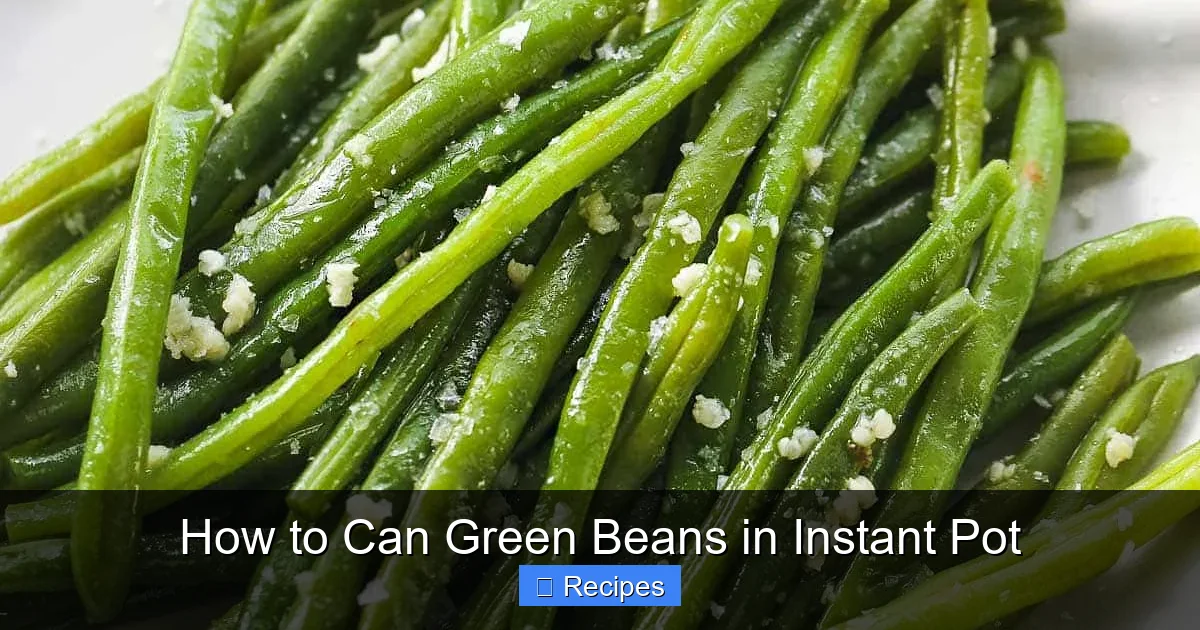
Visual guide about How to Can Green Beans in Instant Pot
Image source: littlesunnykitchen.com
Step 1: Prepare the Beans and Jars
Start with the freshest, crispest green beans you can find. Any beans with soft spots, bruises, or strings should be discarded. Wash them thoroughly under cool running water. Trim the stem end and, if present, the tiny “tail” at the other end. You can leave them whole or cut them into 1- to 2-inch pieces. Many people cut them to fit the height of the pint jar (about 4 inches) for a neat presentation. Have your clean, hot jars ready on a towel or wooden board.
Step 2: Pack the Jars
This is where precision matters. Using a clean canning funnel, tightly pack the raw green beans into the hot jars. Pack them in vertically, standing them up. Pack firmly but do not crush them. You want to maximize the amount of beans while still allowing the boiling water to penetrate around them. Leave a 1-inch headspace—the empty space between the top of the beans and the rim of the jar. This is crucial for expansion and creating a proper vacuum seal.
If desired, add 1 teaspoon of canning salt to each pint jar (½ teaspoon for half-pints). Do not add salt to quarts if you are using pint processing times, as the concentration will be off. For quart jars, add 1½ teaspoons of salt. Salt is for flavor only and does not affect the safety of the canning process.
Step 3: Add Boiling Liquid
Bring a large pot of water to a rolling boil. You will need enough water to fill each jar, covering the beans completely, while still maintaining that 1-inch headspace. Using a ladle or a heat-proof measuring cup, carefully pour the boiling water over the beans in each jar. Again, maintain that 1-inch headspace. Use a bubble remover or a non-metallic utensil to run around the inside of the jar, releasing any trapped air bubbles. This may cause the bean level to drop slightly. If so, add more boiling water to restore the 1-inch headspace. Wipe the jar rims meticulously with a clean, damp cloth. Any food particle on the rim will prevent a seal.
Step 4: Apply Lids and Bands
Place a new, flat canning lid on each jar. Screw on the metal band until it is fingertip tight. This means you turn it until you feel resistance and then give it about a quarter-turn more. Do not use tools to tighten. The bands hold the lid in place during processing but must allow air to escape. Overtightening can prevent the lid from sealing properly.
Step 5: Prepare the Instant Pot for Canning
Place the canning rack in the bottom of the Instant Pot’s inner pot. Pour in at least 2-3 cups of hot tap water—this is the minimum to generate steam. You will add more hot water later. Carefully lower the filled jars onto the rack using your jar lifter. The jars should not touch each other or the sides of the pot. Once all jars are in, carefully pour more very hot tap water around the jars until the water level is about halfway up the jars (or at least 1 inch above the jar tops). The Instant Pot’s minimum water requirement for pressure canning is usually 2-3 cups in the bottom, but with jars, you need enough water to create consistent steam and pressure for the entire processing time without running dry. Check your manual for the specific minimum liquid requirement when pressure canning.
Step 6: Lock, Vent, and Set the Time
Lock the Instant Pot lid in place. Turn the release valve to the “Sealing” position. Select the “Pressure Canning” function if your model has it. If not, select “Manual” or “Pressure Cook” and set it to High Pressure. Set the time according to your jar size and altitude.
- Pint Jars: 25 minutes at 10-11 PSI (High Pressure setting).
- Quart Jars: 30 minutes at 10-11 PSI (High Pressure setting).
Altitude Adjustments: For altitudes above 1,000 feet, you must increase the processing time.
- 1,001 – 3,000 ft: Add 5 minutes (Pints: 30 min, Quarts: 35 min)
- 3,001 – 5,000 ft: Add 10 minutes (Pints: 35 min, Quarts: 40 min)
- 5,001 – 7,000 ft: Add 15 minutes (Pints: 40 min, Quarts: 45 min)
- 7,001 – 10,000 ft: Add 20 minutes (Pints: 45 min, Quarts: 50 min)
The unit will take several minutes to come to pressure. Once it reaches pressure, the timer will begin. You will hear a gentle hissing/steaming and see the float valve pop up.
Step 7: Pressure Release and Jar Removal
When the timer beeps, the canning cycle is complete. Do not quick-release the pressure immediately. Let the pressure release naturally for at least 10 minutes. After 10 minutes, carefully turn the release valve to “Venting” to release any remaining steam. Once the float valve drops, unlock and remove the lid, being careful of the hot steam. Using the jar lifter, carefully remove the jars and place them upright on a towel or wooden board in a draft-free spot. Leave at least 1 inch of space between jars. Do not tighten the bands, do not move the jars, and do not attempt to test seals now. Let them cool completely for 12-24 hours.
Storing, Inspecting, and Using Your Canned Green Beans
The canning process isn’t over when the jars come out of the pot. The final cooling phase is where the seals are formed. After 12-24 hours, you can perform the final checks.
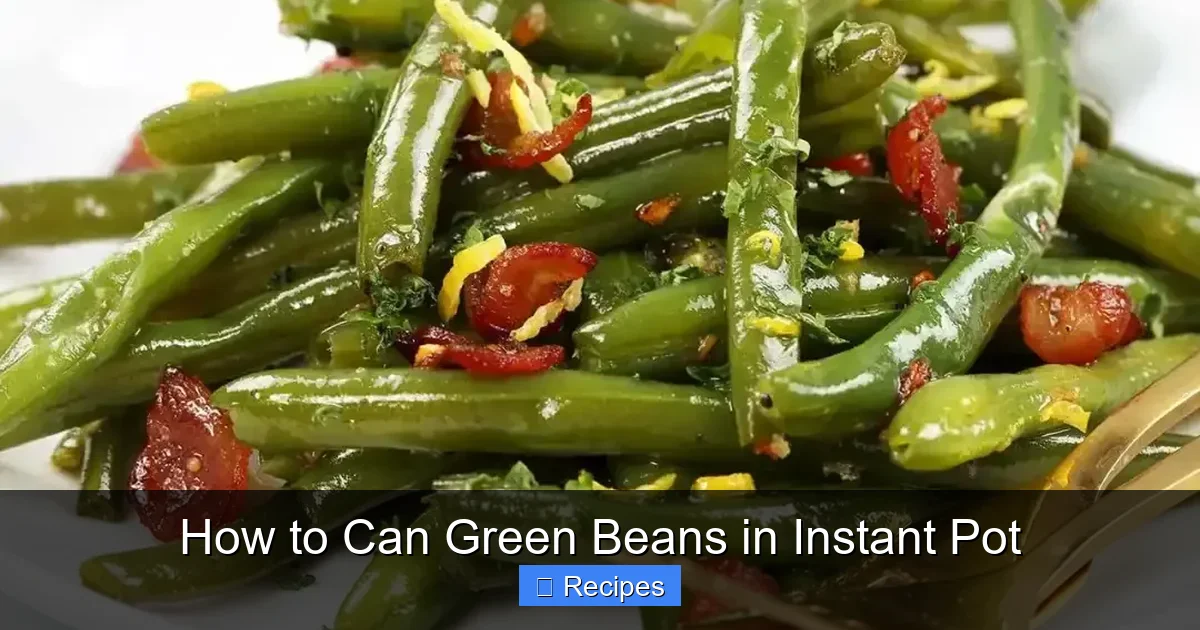
Visual guide about How to Can Green Beans in Instant Pot
Image source: cdn.healthyrecipes101.com
The Seal Check and Band Removal
Press the center of each cooled lid. It should not flex up or down. It should be concave and firmly attached to the jar. Try to gently lift the edge of the lid with your fingernail. It should not pop off. If a lid flexes or comes off, the jar did not seal. Place any unsealed jars in the refrigerator and use them within a few days, or freeze the beans. You can also re-process them within 24 hours if you discover the failure immediately, using a new lid and the full processing time again.
Once seals are verified, remove the bands. Wipe the jars and lids with a clean, dry cloth to remove any water film or residue. Store the jars without the bands to prevent any moisture trapped under the band from causing rust on the lid, which can interfere with future seal checks.
Proper Storage Conditions
Store your sealed jars in a cool (50-70°F), dark, dry place. A basement or pantry is ideal. Avoid areas with temperature fluctuations like attics or garages. Properly sealed and stored green beans will maintain their best quality for up to 1 year. While they may be safe beyond that, the flavor and texture will degrade. Label each jar with the contents and date.
Before You Eat: The Final Safety Inspection
This step is not optional. Before opening any jar, perform this checklist:
- Seal: Is the lid still concave and firmly sealed?
- Lid Condition: Is the lid flat, without bulging or bending?
- Leaks: Is there any liquid leaking from the jar?
- Visual & Smell: When you open the jar, does the liquid look normal? Is there any foam, unusual color (pink, brown), or a sour, yeasty, or “off” odor? If you answer yes to any of these, discard the jar immediately without tasting.
When in doubt, throw it out. The cost of a jar of beans is not worth the risk of botulism.
Troubleshooting Common Issues
Even with careful preparation, things can go wrong. Here’s how to diagnose the most common problems.
Siphoning (Liquid Loss)
This is when liquid is drawn out of the jar during cooling, often leaving beans exposed. It’s usually caused by rapid pressure changes or insufficient headspace. To prevent it: ensure proper 1-inch headspace, allow for a full 10-minute natural pressure release, and avoid rapid temperature changes (like placing hot jars on a cold counter). Siphoned jars may still be sealed but have compromised quality. Refrigerate and use those beans first.
Failed Seals
If a jar doesn’t seal, the cause is often a tiny food particle on the rim, a nicked jar rim, a defective lid, or insufficient headspace. Re-process within 24 hours with a new lid, or refrigerate and use. Do not attempt to “re-seal” a cooled, unsealed jar by replacing the lid and band without reprocessing.
Cloudy Liquid or Discoloration
Cloudy liquid can be from mineral deposits in your water (use soft or filtered water) or from starch from the beans. A slight pink or purple tint is natural in some green bean varieties and is harmless. However, a dark brown or black liquid, or significant cloudiness with an off smell, indicates spoilage. Discard.
The Final Verdict: Is It Worth the Risk?
Canning green beans in an Instant Pot offers the undeniable allure of using a countertop appliance you already own, avoiding the bulky storage of a dedicated stovetop canner. The process, as detailed, mimics traditional pressure canning steps. However, the disclaimer cannot be repeated enough: this method is not USDA-approved. The official recommendation from food safety authorities is to use a stovetop pressure canner that can be weighted or dial-gauged for accuracy. If you are a beginner, or if the idea of deviating from official guidelines causes you anxiety, please invest in a stovetop pressure canner and follow the NCHFP’s proven instructions.
For the experienced canner who understands the principles of pressure, temperature, and time, who owns a compatible Instant Pot model, and who follows every single safety step—from testing your pressure to adjusting for altitude—using your Instant Pot for green beans can be a functional workaround. The beans themselves, when done correctly, will be delicious, shelf-stable, and ready to brighten a winter meal. The ultimate takeaway is that the process is the safeguard, not the pot. Whether you use an Instant Pot or a Presto, the rules of tested recipes, sanitation, and vigilant inspection remain the absolute law. Your family’s health depends on it.
Frequently Asked Questions
Can I use my Instant Pot’s slow cooker function to can green beans?
Absolutely not. The slow cooker function does not reach the high pressure (10-11 PSI) or temperature (240°F+) required to safely destroy botulism spores in low-acid foods like green beans. Using it for canning is extremely dangerous and will result in unsafe food.
How long will canned green beans from the Instant Pot last?
For best quality and flavor, store them in a cool, dark place for up to 1 year. While they may remain safe beyond that if the seal is intact and there are no signs of spoilage, the texture and taste will deteriorate. Always perform the thorough inspection checklist before consuming any jar older than a year.
Can I re-can green beans that were previously frozen?
No. Freezing changes the texture and cellular structure of the beans. Canning already-frozen beans can lead to a mushy, unappetizing product and may interfere with the heat penetration needed for safe processing. Only can fresh, high-quality green beans.
My altitude is 4,500 feet. How do I adjust the processing time?
For altitudes between 3,001 and 5,000 feet, you add 10 minutes to the base processing time. So for pint jars, process for 35 minutes (25 min base + 10), and for quart jars, process for 40 minutes (30 min base + 10), all at high pressure (10-11 PSI). Always verify with the latest altitude adjustment charts from the National Center for Home Food Preservation.
Can I can other vegetables, like carrots or corn, using the same Instant Pot method?
In theory, yes, but you must use the specific processing times for each vegetable from a trusted, tested source. Do not use the green bean times for other veggies. Carrots and corn have different densities and require different processing times. Always consult the NCHFP or your university extension’s guidelines for each individual food before canning.
Is it safe to can green beans without adding salt?
Yes, salt is added solely for flavor and is not a safety component. You can safely omit it. If you are watching your sodium intake, feel free to leave it out. The processing time and pressure remain exactly the same.