Starting a cafe dishwasher is easier than you think. Follow this friendly guide to install, power up, load, and maintain your machine so you can serve spotless dishes without hassle. Get practical tips, safety checks, and troubleshooting tricks all in one place.
Key Takeaways
- Proper installation matters: Correct water, electrical, and venting connections prevent costly downtime.
- Safety first: Always verify power, water temperature, and lock‑out procedures before running the cycle.
- Loading technique: Arrange plates, glasses, and utensils to maximize cleaning efficiency.
- Program selection: Choose the right cycle for the load type to save water, energy, and time.
- Routine maintenance: Clean filters, descale spray arms, and check seals weekly to extend lifespan.
- Troubleshooting basics: Simple checks can solve most error codes without a technician.
- Record‑keeping: Log daily checks and service dates to stay ahead of problems.
📑 Table of Contents
- Introduction: Why Knowing How to Start a Cafe Dishwasher Matters
- 1. Preparing the Space: Installation Essentials
- 2. Power‑Up Procedure: Getting the Machine Ready
- 3. Loading the Dishwasher Correctly
- 4. Running the Cycle: Step‑by‑Step
- 5. Daily and Weekly Maintenance
- 6. Troubleshooting Common Issues
- Conclusion: Mastering the Start and Care of Your Cafe Dishwasher
Introduction: Why Knowing How to Start a Cafe Dishwasher Matters
Running a café means juggling coffee, pastries, and a steady stream of customers. While the barista’s art gets most of the applause, the dishwasher works behind the scenes to keep plates, mugs, and cutlery clean and ready for the next order. A well‑run dishwasher saves time, reduces labor costs, and most importantly, protects your reputation for hygiene.
If you’ve just bought a commercial dishwasher or inherited one from a previous owner, the first question you’ll ask is simple: how to start a cafe dishwasher? This guide walks you through every step—from unpacking the unit to daily checks, loading tips, and basic troubleshooting—so you can fire up the machine with confidence.
1. Preparing the Space: Installation Essentials
1.1 Check the Location Requirements
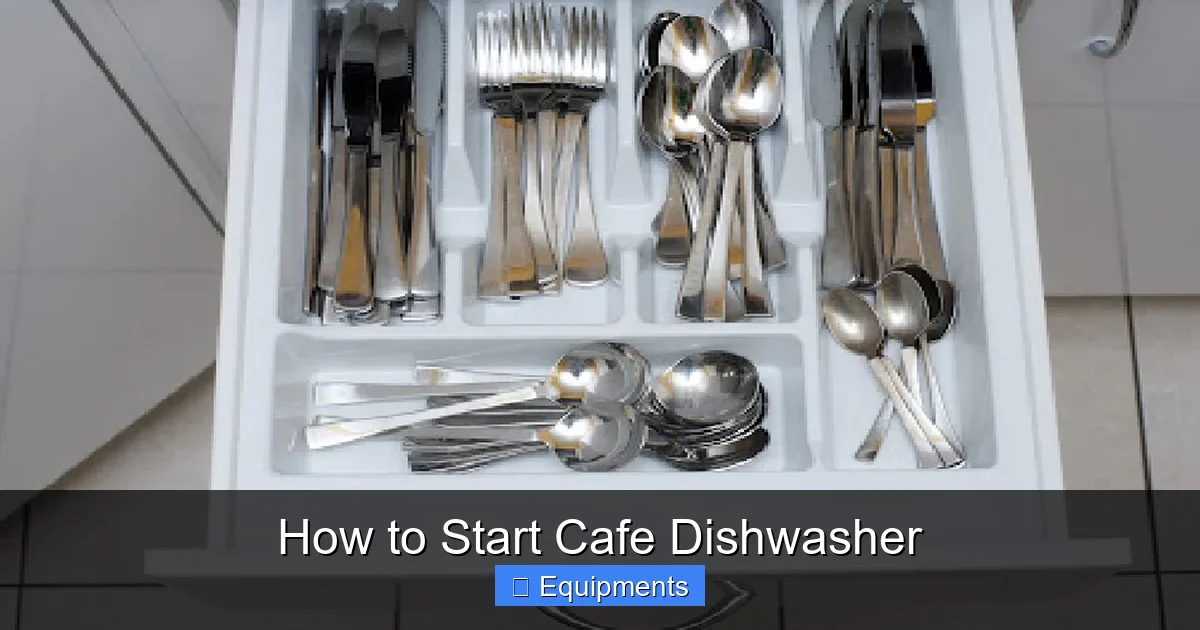
Before you plug anything in, make sure the dishwasher sits on a level, vibration‑free floor. Commercial units usually weigh 250‑400 lbs, so a sturdy concrete slab is ideal. Keep at least 12 inches of clearance behind the machine for venting and service access.
Visual guide about How to Start Cafe Dishwasher
Image source: thekitchenix.com
1.2 Connect Water Supply
Most café dishwashers need a ¾‑inch hot water line with a minimum temperature of 180 °F (82 °C). Install a dedicated shut‑off valve and a pressure regulator (typically 40–80 psi). Use stainless‑steel braided hoses to prevent kinks.
1.3 Electrical Hook‑up
Commercial dishwashers run on 208‑240 V, three‑phase power. Hire a licensed electrician to install a dedicated circuit with the correct amperage (usually 30‑50 A). Ensure the outlet is GFCI‑protected and that the machine’s grounding strap is firmly attached.
1.4 Drainage and Venting
Connect a 2‑inch floor drain with a high‑loop or air gap to prevent backflow. If the unit has a condensation pump, route the discharge pipe to a floor drain or utility sink. Proper venting prevents steam buildup and extends the life of seals.
1.5 Final Safety Checks
- Verify that all connections are tight—no leaks.
- Turn on the water supply and check for temperature compliance.
- Confirm the power is off before proceeding to the next step.
2. Power‑Up Procedure: Getting the Machine Ready
2.1 Initial Power‑On
Locate the main power switch, usually on the control panel. Flip it to “ON.” The unit will run a self‑diagnostic; listen for any unusual noises and watch the display for error codes.

Visual guide about How to Start Cafe Dishwasher
Image source: npo.nl
2.2 Set the Temperature
Navigate to the “Temp” setting using the arrow keys. For most cafés, set the wash temperature to 180 °F and the rinse temperature to 200 °F. These temperatures meet health‑department standards for sanitizing dishes.
2.3 Choose the Cycle
Typical cycles include:
- Quick Wash: 2‑3 minutes, for lightly soiled glassware.
- Standard Wash: 5‑6 minutes, for plates and utensils.
- Heavy/Pre‑Rinse: 8‑10 minutes, for pots, pans, and grease‑laden items.
Select the cycle that matches the load you plan to run.
2.4 Pre‑Run Rinse (Optional)
If the dishwasher is brand new, run an empty “Rinse” cycle with a dishwasher‑safe cleaning agent. This clears any manufacturing residues and primes the spray arms.
3. Loading the Dishwasher Correctly
3.1 Understand Rack Layout
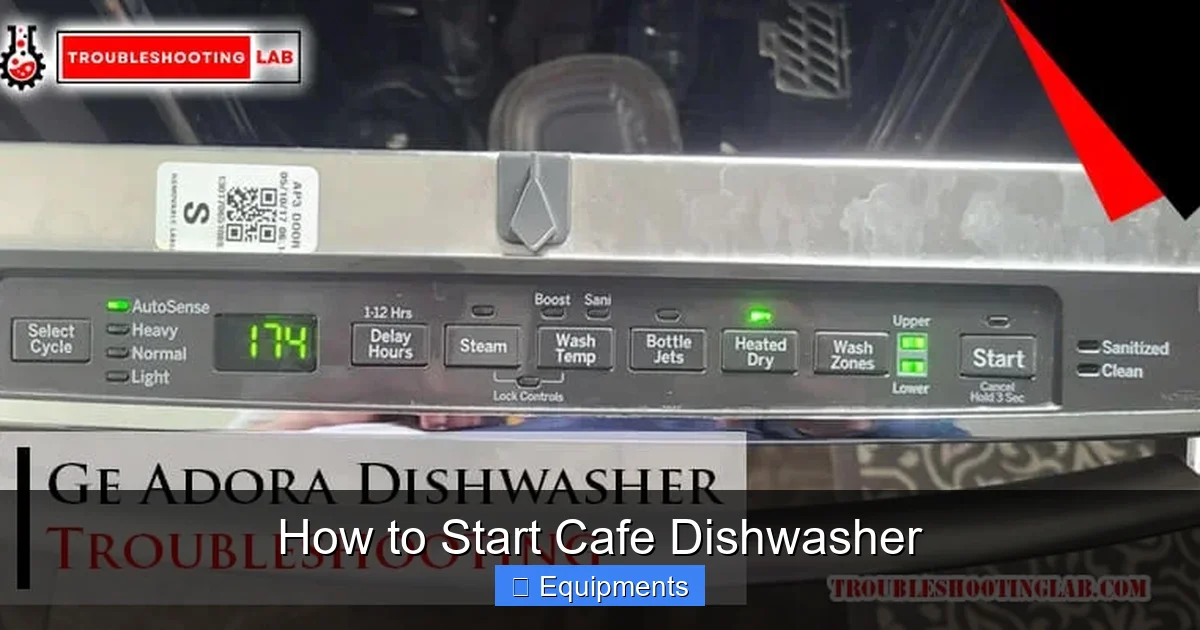
Most café dishwashers have a top rack for glasses and a bottom rack for plates, bowls, and larger items. Some models include a third “cutlery” drawer.
Visual guide about How to Start Cafe Dishwasher
Image source: troubleshootinglab.com
3.2 Loading Tips for Maximum Efficiency
- Angle plates slightly: Water flows over the surface, reaching every corner.
- Don’t stack glasses: Place them upright with enough space for water jets.
- Use the “T‑shape” for utensils: Handles down, heads up, to avoid clumping.
- Leave the spray arm clear: No large items should block the rotating arm.
3.3 Pre‑Rinse (When Needed)
If items have heavy food debris, give them a quick hand‑scrape or a 30‑second pre‑rinse. Over‑pre‑rinsing wastes water; a quick scrape is usually enough.
3.4 Loading the Cutlery Drawer
Place forks, knives, and spoons in the designated slots, handles facing down. This orientation prevents bending and ensures water reaches each piece.
4. Running the Cycle: Step‑by‑Step
4.1 Start the Machine
Press the “Start” button. The control panel will display the selected cycle and an estimated time remaining.
4.2 Monitor the First Few Minutes
Listen for the spray arm’s whirring sound. Check that water is flowing and that the temperature gauge rises. If any alarm lights flash, pause and investigate.
4.3 Mid‑Cycle Checks (Optional)
For larger loads, you may open the door briefly to add a few extra items. Most commercial units have a “Door Open” lock that pauses the cycle safely.
4.4 End of Cycle
When the timer hits zero, the machine will beep and the door will unlock. Open the door carefully—steam may still be present. Let the dishes air‑dry for a minute before unloading.
4.5 Unloading Technique
Start with the bottom rack to avoid dripping onto clean items. Use clean, dry towels for any water spots on glassware, if needed.
5. Daily and Weekly Maintenance
5.1 Daily Quick Clean
- Wipe the door gasket with a damp cloth.
- Remove food particles from the filter basket.
- Check spray arm holes for blockages; clear with a soft brush.
5.2 Weekly Deep Clean
Run a cleaning cycle using a commercial dishwasher cleaner. Follow the manufacturer’s dosage instructions and run a hot rinse afterward.
5.3 Descaling the System
If you have hard water, descale the unit every 30‑45 days. Use a citric‑acid solution or a descaling product designed for commercial dishwashers. Run a full hot rinse after the process.
5.4 Inspect Seals and Gaskets
Check the door seal for cracks or wear. Replace any damaged parts promptly to maintain energy efficiency and prevent leaks.
5.5 Record Keeping
Maintain a logbook (paper or digital) noting:
- Date and time of each run.
- Cycle type used.
- Any error codes observed.
- Maintenance performed.
This habit helps you spot trends before a major breakdown occurs.
6. Troubleshooting Common Issues
6.1 Machine Won’t Power On
Check the main circuit breaker and ensure the power switch is on. Verify that the door is fully closed; many units won’t start if the latch isn’t engaged.
6.2 Low Water Temperature
Confirm the hot water supply is set to at least 180 °F. If the temperature is low, adjust the boiler or water heater, then restart the dishwasher.
6.3 Poor Cleaning Results
Possible causes:
- Clogged spray arm—clean the holes.
- Over‑loading—reduce the number of items per rack.
- Insufficient detergent—measure according to load size.
6.4 Error Codes on Display
Refer to the user manual’s error‑code table. Common codes include “E‑01” (water fill issue) and “E‑03” (temperature sensor fault). Often, resetting the machine (turning power off for 30 seconds) clears transient errors.
6.5 Leaking Water
Inspect the hose connections, door gasket, and drain pump for signs of wear. Tighten loose clamps and replace any cracked hoses.
Conclusion: Mastering the Start and Care of Your Cafe Dishwasher
Knowing how to start a cafe dishwasher is more than flipping a switch; it’s about proper installation, thoughtful loading, routine maintenance, and quick problem solving. By following the steps outlined above, you’ll keep your dishes sparkling, your staff happy, and your operating costs low. Treat the dishwasher as an essential team member, and it will reward you with years of reliable service.
Frequently Asked Questions
What is the first thing to check before starting a cafe dishwasher?
Make sure the water supply is hot (at least 180 °F), the power is on, and the door is fully closed and latched.
How often should I descale a commercial dishwasher?
Descale every 30‑45 days if you have hard water, or follow the manufacturer’s recommendation based on water hardness.
Can I run a dishwasher without detergent?
No. Detergent is essential for breaking down food residues and achieving the required sanitation level.
What does an “E‑01” error code usually mean?
It typically indicates a water‑fill problem—check the inlet valve, water pressure, and hose connections.
Is it safe to open the door during a cycle?
Most modern units lock the door while water is hot. If you must open it, the machine will pause automatically; wait for the steam to dissipate before reaching in.
How can I improve cleaning performance without buying a new machine?
Regularly clean spray arms, use the correct detergent dose, avoid over‑loading, and ensure the water temperature meets the recommended levels.