Stacking wall cabinets is a brilliant, cost-effective way to create a custom pantry without major renovation. By securely joining standard kitchen cabinets vertically, you can build a tall, efficient storage unit tailored to your space and needs. This project requires careful planning, the right tools, and attention to safety to ensure your stacked cabinet pantry is both beautiful and structurally sound for years to come.
Have you ever looked at a blank wall in your kitchen, dining room, or even a hallway and thought, “That space could be so much more”? What if you could transform that underutilized vertical expanse into a highly organized, beautiful pantry—all without the expense and mess of a full custom cabinet build? The secret lies in a clever, contractor-approved technique: stacking standard wall cabinets. This method allows you to engineer a tall, narrow storage tower that fits perfectly into awkward spaces, offering a surprising amount of storage for dry goods, small appliances, and pantry staples.
Think of it like a giant, sturdy Lego system for adults. By taking two or more off-the-shelf base or wall cabinets and joining them securely, you create a single, monolithic unit that can be anchored to your wall. It’s a project that sits perfectly at the intersection of DIY ambition and practical results. You don’t need to be a master carpenter, but you do need patience, precision, and a deep respect for the forces of gravity. This guide will walk you through every single phase, from the initial spark of an idea to the final organization of your new pantry, ensuring you feel confident and capable at every step.
Key Takeaways
- Plan meticulously: Accurate measurements of your space and cabinet dimensions are non-negotiable for a successful build.
- Safety is paramount: Properly securing the stacked unit to wall studs with robust hardware prevents tipping and ensures stability.
- Choose compatible cabinets: Use cabinets of the same depth and width for a seamless, uniform look when stacked.
- Reinforce the connection: The joint between cabinets must be fortified with screws and wood glue to act as a single, solid unit.
- Customize for your needs: Incorporate adjustable shelves, lighting, and door options to maximize functionality and accessibility.
- Organize strategically: Plan your pantry layout by grouping like items and utilizing accessories for a system that stays tidy.
📑 Table of Contents
- Why Stack Cabinets? The Allure of a DIY Pantry Tower
- Phase One: The Critical Planning and Design Stage
- Essential Tools and Materials: Your Project Arsenal
- The Assembly Line: Step-by-Step Stacking and Construction
- Securing to the Wall: The Non-Negotiable Safety Step
- Customization and Storage Solutions: Making it Yours
- Organization Principles for Your New Pantry
- Safety, Maintenance, and Final Thoughts
Why Stack Cabinets? The Allure of a DIY Pantry Tower
Before we dive into the “how,” let’s explore the “why.” Stacking cabinets to create a pantry isn’t just a trendy hack; it’s a solution born from practical necessity and smart economics.
Unlocking Difficult Spaces
Many homes have narrow, tall voids beside refrigerators, between doorways, or in corners where a standard pantry cabinet won’t fit. A stacked cabinet unit can be built to exact specifications, squeezing into these otherwise wasted spaces. You’re essentially creating a custom cabinet for a fraction of the cost, with the added benefit of choosing every component.
Cost-Effective Customization
A single, tall custom pantry cabinet from a cabinetmaker or big-box store can cost hundreds, even thousands, of dollars. By sourcing individual standard wall cabinets (often on sale or from the “as-is” section), you can assemble a comparable unit for a fraction of the price. You also gain total control over the interior layout—choosing shelf types, heights, and accessories.
Design Flexibility and Aesthetic Control
You aren’t limited to the finishes and styles of a single pre-built pantry. You can mix and match cabinet styles (though matching is easier), choose your own hardware, and even paint or stain them to perfectly match your existing kitchen. This project turns storage into a design feature.
Phase One: The Critical Planning and Design Stage
Rushing this stage is the number one cause of frustration and failed projects. A stacked cabinet pantry lives or dies by its planning. Here’s your blueprint for success.
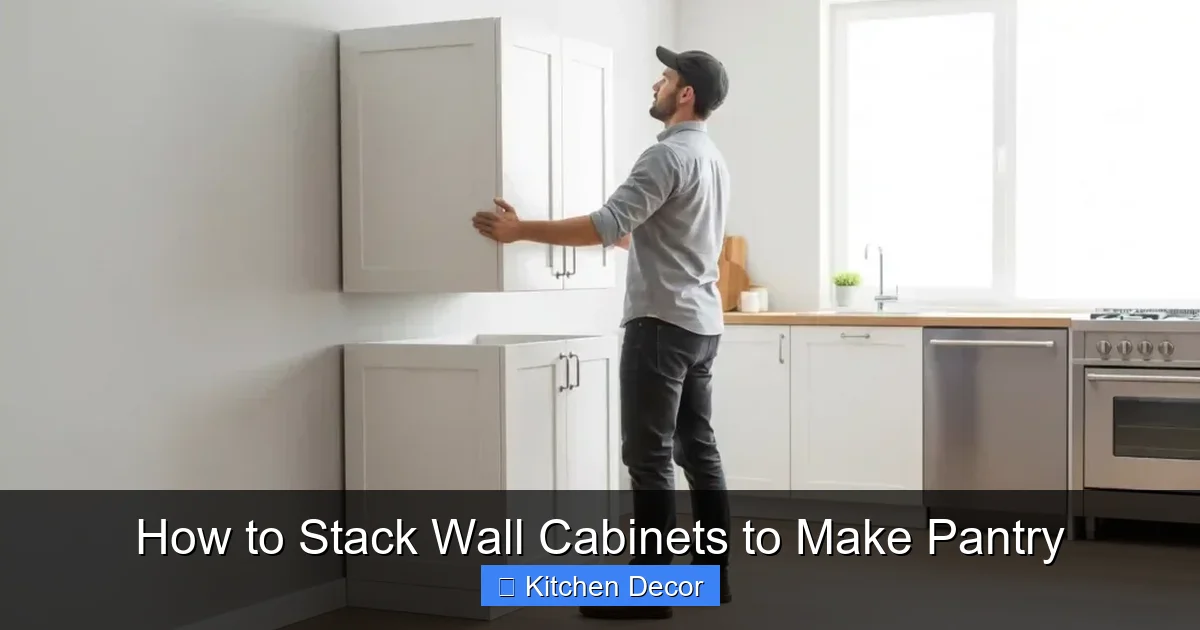
Visual guide about How to Stack Wall Cabinets to Make Pantry
Image source: cabinetsidea.com
Step 1: Precision Measurement is Everything
Grab your tape measure and a notepad. You need to measure three things with millimeter-level accuracy:
- Available Wall Space: Measure the exact height from floor to ceiling (or to the obstruction above) and the exact width of the cavity. Don’t assume walls are plumb; check for tapering.
- Cabinet Dimensions: Standard wall cabinets are typically 12″ deep (front to back), but always verify. Their widths come in 3″ increments (e.g., 9″, 12″, 15″, 18″, 21″, 24″, etc.). Height is usually 30″ or 36″ for a single door, but 24″ and 42″ exist.
- Clearance Needs: Consider the swing of nearby doors (refrigerator, pantry entry), the depth of countertops if adjacent, and any baseboard or crown molding that might interfere.
Pro Tip: Create a simple scale drawing on graph paper or use a free online room planner tool. Visualizing the stack helps immensely.
Step 2: Selecting Your Cabinets
This is where your plan meets the real world. You’re looking for cabinets that will stack neatly.
- Uniform Depth is Key: All cabinets in your stack must have the same front-to-back depth. Mixing a 12″ deep cabinet with a 24″ deep one will create a awkward, unusable step-back.
- Width Consistency: For a clean look, use cabinets of the same width. If you need a wider bottom for bulk items, you can use a wider base cabinet as your “foot,” but the stack above it must match that width.
- Style & Construction: Frameless (European) cabinets offer more interior space and a modern look. Face-frame cabinets are very sturdy. Ensure the cabinet sides are solid wood or high-quality plywood for screwing into. Particleboard sides can strip out.
- Condition: New in-box cabinets are ideal. “Blemished” or “as-is” cabinets from stores are fantastic for a painted finish, as you can fill any dings. Avoid cabinets with water damage or compromised structure.
Step 3: Designing the Stack Layout
How many cabinets will you use? A typical stack might be:
- Bottom Section: Two 30″ high base cabinets (with full-depth shelves) for heavy items like appliances or bulk cans. Note: True “base” cabinets have a toekick; you may need to remove it or use “wall” base cabinets without a toekick for a seamless look.
- Middle/Top Section: One or two 30″ or 36″ high wall cabinets for general pantry storage.
Calculate your total stack height. A common configuration is two 30″ base cabinets (60″) plus one 30″ wall cabinet (90″), or two 30″ bases plus one 36″ wall (96″). Your total must be less than your wall height minus any desired crown molding and floor clearance (e.g., a 96″ stack in a 96″ high space leaves zero room for error).
Example: Your wall is 96″ tall. You want a 4″ crown molding. Your floor may have a slight high spot. You should target a stack no taller than 90″-92″. Two 30″ bases (60″) + one 30″ wall (30″) = 90″ total. Perfect.
Essential Tools and Materials: Your Project Arsenal
Gathering your tools before you start prevents mid-project dashes to the hardware store. Here’s your comprehensive checklist.
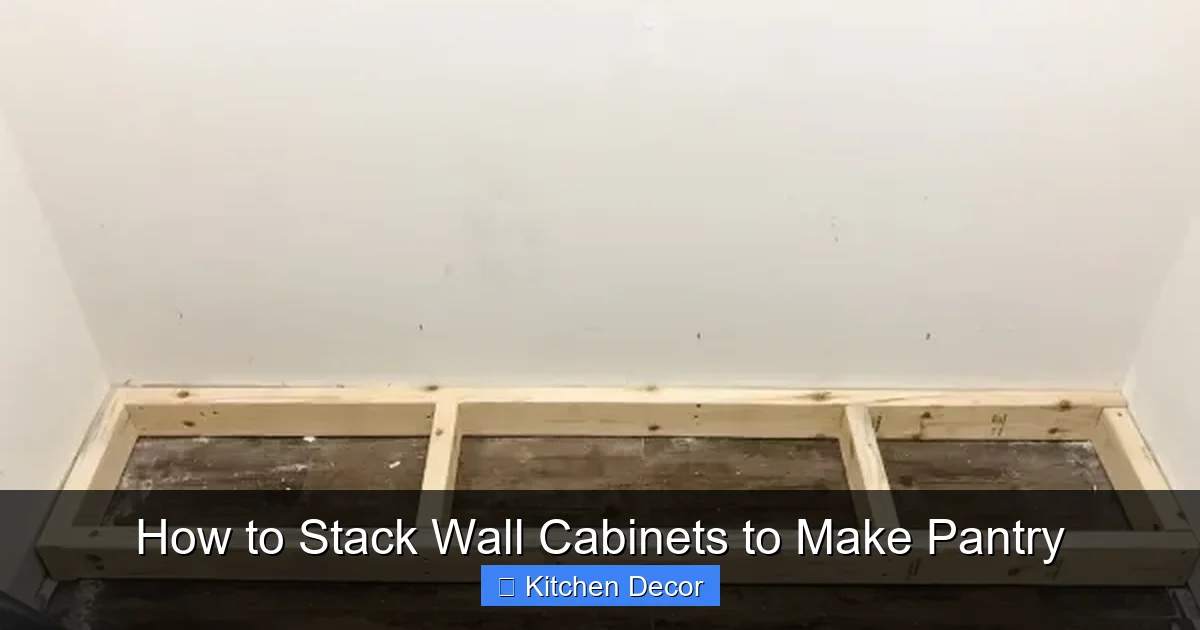
Visual guide about How to Stack Wall Cabinets to Make Pantry
Image source: cabinetsidea.com
Core Tools
- Power Drill/Driver: The workhorse. A cordless drill with a good set of driver bits is essential.
- Clamps: At least 4 heavy-duty bar clamps or parallel clamps (e.g., 24″ or 36″). These are critical for holding cabinets flush while you screw and glue.
- Level: A long (24″ or 48″) spirit level. You will use this constantly.
- Tape Measure & Pencil: For marking.
- Square: A carpenter’s square to ensure corners are 90 degrees when assembling.
- Circular Saw or Handsaw: You may need to trim a cabinet’s side or top/bottom panel to fit perfectly.
- Drill Bits: A set of pilot hole bits (for wood) and countersink bits to create neat, strong joints.
- Wood Glue: High-quality carpenter’s glue (like Titebond III). This is the unsung hero of a rigid joint.
- Safety Gear: Safety glasses and work gloves.
Hardware and Fasteners
- Wood Screws: #8 or #10 x 1-1/2″ and 2″ screws, coarse thread for wood. Get plenty—you’ll use more than you think. Consider brass screws for a finished look if going through the cabinet face.
- Cabinet Connecting Screws: Specialized screws (often 1-1/4″) with a large washer head, designed for joining cabinet cases. They are a great supplement to wood screws.
- Wall Anchors: If you cannot hit studs, you MUST use heavy-duty anchors rated for at least 75 lbs. each. Toggle bolts or metal expansion anchors are best. Never rely on drywall alone.
- L-Brackets or Steel Brackets: For additional reinforcement at the cabinet-to-wall connection points.
- Shims: Wooden shims for leveling the final unit against an uneven wall or floor.
Finishing Touches (Optional but Recommended)
- Crown Molding: To hide the joint between the top cabinet and the wall/ceiling.
- Base Shoe or Trim: To cover the gap at the floor and create a finished look.
- Lighting: LED tape light or puck lights with a motion sensor for illumination.
- Hardware: Handles or pulls for the doors.
The Assembly Line: Step-by-Step Stacking and Construction
Now, the moment you’ve been waiting for. This is a methodical process. Work on a clean, flat surface with ample room to maneuver the heavy cabinets.
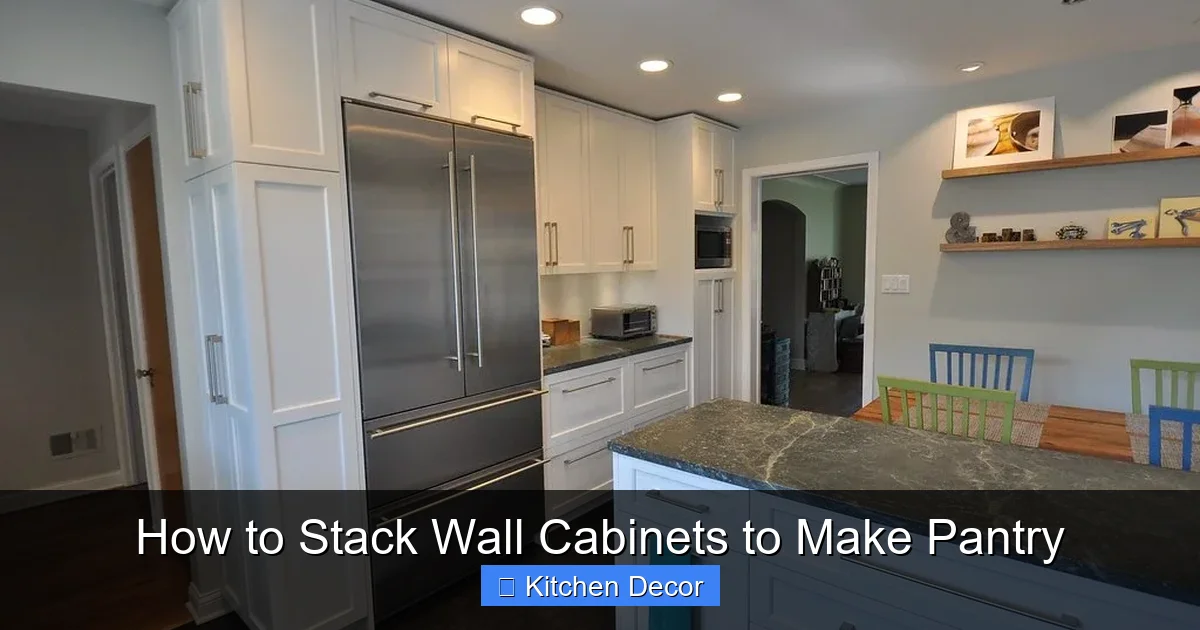
Visual guide about How to Stack Wall Cabinets to Make Pantry
Image source: cabinetsidea.com
Step 1: Prep and Layout
Lay all your cabinets on their backs, sides facing up. This is your assembly station. Using your plan, arrange them in the exact order they will stack. Double-check that all cabinet fronts are facing the same direction and that any finished sides (like end panels) are positioned as intended. If your cabinets have adjustable shelf pins, now is the time to pre-drill holes for your desired shelf heights in the interior.
Step 2: The Crucial Glue and Clamp
This is the step that turns two separate boxes into one solid unit. Apply a generous, continuous bead of wood glue to the top edge of the cabinet that will be the lower one (e.g., the top of your first base cabinet). Do NOT over-apply; a little goes a long way. Carefully lower the next cabinet onto it, aligning the sides perfectly. The glue will squeeze out slightly—wipe away excess immediately with a damp cloth.
Immediately clamp the two cabinets together. Place a clamp at the top, middle, and bottom on each side. The pressure from the clamps will force the cabinets into perfect alignment and squeeze the glue into the wood fibers for an incredibly strong bond. Use your level across the front and back to ensure they are perfectly aligned horizontally. Check that the vertical seams are flush. Let the glue set for at least 30-60 minutes before moving on.
Step 3: Reinforce with Screws
Once the glue has set (but before unclamping), it’s time to add mechanical strength. From the INSIDE of the cabinet (the back or sides), drive 2″ wood screws through the side panel of the upper cabinet and deep into the top frame or shelf of the lower cabinet. Space screws every 8-12″ along the joint. If your cabinets have a solid wood back panel, you can also screw through it. For a super-strong joint, you can add a 1×2 cleat inside the joint, but it’s often not necessary with quality glue and screws. Never screw through the front face of the cabinet—this will be visible and looks unprofessional.
For a three-cabinet stack, repeat the glue-and-clamp process for the third cabinet onto the already-joined pair. You are essentially building a single, very tall cabinet from the bottom up.
Step 4: Final Assembly and Prep for Wall
With the stack fully glued and screwed together, carefully flip it upright. It will be heavy. Have a helper! Place it in its final position against the wall. Use your level on the front, sides, and top to ensure it is perfectly plumb and level. You will likely need to shim behind the cabinet, especially if your wall or floor isn’t perfectly straight. Tap thin wood shims into the gaps between the cabinet back and the wall until the unit is level and plumb. Mark the stud locations on the outside of the cabinet sides through the shim gaps.
Securing to the Wall: The Non-Negotiable Safety Step
A freestanding stacked cabinet tower is a tipping hazard, especially if it’s tall and narrow. Securing it to the wall studs is absolutely critical for safety. This is not optional.
Finding and Marking Studs
Use a stud finder to locate the wall studs within the footprint of your cabinet. Mark their centerlines on the wall. You must have at least two solid attachment points, one high and one low, on each side of the cabinet that aligns with a stud. If your cabinet is wider than 24″, you may need a third stud in the center. If studs don’t align with your cabinet sides, you will need to use a strong backing board (like a 1×4 or 1×6) that spans between studs and screw the cabinet to that board.
Drilling and Installing
With the cabinet shimmed and level, mark through the pre-drilled holes in the cabinet back (most have holes for this purpose) onto the wall. If not, you’ll drill through the cabinet’s back panel or, better, through the cabinet’s side panel into the stud. Use a drill bit slightly smaller than your screw diameter to create pilot holes in the studs. Drive 2-1/2″ or 3″ wood screws (or lag screws for maximum holding power) through the cabinet and into the center of the studs. The screw heads should be countersunk so they don’t protrude.
For added security, install heavy-duty L-brackets at the top corners of the cabinet, screing one leg into the cabinet’s top frame and the other into the wall stud or ceiling joist. This prevents any forward tipping.
Checking for Stability
Once all screws are tightened and shims are secure, give the cabinet a firm, forward push at the top. It should not move at all. Any wobble means you missed a stud or the shims are inadequate. Address this before loading any weight.
Customization and Storage Solutions: Making it Yours
Now for the fun part! Your structure is sound. Let’s optimize the interior for your specific pantry needs.
Shelving Strategies
Standard cabinet shelves are often fixed. Replace them with:
- Adjustable Shelf Pins: The gold standard. Install shelf pin holes in rows on the cabinet sides for ultimate flexibility.
- Full-Extension Drawer Slides: Install these on a custom-built drawer box to create pull-out shelves for deep cabinets. This makes items in the back instantly accessible.
- Fixed Shelves: For heavy items like bulk flour or small appliances, a fixed shelf (screwed into cabinet sides) provides superior support.
Material: Use 3/4″ plywood or solid wood for shelves. Avoid particleboard for heavy loads.
Lighting the Interior
A dark pantry is useless. Install lighting:
- Hardwired Undercab Lighting: The cleanest solution. Install a low-voltage lighting system under the top cabinet’s soffit or inside the cabinet lip.
- Plug-in LED Strips: A simple, no-wire option. Adhesive-backed strips can be mounted inside the cabinet top or on the underside of shelves.
- Motion-Sensor Puck Lights: Battery-operated and easy to install. Perfect for a DIY solution that turns on automatically.
Door and Doorless Options
You can keep the original cabinet doors for a closed, tidy look. Or, remove them entirely for an open-shelving pantry vibe. If removing doors, consider:
- Adding a simple curtain on a tension rod for a soft, hidden look.
- Installing barn door hardware for a rustic, sliding door.
- Using decorative baskets on the lower shelves to contain items and add texture.
- Top Shelves: Light, rarely-used items (holiday bakeware, extra paper goods).
- Eye-Level Shelves: Everyday staples (canned goods, pasta, cereals).
- Lower Shelves: Heavy items (large bottles, appliances, bulk bags).
- Stackable Bins: To maximize vertical space within a shelf.
- Lazy Susans: For corner shelves or deep shelves to bring items forward.
- Can Organizers: Tilted racks that store cans on their sides for easy front-loading.
- Bread Boxes & Baskets: For countertop items like onions, potatoes, or bread.
Organization Principles for Your New Pantry
With your structure built, the final step is filling it intelligently. A well-organized pantry saves time and reduces food waste.
Zoning by Category
Dedicate specific shelves or zones to types of food:
Containment is Key
Use uniform clear bins with labels. For a stacked cabinet pantry, consider:
Label Everything
A label maker or simple chalkboard tags are your best friends. Label not just the bins, but the shelves themselves (“Breakfast,” “Baking,” “Snacks”). This system ensures everyone in the household knows where to find and return items, maintaining order.
Safety, Maintenance, and Final Thoughts
Your pantry is built and organized. Now, a few final considerations to ensure it lasts a lifetime.
Weight Distribution and Limits
Be mindful of weight. Standard wall cabinets are not designed for the same load as base cabinets. Distribute heavy items across multiple shelves, and never put all your bulk flour or canned goods on a single shelf. The total weight of the fully loaded stack is a major factor in the wall anchoring requirements. When in doubt, under-load rather than over-load.
Periodic Checks
Every 6 months, check the tightness of all screws—both the internal cabinet screws and the wall anchoring screws. Wood can dry and shrink slightly, potentially loosening joints. Re-tighten as needed. Check for any signs of wall stress around the anchor points.
When to Call a Pro
This is a manageable DIY project for a handy homeowner. However, call a professional if: your walls are plaster and lath (very difficult to anchor into), you are unsure about finding studs, your ceiling is low-headroom and the unit will be very tall (over 8′), or you simply do not feel comfortable working with heavy objects overhead.
Conclusion: Stacking wall cabinets to make a pantry is a deeply rewarding project that marries form, function, and frugality. It transforms a blank wall into the organizational heart of your kitchen. By respecting the process—planning with precision, gluing and screwing with care, and anchoring with absolute seriousness—you will create a beautiful, sturdy, and immensely useful pantry that will serve your home for years. Now, measure that wall and get started!
Frequently Asked Questions
Can I stack any type of wall cabinet?
Not all cabinets are ideal. You must use cabinets with identical depth (front-to-back measurement) and the same width for a clean, stable stack. Cabinets with solid wood or plywood sides are best for screwing into. Avoid using cabinets with severely damaged or particleboard sides for the main structural joints.
What is the maximum safe height for a stacked pantry?
There’s no universal number, but a good rule of thumb is to keep the total height under 8 feet (96 inches) for stability and ease of access. The taller and narrower the unit, the more critical the wall anchoring becomes. Always factor in your ceiling height, crown molding, and floor clearance into your total stack height calculation.
Do I really need to glue the cabinets together?
Yes, absolutely. Screws alone create a joint that can work loose over time and may allow for slight movement, causing doors to misalign. Wood glue creates a bond stronger than the wood itself, fusing the two cabinet boxes into one rigid unit. It is the foundation of a permanent, squeak-free assembly.
How do I handle it if my wall isn’t flat or my floor isn’t level?
You must shim the cabinet unit. Once the stack is assembled and placed against the wall, insert wooden shims into the gaps between the cabinet back and the wall. Tap them in until the cabinet is perfectly plumb and level. The shims transfer the load to the wall and ensure your final unit sits straight. You will then secure through the shims into the studs.
My cabinets are different depths. Can I still stack them?
You can, but it creates a “step-back” look and wasted space. The upper cabinet will sit back from the front of the lower one. This is generally not recommended for a pantry where you want to maximize usable shelf depth. It’s better to source cabinets with matching depths or modify a cabinet by cutting down its depth to match the others (a more advanced step).
Should I hire a professional for this project?
For a confident DIYer with basic tools and skills, this is a very achievable project. Hire a professional if you are uncomfortable using power tools, cannot locate wall studs, have unusual wall materials (like old plaster), are building an exceptionally tall unit (over 9 feet), or if the pantry will hold an extremely heavy load (like hundreds of pounds of canned goods). Safety is the top priority.