Remodeling your kitchen doesn’t mean eating takeout for months. With a little planning and the right setup, you can create a fully functional temporary kitchen that handles all your meal prep needs. This guide walks you through choosing the perfect spot, gathering must-have appliances, and organizing your space for maximum efficiency, so you can stay sane and well-fed throughout the entire renovation process.
The dust is settling (quite literally), the sledgehammers have done their work, and your beautiful, dream kitchen is just a few months away. But for now, you’re staring at a gutted room and a fridge full of groceries with nowhere to cook. The panic sets in. How do you set up a temporary kitchen during remodel without losing your mind and your budget to a mountain of takeout containers?
Take a deep breath. This is a solvable problem. A temporary kitchen isn’t about replicating your full-sized, appliance-laden culinary studio. It’s about smart adaptation. It’s the art of the possible, focused on efficiency, simplicity, and a dash of creativity. With a strategic plan, you can have a spot that brews coffee, chops vegetables, boils pasta, and even bakes cookies, all while your new cabinets are being installed. Let’s build your functional, stress-reducing command center for food.
Key Takeaways
- Location is everything: Choose a space with existing water and power if possible, like a laundry room, dining room, or garage, to minimize hassle and cost.
- Prioritize the “Big Three”: Secure a way to wash dishes (a large basin or portable dishwasher), a heat source (hot plate or toaster oven), and a refrigeration solution (cooler or mini-fridge) first.
- Embrace minimalism: You only need 10-15 essential items. Pare down to basics like a chef’s knife, cutting board, mixing bowls, and a few pots/pans to avoid clutter.
- Think vertically: Use wall space, over-the-door organizers, and rolling carts to store everything within easy reach without crowding your limited floor area.
- Plan simple meals: Shift your cooking style to one-pot meals, sheet pan dinners, salads, and slow cooker recipes that require minimal equipment and cleanup.
- Safety first: Ensure all temporary appliances are on dedicated circuits, keep flammable items away from heat sources, and have a working fire extinguisher nearby.
- Get the whole family involved: Assign cleanup and simple prep tasks to everyone to share the load and maintain order in your compact workspace.
📑 Table of Contents
- 1. Planning Your Strategy: Before the Wrecking Ball Swings
- 2. Choosing and Preparing the Location
- 3. The Essential Gear: What to Rent, Buy, or Borrow
- 4. Organization and Storage: Maximizing Every Inch
- 5. Cooking and Meal Planning in a Mini-Kitchen
- 6. Cleanup and Maintenance: The Daily Grind
- Conclusion: You’ve Got This
1. Planning Your Strategy: Before the Wrecking Ball Swings
Success here depends entirely on planning done *before* demolition day. Rushing to set up after the fact leads to frustration, wasted money, and a lot of cold cereal for dinner. Your first mission is to answer a few key questions.
Assess Your Available Space
Look around your home with a critical eye. Where could a kitchen live for 6-12 weeks? Common contenders are:
- The Dining Room: Often the best choice. It’s a large, open space near a power outlet and possibly a water source (if you have a butler’s pantry sink). You can fold a card table into a counter.
- The Laundry Room: A fantastic hidden gem. It almost always has a sink and water hookups. You might need a long extension cord for appliances, but the utility is huge.
- A Spare Bedroom or Large Walk-in Closet: If it’s near a bathroom (for water), this can be a dedicated, out-of-the-way zone. You’ll need to bring in all water and power solutions.
- The Garage: Only if it’s finished, insulated, and has power. It’s great for storage but can be unpleasant for daily cooking in extreme temps.
- The Basement: Similar to the garage—check for moisture, temperature, and adequate lighting.
Pro Tip: Walk the path from your chosen spot to your main fridge. You’ll be making this trip dozens of times a day. The shorter and more direct, the better.
Budgeting for the Interim
Set a realistic budget. You’re not buying a new suite of appliances. You’re sourcing workarounds. Allocate funds for:
- Renting or buying a mini-fridge or large cooler.
- Purchasing a portable induction cooktop or toaster oven.
- Buying or borrowing a few core pots/pans and utensils.
- Storage solutions (carts, shelves, bins).
- Disposables (paper plates, napkins) to cut down on washing.
Many items can be found secondhand, borrowed, or rented from party rental companies for a few dollars a day.
Create a “Must-Have” vs. “Nice-to-Have” List
Be brutally honest. Your temporary kitchen’s mantra is “function over form.”
- Must-Have (The Core Four): Refrigeration, a heat source, a way to wash dishes, and a surface to prep food.
- Nice-to-Have: A microwave (if you don’t have a toaster oven with that function), a coffee maker (essential for many!), a slow cooker, a small countertop dishwasher.
2. Choosing and Preparing the Location
Once you’ve scouted the spot, it’s time to prepare it. This is about creating a safe, efficient workflow.
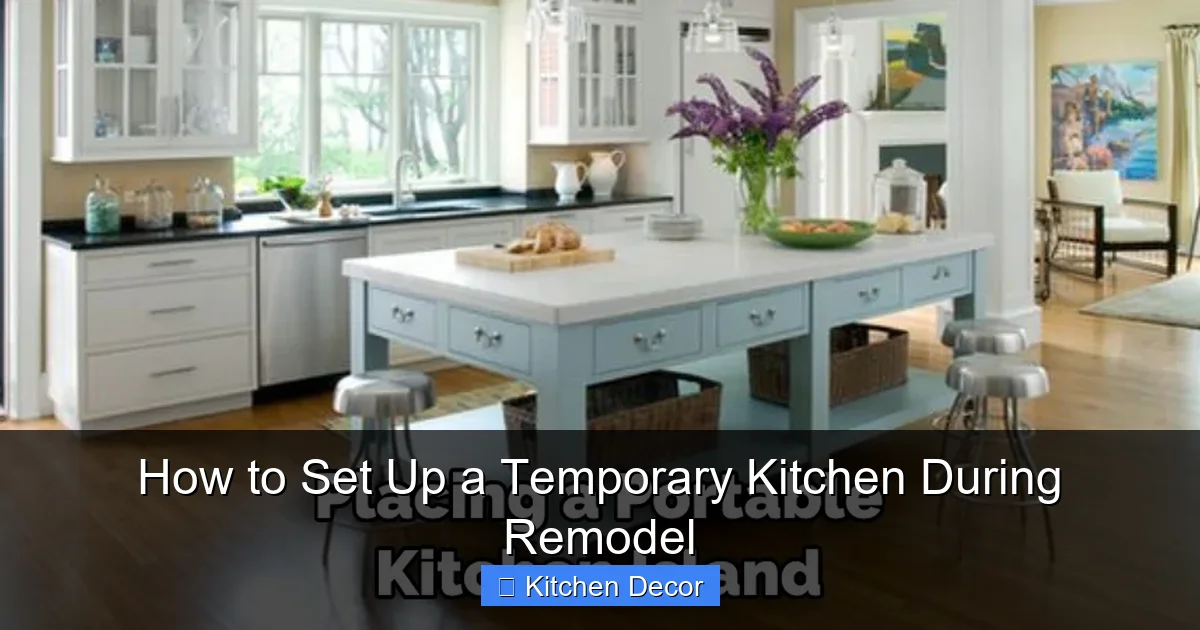
Visual guide about How to Set Up a Temporary Kitchen During Remodel
Image source: thekitchenix.com
Power and Water Solutions
This is your biggest constraint.
- Power: Identify which outlets are on which circuits. You cannot plug a 1500-watt hot plate and a microwave into the same circuit; it will trip the breaker constantly. Use a plug-in circuit tester if you’re unsure. Plan to distribute high-wattage items across different outlets, possibly in different rooms. Heavy-duty extension cords are a temporary must, but never run them under rugs.
- Water: If you don’t have a sink, your options are:
- The “Glorified Basin” Method: Use two large plastic tubs (one for soapy water, one for rinse) in your laundry room sink or even a bathtub. A sprayer attachment from the shower makes rinsing easy.
- Portable Sink: These are essentially a tub with a pump that pulls water from a jug and drains into a second jug. They work anywhere but require manual filling/emptying.
- Bottled Water: For drinking and minimal rinsing. Not ideal for dishwashing.
Work Triangle Optimization
Even in a tiny space, think about the classic kitchen work triangle: storage, prep, and cooking. Arrange your zones so you’re not walking in circles.
- Storage/Cold: Your mini-fridge/cooler.
- Prep: Your main table/counter surface.
- Cooking: Your hot plate/toaster oven area.
- Cleaning: Your washing station.
If space is extremely tight, your prep surface might double as your eating surface. That’s okay!
Ventilation and Safety
Frying or searing on an induction cooktop creates steam and smells. Open a window or run an exhaust fan if available. Keep all flammable items (paper towels, dishcloths, curtains) far from your heat source. Have a Class K fire extinguisher (for cooking fires) mounted on the wall within arm’s reach of your cooking station. This is non-negotiable.
3. The Essential Gear: What to Rent, Buy, or Borrow
Forget the blender you use once a year. Focus on these core items that will see daily action.
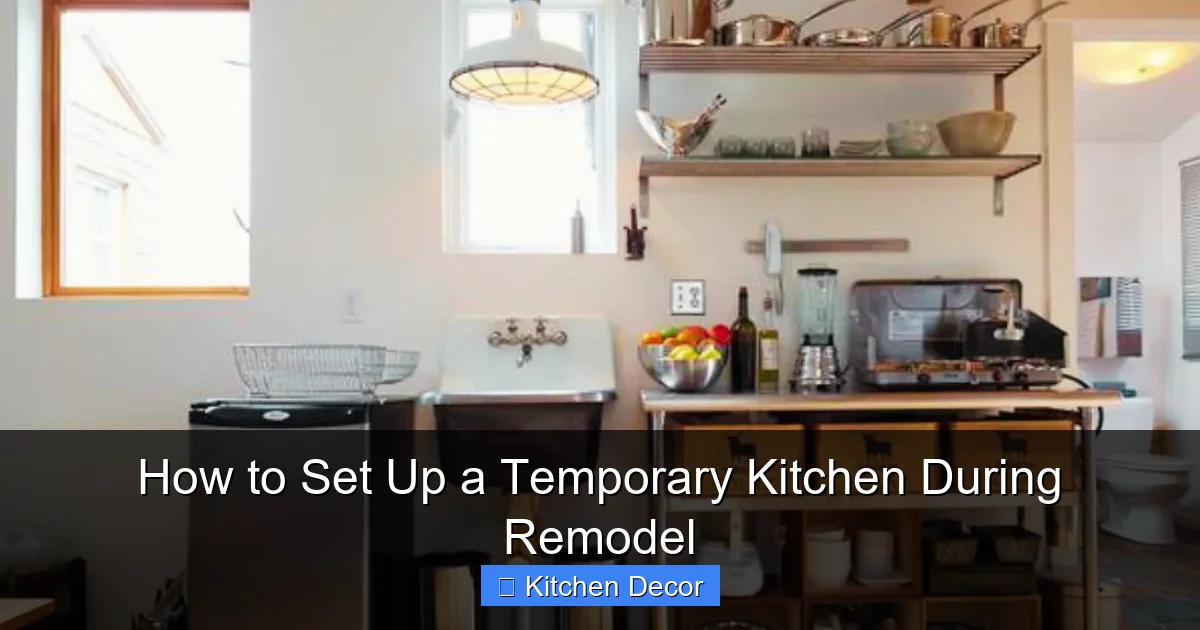
Visual guide about How to Set Up a Temporary Kitchen During Remodel
Image source: paylesskitchencabinets.com
The Cold Chain: Refrigeration
- Best: A rented or purchased compact mini-fridge (4-5 cubic feet). It keeps everything cold and has a small freezer for ice.
- Good: A large, high-quality cooler (like a Yeti or RTIC) with block ice. You’ll need to drain meltwater and replenish ice every 1-2 days. Best for shorter remodels or if you have a fridge nearby for overflow.
- Bare Minimum: A small cooler for daily essentials and a daily trip to the main fridge (if accessible) for restocking.
The Heat: Cooking Appliances
- #1 Recommendation: An Induction Cooktop. It’s safe, fast, efficient, and the surface is easy to clean. It requires magnetic-bottom pots/pans (check your existing set). One or two burners are perfect.
- #2 Workhorse: A Toaster Oven. Get a large, convection model. It can toast, bake, roast, and even broil small items. It replaces a full oven for most weeknight meals.
- Other Heroes: A slow cooker (set it and forget it), an electric pressure cooker/Instant Pot (multitasks brilliantly), a single-burner electric or butane stove (for outdoor use if needed).
- Skip: A standalone electric range. They are bulky, inefficient, and use massive power.
The Wash: Dishwashing Solutions
- Portable Dishwasher: A game-changer if you have the space, water hookup (to a sink or faucet adapter), and power. It connects to your kitchen faucet and drains into the sink.
- The Two-Tub System: Two large plastic dishpans (soap, rinse) and a dish rack. Simple, cheap, and effective with a nearby sink.
- Disposables: Stock up on paper plates, bowls, and plastic utensils for the truly exhausted days. It’s not eco-ideal, but it’s a temporary lifeline.
The Prep: Tools and Surfaces
- Surface: A folding card table with a sturdy piece of butcher block or thick countertop laminate on top makes a fantastic, spacious prep and eating surface. A kitchen cart with a butcher block top is a premium, mobile option.
- Tools: One excellent chef’s knife, a paring knife, a large cutting board (foldable or over-the-sink type saves space), a set of mixing bowls (nested), a colander, a few good pots (a 2-qt and a 4-qt saucepan), and one large skillet (10-12″). That’s your core cookware.
4. Organization and Storage: Maximizing Every Inch
Clutter is the enemy of a happy temporary kitchen. Every item needs a designated, accessible home.
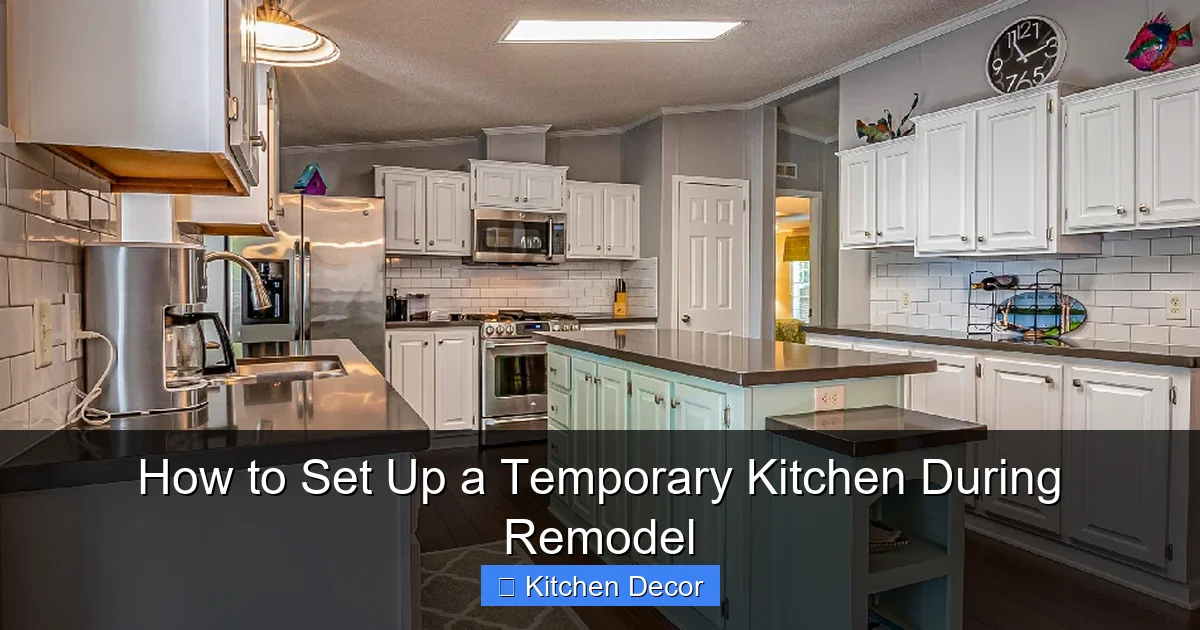
Visual guide about How to Set Up a Temporary Kitchen During Remodel
Image source: thekitchenix.com
Go Vertical with Wall Space
Install a simple rail system (like a pot rack rail) on the wall above your main surface. Hang your most-used pots, pans, and utensils with S-hooks. Use a magnetic knife strip. This clears precious counter space.
Use the Back of Doors and Cart Sides
Over-the-door organizers with clear pockets are perfect for storing spices, packets, tea bags, and small tools. Attach a wire rack to the side of your cart for holding paper towels, trash bags, and frequently used oils.
Roll with It
A sturdy kitchen cart is your best friend. Use it for:
- Storage of oils, spices, and everyday dishes.
- As a mobile prep station you can roll to the fridge or sink.
- As a serving tray for meals.
Choose one with locking wheels so it doesn’t skate away during use.
The “Pantry” Bin System
Use a set of identical, labeled plastic bins (from the dollar store) on a shelf or in a closet. One for baking, one for pasta/grains, one for canned goods, one for snacks. Pull the whole bin out when you need something. No rummaging.
5. Cooking and Meal Planning in a Mini-Kitchen
Your cooking style must adapt. This is not the time for elaborate, multi-pot recipes.
Embrace the One-Pot/One-Pan Meal
This is your holy grail. Search for:
- Sheet Pan Dinners: Chicken thighs, veggies, and potatoes all roast together on your toaster oven sheet.
- Stir-Fries: Cook protein and veggies in your large skillet, add sauce, serve over rice (cooked in your rice cooker or pot).
- Pastas and Soups: Cook directly in your 4-qt saucepan. Finish with a handful of greens and a drizzle of oil.
- Slow Cooker/Crock-Pot Meals: Dump ingredients in the morning, come home to stew, chili, or pulled chicken.
Leverage Your Small Appliances
- Air Fryer: Incredibly versatile for “fried” foods, roasting veggies, and reheating without the oven’s bulk.
- Immersion Blender: Makes soups and sauces directly in the pot, no transferring to a blender.
- Electric Kettle: For boiling water for pasta, tea, or instant grains faster than a pot.
Prep in Batches
When you *do* have a good cooking session, make double. Freeze half for a “no-cook” night later. Wash and chop veggies for several days’ worth of salads and stir-fries and store them in containers. This front-loads the work and makes busy weeknights manageable.
6. Cleanup and Maintenance: The Daily Grind
In a tiny space, a 15-minute cleanup spiral can turn a kitchen into a disaster zone in minutes.
The “Clean As You Go” Mandate
This is the #1 rule. While something is simmering, wash the prep bowl and knife you just used. Wipe the counter immediately after a spill. Put ingredients away as you finish with them. It’s the only way to stay on top of it.
Streamline the Dish Process
- Have a dedicated “soak” bin for really greasy pans right next to the sink.
- Use a dish brush with soap reservoir for quick hand-washing.
- If using a two-tub system, change the rinse water when it gets too soapy or cold.
- Air-dry dishes on a rack placed on a towel to catch drips. Wash the rack itself weekly.
Trash and Recycling Management
Get a small bin with a lid that you empty daily. Have a separate bag or bin for recycling right next to it. In a compact space, food waste smells multiply quickly. Take it out every night without fail.
Weekly Reset
Pick one low-traffic time (Sunday morning?) to do a full wipe-down of all surfaces, clean the toaster oven and cooktop, mop the floor, and reorganize any chaos that built up during the week. This 20-minute reset prevents the space from feeling permanently grimy.
Conclusion: You’ve Got This
Setting up a temporary kitchen during a remodel is not about perfection. It’s about resilience and pragmatism. It’s the satisfaction of making a real, home-cooked meal in the middle of a construction zone. By focusing on the essentials—cold, heat, wash, and prep—choosing your location wisely, and committing to ruthless organization, you transform a potential nightmare into a manageable, even empowering, chapter of your home renovation. You’re not just surviving the remodel; you’re adapting and thriving. Now, go make some pasta.
Frequently Asked Questions
How long does it typically take to set up a temporary kitchen?
With a plan and the right gear, you can have a fully functional temporary kitchen set up in one afternoon. The bulk of the time is spent clearing and organizing your chosen space, not installing anything complex.
Can I use my existing kitchen appliances in the temporary space?
It depends. Small countertop appliances like a coffee maker, toaster, or blender are perfect. Large built-in appliances like your refrigerator or oven/stove are usually not feasible to move unless you have a nearby space with the proper utility hookups and space.
What is the absolute minimum I need to cook basic meals?
You need: 1) A refrigeration solution (mini-fridge or cooler), 2) A heat source (induction cooktop or toaster oven), 3) A way to wash dishes (basin and soap), 4) A surface to work on (folding table), 5) A chef’s knife, cutting board, one pot, one pan, and a few utensils.
How do I handle dishwashing without a sink?
Use a two-tub system with large plastic bins. One for hot, soapy water, one for cold rinse water. Use a spray bottle filled with rinse water for a final rinse. This method conserves water and works anywhere with a source to fill the tubs (a bathtub or shower works great).
Is it safe to use multiple high-wattage appliances at once?
Generally, no. You must know which outlets are on the same electrical circuit. Running a 1500-watt hot plate and a 1200-watt toaster oven on the same circuit will almost certainly trip the breaker. Distribute your appliances across different outlets/circuits and never use multiple high-wattage items simultaneously on the same circuit.
Should I spend money on a portable dishwasher?
If you have the space, a water hookup (to a sink or faucet adapter), and the budget, a portable countertop dishwasher can be a huge quality-of-life upgrade. It saves significant time and water compared to hand-washing. For most, the two-tub hand-wash method is the more common and cost-effective solution.