Decorating the top of your china cabinet is the secret to a cohesive, stylish room. It’s all about creating a balanced, layered display that reflects your personality without looking cluttered. Master the art of mixing heights, textures, and personal collections to turn this overlooked space into your home’s most charming vignette.
Key Takeaways
- Start with a Theme or Color Palette: A cohesive vision prevents a chaotic look. Tie your display to the room’s decor or a personal passion.
- Embrace the Rule of Three & Layering: Group items in odd numbers and layer pieces front-to-back for depth and visual interest.
- Mix Heights, Textures, and Shapes: Combine tall and short, smooth and rough, round and angular objects to create dynamic balance.
- Incorporate Personal and Seasonal Touches: Use family heirlooms, travel souvenirs, or seasonal greenery to keep the display fresh and meaningful.
- Mind the Scale and Negative Space: Ensure items are proportional to the cabinet and leave breathing room; avoid overcrowding.
- Consider Lighting and Practicality: Use battery-operated puck lights or small lamps to highlight your display and make dusting manageable.
- Edit Ruthlessly: Step back often. If something feels off, remove it. A few perfect pieces are better than many good ones.
📑 Table of Contents
- Why the Top of Your China Cabinet Deserves Your Attention
- Foundational Principles: Before You Place a Single Item
- Choosing Your Theme: From Cohesive to Curated
- Essential Styling Tools and Item Categories
- Step-by-Step Styling: From Blank Canvas to Beautiful Display
- Common Mistakes to Avoid (And How to Fix Them)
- Seasonal and Occasional Refreshes: Keeping It Alive
- Conclusion: Your Gallery, Your Story
Why the Top of Your China Cabinet Deserves Your Attention
Let’s be honest. For years, the top of your china cabinet was a black hole. A dusty, forgotten landing spot for old TVs, extra lamps, or that awkwardly sized vase you didn’t know where else to put. You polished the glass doors, arranged the perfect shelves inside, and then… you just stopped. You looked up and saw blank, wasted space. What if I told you that learning how to decorate the top of a china cabinet is one of the easiest, most transformative things you can do for your entire room’s aesthetic?
This prime real estate, often called a “gallery ledge” or “display plinth,” is your room’s crown. It sits at eye level, drawing the gaze upward and completing the vertical story of your space. A well-decorated top adds height, personality, and a collected-over-time feel that nothing else can. It connects your furniture to your ceiling, your floor to your walls. It’s the final, crucial sentence in your room’s design paragraph. Ignoring it leaves your room feeling unfinished, like a painting without a frame. So, let’s change that. Let’s turn that blank canvas into a masterpiece.
Foundational Principles: Before You Place a Single Item
Before we dive into specific ideas, you need a design compass. Wing it without these principles, and you’ll end up with a cluttered, messy look that creates visual anxiety instead of joy. Think of these as your non-negotiable rules for how to decorate the top of a china cabinet.
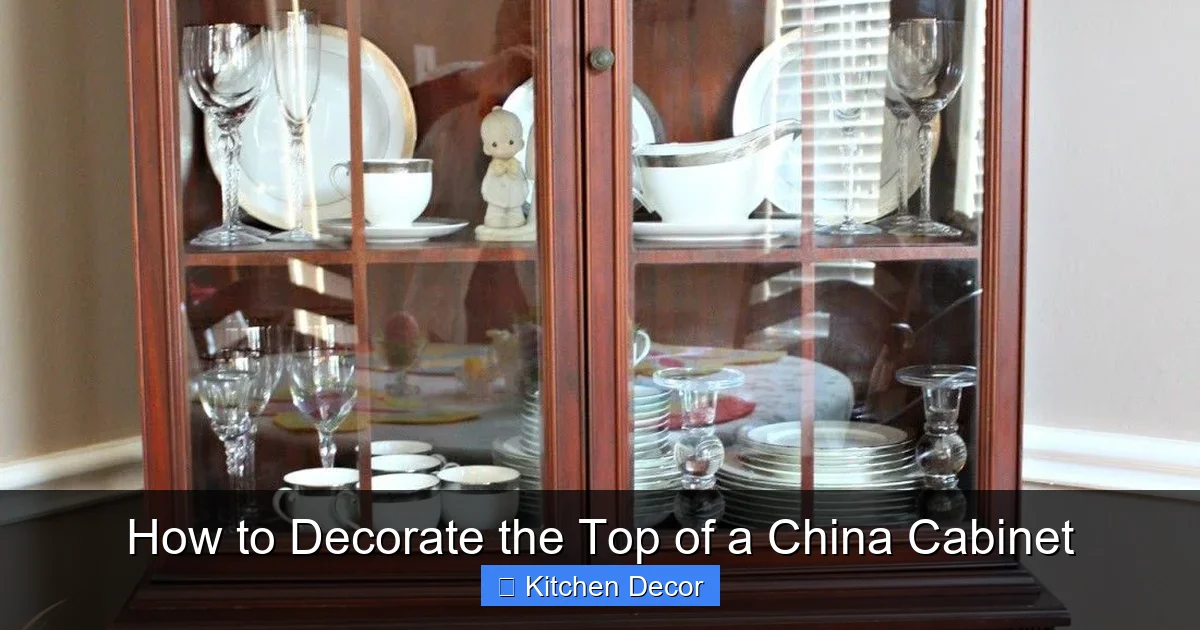
Visual guide about How to Decorate the Top of a China Cabinet
Image source: i.pinimg.com
The Golden Rule: Balance and Scale
Your cabinet top is a stage, and every item is an actor. You wouldn’t cast a giant as the lead in a tiny indie film, right? The same goes here. A massive, bulky sculpture will overwhelm a slim, delicate cabinet. Conversely, a few tiny trinkets on a vast, deep surface will look lost and insignificant. First, measure your cabinet’s depth and width. Your goal is to fill about 60-70% of the surface area, leaving 30-40% as intentional “negative space” or breathing room. This negative space is crucial—it gives the eye a place to rest and makes your chosen items look more intentional and less like an accidental pile.
The Magic of Odd Numbers and Groupings
Our brains love odd numbers. Groups of three, five, or seven feel more natural, dynamic, and artistic than even-numbered arrangements. Start by creating a few small “clusters” or “vignettes” of 3-5 related items. These clusters can then be arranged along the cabinet’s length. For example, you might have one cluster of a lamp, a stack of books, and a small plant on the left; a central, taller statement piece; and another cluster on the right. This creates rhythm and movement.
Layer, Layer, Layer: The Front-to-Back Technique
Flat displays are boring displays. The secret to professional-looking depth is layering. Don’t just place everything in a single row. Place taller items toward the center or back, medium items in front of them, and shortest, flattest items right at the very front edge. This creates a sense of landscape, like looking at a rolling hill. A simple way to start: place your tallest object (a vase, a sculptural lamp) slightly off-center. In front of it, place a medium-height object like a stack of two books or a small box. Then, right at the front edge, place a tiny, delicate object—a single ceramic bead, a small crystal, a sprig of dried grass. Boom. Instant depth.
Choosing Your Theme: From Cohesive to Curated
Now for the fun part: deciding what story your cabinet top will tell. A theme is your guiding light. It doesn’t mean everything has to match perfectly; it means everything should feel like it belongs in the same conversation.
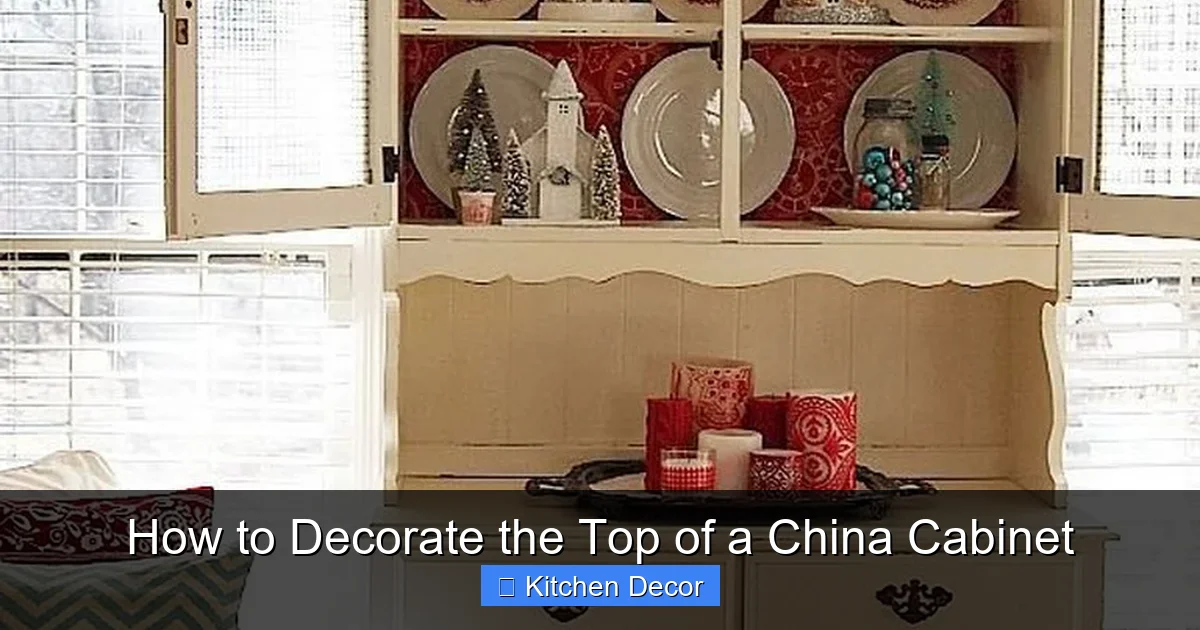
Visual guide about How to Decorate the Top of a China Cabinet
Image source: i.pinimg.com
Monochromatic & Textural
This is a sophisticated, foolproof approach. Pick one color—say, cream, navy, or sage green—and collect objects in varying shades and textures of that color. Think a cream ceramic vase, a beige linen-covered box, a sand-colored stone, a whitewashed wooden bowl, and a piece of bleached coral. The unity comes from the color palette, while the variety comes from the textures (smooth, rough, nubby, glossy). It feels intentional, calm, and very gallery-like.
Travel & Memory Lane
Your cabinet top is the perfect place for souvenirs that are too pretty or interesting to be stuck in a drawer. A blue-and-white porcelain piece from Portugal, a hand-carved wooden animal from Africa, a small, ornate box from a grandparent’s attic. The key here is to edit. Don’t put every trip memento out at once. Rotate them seasonally. Combine a travel souvenir with something from your everyday life—like placing that small Italian pottery next to your favorite current novel and a houseplant. This grounds the exotic and makes it part of your daily story.
Nature-Inspired & Organic
Bring the calming power of nature indoors. This theme is about shapes and materials: wood, stone, ceramic, dried grasses, rattan, and living plants. Think a collection of different-sized wooden bowls, a smooth river stone, a few pieces of driftwood, and a trailing pothos or a resilient ZZ plant in a simple pot. The look is earthy, relaxed, and warm. For a pop of life, use a small, shallow dish with a single stunning orchid or a cluster of succulents.
Modern Minimalist
Less is absolutely more here. Choose one or two stunning, sculptural objects. A single, dramatic black ceramic vase. A geometric metal sculpture. One large, beautiful piece of coral or petrified wood. The entire display might be just two or three items, but they are powerful, quiet, and intentional. This approach requires confidence and excellent pieces, but the result is breathtakingly serene.
Essential Styling Tools and Item Categories
What exactly do you put up there? You don’t need to buy a bunch of new decor. Look around your home! But knowing the core categories helps you build a balanced display.
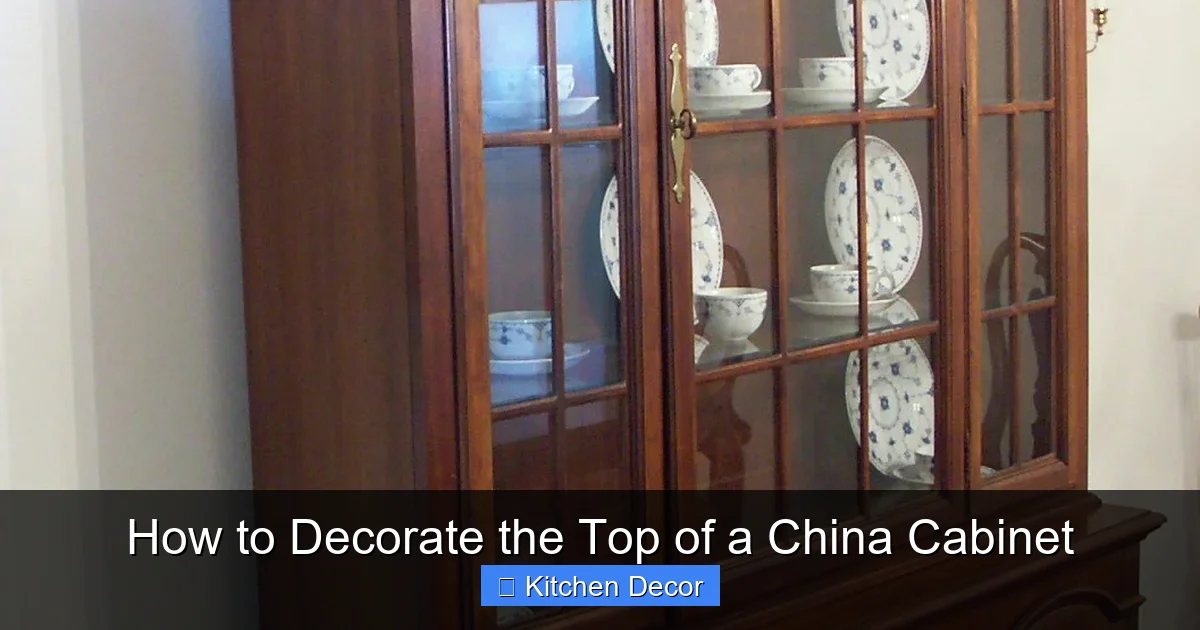
Visual guide about How to Decorate the Top of a China Cabinet
Image source: ebth-com-production.imgix.net
Height-Givers: The Backbone of Your Display
These are your tallest elements, usually 12-24 inches high. They create the skyline of your vignette. Examples: a floor lamp (smaller ones), a tall vase, a sculptural candlestick, a framed vertical artwork or mirror leaning against the wall behind the cabinet, a large glass bottle, a stacked collection of vintage books (bindings out). Place these strategically—often slightly off-center to create asymmetry, or one central piece flanked by shorter groups.
Mid-Size Anchors: The Workhorses
These are the 6-12 inch pieces that fill the middle ground and hold everything together. Examples: medium-sized pottery, a decorative box, a stack of 2-3 books (horizontal), a small table lamp (make sure the cord can reach a outlet discreetly!), a large candle, a small basket or bowl. These anchor your clusters and provide surfaces to layer smaller items upon.
Small Finishing Touches: The Details That Delight
These are your tiny treasures, under 6 inches. They are the “jewelry” of your display. Examples: a single beautiful stone or geode, a small ceramic figure, a vintage key, a tiny dish for rings, a sprig of dried botanicals (like pampas grass, eucalyptus, or lavender), a small piece of coral or shell. Scatter these at the very front edge of your clusters, on top of your mid-size anchors, or nestled in a small bowl. They reward close looking.
The Living Element: Plants and Botanicals
Nothing adds life and softness like a plant. For a cabinet top, you need low-light tolerant, slow-growing, and not-too-tall varieties. Perfect picks: Pothos, Philodendron, Snake Plant (Sansevieria), ZZ Plant, small Peace Lily, or even a pot of herbs like rosemary. Use a simple, neutral pot. For a no-water option, high-quality artificial plants or dried floral arrangements (a single stem in a tiny vase, a small bundle of wheat or pampas) work beautifully.
Lighting: The Final Layer
Lighting is the secret weapon. A small, battery-operated puck light or a tiny LED string light tucked behind objects can create a magical, spotlight effect after dark. Consider a very small, corded table lamp with a beautiful shade—just ensure the cord is neatly taped or hidden along the cabinet’s back edge to a nearby outlet. A lit display feels warm, inviting, and special.
Step-by-Step Styling: From Blank Canvas to Beautiful Display
Ready to put it all together? Follow this process.
Step 1: Clear and Clean. Remove everything. Dust and polish the cabinet top thoroughly. This is your blank slate.
Step 2: Gather Your Candidates. Bring all potential items from around the house to the floor in front of the cabinet. Don’t limit yourself to “decor.” Include books, beautiful kitchenware (a perfect ceramic pitcher, a stack of nice plates), interesting boxes, small plants, framed photos.
Step 3: Create Your Anchor. Place your tallest, most dominant item first. Often, this goes slightly off-center (the rule of thirds: imagine the space divided into nine squares; place your anchor on one of the intersection points). This could be a lamp, a tall vase, or a leaning piece of art.
Step 4: Build Clusters. On either side of your anchor, build your smaller groups. Use the front-to-back layering technique. For each cluster: place a mid-size item slightly behind your anchor’s line, then a smaller item in front. Vary the shapes—round next to angular, tall next to squat.
Step 5: Add the Finishing Touches. Now, sprinkle in your tiny details. Tuck a small stone into the curve of a vase. Place a single dried flower stem in a tiny vase on a book stack. Let a plant trailing gently over the cabinet’s edge.
Step 6: Step Back and Edit. This is the most important step. Walk across the room. Look from different angles. Does it feel balanced? Does your eye have a clear path? Is there a spot that feels too heavy or too empty? Remove one or two items. Often, less is more. Try a different arrangement entirely. Keep editing until it feels perfectly “right.”
Common Mistakes to Avoid (And How to Fix Them)
Even with the best intentions, a few pitfalls can make your display look messy. Here’s how to sidestep them.
Mistake 1: The “Line of Soldiers” Effect
The Problem: Placing all items in a straight, uniform row at the same height. It looks rigid, boring, and like you’re afraid to commit to a composition.
The Fix: Break the line! Use the layering technique. Have items at three different depths. Place a tall piece slightly forward, a medium piece behind it, and a small piece at the very front. Create asymmetric clusters instead of symmetric ones.
Mistake 2: Forgetting the “Negative Space” Diet
The Problem: Cramming every cute thing you own onto the surface. The result is visual noise; the eye doesn’t know where to look, and it feels chaotic and stressful.
The Fix: Embrace empty space. Your items should occupy about two-thirds of the surface at most. If it feels crowded, remove 20% of the items. You can always rotate them in later. The space around your objects makes them look more important.
Mistake 3: Ignoring the Cabinet’s Own Style
The Problem: Putting a sleek, modern sculpture on top of a traditional, ornate oak china cabinet, or vice versa. The clash creates dissonance.
The Fix: Let your cabinet’s style guide you. A traditional cabinet pairs well with classic blue-and-white porcelain, gilt picture frames, or arranged silver teapots. A modern, clean-lined cabinet loves minimalist pottery, abstract shapes, and monochromatic schemes. You can mix eras slightly (a vintage item on a modern cabinet can work), but ensure there’s a unifying color or material to bridge the gap.
Mistake 4: Creating a Dust Trap
The Problem: Designing a display with intricate nooks, deep crevices, and delicate fabrics that are impossible to dust. What starts as beautiful becomes a chore.
The Fix: Design for maintenance. Avoid deep, shadowy areas where dust collects. Use smooth, wipeable surfaces. If you love textiles, choose ones with tight weaves (like canvas) or place them in a protected spot, like inside a large glass cloche. Ensure any plants are in stable pots that won’t tip easily when you move them to water.
Seasonal and Occasional Refreshes: Keeping It Alive
A static display gets stale. The joy of this space is its flexibility. A few simple swaps keep it feeling current and connected to your life.
Spring/Summer: Light and airy. Bring in fresh flowers (a small bouquet in a bud vase), potted herbs, lighter colors (yellows, greens, sky blue), and natural materials like seagrass or rattan. Swap a heavy book for a light, linen-covered box.
Fall/Winter: Warm and cozy. Incorporate richer colors (burgundy, mustard, forest green), textures (wool, knit, faux fur), and elements like pinecones, dried orange slices, cinnamon sticks, and small mercury glass votives. A small, flickering battery-operated candle adds instant warmth.
Holidays: This is where you can go all out. For Christmas, a small Fraser fir in a pot, red berries, gold ornaments. For Halloween, a few mini pumpkins, black candlesticks. For Valentine’s, pink hearts, dried roses. The key is to use a few well-chosen holiday items within your existing framework, not to cover every inch. Tuck a few red berries into your existing plant pot, place a small heart sculpture next to your regular vase.
Personal Milestones: Use this space to celebrate! After a trip, add one new souvenir. For a birthday, place a framed photo from the year. It becomes a living timeline of your life.
Conclusion: Your Gallery, Your Story
Learning how to decorate the top of a china cabinet is more than a design task; it’s an act of curation and self-expression. It’s about taking that forgotten shelf and claiming it as your own personal gallery. There are no strict rules, only principles to guide you. Start with what you already own—that beautiful bowl from your wedding, the rock from your favorite hiking trail, the book that changed your perspective. Build slowly, layer thoughtfully, and edit bravely.
Your home should tell your story, from the floor to the ceiling. The top of your china cabinet is the final, crowning chapter of that story in your living room or dining room. It’s the spot that catches your eye when you enter the room, the conversation starter for guests, and the little piece of joy you see when you’re cleaning. Don’t let it be an afterthought. Turn it into a destination. Gather your treasures, trust your instincts, and create a display that is uniquely, unmistakably you. After all, the best decor isn’t found in a magazine; it’s found in the things you love. Now, go decorate.
Frequently Asked Questions
How high should items on top of a china cabinet be?
Items should generally be between 12 and 24 inches tall to be proportionate. Your tallest item should be no more than 1.5 times the height of the cabinet itself to avoid overwhelming it. The goal is to complement the cabinet, not compete with it.
What if my china cabinet is against a wall with a window behind it?
This is a great opportunity! Use the natural light. Place lighter, translucent items (like glass vases or a clear sculpture) where light can pass through them. You can also lean a beautiful framed piece of art or a mirror against the wall behind the cabinet, propped on the top, to reflect the light and view.
How do I prevent dust from building up on my decorated cabinet top?
Design with dusting in mind. Avoid deep, enclosed spaces where dust settles. Use smooth, non-porous surfaces like glass, metal, and glazed ceramic. Place plants in stable pots you can easily move. Keep a small, soft-bristled paintbrush or a handheld vacuum with a soft brush attachment nearby for quick weekly touch-ups around your items.
Can I put heavy items on a glass or mirrored cabinet top?
Extreme caution is needed. First, check the manufacturer’s weight limit. Never place heavy items directly on the edge. Center weight on the cabinet’s structural supports. For very heavy pieces (like a large stone or metal sculpture), consider placing a thin, rigid board (like a piece of plywood painted to match) underneath the item to distribute the weight more evenly across the surface.
Should the decor on top match the dishes inside the cabinet?
Not necessarily, but it should complement the overall room style. If your inside dishes are formal china, your top decor can be a more relaxed, modern contrast, or it can echo the china’s pattern or color subtly. The connection is more about the room’s cohesive feel than matching the interior contents exactly.
What’s the best way to incorporate lighting without visible cords?
Battery-operated LED puck lights or small, cordless lamps are your best friends. Stick them under the overhang of the cabinet top or behind objects to create an upward glow. For a corded option, use a very small table lamp and run the cord discreetly along the back edge of the cabinet, securing it with clear command hooks, then down the wall to an outlet hidden behind furniture.