Seasoning a wok with a wooden handle is a crucial two-part process. You must build a durable, polymerized oil layer on the carbon steel cooking surface while strictly protecting the wooden handle from heat and moisture. This creates a natural, non-stick patina and prevents rust, but requires careful technique to avoid damaging the handle. Success hinges on using the right oil, controlling heat, and understanding that the wood and metal have completely different care needs.
Key Takeaways
- Separate Care Zones: Treat the carbon steel cooking surface and the wooden handle as two distinct areas requiring completely different protection during seasoning.
- Oil Choice is Critical: Use high-smoke-point oils like grapeseed, avocado, or refined peanut oil. Avoid low-smoke-point or flavored oils that will become sticky or rancid.
- Heat Control is Non-Negotiable: The wok must get hot enough to polymerize oil (around 450°F/230°C), but the wooden handle must never be subjected to direct, sustained heat or steam.
- Protect the Wood Proactively: Always wrap the handle in aluminum foil during stovetop seasoning to shield it from radiant heat and oil splatters.
- Patience Builds Patina: A proper seasoning requires 3-5 thin, even layers applied over several days. Rushing with thick layers leads to a sticky, uneven surface.
- Cleaning Post-Seasoning: After the initial seasoning, clean with hot water and a soft brush or non-metal scrubber. Never use soap on a well-seasoned wok, and always dry it immediately and thoroughly.
- Maintenance is Ongoing: Seasoning is not a one-time event. Regular cooking with fatty foods and proper cleaning maintains and improves the patina over a lifetime.
📑 Table of Contents
- Why Seasoning a Wok with a Wooden Handle is Different (and Crucial)
- Understanding Your Tools: Carbon Steel vs. Wood
- Pre-Seasoning Preparation: The Essential First Steps
- The Seasoning Process: A Step-by-Step Guide
- Post-Seasoning Care and Daily Maintenance
- Troubleshooting: Sticky Residue, Rust, and Uneven Seasoning
- Conclusion: A Lifetime of Cooking Awaits
Why Seasoning a Wok with a Wooden Handle is Different (and Crucial)
You’ve just unboxed your beautiful new carbon steel wok, complete with a classic, ergonomic wooden handle. It feels solid, authentic, and ready for stir-frying. But before the first drop of oil hits the surface, there’s a vital, non-negotiable step: seasoning. Seasoning transforms the bare, raw carbon steel into a smooth, naturally non-stick, rust-resistant cooking surface. It’s the foundation of everything you’ll ever cook in that wok.
However, the presence of a wooden handle completely changes the game. Unlike a full metal wok that you can heat uniformly, your wok has a natural material attached that is terrified of heat and moisture. Your goal becomes a delicate balancing act: creating a perfect polymerized oil layer on the metal bowl while executing a flawless defensive operation to keep your wooden handle pristine, dry, and intact. One misstep—a stray oil splatter on the handle, a blast of heat from your gas burner licking up the side—and you can warp the wood, cause cracks, or create a sticky, ruined mess. This guide will walk you through this precise process, ensuring your wok is perfectly seasoned and your handle remains a beautiful, functional part of the tool for decades.
Understanding Your Tools: Carbon Steel vs. Wood
The Living Metal: Carbon Steel’s Nature
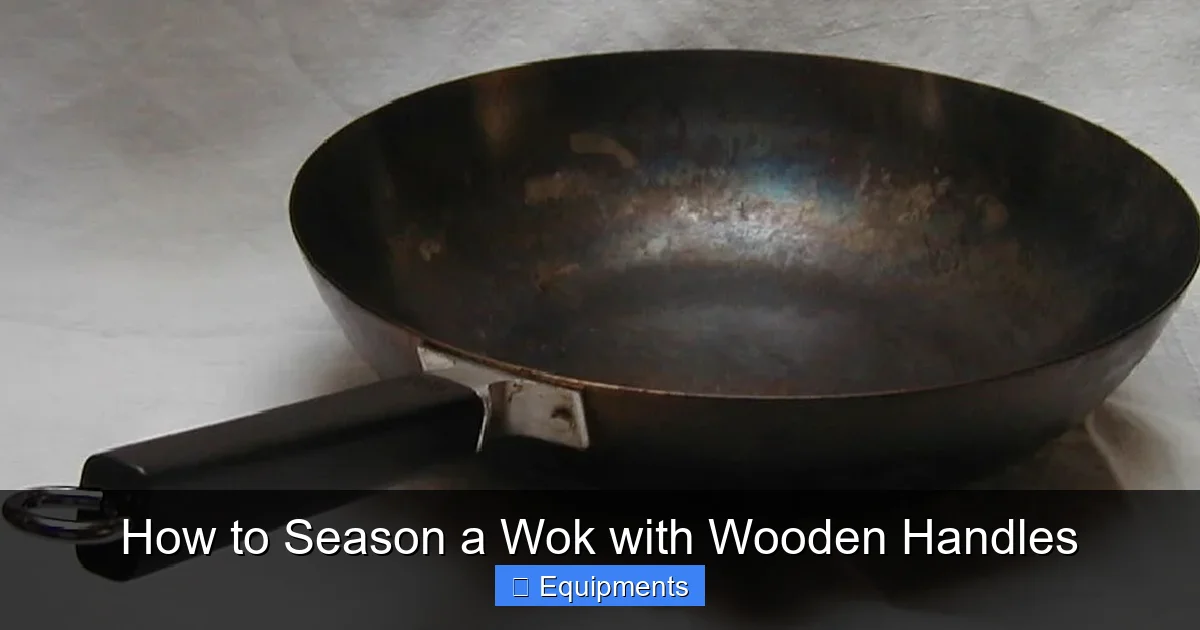
Carbon steel is not stainless steel. It’s an incredibly dense, porous iron alloy with a tiny amount of carbon. When new, it’s a blank slate—prone to rusting instantly if left wet and offering no natural non-stick properties. Its beauty lies in its ability to change. Through a process called polymerization, when you heat oil to its smoke point on the steel, the oil molecules break down and cross-link, forming a hard, plastic-like layer that bonds to the microscopic peaks and valleys of the metal. This layer fills the pores, creates a smooth surface, and protects the steel from oxygen and moisture. This is your seasoning. It gets better with age, developing a dark, almost blue-black patina that is the mark of a well-loved wok.
Visual guide about How to Season a Wok with Wooden Handles
Image source: eduwoodentoys.com
The Organic Counterpart: Wood’s Vulnerabilities
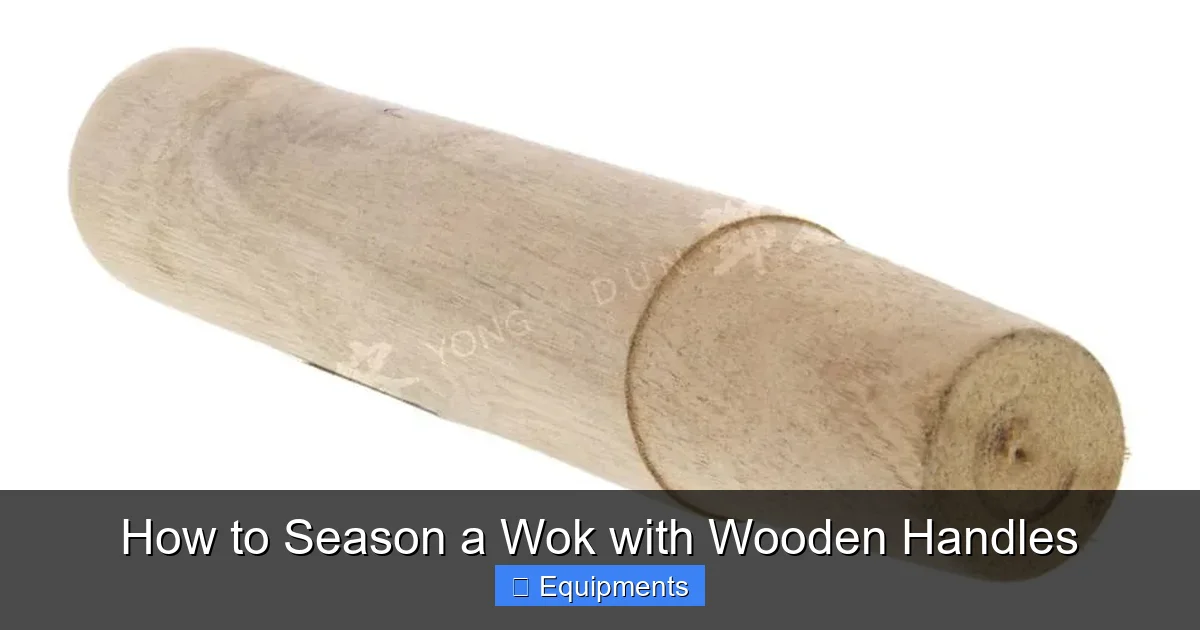
Wood is organic, hygroscopic (it absorbs and releases moisture from the air), and its structure is defined by grain and natural oils. Heat dries it out, causing shrinkage and cracking. Sustained heat can even char or burn it. Moisture causes it to swell, and combined with heat, can lead to warping or splitting. The finish on a new wooden handle is typically a food-safe mineral oil or beeswax. This finish must be preserved. During seasoning, your primary interaction with the handle is one of protection. You are not seasoning it; you are shielding it from the seasoning process happening on the metal next to it.
Pre-Seasoning Preparation: The Essential First Steps
Rushing into seasoning is the fastest way to failure. Proper preparation ensures you start with a perfectly clean surface, which is the only surface oil can properly bond to.
Visual guide about How to Season a Wok with Wooden Handles
Image source: thekitchenix.com
Step 1: The Initial Deep Clean (Removing the Factory Coating)
Almost all new woks, especially carbon steel ones, come with a thin, protective anti-rust coating—a waxy or oily film applied by the manufacturer. This must be removed entirely. Do not season over this coating.
- Method: Use a stiff scrubber (a chainmail scrubber is ideal) and hot, soapy water. Scour the entire interior surface vigorously. You are looking for the water to sheet off the metal without beading, indicating the coating is gone. The water may turn gray or black; this is normal, it’s carbon and residue.
- Rinse and Dry: Rinse thoroughly with clean hot water. Immediately and completely dry the wok with a towel. Then, place it on your stove over low heat for 2-3 minutes to evaporate any lingering moisture. This is critical—any water left will cause instant rust spots when you apply heat.
Step 2: Handle Protection Protocol
This is your first and most important act of handle care. Before the wok ever touches heat for seasoning, you must shield the wood.
- Foil Wrap: Take a sheet of heavy-duty aluminum foil. Wrap it tightly around the entire wooden handle, extending it at least 4-6 inches onto the metal neck of the wok. The foil should be snug but not crumpled. This creates a thermal barrier, reflecting radiant heat away from the wood and catching any oil that might splatter up the side.
- Alternative: Some woks have removable handles. If yours does, take it off! This is the ultimate protection. Set the wooden handle aside in a safe, dry place during the entire seasoning and cooling process.
- Check Your Stove Setup: If using a gas stove, be aware that flames can lick up the side. Ensure your burner is set to a level where the flame sits under the wok’s bowl and does not extend up the sides where the foil is. On an electric coil, the coil itself should be centered under the wok’s base.
The Seasoning Process: A Step-by-Step Guide
Now we begin the polymerization. This process is the same for any carbon steel wok, but with the constant, vigilant caveat of handle protection. We will build the seasoning in multiple thin layers.
Visual guide about How to Season a Wok with Wooden Handles
Image source: dunyong.com
Step 1: Choose and Apply Your Oil
Not all oils are created equal for seasoning. You need an oil with a high smoke point (450°F/230°C or higher) and a neutral flavor. Low-smoke-point oils will burn, become acrid, and create a sticky, gummy residue.
- Best Oils: Refined Avocado Oil, Refined Peanut Oil, Grapeseed Oil, Safflower Oil, or Sunflower Oil. Flaxseed oil is sometimes touted, but it can be brittle and is expensive.
- Avoid: Extra Virgin Olive Oil, Butter, Unrefined oils, Sesame Oil (for initial seasoning—it has a low smoke point and strong flavor).
- Application: With your wok completely dry and your handle foiled, put the wok on the stove. Heat it on medium-low for about 2 minutes to open the pores. Using a heat-resistant brush (silicone or dedicated seasoning brush) or a tightly folded paper towel held with tongs, apply a very thin, even, barely perceptible layer of oil to the entire interior surface. Rub it in until it looks almost dry. This is the most common mistake: using too much oil. You want a whisper-thin coat. Wipe the rim and upper sides as well, but stop well short of the handle/foil junction.
Step 2: Heat to the Smoke Point
This is where polymerization happens. You must heat the oil until it smokes, then let it smoke for a few minutes.
- Process: Turn the heat to medium-high or high. You will see the oil begin to shimmer, then smoke. Let it smoke steadily for 3-5 minutes. You may see blueish or yellowish wisps—this is normal. The wok will start to change color, usually to a brown, tan, or copper hue.
- Handle Vigilance: Keep an eye on the foil. It may get warm, but it should not be smoking, charring, or excessively hot to the touch (test cautiously after removing from heat). If the foil is getting too hot, your heat is too high or your foil isn’t providing enough of a barrier. Adjust accordingly.
- Ventilation: Open your windows and turn on your exhaust fan. This process creates smoke.
Step 3: Cool and Repeat
After the smoking phase, turn off the heat. Let the wok cool completely on the stove burner until it is room temperature. This cooling allows the polymerized layer to set and harden. Do not try to rush this with cold water—thermal shock can warp the wok.
- Inspection: Once cool, carefully remove the foil from the handle. Inspect the wok. The surface should look dry, matte, and slightly darker. It might have a slight sheen. There should be no sticky spots or pools of oil.
- Repeat: Apply your next thin layer of oil, following steps 1 and 2. For a brand new wok, plan on doing this entire cycle (apply oil, heat to smoke, cool) 3 to 5 times. You will see the color deepen with each layer, moving from copper to brown to a rich, dark mahogany. The surface will become increasingly smooth and non-porous.
Post-Seasoning Care and Daily Maintenance
Once you’ve built a solid base seasoning (after 3-5 layers), the real magic of a wok begins: its improvement through use. But care is paramount.
The First Cook: Breaking In Your New Patina
For your first few cooks, use a high-smoke-point oil and cook something fatty. Ground pork, bacon, or a good amount of oil for deep-frying are excellent. The food’s natural fats will continue to build and integrate with your seasoning. Avoid delicate, low-fat foods like tofu or steamed veggies for the first 5-10 uses, as they are more likely to stick to a still-fragile seasoning.
Cleaning: The Golden Rules
How you clean after cooking is 50% of the maintenance battle.
- Never, ever soak your wok. Soaking is the number one cause of rust.
- While the wok is still warm (not scalding hot), rinse it under hot running water.
- Use a soft brush, a non-metal scrubber, or a bamboo wok brush. For stuck-on bits, use the flat side of your metal spatula to scrape while rinsing. The hot water and the scraped seasoning should release most debris.
- For stubborn bits: Heat the empty wok on the stove again to a low sizzle, then add a cup of water and bring to a simmer. Use your brush to clean while it’s hot. This is a safe way to loosen food without soap.
- The Soap Debate: Once a seasoning is well-established (dark, shiny, non-stick), a tiny drop of mild dish soap used with a soft sponge and rinsed extremely well is generally acceptable. However, many purists never use soap. If you do use soap, you must re-apply a tiny maintenance layer of oil afterwards. When in doubt, skip the soap.
- Drying is Mandatory: After rinsing, immediately dry the wok thoroughly with a towel. Then, place it on a low burner for 2-3 minutes to evaporate all traces of moisture. This step is non-negotiable.
Handle Care Between Uses
Your wooden handle needs its own routine.
- After cooking, the handle may be warm. Wipe it down with a dry towel if there are any oil splatters.
- Do not submerge it in water.
- Once a month, or if it feels dry, apply a small amount of food-safe mineral oil or beeswax to the wood. Rub it in with a soft cloth, let it sit for an hour, and wipe off any excess. This replenishes the wood’s natural oils and prevents cracking.
- Store your wok in a dry place. If stacking, place a paper towel between woks to protect the seasoning.
Troubleshooting: Sticky Residue, Rust, and Uneven Seasoning
Even with careful work, you might encounter issues. Here’s how to fix them.
Problem: Sticky or Gummy Surface
Cause: The most common cause is applying oil that was too thick, or using an oil with too low a smoke point. The oil didn’t fully polymerize and remains tacky.
Solution: You need to strip and restart. Heat the wok on the stove to a medium-high heat. The sticky layer will begin to smoke and burn off. Let it smoke for 10-15 minutes until the surface looks dry and matte again, with no sticky patches. Let it cool completely. Then, begin the seasoning process again, but this time use half the amount of oil you did before. Apply it with a paper towel and rub until it looks almost dry before heating.
Problem: Rust Spots
Cause: Moisture was left on the steel, or the seasoning layer was compromised (by soap, abrasion, or acidic food).
Solution: For small spots, scrub them off immediately with your wok brush and hot, soapy water (yes, soap is okay for rust removal). Rinse, dry, and re-season that spot by applying a tiny drop of oil and heating it with the rest of the wok. For larger rust areas, you may need to use steel wool or a abrasive pad to get back to bare metal, then re-season the entire wok from the beginning.
Problem: Uneven Seasoning or Patchy Color
Cause: Oil was not spread evenly, or the heat source was not centered, causing some areas to get hotter than others.
Solution: This often evens out with more cooking. Use a little more oil when cooking and make sure to swirl the wok so the oil coats all surfaces. For severe patchiness, you can focus on seasoning the pale areas by applying oil specifically to those spots and heating. However, a truly even base requires a uniformly applied initial seasoning. If it’s very bad, a full re-seasoning is best.
Conclusion: A Lifetime of Cooking Awaits
Seasoning a wok with a wooden handle is a ritual that combines chemistry with craftsmanship. It demands attention to detail, especially in protecting that beautiful organic handle from the fierce heat needed to transform the metal. But the reward is immense. You are not just coating a pan; you are initiating a relationship with a tool that will, with proper care, become an heirloom. The dark, smooth, naturally non-stick surface you build will improve with every use, developing a depth of flavor and cooking performance no synthetic coating can match. The wooden handle, protected and cared for, will remain cool to the touch during cooking and provide a comfortable, secure grip for years to come. By following these steps—the thorough cleaning, the vigilant handle protection, the thin layers of high-smoke-point oil, and the patient cooling—you set the stage for a lifetime of incredible stir-fries, deep-frying, and searing. Now, with your wok perfectly seasoned and ready, it’s time to start cooking.
Frequently Asked Questions
How often should I season my new wok with a wooden handle?
For a brand new wok, you should complete the full seasoning cycle (apply thin oil layer, heat to smoke, cool) 3 to 5 times consecutively before your first cook. After that, the seasoning is maintained through regular cooking and proper cleaning; you typically won’t need to do a dedicated full re-seasoning unless you see rust or the surface becomes sticky.
Can I use olive oil to season my wok?
It’s not recommended. Extra virgin olive oil has a low smoke point and will burn during the seasoning process, creating a sticky, rancid-tasting residue that is difficult to remove. Always use a high-smoke-point, neutral oil like avocado, grapeseed, or refined peanut oil for initial seasoning.
What should I do if oil gets on the wooden handle during seasoning?
Immediately wipe it off with a dry paper towel while the wok is still warm (but not hot enough to burn). Do not let it sit. Oil that penetrates the wood finish can become sticky and attract dust, and if heated repeatedly, it can degrade the wood’s finish. This is why tightly wrapping the handle in aluminum foil is the most reliable preventative measure.
My wok developed a small rust spot after cooking. Is it ruined?
No, this is common and easily fixed. Scrub the rust spot off with a stiff brush and hot, soapy water. Rinse and dry the area thoroughly. Then, apply a tiny drop of seasoning oil just to that spot and heat the wok to smoke point to re-season that patch. For larger rust areas, you may need to re-season the entire interior surface.
How do I properly care for the wooden handle long-term?
Never soak the handle or put it in the dishwasher. Wipe it clean with a dry or slightly damp towel after cooking if needed. Once a month, apply a small amount of food-safe mineral oil or beeswax to the wood, rub it in, let it absorb for an hour, and wipe off any excess. Store the wok in a dry place. This prevents the wood from drying out, cracking, or warping.
Can I season the wok in the oven instead of on the stove?
While oven seasoning works for some cookware, it is not recommended for a wok with a wooden handle. The oven’s dry, enclosed heat can easily overheat, dry out, and potentially crack or scorch the wooden handle, even if it’s foiled. Stovetop seasoning gives you direct visual and tactile control over the heat applied to the metal bowl while allowing you to actively monitor and protect the handle.