Installing a garbage disposal and dishwasher is a rewarding DIY project that can save you significant money on professional fees. This comprehensive guide walks you through every safe step, from turning off power and water to making final leak checks. With the right tools, patience, and attention to local codes, you can successfully complete both installations and upgrade your kitchen’s functionality.
Key Takeaways
- Safety First: Always shut off electrical power at the breaker and water supply valves before starting any work.
- Tools & Materials: Gather all necessary tools (wrenches, screwdrivers, plumber’s putty) and parts (hoses, connectors) beforehand to avoid mid-project trips.
- Code Compliance: Check local plumbing and electrical codes; some areas require permits or have specific installation rules for garbage disposals.
- Test as You Go: After each major connection (electrical, drain, water), briefly restore service to check for leaks or errors before moving on.
- Dishwasher Air Gap: Installing an air gap fitting on your sink is a critical backflow prevention step often required by code.
- Disposal Knockout Plug: If connecting a dishwasher drain to a new garbage disposal, you MUST remove the plastic knockout plug inside the disposal’s inlet.
- When to Call a Pro: If you encounter major plumbing rerouting, no existing electrical outlet, or are uncomfortable with any step, hire a licensed professional.
📑 Table of Contents
Introduction: Why DIY Installation is a Smart Move
So, you’ve decided to tackle installing a garbage disposal and dishwasher. First off, congratulations! Taking on this project yourself is one of the most impactful upgrades you can make to your kitchen’s efficiency and cleanliness. Not only does a garbage disposal drastically reduce food waste in your trash, but a dishwasher saves countless hours of hand-washing. While the thought of plumbing and electrical work might seem intimidating, breaking the process down into clear, manageable steps makes it absolutely achievable for a determined DIYer with basic tool skills.
The primary benefit, of course, is the significant cost savings. Professional installation for both units can easily run several hundred dollars. By investing your time and following this guide carefully, you keep that money in your pocket for other kitchen projects. More importantly, you gain a deep understanding of your home’s systems, which is invaluable for future maintenance. This guide is designed to be your friendly, detailed manual. We’ll assume you’re starting from a standard setup with basic connections already in place under your sink. Let’s get started by talking about the most critical phase: preparation and safety.
Phase 1: Preparation and Safety First
Rushing into demolition or installation is the number one cause of DIY disasters. This phase is non-negotiable. Proper preparation ensures the job goes smoothly, safely, and to code. Skipping these steps can lead to water damage, electrical hazards, or a failed inspection if you ever sell your home.
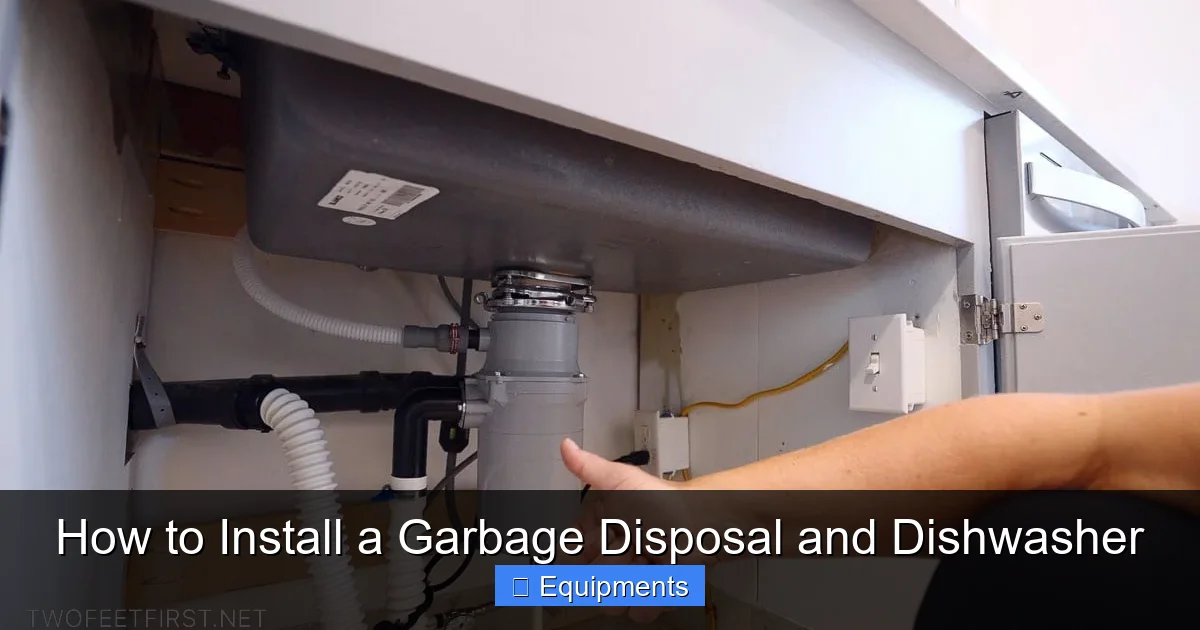
Visual guide about How to Install a Garbage Disposal and Dishwasher
Image source: twofeetfirst.net
Gather Your Tools and Materials
Before you even look at the old units, create a toolkit. Running to the hardware store mid-job is frustrating and can leave your kitchen in disarray. Here’s a comprehensive checklist:
- Basic Hand Tools: Adjustable wrenches (10″ and 12″), slip-joint pliers, screwdrivers (flathead and Phillips), a putty knife, a flashlight or headlamp, and a bucket.
- Specialty Tools: A garbage disposal wrench (often included with new units), a dishwasher connector (if not included with your dishwasher), and Teflon tape (plumber’s tape).
- Materials: New supply lines (braided stainless steel is recommended for both hot water to dishwasher and cold water to disposal if applicable), PVC drain parts (couplings, elbows, tailpieces), plumber’s putty, electrical wire connectors (wire nuts), and a new drain hose for the dishwasher if the old one looks worn.
- Safety Gear: Safety glasses and work gloves.
Shut Off Power and Water
This is your first physical action. Locate your home’s main electrical panel and turn OFF the breaker that controls the kitchen circuit. For absolute certainty, use a non-contact voltage tester on the wires under the sink after you think you’ve killed the power. For water, find the shut-off valves under your sink. There should be one for hot and one for cold. Turn both handles clockwise until tight. Then, open the faucet to relieve any remaining pressure in the lines.
Understand Your Local Codes
This is a step many DIYers overlook, but it’s important. Local plumbing and electrical codes can vary. Some municipalities require a permit for new garbage disposal installation or mandate the use of an air gap device for dishwashers. A quick call to your city’s building department or a visit to their website can clarify these rules. Adhering to code isn’t just about legality; it’s about safety and preventing costly rework. For general terms related to home projects and liability, reviewing standard Terms and Conditions for warranties and professional services can also provide context on responsibilities.
Remove the Old Units (If Present)
If you’re replacing existing appliances, the removal process is straightforward but messy. Start with the dishwasher: disconnect the drain hose (have towels ready!) and the water supply line. Unscrew it from the countertop or wall brackets and slide it out. For the garbage disposal, disconnect the drain tailpiece and the electrical wiring (note which wires go where with a photo or labels). Then, unthread it from the mounting ring. Be prepared for stagnant water in the drain pipes. Have your bucket handy!
Phase 2: Installing the Garbage Disposal
With the old unit out and the sink area clean, we can begin the new installation. The garbage disposal mounts to the sink’s drain opening. The process is the same for most standard units, but always consult your specific model’s manual.
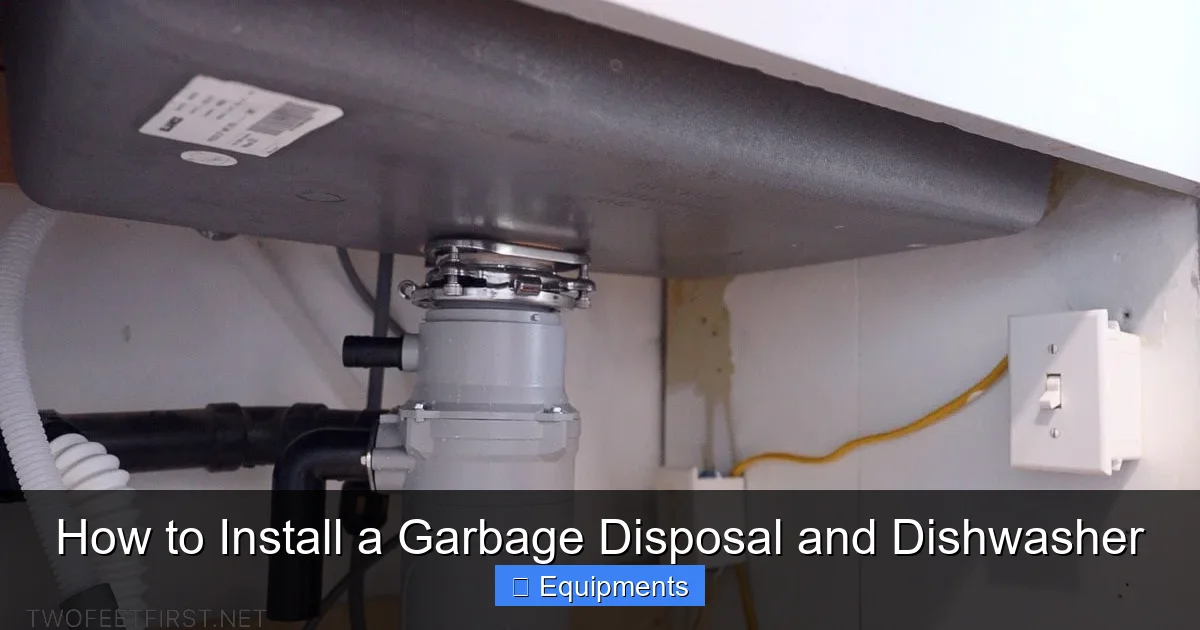
Visual guide about How to Install a Garbage Disposal and Dishwasher
Image source: twofeetfirst.net
Preparing the Sink and Mounting Assembly
First, assemble the mounting hardware that came with your disposal. This usually involves screwing a mounting ring and fiber gasket onto the sink’s drain flange from below. Apply a generous bead of plumber’s putty around the underside of the drain flange (the part that sits on top of the sink). Then, from below, secure the mounting ring, tightening the screws evenly so the flange sits flush and doesn’t wobble. Wipe away excess putty from above the sink.
Wiring the Disposal
This step requires the power to be OFF. Most disposals come with a power cord. If your under-sink area doesn’t have a dedicated outlet, you’ll need to wire it directly to a circuit, which is more complex and may require an electrician. For a corded model, simply attach
Frequently Asked Questions
What is How To Install A Garbage Disposal And Dishwasher?
How To Install A Garbage Disposal And Dishwasher is an important topic with many practical applications.