A cracked glass top stove is a serious issue that requires immediate attention. Small, superficial cracks might be temporarily patched with special epoxy, but this is a risky, short-term fix. For any crack that penetrates the glass or affects heating elements, complete replacement by a professional is the only safe and permanent solution.
Key Takeaways
- Safety is the Absolute Priority: A cracked glass cooktop is an electrical hazard and can shatter unexpectedly. Disconnect power immediately and avoid use.
- Not All Cracks Are Equal: Superficial scratches or hairline stress cracks differ vastly from deep, penetrating cracks that compromise the stove’s structural integrity and seal.
- True “Repair” is Often a Myth: Epoxy or resin fillers are temporary cosmetic fixes for very minor surface damage. They cannot restore the strength or thermal shock resistance of the original tempered glass.
- Replacement is the Standard Fix: For functional cracks, replacing the entire glass top is the norm. Costs vary widely by brand, model, and whether you DIY or hire a pro.
- Professional Installation is Strongly Recommended: Replacing a glass top requires lifting the heavy unit, disconnecting electrical components, and ensuring a perfect seal. Incorrect installation is dangerous.
- Prevention is Key: Avoid thermal shock (hot pan on cold glass), use flat-bottomed cookware, and never drop heavy objects to prolong your stove’s life.
- Check Warranty and Insurance First: Before spending, review your appliance warranty and homeowner’s insurance, as some accidental damage may be covered.
📑 Table of Contents
- The Dreaded Crack: Understanding Your Glass Top Stove
- Safety First: The Non-Negotiable First Steps
- Assessing the Damage: Is Repair Even Possible?
- The DIY “Repair” Route: Temporary Fixes and Their Severe Limitations
- Professional Repair vs. Complete Replacement: The Real Solutions
- Cost Analysis: Budgeting for the Inevitable
- Prevention: Protecting Your Investment for the Long Haul
- Conclusion: Making the Right Call
The Dreaded Crack: Understanding Your Glass Top Stove
You’re in the kitchen, about to boil water for pasta, when you see it. A tiny, jagged line spiderwebbing across the sleek surface of your otherwise pristine glass-top stove. Your heart sinks. That beautiful, modern appliance, the centerpiece of your kitchen, is now damaged. The immediate questions flood in: Is it safe? Can it be fixed? How much will this cost? A cracked glass top stove is a common but frustrating problem. This guide will walk you through everything you need to know, from the immediate “do nots” to the long-term solutions, helping you make a safe and informed decision.
First, let’s demystify what you’re looking at. Most modern electric and induction cooktops use tempered glass-ceramic, like the well-known brand Ceran®. This material is engineered to be incredibly strong, resistant to sudden temperature changes (thermal shock), and able to withstand direct heat from burners. It’s not the same as the glass in your window. It’s a composite material, often with a special coating for easy cleaning. When it cracks, it’s usually due to one of three culprits: a significant impact from a dropped pot or utensil, extreme thermal shock (like placing a frozen or very hot pan directly on the surface), or a hidden flaw in the glass that manifests over time. Understanding the cause helps assess the potential for repair.
Safety First: The Non-Negotiable First Steps
Immediate Action to Prevent Disaster
Before you even think about repair, you must address the immediate danger. A cracked glass top stove is not just an aesthetic problem; it’s a significant safety hazard. The glass provides a critical seal over the electrical heating elements or induction coils. A crack breaks that seal, exposing live electrical parts to moisture, spills, and your touch. This creates a serious risk of electric shock. Furthermore, the structural integrity of the tempered glass is compromised. The crack can spread rapidly with the next heating cycle, potentially causing the entire glass panel to shatter violently, sending sharp shards flying.
Visual guide about How to Repair a Cracked Glass Top Stove
Image source: appliancerepairky.com
Here is your mandatory safety checklist:
- Unplug the Stove: Do not just turn off the breaker. For a freestanding range, unplug it from the wall outlet. For a cooktop built into a counter, turn off the dedicated circuit breaker in your electrical panel. Verify power is off with a non-contact voltage tester if you’re unsure.
- Do Not Use the Stove: Under any circumstances, do not attempt to cook on a cracked surface. Even if the crack seems tiny.
- Clear the Area: Remove any cookware, utensils, or debris from the surface. Keep children and pets away from the kitchen.
- Assess Carefully: Once power is off, you can look. But do not press on the crack or probe it. Use a flashlight to see if the crack goes all the way through the glass. Is it near a burner element? This is a critical detail.
Assessing the Damage: Is Repair Even Possible?
Types of Cracks and Their Implications
Not all cracks are created equal. A realistic assessment is the first step toward a solution. Grab a magnifying glass and examine the damage in good light.
Visual guide about How to Repair a Cracked Glass Top Stove
Image source: wikihow.com
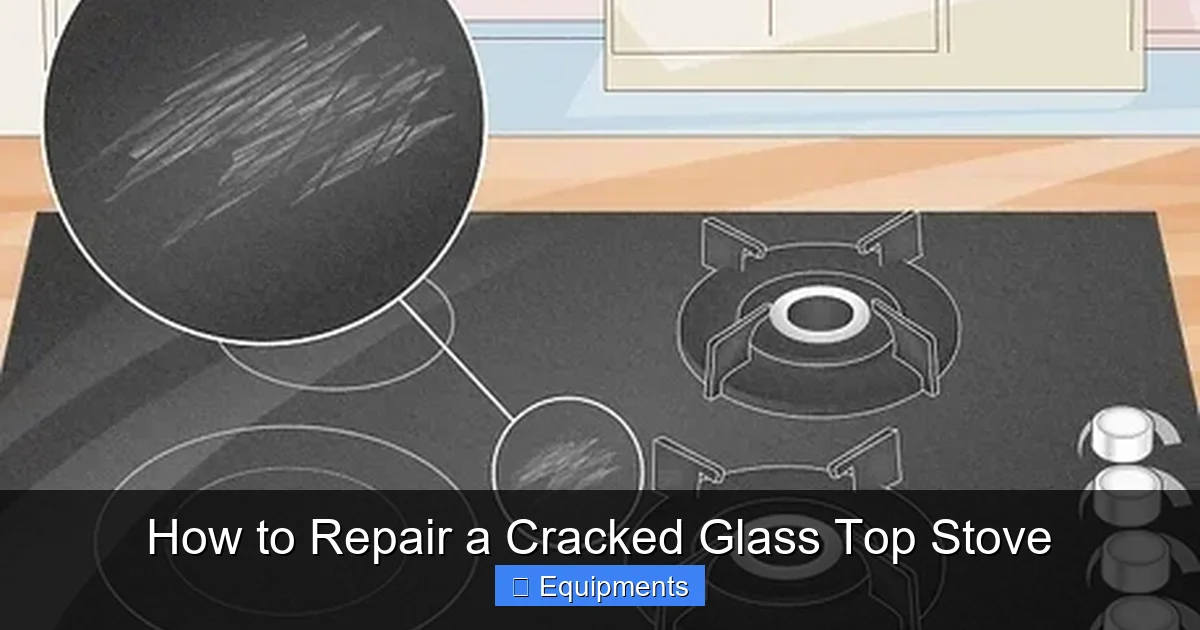
- Stress Cracks (Hairline Cracks): These are thin, often straight or slightly curved lines that may appear near the edge of the cooktop or around a burner. They are sometimes caused by thermal stress or pressure from installation. If they are very superficial, not penetrating the full thickness, and far from any heating element, there is a remote chance of a temporary cosmetic fix.
- Impact Cracks (Star or Bullseye): This is the classic “spiderweb” pattern radiating from a central point of impact. This means something was dropped. These cracks almost always penetrate the full thickness of the glass and compromise the seal over the element. This type of crack in a cracked glass top stove is never repairable for safe use.
- Edge Cracks: Cracks that start at the very edge of the glass panel. These can sometimes be less immediately dangerous if they are short and don’t extend toward the burners, but they are weak points that will likely grow.
- Cracks Over/Next to Burners: Any crack that intersects with a heating element or induction coil is an absolute no-go. The seal is broken, and the risk of electric shock, fire, or catastrophic failure is extremely high. Replacement is the only option.
The DIY “Repair” Route: Temporary Fixes and Their Severe Limitations
You’ll find online tutorials suggesting high-temperature epoxy, glass filler resins, or even super glue for a cracked glass top stove. We must be unequivocally clear: these are temporary, cosmetic measures for the most minor, superficial surface scratches or very tiny stress cracks that do not penetrate the glass and are nowhere near the burners. They are not a repair for a functional crack.
If you have a qualifying minor crack and understand this is a stopgap, here is the general process:
- Clean Meticulously: Use a glass cooktop cleaner and a razor scraper to remove all food, grease, and residue from the crack area. Any contaminant will prevent adhesion. The surface must be immaculately clean and dry.
- Choose the Right Product: You need a high-temperature, food-safe, glass-compatible epoxy. Standard hardware store epoxy is not sufficient. Look for products specifically marketed for ceramic glass cooktop repair (e.g., certain brands like Cerama Bryte offer a repair kit). Read reviews carefully.
- Apply with Precision: Following the kit instructions exactly, apply a tiny amount of mixed epoxy into the crack. Use a plastic spreader or toothpick. You will likely need to sand and polish the area after curing, which requires special fine-grit sandpaper and a glass polish compound to avoid creating a new, visible scratch.
Why This is a Bad Idea for Most Cracks: The epoxy will never match the original glass’s strength or thermal properties. During heating/cooling cycles, the epoxy and glass expand and contract at different rates, causing the bond to fail and the crack to spread faster. It’s a cosmetic band-aid on a structural wound. It will not pass a safety inspection and could void any remaining warranty or insurance claim.
Professional Repair vs. Complete Replacement: The Real Solutions
Calling in the Experts: What to Expect
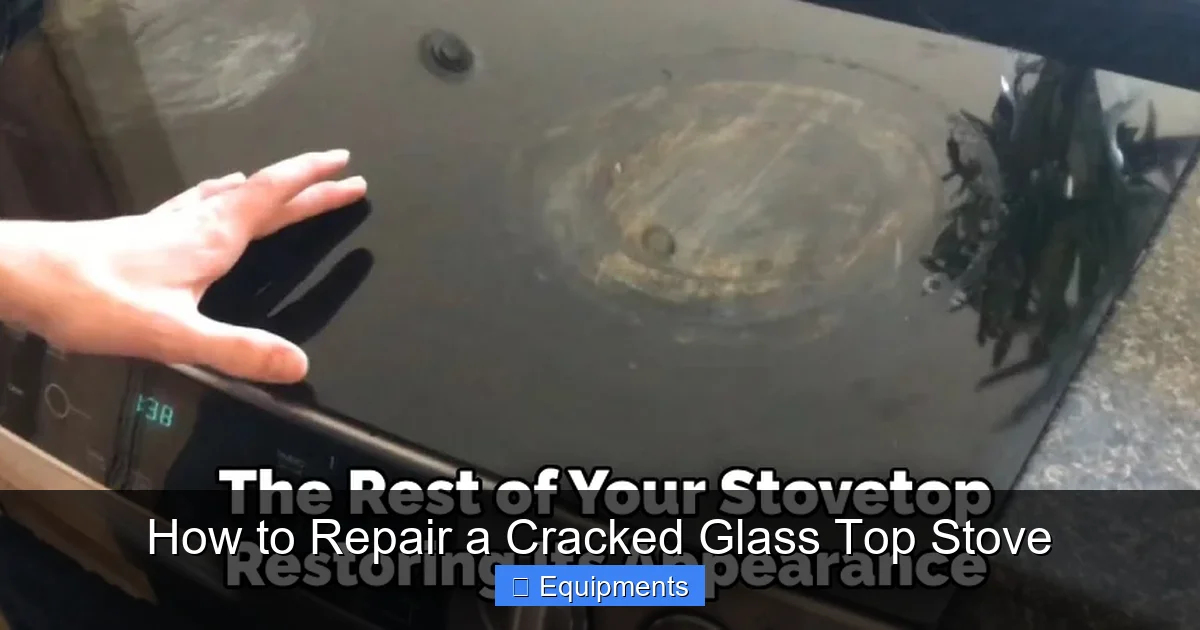
For 95% of cracked glass top stove scenarios, your path forward involves a professional appliance repair technician. They will provide one of two verdicts: repair or replace. True “repair” in the professional sense almost always means replacing the entire glass top assembly. Technicians do not typically repair the glass itself in the field. They source a new OEM (Original Equipment Manufacturer) glass top and install it.
Visual guide about How to Repair a Cracked Glass Top Stove
Image source: thekitchenix.com
The Replacement Process:
- Diagnosis & Part Sourcing: The tech identifies your exact stove model (find the model/serial number on a tag under a front control panel or on the back). They order the correct glass top assembly, which includes the glass, the underlying seal, and sometimes integrated trim or brackets. This part can take days or weeks to arrive.
- Installation: This is complex. The technician must:
- Disconnect power and gas (if it’s a gas range with a glass top).
- Remove the oven door and any control panels or trim to access the screws holding the glass.
- Carefully lift the heavy, shattered glass (wearing cut-resistant gloves!) and clean the underlying surface.
- Install the new seal (a critical step for insulation and preventing moisture ingress).
- Place and secure the new glass top, ensuring it’s perfectly aligned and sealed.
- Reassemble all trim, doors, and controls.
- Test all burners and functions.
This is not a beginner DIY project. The glass is heavy, the electrical connections are delicate, and improper installation can lead to the new glass cracking, poor heating, or the same safety hazards you started with.
Cost Analysis: Budgeting for the Inevitable
Breaking Down the Expenses
Fixing a cracked glass top stove comes with a price tag. Here’s where your money goes:
- Parts Cost (The Glass Top): This is the bulk of the expense. A new glass top for a standard 30-inch electric range can range from $300 to $900+ for the part alone. For high-end brands (Viking, Wolf, Thermador) or induction models, expect $800 to $2,500+. The cost is driven by brand, model year, and complexity.
- Labor Cost: A qualified technician will charge for the service call (often $100-$200) plus hourly labor (typically $80-$150/hour). The entire job usually takes 1.5 to 3 hours. Total labor can be $200 to $450+.
- Total Estimated Cost: Adding parts and labor, a professional replacement typically costs between $600 and $1,500 for most standard models. High-end ranges can easily exceed $3,000.
The DIY Cost-Saving Mirage: While you might save the $300-$600 labor fee by ordering the part yourself and attempting the repair, the risks are enormous. One slip can shatter the new $500 glass. Incorrect reassembly can damage wiring or the oven door. You assume all liability for safety. For most, the peace of mind and warranty from a professional job is worth the labor cost.
Prevention: Protecting Your Investment for the Long Haul
Good Habits for a Crack-Free Cooktop
Once you’ve weathered this storm, you’ll want to never face it again. Protecting your new (or repaired) glass top is simple with mindful habits:
- Mind Thermal Shock: This is the #1 cause of non-impact cracks. Never place a frozen, refrigerated, or very cold pan on a hot burner. Let it come to room temperature first. Conversely, don’t take a scorching-hot pan off the stove and immediately place it on a cold area of the glass. Use a trivet or move it to a burner that’s off.
- Use the Right Cookware: Only use flat-bottomed pans with smooth, clean bottoms. Warped pans (from repeated overheating) create pressure points. Rough, gritty bottoms (like some cast iron with crusted-on food) can scratch the surface. Lift pots; do not slide them across the glass.
- No Dropping, Obviously: Keep handles turned inward. Don’t place heavy pots, cans, or appliances on the cooktop when not in use. It’s not a countertop.
- Clean Properly: Use only cleaners and scrapers designed for glass-ceramic cooktops. Avoid abrasive pads (steel wool) and harsh chemicals. Let the surface cool completely before cleaning. Burnt-on food should be removed with a proper scraper while the surface is still warm (not hot), then wiped clean.
- Check for Hidden Damage: Periodically inspect the edges and corners of the glass top, especially after a heavy pot was bumped against it. A small chip at the edge can eventually lead to a crack.
Conclusion: Making the Right Call
Discovering a cracked glass top stove is a stressful moment, but it’s a problem with a clear path forward. Your primary directive is safety: disconnect power and cease all use immediately. Honestly assess the crack. If it’s anything more than a minuscule, superficial scratch far from the elements, your only safe and permanent solution is professional replacement of the entire glass top. While the cost is significant, it’s an investment in the safe, reliable function of your kitchen’s most used appliance. Attempting a DIY repair on a functional crack is a gamble with your family’s safety. By understanding the causes, the repair realities, and the prevention strategies, you can navigate this repair with confidence, ensuring your kitchen remains a safe and beautiful space for years to come.
Frequently Asked Questions
Can I use my stove if there’s a small hairline crack?
No. Even a small hairline crack compromises the seal over the electrical components. Using the stove risks electric shock, fire, and the crack spreading rapidly, potentially causing the glass to shatter. You must stop using it immediately.
Can I fix a cracked glass top with super glue or epoxy?
For a true crack that goes through the glass, absolutely not. These adhesives cannot restore the structural or thermal integrity of tempered glass. They are only a temporary, cosmetic fix for the tiniest surface scratches, and even then, they are not food-safe or heat-resistant for long. It is not a safe repair for a functional crack.
How long does a professional glass top replacement take?
The entire process typically takes 1.5 to 3 hours of labor once the part arrives. The longest variable is parts shipping; the new glass top may take anywhere from a few days to several weeks to be delivered to your technician.
Is it cheaper to repair the glass top or buy a new stove?
For a standard model, replacement ($600-$1,500) is almost always cheaper than a new stove. However, if your stove is very old, out of production (making parts scarce/expensive), or if multiple other components are failing, buying a new, more efficient model might make more financial sense.
Will my homeowner’s insurance cover a cracked glass top stove?
>Possibly, if the crack was caused by a sudden, accidental event like a heavy pot falling on it (a “covered peril”). It likely will not cover damage from wear and tear, thermal shock, or misuse. Check your policy’s “dwelling coverage” or “personal property” sections and call your agent with your policy number to ask.
Does a cracked glass top stove void the warranty?
Yes. Physical damage from impact, misuse, or failure to follow care instructions is explicitly excluded from nearly all appliance warranties. A cracked top will be considered user-caused damage, and the warranty will not cover the repair or replacement part.