Plastic cutting boards are prone to staining and harboring bacteria in deep cuts. This guide reveals why boards stain and provides a hierarchy of cleaning methods, from daily soap-and-water routines to heavy-duty bleach solutions for sanitizing. You’ll learn specific techniques for notorious stains like turmeric and tomato, plus essential prevention tips to extend your board’s life and keep your kitchen hygienic. The key is consistent maintenance and knowing which cleaner to use for the job.
You pull out your trusty plastic cutting board, ready to chop onions for dinner, and there it is again: that stubborn, pinkish-orange halo around the spot where you diced tomatoes last week. Or maybe it’s a ghostly yellow tint from a curry night that just won’t quit. That once-bright white board now tells the story of every meal you’ve ever prepared on it. It’s not just an eyesore; it can be a source of worry. Are those stains just cosmetic, or are they hiding bacteria? How do you get your board looking and truly clean again without ruining it? Welcome to your definitive, no-nonsense guide on how to remove stains from a plastic cutting board. We’re diving deep into the science of stains, the hierarchy of cleaning solutions, and specific battle plans for every common kitchen culprit. Let’s get that board back to its best.
Key Takeaways
- Stains are caused by pigments penetrating knife scars: The primary reason plastic boards stain isn’t surface dirt, but deeply colored food pigments (from beets, turmeric, tomatoes) settling into the microscopic cuts and grooves created by your knives.
- Sanitizing is different from stain removal: A board can be free of foodborne pathogens (sanitized) but still look dirty and stained. This guide addresses both aesthetics and safety.
- Bleach solution is the gold standard for deep sanitizing: A diluted bleach soak (1 tablespoon bleach per gallon of cool water) is the most effective way to kill bacteria *inside* the board’s knife scars and also helps lift many organic stains.
- Baking soda and lemon are powerful natural alternatives: The abrasive action of baking soda paste, combined with the acidic, antibacterial properties of lemon, can effectively scrub away stains and odors without harsh chemicals.
- Prevention is the best strategy: Using separate boards for raw meat vs. produce, hand-washing only, and replacing heavily scored boards are crucial habits to minimize staining and bacterial risk.
- Some stains are permanent: Deeply set stains from vibrant spices like turmeric may never fully disappear, but proper sanitizing ensures the board remains safe to use despite discoloration.
- Dishwashers and harsh abrasives damage plastic boards: The high heat of dishwashers warps plastic and closes knife cuts, trapping bacteria. Steel wool and harsh scouring pads create more grooves for stains to inhabit.
📑 Table of Contents
- Understanding the Enemy: Why Plastic Cutting Boards Stain
- The Daily Defense: Your Regular Cleaning Routine
- The Deep Clean Arsenal: Heavy-Duty Stain Removal Methods
- Targeted Treatments: Fighting Specific Notorious Stains
- Maintenance and Longevity: Keeping Your Board in Top Shape
- Prevention: The Ultimate Stain-Removal Strategy
- Conclusion: A Clean Board is a Happy (and Safe) Kitchen
Understanding the Enemy: Why Plastic Cutting Boards Stain
Before we grab a scrub brush, it helps to understand *why* your plastic board is such a stain magnet. It’s not a flaw in the plastic itself; it’s a feature of its use. Plastic cutting boards are made from materials like polyethylene, which is relatively soft. This is actually a good thing for your knives—it’s gentler on their edges than glass or stone. However, that softness means every slice, dice, and chop leaves a tiny, microscopic cut or groove in the surface. These grooves are the hiding places.
The Pigment Penetration Problem
Foods with strong, natural pigments—think red tomatoes, orange carrots, yellow turmeric, purple beets, and brown coffee—contain molecules that are small enough to work their way into these knife scars. Once there, they lodge themselves firmly. A simple rinse and a swipe with a soapy sponge only cleans the *surface*. It doesn’t reach into the valleys of those micro-cuts. That’s why a board can look clean to the naked eye but still carry a faint tint from last Tuesday’s dinner. Over time, with repeated use and washing, these pigments build up, creating the permanent-looking stained areas we all dread.
Bacteria vs. Stains: A Critical Distinction
This is the most important concept. A stained cutting board is not necessarily a contaminated one, and a perfectly white board is not automatically safe. Bacteria like Salmonella or E. coli live in the *same knife cuts* that hold stains. They are different problems requiring overlapping but distinct solutions. Sanitizing kills the bacteria. Stain removal aims to lift the colored pigment. A good cleaning routine will address both. This is why a simple wipe-down isn’t enough; you need methods that penetrate those grooves.
The Daily Defense: Your Regular Cleaning Routine
The absolute best way to manage stains is to prevent them from setting in the first place. A consistent, proper daily cleaning routine is your first and most powerful line of defense. It removes food particles and pigments before they can sink deep into the board’s surface.
Visual guide about How to Remove Stains from Plastic Cutting Board
Image source: tastingtable.com
Step-by-Step: The Right Way to Wash After Every Use
Never, under any circumstances, put a plastic cutting board in the dishwasher. The intense heat (often 140°F+ or 60°C+) will warp the plastic, causing it to bend and crack. More insidiously, the heat can actually melt the surface slightly, sealing the knife cuts shut and trapping food particles and bacteria inside, creating a perfect breeding ground. Hand washing is non-negotiable.
- Scrape: Immediately after use, use a bench scraper or the blunt edge of a knife to scrape off all solid food bits into the trash or compost. Don’t let wet food sit.
- Rinse: Hold the board under warm running water to rinse away loose debris.
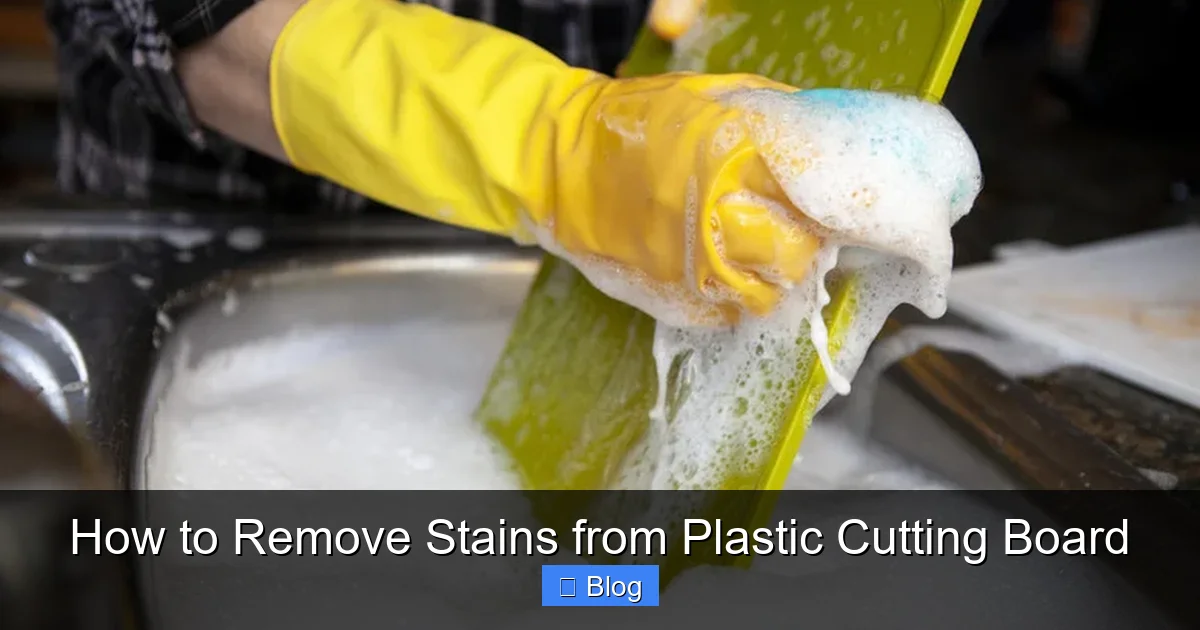
- Wash: Apply a generous amount of regular dish soap to a soft sponge or the rough side of a sponge (not a steel wool pad!). Use hot, soapy water and scrub the entire surface vigorously, paying special attention to any visible cuts or grooves. The soap emulsifies fats and oils, while the mechanical action of scrubbing lifts particles.
- Rinse Thoroughly: Rinse under running water until all soap suds are gone. Leftover soap can leave a film that attracts dirt.
- Dry Completely: This is crucial. Shake off excess water and stand the board upright on its edge or prop it against a wall/sink to air-dry completely. Never store a damp board flat on a counter or in a drawer. Moisture is the enemy, encouraging bacterial growth and warping.
Dealing with Odors Between Washes
Sometimes, a board develops a smell (like garlic or onion) before you see a stain. To neutralize odors, rub half a cut lemon over the board’s surface, sprinkle with coarse salt, and let it sit for 5-10 minutes before rinsing. The lemon’s citric acid and the salt’s abrasive action help break down odor-causing compounds. A quick wipe with undiluted white vinegar on a cloth also works wonders for neutralizing smells.
The Deep Clean Arsenal: Heavy-Duty Stain Removal Methods
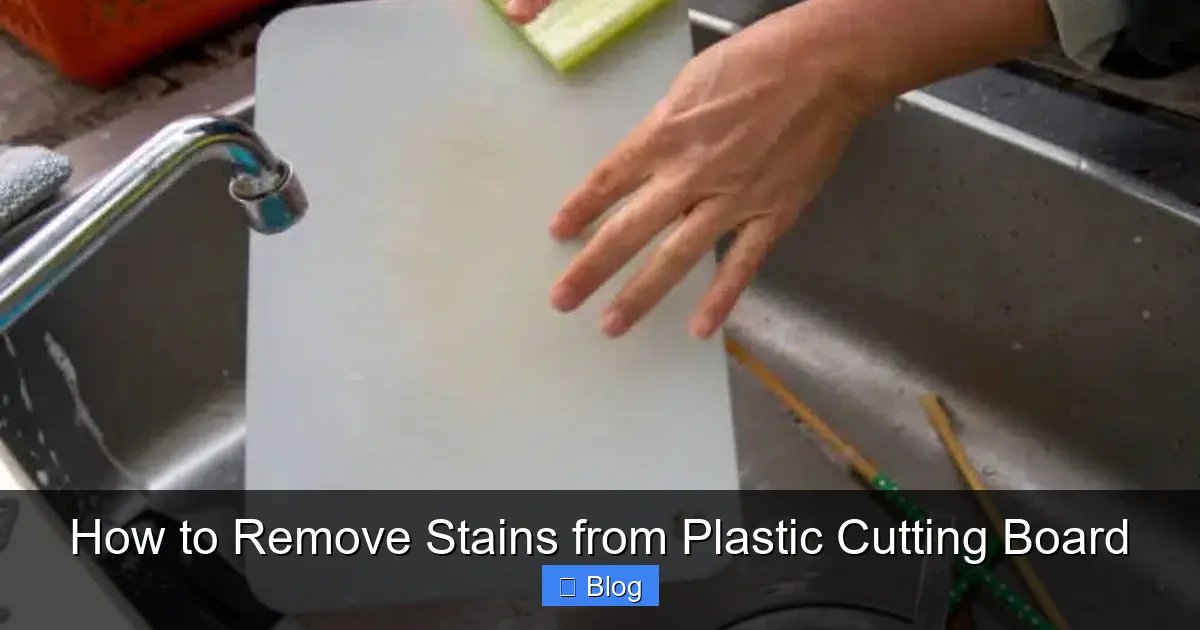
When daily washing isn’t enough and stains have set in, it’s time to escalate. Think of these methods as a hierarchy, moving from gentlest to strongest. Always start with the gentlest method that might work for your specific stain.
Visual guide about How to Remove Stains from Plastic Cutting Board
Image source: homeeplanner.com
Method 1: The Baking Soda Paste Scrub
Baking soda is a mild, food-safe abrasive and a natural deodorizer. It’s perfect for light to moderate stains and general refreshment.
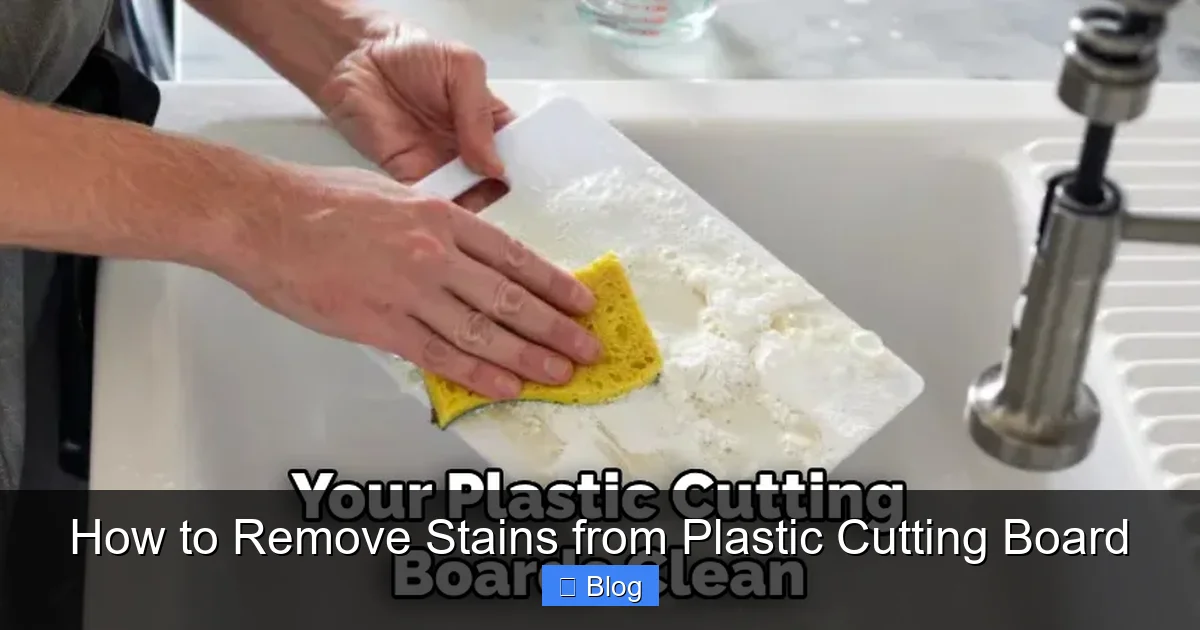
- How to: Make a thick paste by mixing 3-4 tablespoons of baking soda with just enough water (about 1 tablespoon). Apply the paste generously to the stained areas.
- Action: Using a soft sponge, a dedicated scrub brush (an old toothbrush is ideal for grooves), or even your fingers, scrub the paste into the board in circular motions. Let it sit for 15-20 minutes. The mild abrasion will lift surface stains, and the alkaline baking soda will help neutralize acidic food residues.
- Rinse: Rinse very thoroughly with warm water. You may need to repeat.
Method 2: The Lemon and Salt Power Duo
This classic combination uses the antibacterial citric acid in lemon and the scrubbing power of coarse salt. It’s excellent for organic stains and leaves a fresh scent.
- How to: Cut a lemon in half. Sprinkle a generous amount of coarse kosher salt or sea salt over the stained area of the board. Then, scrub the area with the cut side of the lemon, squeezing slightly to release the juice as you go. The salt acts as a gentle scrubber.
- Action: The acidity of the lemon helps break down pigments and kill bacteria, while the salt provides the abrasive texture. Let the lemon-salt mixture sit and bubble for 10-15 minutes.
- Rinse: Scrub again with a sponge and rinse thoroughly.
Method 3: The Hydrogen Peroxide Soak
Hydrogen peroxide (3% solution, found at any pharmacy) is a powerful oxidizing agent and disinfectant. It’s excellent for organic stains and sanitizing without the smell of bleach.
- How to: In a sink, basin, or large shallow pan, mix enough 3% hydrogen peroxide to completely cover the board. You can add a tablespoon of baking soda to the peroxide for a fizzing action that helps lift grime.
- Action: Submerge the board completely and let it soak for 30 minutes to 1 hour. For vertical stains, you can pour peroxide directly onto the board and let it bubble and soak.
- Rinse: Rinse extremely well with cold water. Peroxide can degrade some plastics over long periods, so don’t soak for more than an hour.
Method 4: The Bleach Solution Deep Sanitize (The Heavy Hitter)
This is the most effective method for killing bacteria *inside* the board and tackling the toughest, most set-in organic stains. It should be used periodically (e.g., once a month or after cutting raw meat) and with proper ventilation.
- Warning: Always work in a well-ventilated area. Never mix bleach with ammonia or vinegar, as it creates toxic fumes. Wear gloves.
- How to: In a clean sink or large container, prepare a solution of 1 tablespoon of regular unscented household bleach per 1 gallon of cool water. Hot water degrades bleach, making it less effective.
- Action: Submerge the cutting board completely. Let it soak for 5-10 minutes. You will see some stains begin to fade. For extra scrubbing power on stains, after the initial soak, sprinkle baking soda over the board and gently scrub with a sponge while it’s still in the bleach solution.
- Rinse: This is critical. Rinse the board under a strong stream of running water for at least 2-3 minutes to remove all traces of bleach. Then, wash it again with hot, soapy water, rinse, and dry completely. Residual bleach can degrade the plastic and is unsafe for food contact.
Targeted Treatments: Fighting Specific Notorious Stains
Some kitchen ingredients are legendary for their staining power. Here’s your customized battle plan.
Visual guide about How to Remove Stains from Plastic Cutting Board
Image source: thekitchenix.com
Turmeric: The Yellow Menace
Turmeric’s active compound, curcumin, is a powerful dye that binds tightly to surfaces. It’s one of the hardest to remove completely.
- Immediate Action: If you spill wet turmeric, rinse immediately with cold water. Hot water can set the stain.
- For Set Stains: Your best bets are the bleach soak (Method 4) and the hydrogen peroxide soak (Method 3). Peroxide is particularly good at oxidizing the pigment. You may need to repeat the process several times. Some slight yellowing may be permanent, but the board will be fully sanitized and safe to use.
Tomato & Pizza Sauce: The Red Shadow
The lycopene in tomatoes is a red pigment that loves to settle into knife cuts.
- For Fresh Stains: Scrape off residue, then sprinkle with salt and rub with half a lemon. The acid helps break down the lycopene.
- For Older Stains: A baking soda paste scrub (Method 1) followed by a bleach solution soak (Method 4) is a powerful one-two punch. The baking soda lifts the surface stain, and the bleach penetrates to sanitize and fade the deeper pigment.
Coffee & Tea: The Brown Tint
Tannins in coffee and tea are natural dyes that cause browning.
- Immediate Action: Rinse with cold water immediately after a spill.
- For Set Stains: A baking soda paste is very effective here. For tough, old stains, use the hydrogen peroxide soak. The peroxide will oxidize the tannins, often returning the board to a much lighter shade.
Beetroot & Berries: Purple & Blue Hues
These vibrant colors come from anthocyanins, water-soluble pigments.
- Immediate Action: Rinse with cold water. Hot water can set these water-soluble dyes.
- For Set Stains: The bleach solution is your most reliable tool for breaking down these organic pigments. A lemon and salt scrub can also lighten them significantly.
Maintenance and Longevity: Keeping Your Board in Top Shape
Stain removal is reactive. Proactive maintenance is what keeps your board looking good for years and, more importantly, keeps it safe.
When to Say Goodbye: Recognizing Board Retirement
Plastic cutting boards have a finite lifespan. No amount of cleaning can fix deep, physical damage. You must retire a board when:
- It has deep, visible grooves, cracks, or grooves that you can see and feel with your fingernail. These are highways for bacteria that cleaning solutions cannot fully penetrate.
- It is warped or bent. A warped board doesn’t lie flat, making it unsafe to use and indicating structural damage from dishwasher heat or excessive moisture.
- It has persistent, strong odors that won’t go away after multiple deep cleans. This indicates bacterial colonization deep within the material.
- The surface is permanently discolored and deeply scored. While still usable if properly sanitized, many choose to replace for aesthetic and hygienic peace of mind.
Rule of thumb: For heavily used boards, plan on replacing them every 1-2 years. For lighter use, inspect them monthly.
The Oil Myth: Should You Oil a Plastic Board?
This is a common point of confusion. No, you should not oil a plastic cutting board. Wooden boards benefit from mineral oil because wood is porous and needs to be sealed to prevent drying and cracking. Plastic is non-porous. Applying oil to plastic does nothing but create a greasy, sticky film that attracts dust and dirt. It does not “seal” the knife cuts. For plastic, the goal is a clean, dry, smooth surface.
Board Rotation: A Smart Kitchen Habit
Have at least two cutting boards in rotation. Designate one strictly for raw meat, poultry, and fish, and another for fruits, vegetables, and bread. This cross-contamination prevention is a food safety fundamental. It also distributes wear and tear, so no single board gets excessively scored too quickly. Color-coding (e.g., red for meat, green for veggies) is an easy visual system to maintain.
Prevention: The Ultimate Stain-Removal Strategy
The most effective stain removal method is never having the stain in the first place. Integrate these habits into your kitchen workflow.
Immediate Rinsing is Non-Negotiable
The moment you finish chopping, take 30 seconds to scrape and rinse the board under cold water. Don’t let wet, pigmented food sit. This prevents pigments from even beginning their journey into the knife cuts.
Choose the Right Knife
A sharp knife is a clean cut. A dull knife crushes and tears at the food and the board surface, creating wider, more ragged grooves that are even better at trapping stains and bacteria. Keep your knives sharp! A sharp knife glides, creating a cleaner, narrower cut.
Know When to Replace
We said it before, but it bears repeating. A heavily scored board is a lost cause for stain prevention. It’s more hygienic and ultimately less frustrating to replace a $10 plastic board than to wage a constant, losing war against deep-set stains and bacteria.
Conclusion: A Clean Board is a Happy (and Safe) Kitchen
Your plastic cutting board is a workhorse. It takes a beating every single day. That wear and tear is why it stains. But with the knowledge you now have, you can fight back effectively and intelligently. Remember the core principle: stains live in knife cuts, so your cleaning must reach into those cuts. Your daily habit of prompt hand-washing and thorough drying is the foundation. When stains appear, escalate logically from baking soda paste to lemon/salt to hydrogen peroxide, and save the powerful bleach solution for periodic deep sanitizing and the toughest stains. Most importantly, respect the board’s limits. Retire it when it’s truly worn out. By treating your cutting board with this level of care, you’re not just maintaining a piece of kitchenware—you’re safeguarding your family’s health and ensuring that the surface that touches your food remains as clean and reliable as the ingredients you prepare on it. Now go give that board the spa day it deserves.
Frequently Asked Questions
Can I use vinegar to remove stains from my plastic cutting board?
Yes, white distilled vinegar is an excellent natural cleaner and disinfectant. For stains, you can wipe the surface with undiluted vinegar or create a soak (1 part vinegar to 1 part water). It works well on light organic stains and odors. For very heavy stains, it’s less effective than bleach or hydrogen peroxide.
Is it safe to put a stained plastic cutting board in the dishwasher to clean it?
No. The high heat of a dishwasher will warp and melt the plastic, potentially sealing in bacteria and stains. It also accelerates the formation of new knife cuts. Always hand-wash plastic cutting boards with hot, soapy water and dry them thoroughly.
My plastic cutting board is stained yellow from turmeric. Will it ever come out?
Turmeric is one of the most stubborn stains. A prolonged soak in a diluted bleach solution or 3% hydrogen peroxide can significantly lighten or even remove it, but some residual yellowing may be permanent. However, if the board is properly sanitized with these methods, it is still safe to use despite the discoloration.
How often should I deep clean/sanitize my plastic cutting board?
You should perform a deep sanitizing soak (using a bleach solution or hydrogen peroxide) at least once a month for general use. You should also deep clean immediately after the board has been used for raw meat, poultry, or seafood to prevent cross-contamination.
When is it time to throw away a plastic cutting board?
You should replace a plastic cutting board when it has deep, visible grooves, cracks, or warping that you can feel with your fingernail. These imperfections are impossible to clean thoroughly and become breeding grounds for bacteria. Also, if it has persistent odors or excessive permanent staining that bothers you, replacement is the safest and most hygienic choice.
What’s the difference between cleaning, sanitizing, and stain removal?
Cleaning (soap and water) removes visible dirt and food particles. Sanitizing (using a bleach or peroxide solution) kills bacteria and viruses on the surface. Stain removal (using baking soda, lemon, etc.) is about aesthetics—lifting colored pigments. A truly clean board requires all three: it must be cleaned first, then sanitized to be safe, and stain removal techniques can be used to improve its appearance.
Pingback: Cutting Boards Without Plastic That Is Hygienic - kitchenandhouseware.com