Removing the ice dispenser cover on a Whirlpool refrigerator is a simple DIY task that usually requires no tools and takes under 5 minutes. The process varies slightly by model—common types include push-button, lever, and French door designs—but all involve locating and releasing hidden clips or screws. Always unplug the refrigerator first and handle the glass cover with extreme care to avoid injury or damage.
Key Takeaways
- Safety First: Always unplug the refrigerator and wear gloves to protect against sharp glass edges and electrical components before starting.
- Model Matters: The removal method depends on your specific Whirlpool model (push-button, lever, or French door), so identify yours first for the correct approach.
- Find the Clips: Most covers are held by hidden plastic clips at the top or bottom; use a flat tool like a plastic pry tool to release them gently.
- No Force Needed: If the cover resists, stop and re-check for hidden screws or missed clips—forcing it can break the cover or internal parts.
- Clean & Inspect: Once removed, clean the cover and the dispenser area thoroughly, and inspect the seal and chute for cracks or mold before reassembly.
- Reassembly is Reverse: Reattaching the cover is simply the removal process in reverse—ensure all clips snap securely and the seal sits evenly.
- Call for Help If: If you encounter broken parts, water line issues, or are uncomfortable, contact Whirlpool support or a certified technician.
📑 Table of Contents
- Introduction: Why You Might Need to Remove That Ice Dispenser Cover
- Essential Preparation: Tools, Safety, and Model Identification
- Method 1: The Classic Push-Button/Panel Dispenser (Most Common)
- Method 2: The Lever-Activated Dispenser (Older or Specific Models)
- Method 3: French Door Refrigerators with Integrated Dispenser Panel
- Troubleshooting: What to Do When It’s Stuck
- Reassembly, Cleaning, and Final Checks
- Maintenance Tips to Avoid Future Hassles
- Conclusion: You’ve Got This!
Introduction: Why You Might Need to Remove That Ice Dispenser Cover
Let’s be honest: that ice dispenser cover on your Whirlpool refrigerator is a workhorse. Day in and day out, it gets pressed, splashed, and sometimes even slammed. Over time, it can accumulate grime, develop cracks, or even interfere with ice delivery. Maybe you’ve noticed water pooling under it, a weird smell coming from the chute, or the ice just isn’t dropping right. Perhaps you simply want to give the entire dispenser area a deep, thorough clean that a quick wipe-down can’t provide. Whatever the reason, knowing how to remove ice dispenser cover on a Whirlpool refrigerator is a valuable skill for any homeowner. It saves you a service call fee and gives you a sense of accomplishment. But before you start prying, take a breath. This isn’t a one-size-fits-all job. Whirlpool has used several different mechanisms over the years. Don’t worry—we’re going to walk through every common type, step-by-step, with the finesse of a puzzle-solver. The goal is to get that cover off cleanly, safely, and without turning your fridge into a parts puzzle with missing pieces.
Essential Preparation: Tools, Safety, and Model Identification
Rushing into any appliance repair is a recipe for frustration or injury. A few minutes of prep work makes the actual removal smooth and safe. Think of this as gathering your ingredients before you start cooking.
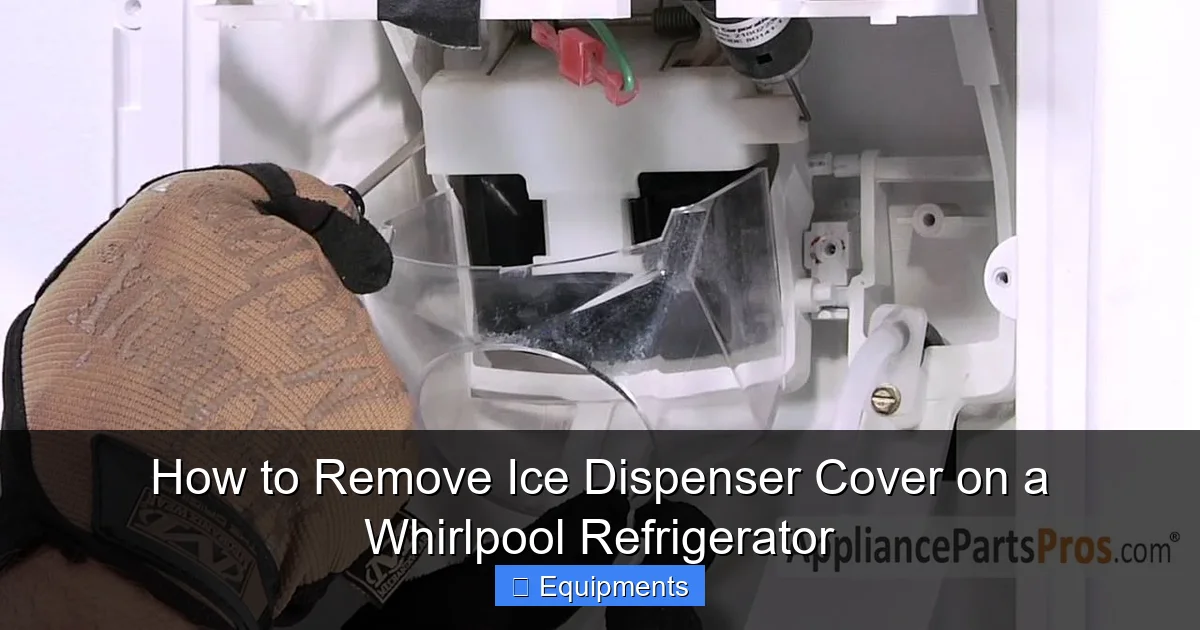
Visual guide about How to Remove Ice Dispenser Cover on a Whirlpool Refrigerator
Image source: wehomedeco.com
Your Minimalist Tool Kit
For most Whirlpool models, you won’t need a single tool. The covers are designed with internal plastic clips. However, having these items on hand will make your life easier and prevent damage:
- Flat Plastic Pry Tool or Old Credit Card: This is your #1 tool. A thin, sturdy plastic tool can release clips without marring the plastic trim around the cover. A wooden spoon handle can also work in a pinch. Avoid metal tools—they can scratch the finish or shatter the glass.
- Soft, Lint-Free Cloths: For placing the cover on once removed, and for cleaning.
- Mild Cleaner: A mix of warm water and a drop of dish soap, or a vinegar-water solution (1:1), is perfect for cleaning. Avoid abrasive cleaners.
- Gloves: Work gloves protect your hands from sharp edges on the glass or plastic cover. Cut-resistant gloves are even better.
- Bucket or Towel: To catch any residual water that might drip from the water line or dispenser chute once the cover is off.
Non-Negotiable Safety Steps
Your refrigerator is a heavy appliance with electricity and water running to it. Skipping these steps is risky.
- Unplug the Refrigerator: This is the golden rule. Go behind the fridge and pull the plug from the wall outlet. This eliminates any risk of electric shock from the dispenser’s solenoid or lights. If the outlet is hard to reach, turn off the dedicated circuit breaker for the refrigerator in your electrical panel.
- Shut Off the Water Supply: If your fridge has a water line for the ice maker (most do), locate the shut-off valve (usually under the sink or behind the fridge) and turn it clockwise until tight. This prevents a mini-flood when you disconnect any internal tubing later if needed.
- Clear the Area: Remove any items from the refrigerator shelves directly behind the dispenser. Have a soft, stable surface (like a towel on the counter) ready to place the cover on.
- Mind the Glass: Many Whirlpool covers have a glass front panel. Treat it like a large pane of window glass—firm but gentle. Have both hands ready to support it as soon as it releases.
How to Identify Your Whirlpool Model
Your specific removal method depends entirely on your refrigerator’s design. The model number is your secret decoder ring. Find it on a sticker inside the refrigerator, on the side wall, ceiling, or on the door frame. It usually starts with letters like “W” or “WRX”. With that number, you can:
- Search online for “Whirlpool [Your Model Number] ice dispenser cover removal” to see specific tutorials or diagrams.
- Call Whirlpool customer support for model-specific instructions.
- Use the model number to recognize which of the common design types below matches your fridge.
If you can’t find the sticker, don’t worry. We’ll cover the three most prevalent design families. Look closely at your dispenser: is the cover a large, single panel that you press to dispense? Does it have a small lever you push down? Or is it part of a French door refrigerator where the entire front panel of the dispenser section comes off?
Method 1: The Classic Push-Button/Panel Dispenser (Most Common)
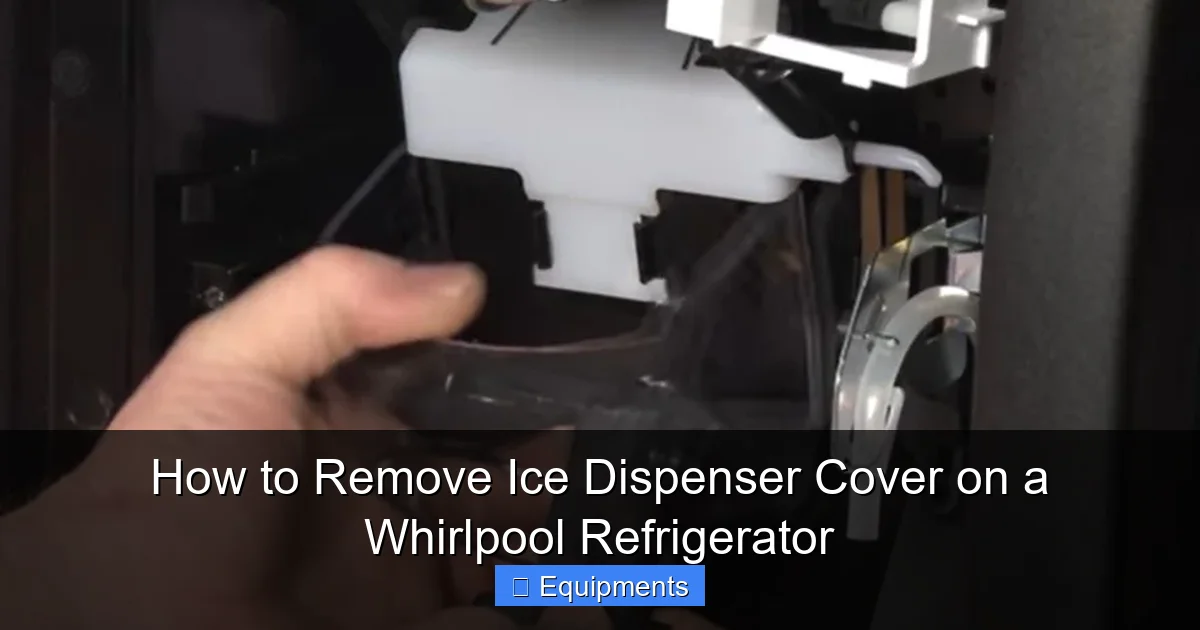
This is the design found on thousands of Whirlpool side-by-side and standard French door models. The entire front face of the ice/water dispenser is one large plastic (often with a glass insert) panel that you press with your cup to activate. It’s held in place by a series of small plastic clips, usually along the top and bottom edges.
Visual guide about How to Remove Ice Dispenser Cover on a Whirlpool Refrigerator
Image source: refrigeratorsolutions.com
Step-by-Step Removal for Push-Button Style
Step 1: Position Yourself. Stand or sit in front of the refrigerator. Have your soft cloth and pry tool ready.
Step 2: Locate the Seam. Look at the very top edge of the dispenser cover. You’ll see a thin, almost invisible seam where the cover meets the plastic housing of the refrigerator door. This is where the top clips are. Sometimes, there’s a small rubber or plastic seal here too.
Step 3: Create a Starting Gap. Gently insert the corner of your plastic pry tool into the seam at one top corner. Apply very gentle, outward prying pressure. You should feel and hear a small snap as the first plastic clip releases. Don’t force it—if it doesn’t pop easily, try the other corner. Sometimes starting from the bottom is easier if there’s a lip.
Step 4: Work Along the Top. Once the first clip is free, gently work your pry tool along the entire top edge. You’ll feel (and hear) a series of 4-6 small snaps as each clip releases. The cover will begin to tilt outward at the top.
Step 5: Release the Bottom. Now, look at the bottom edge. There is often a small plastic lip or tab that hooks under the housing. With the top free, the cover will now hinge down slightly. Gently pull the bottom edge outward and downward. You may need to use your fingers to feel for and unhook a bottom tab or clip. The entire cover should now come away from the door.
Step 6: Disconnect Wires (If Present). Once the cover is off, you’ll likely see one or two small plastic wire connectors. These power the dispenser light and the paddle switch. Press the release tab on each connector and pull them apart gently. Do not pull on the wires themselves.
Pro Tip: On some newer models, there might be a tiny screw hidden under a small plastic cap at the very bottom center of the cover. Pry the cap off with your tool to reveal it if the cover absolutely will not budge after releasing all clips.
Method 2: The Lever-Activated Dispenser (Older or Specific Models)
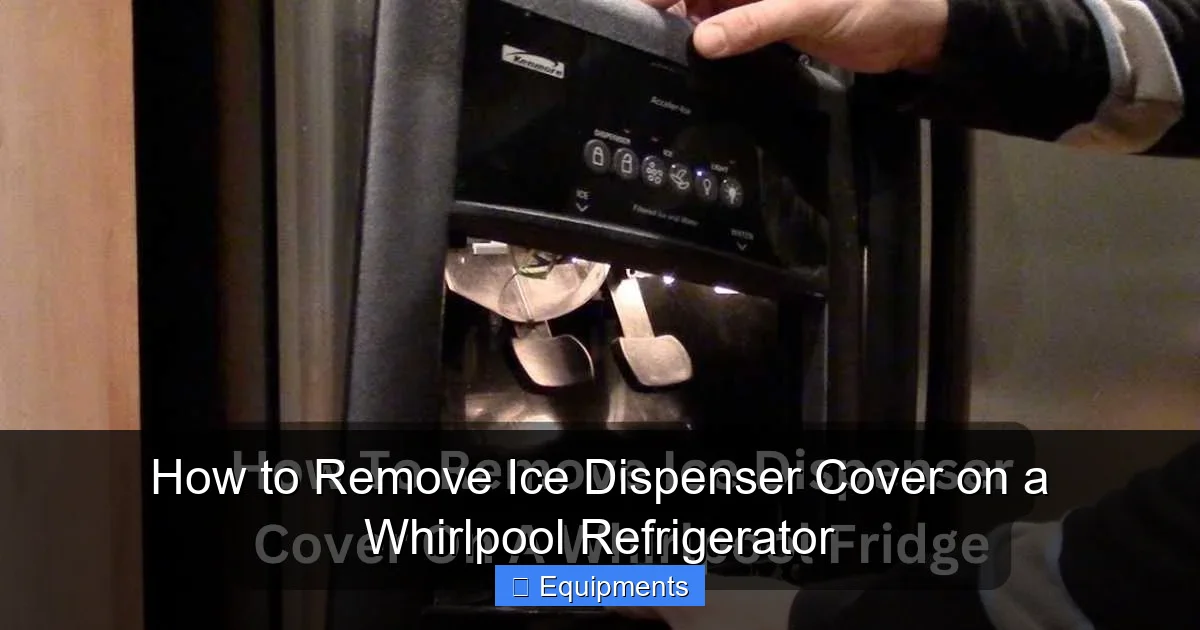
This design features a smaller, separate lever or paddle that you press down with your cup to dispense. The large outer cover is often more decorative and may have a different removal method. Sometimes, it’s the entire bezel around the lever that comes off.
Visual guide about How to Remove Ice Dispenser Cover on a Whirlpool Refrigerator
Image source: refrigeratorsolutions.com
Step-by-Step Removal for Lever Style
Step 1: Identify the Parts. Clearly distinguish between the functional lever/paddle mechanism (the part that moves) and the static outer bezel or cover (the part you’re removing). You usually only need to remove the static outer part to access the chute for cleaning.
Step 2: Check for Hidden Screws. Look extremely carefully around the entire perimeter of the outer bezel. Pay special attention to:
- The very top, behind any rubber seal.
- The bottom corners, often hidden by the drip tray. You may need to remove the drip tray first (it usually just lifts out).
- Inside any small recessed holes.
A tiny Phillips head screw is common. If you find one, remove it with the appropriate screwdriver.
Step 3: Release Clips. If no screws are found, the bezel is clipped on. Starting at the bottom (where it’s often easier to get a tool in), gently pry the bezel away from the door. Work your way around the sides and top. These clips can be tighter than on the push-button style.
Step 4: Maneuver the Lever. Once the bezel is mostly free, you may need to angle it carefully to clear the lever mechanism underneath. Do not force it. Lift it straight up and out once it’s clear.
Note: On some models, the lever itself is integrated into the cover. In that case, you’re essentially following the push-button method above, as the whole assembly comes off together.
Method 3: French Door Refrigerators with Integrated Dispenser Panel
On many Whirlpool French door models (like the WRX series), the ice and water dispenser is located in a vertical panel on the left-hand refrigerator door. This entire panel—which may include the temperature controls and sometimes the light switch—often comes off as one unit to access the water line and ice chute behind it.
Step-by-Step Removal for French Door Panel
Step 1: Remove Obvious Obstructions. Take off any shelves or bins in the refrigerator door that sit in front of or below the dispenser panel.
Step 2: Locate the Release Mechanism. This is the key step. Look for:
- Small Buttons: There are often two small, rectangular buttons—one on the top left and one on the bottom right of the panel’s frame. They might be colored differently or have a tiny “push” symbol.
- Spring-Loaded Tabs: Sometimes there are no buttons, just small tabs you can press in with your fingers or a tool at the corners.
Step 3: Disengage the Lock. Press both buttons (or tabs) inward simultaneously. You should feel the panel release from the door frame. If it doesn’t release, double-check you’re pressing the correct points—they can be subtle.
Step 4: Tilt and Pull. Once released, gently tilt the top of the panel away from the door (about 1-2 inches). Then, carefully pull the panel straight out and down. There are long guide pins at the bottom that must clear their slots.
Step 5: Disconnect Wiring. Behind the panel, you will find several wire harness connectors for the display, lights, and dispenser controls. Press the release tabs and disconnect each one. Take a photo with your phone if you’re worried about reconnecting them incorrectly.
Step 6: Manage the Water Line (If Needed). If your goal is to clean the ice chute or access the water line valve, you may now have enough room. Do not disconnect the water line unless you are prepared for water to spray out. For cleaning, you can usually access the chute opening from the back of the now-removed panel.
Troubleshooting: What to Do When It’s Stuck
Even with the right method, a cover can sometimes refuse to budge. Don’t escalate to force. Here’s your diagnostic checklist:
Common Issues and Solutions
- “I’ve pried all around but nothing moves.” You likely missed a hidden screw. Re-inspect every 2 inches around the perimeter, especially under rubber flaps or inside small holes. Use a bright flashlight.
- “It’s cracking but not releasing.” The plastic has become brittle with age. Stop immediately. You may need to break the old cover to remove it (wear safety glasses!). A new cover assembly is usually the only fix. Order using your model number.
- “There’s no seam to pry.” Some models have a seamless, integrated design where the cover is actually a trim piece that slides up or down. Look for a small lip at the bottom or top you can grip. Sometimes you must push the cover in slightly before pulling out.
- “Water is dripping from behind the cover.” The water line connection or the ice chute seal is faulty. This is why you shut off the water supply first! Locate the small plastic tube (water line) running to the back of the cover. Check if its connection is loose. This may require tightening a compression nut with pliers.
- “Ice is jammed in the chute.” Do not try to remove the cover until you’ve cleared the jam. Use a long, flexible plastic rod (like a coat hanger straightened and bent) to gently push the ice blockage down from the dispenser nozzle. Never use a sharp object.
Reassembly, Cleaning, and Final Checks
You’ve conquered the removal! Now, let’s get it back together perfectly and leave it cleaner than you found it.
The Cleaning Process
With the cover off, you have golden access. Use your soapy water or vinegar solution and a soft cloth to scrub:
- The entire interior of the dispenser cavity.
- The rubber seal/gasket around the opening. Mold loves to hide here. Use a cotton swab for crevices.
- The ice chute from both the front (now exposed) and the back (if you can reach).
- The cover itself, inside and out. If it’s glass, use a glass cleaner for streak-free shine.
- The drip tray (if removed).
Rinse everything with a clean, damp cloth and dry thoroughly. Moisture left behind can freeze and cause new jams.
Step-by-Step Reassembly
Reassembly is simply the reverse of removal, but patience is key.
- Reconnect All Wires: Before you even think about snapping the cover back, ensure every wire connector is securely plugged in. Listen for a click. This is the most common step people forget, leading to a dark dispenser light or non-functional paddle.
- Position the Cover: Hold the cover at the correct angle. For push-button styles, align the bottom edge first, then swing the top into place. For French door panels, insert the bottom guide pins into their slots first, then tilt the top in.
- Snap the Clips: Starting at one corner, gently but firmly press the cover into the door frame. You should feel and hear a series of snaps as the plastic clips engage. Work your way around the entire perimeter. Do not skip corners.
- Secure Any Screws: Reinsert any screws you removed. Don’t overtighten, as it can crack the plastic.
- Reattach Drip Tray/Shelves. Put back any interior door shelves or the drip tray.
- Restore Water and Power: Turn the water supply valve back on fully. Plug the refrigerator back in or turn the breaker on.
- Test Thoroughly: Wait a few minutes for the ice maker to cycle (if you shut off water). Then, press the dispenser paddle. Check for:
- Water/ice dispensing correctly.
- No leaks around the cover edges.
- The dispenser light working.
- The paddle returning smoothly.
If anything is misaligned, unplug, and gently remove the cover again to correct it.
Maintenance Tips to Avoid Future Hassles
Now that your dispenser is pristine, keep it that way with these simple habits:
- Wipe the Cover and Paddle Weekly: Use a damp cloth. This prevents sticky residue buildup that can attract dirt and eventually gum up the mechanism.
- Clean the Drip Tray Regularly: Pull it out weekly and wash it. A clogged drip tray causes overflow and mess.
- Leave the Door Ajar: If you’re going on vacation, prop the dispenser door open slightly (if possible on your model) to allow air circulation and prevent mold in the dark, damp chute.
- Use Filtered Water: If your fridge has a water filter, change it as recommended (usually every 6 months). This prevents mineral deposits inside the water line and dispenser valve, which can restrict flow and cause leaks.
- Listen and Watch: Pay attention to changes. A louder grinding noise when dispensing ice might signal a jammed crusher blade. A slow drip might mean a worn seal. Catching these early prevents bigger problems.
Conclusion: You’ve Got This!
Removing the ice dispenser cover on your Whirlpool refrigerator transforms from a daunting task into a straightforward 5-minute project once you know your model’s secret. The core principles are universal: power off, be gentle, find the clips or screws, and proceed with curiosity, not force. Whether you’re dealing with a classic push-button panel, a lever-style bezel, or a full French door dispenser unit, the steps are logical and repeatable. This DIY knowledge empowers you to clean deep, fix minor leaks, inspect for wear, and ultimately extend the life of your appliance. Remember, the goal isn’t just to get the cover off—it’s to put it back on perfectly, with no leaks and full functionality. So next time you see a drop of water or a bit of grime, you’ll know exactly what to do. You’ve just saved yourself a service call and gained valuable home maintenance confidence. Now, go enjoy that perfectly chilled glass of water!
Frequently Asked Questions
Is it safe to remove the ice dispenser cover myself?
Yes, it is safe if you follow the proper safety steps: always unplug the refrigerator first, shut off the water supply, and wear gloves to protect from sharp edges. The process is designed for consumer access and requires no special tools for most models.
What if my Whirlpool ice dispenser cover is cracked or broken?
A cracked cover should be replaced. Once broken, it can harbor bacteria and compromise the seal, leading to leaks. You can order a replacement cover assembly using your refrigerator’s model number from Whirlpool parts suppliers or major appliance part websites.
Why is ice sticking to the inside of my dispenser chute?
This is usually caused by a faulty or misaligned defrost heater, or a damaged chute seal that lets warm, moist air in. After cleaning the chute thoroughly during cover removal, check the black rubber seal around the chute opening for tears or gaps. A damaged seal needs replacement.
Can I remove the cover if the ice maker is full of ice?
It’s best to either let the ice maker cycle and dump its ice into the bin, or carefully remove some ice from the bin first. A full bin makes it harder to work and increases the risk of dropping ice and water into the dispenser mechanism when the cover is off.
My cover has no visible screws or clips—what now?
Look for a small, hidden release button or tab, often at the top or bottom corners. On some seamless designs, you must push the cover inward slightly (toward the door) to disengage locking tabs before pulling it out. Consult your user manual or search for your specific model number online.
When should I call a professional instead of doing it myself?
Call a technician if you discover a broken water line connection that’s leaking significantly, if the ice crusher blade inside is broken, if you smell a burning odor from the dispenser area, or if you simply feel uncomfortable with any step. Also, if your refrigerator is under warranty, unauthorized repairs may void it.