Refinishing your dove gray kitchen cabinets is a cost-effective DIY project that can completely transform your kitchen’s look without a full remodel. By properly preparing the surfaces and using the right materials—like a high-quality bonding primer and durable gray paint—you can achieve a professional, long-lasting finish. This guide walks you through every critical step, from removing hardware to final sealing, ensuring stunning results that stand up to daily use.
Key Takeaways
- Proper Prep is Non-Negotiable: Thorough cleaning, sanding, and deglossing are the foundation of any successful refinishing project, ensuring paint adhesion and a smooth final surface.
- Primer is Your Secret Weapon: Using a high-quality bonding primer, especially over stained wood or glossy finishes, is essential for blocking old tones and creating a durable anchor for your new dove gray paint.
- Application Technique Matters: Multiple thin coats of paint and primer, applied with a brush for edges and a roller for flat surfaces, prevent drips and provide an even, factory-like finish.
- Dove Gray is a Versatile Choice: This soft, neutral gray complements virtually any kitchen style, from modern to traditional, and hides everyday wear and tear better than stark white.
- Patience Between Coats is Key: Allow adequate drying and curing time for each layer—primer, paint, and protective topcoat—to achieve maximum durability and a flawless appearance.
- Protective Sealing is Recommended: A clear, water-based polyurethane topcoat adds a critical layer of scratch and stain resistance, especially in high-traffic kitchens.
[FEATURED_IMAGE_PLACEHOLDER]
📑 Table of Contents
- Why Choose to Refinish Your Dove Gray Kitchen Cabinets?
- Gathering Your Tools and Materials: The Refinisher’s Arsenal
- The Critical First Steps: Preparation and Removal
- The Painting Process: Achieving a Flawless Dove Gray Finish
- Reassembly and The Final Touches
- Troubleshooting Common Challenges and Pro Tips
- Caring for Your Newly Refinished Dove Gray Cabinets
- Conclusion: Your Beautiful, Transformed Kitchen Awaits
Why Choose to Refinish Your Dove Gray Kitchen Cabinets?
Let’s be honest: kitchen remodels are expensive, disruptive, and time-consuming. But what if you could give your entire kitchen a fresh, modern look for a fraction of the cost and hassle? That’s the power of refinishing your existing cabinets, and choosing a beautiful, versatile color like dove gray is one of the best decisions you can make. Dove gray isn’t just a trend; it’s a timeless neutral that feels both warm and sophisticated. It acts as a perfect backdrop for bold backsplashes, countertops, and hardware, making your whole space feel updated and cohesive.
Refinishing means you keep your solid wood cabinet boxes—the expensive structural part—and simply refresh their exterior surfaces. This process involves removing the old finish (paint or stain), repairing any damage, and applying a new, durable finish. It’s a fantastic way to rescue dated oak or cherry cabinets, update builder-grade cabinets, or simply change the color scheme without the waste and expense of a full tear-out. When done correctly, a refinished cabinet can look as good as new and last for years, adding significant value and joy to your home.
Gathering Your Tools and Materials: The Refinisher’s Arsenal
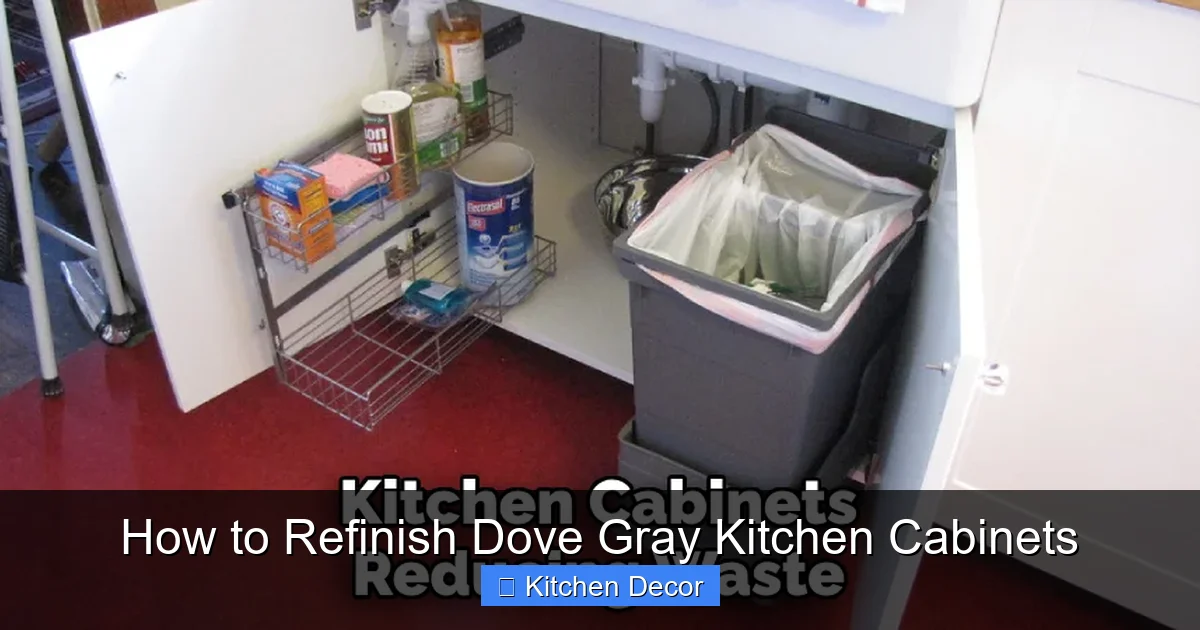
Before you touch a single cabinet door, you need the right supplies. Rushing out to buy paint without the proper prep tools is the number one reason DIY refinishing fails. Think of this as building a foundation—every item on this list plays a crucial role in achieving that smooth, professional dove gray finish you’re dreaming of.
Visual guide about How to Refinish Dove Gray Kitchen Cabinets
Image source: thekitchenix.com
Essential Preparation Supplies
Your prep work arsenal is all about removal and smoothing. You’ll need a good set of screwdrivers or a drill to remove all cabinet doors, drawers, and hardware. Invest in a high-quality degreaser or TSP substitute for cutting through kitchen grime. Sandpaper is critical: you’ll need a range of grits, typically 80-100 for heavy scuffing to remove old gloss, 120-150 for smoothing, and 220 for a final dust-free surface before painting. A sanding block or an orbital sander (with a dust bag!) will save your arms and make the job faster. Don’t forget a heavy-duty cleaner/degreaser for the cabinet interiors and frames.
Other must-haves include a high-quality painter’s tape (like FrogTape) for crisp lines, a razor scraper for removing stubborn old finish or caulk, wood filler for dents and gouges, and a shop vacuum or tack cloths for removing every last speck of dust. A well-ventilated workspace, whether it’s a garage or a covered outdoor area, is also a critical “tool.”
Painting and Finishing Supplies
For the actual refinishing, your material choices make or break the result. Primer: Do not skip this. For cabinet refinishing, a water-based acrylic bonding primer or an oil-based stain-blocking primer is ideal. It seals the wood, blocks stains, and provides the best adhesion for your topcoat. Paint: You need a paint formulated for trim, cabinets, or doors—this means it’s a harder, more durable acrylic enamel. Look for brands like Benjamin Moore Advance, Sherwin-Williams ProClassic, or Behr Urethane Alkyd. These level out beautifully for a smooth finish. For your dove gray, sample a few shades first! Topcoat: A clear, water-based polyurethane in a satin or semi-gloss sheen adds a sacrificial, scratch-resistant layer. Application Tools: A high-quality synthetic bristle brush (2-2.5 inches) for edges and detail work, a 3/8″ nap roller cover for flat panels, and a roller tray. A paint sprayer can give an even more flawless finish but requires more skill and masking.
The Critical First Steps: Preparation and Removal
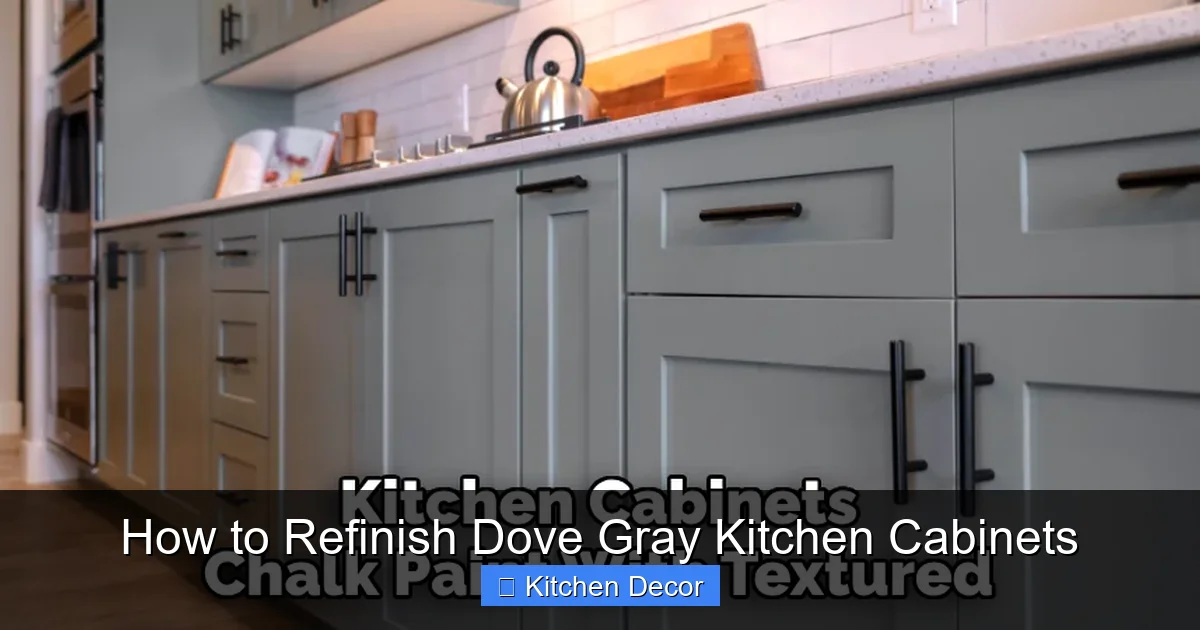
This section isn’t glamorous, but it’s 80% of the battle. Rushing or skipping steps here will lead to peeling paint, brush strokes, and a finish that looks cheap. Take your time. The goal is to create a perfectly clean, smooth, and dull surface for your new finish to grip.
Visual guide about How to Refinish Dove Gray Kitchen Cabinets
Image source: thekitchenix.com
Removal and Labeling
Start by creating a simple diagram of your kitchen and labeling each cabinet door and drawer front with a piece of painter’s tape and a number (e.g., “A1,” “A2”). This prevents a frustrating puzzle when it’s time to rehang them. Using your screwdriver or drill, remove all doors, drawer fronts, and hardware (hinges, knobs, pulls). Store the hardware in labeled bags or containers for each cabinet location. This is also the perfect time to decide if you want to update your hardware—new pulls in brushed nickel or oil-rubbed bronze can stunningly complement your new dove gray.
Deep Cleaning and Deglossing
Kitchen cabinets are coated in a invisible film of grease, oil, and food splatter. Paint will not adhere to this. Using your TSP substitute or a strong degreaser, a scrub pad, and warm water, wash every surface of the cabinet doors, frames, and drawer fronts. Rinse thoroughly with clean water and allow to dry completely. Once dry, the surface will likely still feel glossy. This is where sanding comes in. Hand-sand or use an orbital sander with 80-100 grit sandpaper to thoroughly scuff every surface. You’re not trying to strip to bare wood (unless the old finish is failing), but you must remove the gloss and create a mechanical “tooth” for the primer. Wipe everything down with a damp cloth and let dry.
Repairing and Sanding Smooth
Now, inspect your sanded surfaces. Fill any dents, scratches, or gouges with a wood filler that can be sanded. Apply it with a putty knife, let it cure fully, then sand it smooth with 120-grit paper. Once all repairs are made, do a final sanding pass with 120-150 grit sandpaper over the entire piece to eliminate any swirl marks from the coarse grit. The surface should feel uniformly smooth and slightly dull. The absolute final step before priming is to remove all dust. Use a shop vacuum with a brush attachment, followed by wiping with a tack cloth or a lint-free rag dampened with mineral spirits. The surface must be immaculate.
The Painting Process: Achieving a Flawless Dove Gray Finish
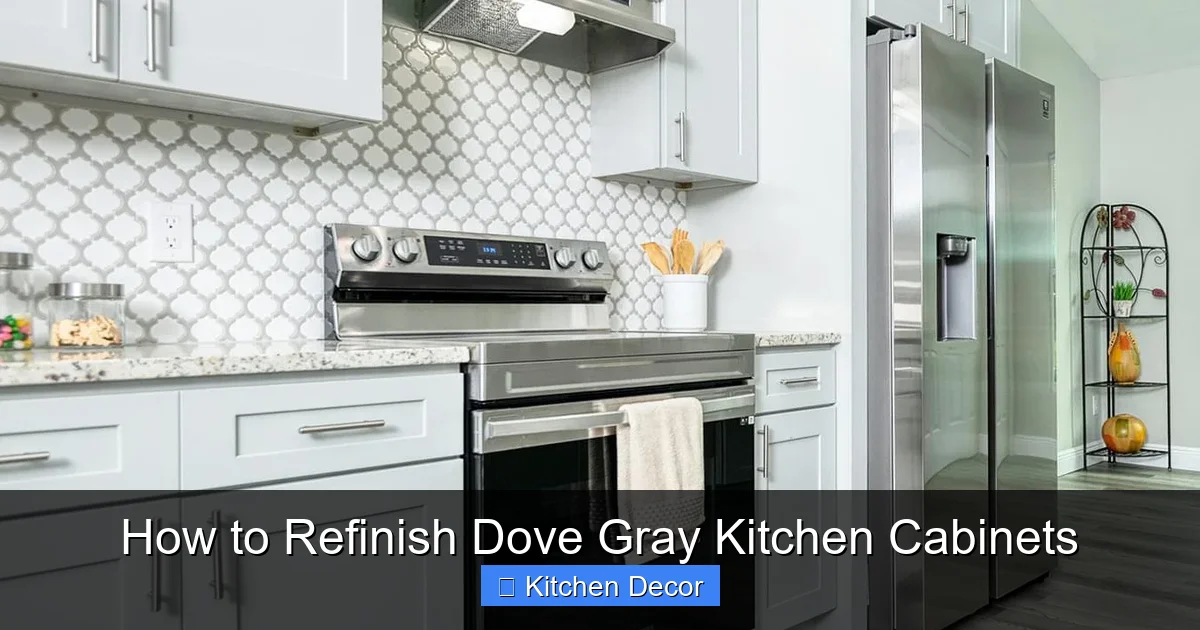
With your cabinets prepped, repaired, and dust-free, it’s showtime. The key here is technique: thin, even coats and patience. Rushing this stage results in drips, sags, and a textured finish that undermines the whole project.
Visual guide about How to Refinish Dove Gray Kitchen Cabinets
Image source: cabinetdistribution.com
Priming for Success
Stir your bonding primer thoroughly—do not shake it, as that creates bubbles. Using your brush, cut in the edges and detailed profiles of the cabinet door (the inside panels, moldings). Then, use your roller to apply a thin, even coat of primer to all flat surfaces. Work in manageable sections. The goal is a uniform, solid coat that seals the wood, not a thick, goopy layer. Pay special attention to any raw wood or areas where you used filler. Let the primer dry completely according to the manufacturer’s instructions (usually 1-2 hours for water-based, longer for oil-based). Once dry, lightly sand the primed surface with 220-grit sandpaper to knock down any dust nibs or brush fibers. Wipe clean with a tack cloth. This sanding between coats is a pro secret for a glass-smooth finish.
Applying the Dove Gray Paint
Just like with primer, stir your dove gray paint gently. Do not thin it unless the manufacturer specifically recommends it for your conditions. Cutting in with the brush first is crucial for sharp, clean lines around the cabinet’s inner details. Then, using your roller loaded with paint, apply a thin, even coat in a “W” or “M” pattern, then fill in without lifting the roller. Maintain a wet edge to avoid lap marks. The first coat will likely look thin and possibly uneven—this is normal. Let it dry completely (check paint can for recoat time, often 2-4 hours). Apply a second thin coat using the same technique. Two thin coats are almost always better than one thick, gloppy coat. For absolute perfection, a third coat may be needed for full coverage, especially if your dove gray is a lighter shade over a dark old stain. Sand lightly with 220-grit between coats if you feel any dust or imperfections.
Sealing for Longevity
Once your final coat of paint is fully cured (this can take 24-72 hours for full hardness), it’s time for the protective topcoat. A water-based polyurethane in satin or semi-gloss is ideal—it won’t yellow over time and dries clear. Apply it exactly like the paint: brush for edges, roller for flats, using thin, even coats. Two coats are standard for kitchens. Sand lightly with 320-grit sandpaper or a synthetic abrasive pad between coats for an ultra-smooth feel. Allow the final coat to cure fully—this is vital! Curing means the finish has hardened completely and can withstand use. This can take up to a week for full durability, so be gentle with the cabinets for the first few days.
Reassembly and The Final Touches
After the final topcoat has cured, the moment of truth arrives. But before you start screwing things back together, there are a few final steps to ensure your refinished dove gray cabinets look installed and perfect.
Final Inspection and Touch-Ups
In good light, inspect every cabinet door and drawer front. Look for any dust nibs, brush strokes, or thin spots. This is your last chance to fix them. You can carefully sand a tiny area with 400-grit sandpaper, clean it, and apply a microscopic touch-up of paint or topcoat with a fine brush. It’s much easier now than after they’re on the wall.
Rehanging Cabinets and Hardware
Reattach your cabinet hinges to the doors first. It’s often easier to do this on a flat surface. Then, carefully rehang the doors on the cabinet boxes. Use your original labeling to ensure each door goes back in its exact position—this guarantees perfect alignment. If your cabinet holes for hardware are stripped or you’re updating hardware, now is the time to fill the old holes with wood filler, sand smooth, and drill new pilot holes. Finally, install your new or existing knobs and pulls. The right hardware can elevate your dove gray cabinets—consider sleek, minimalist pulls for a modern look or ornate cup pulls for a farmhouse feel.
Troubleshooting Common Challenges and Pro Tips
Even with careful prep, you might encounter a hiccup. Knowing how to handle common issues can save your project from disaster.
Dealing with Wood Grain or Stains Bleeding Through
If you have a strong wood grain (like oak) or old tannin-rich stains (like cherry), they can sometimes bleed through your primer or paint, showing as dark spots. The solution is a high-quality stain-blocking primer. An oil-based or shellac-based primer (like BIN or Cover Stain) is the ultimate blocker. Apply one coat of this specialized primer over the problem areas after your initial bonding primer, let it dry, and then proceed with your paint. It creates an impenetrable barrier.
Preventing and Fixing Drips and Brush Strokes
Drips happen from applying paint too thickly or in horizontal strokes on a vertical surface. The fix is prevention: always apply thin coats and work from top to bottom. If you spot a drip while the paint is still wet, immediately smooth it out with your brush or roller, feathering the edges. If it’s dried, sand it smooth with 220-grit sandpaper, clean the dust, and repaint that small area. For visible brush strokes, ensure you’re using a high-quality brush and are not over-brushing. The roller should provide a smoother surface on flat panels. The final light sanding between coats is your best defense.
The “Orange Peel” Texture
This is a textured finish that looks like the skin of an orange, often caused by spraying paint too heavily or in the wrong conditions (too hot, too humid, or too windy if spraying outdoors). If you’re using a brush and roller, it’s usually from applying the paint too thickly or not using a conditioner/additive in the paint. The fix is sanding. Once fully cured, sand the affected area with a fine abrasive pad or 320-grit sandpaper until smooth, clean thoroughly, and apply another thin, careful coat of paint.
Caring for Your Newly Refinished Dove Gray Cabinets
Your beautiful new dove gray cabinets are installed! Now, protect your investment with proper care. The good news is that a well-refinished cabinet with a durable topcoat is surprisingly resilient.
Daily and Weekly Cleaning
Avoid harsh abrasive cleaners like Comet or steel wool, which will scratch the finish. Instead, use a soft microfiber cloth dampened with warm, soapy water (a drop of mild dish soap). Wipe down surfaces, especially around the stove and sink, and immediately dry with a clean, dry microfiber cloth. For tougher grease splatters, a dedicated cleaner for painted surfaces or a 50/50 solution of water and white vinegar works well. Always test any cleaner in an inconspicuous spot first.
Long-Term Maintenance
Be mindful of prolonged water exposure. Wipe up spills and water spots immediately. Use trivets and hot pads under pots and pans. The heat and moisture can damage the finish over time. If you notice a minor scratch or wear spot in a high-traffic area, you can often buff it out with a small amount of furniture wax or a specialized cabinet polish. For deeper scratches that penetrate the topcoat, you may need to lightly sand and apply a tiny bit of paint and topcoat to that specific spot. Reapplying a fresh coat of your clear polyurethane topcoat every 3-5 years in a high-use kitchen can rejuvenate the surface and add another layer of protection.
Conclusion: Your Beautiful, Transformed Kitchen Awaits
Refinishing your kitchen cabinets in a sophisticated dove gray is more than just a paint job—it’s a transformative act of home improvement. It requires patience, attention to detail, and a respect for the process, but the rewards are immense. You’ve not only saved thousands of dollars but also reduced landfill waste and created a space that truly reflects your personal style. That soft, elegant gray you see on your cabinet doors is the result of your own effort—a permanent fixture in your home that will continue to delight you every time you walk into your kitchen. Remember, the magic is in the preparation. Take your time with the cleaning, sanding, and priming, and the painting will be a breeze. Now, put on your favorite podcast, roll up your sleeves, and get ready to fall in love with your kitchen all over again.
Frequently Asked Questions
How long does it take to refinish kitchen cabinets?
A full cabinet refinishing project typically takes 3-5 days of active work, but this includes crucial drying and curing time between coats. The actual hands-on work (removing, prepping, painting) might be 2-3 days, but you must factor in 24+ hours of drying time for primer and paint, and up to a week for the final topcoat to cure fully before heavy use.
Is it cheaper to refinish or buy new cabinets?
Refinishing is almost always significantly cheaper. Professional refinishing can cost 50-70% less than replacing cabinets with new ones. As a DIY project, your cost is primarily materials (primer, paint, topcoat, sandpaper), which for an average kitchen can range from $200-$600, versus $5,000-$15,000+ for all-new cabinets installed.
Will refinishing damage my cabinets?
No, when done correctly, refinishing preserves and protects your cabinet boxes. The process involves removing the old finish, not the wood. The only risk is if you use aggressive chemical strippers or excessive sanding that damages the wood veneer or surface. Following the sanding guidelines (using the correct grit and not over-sanding) prevents this.
Can I refinish cabinets without removing them?
While it’s technically possible to refinish cabinets in-place, it is highly discouraged. It’s extremely messy, makes it nearly impossible to get a clean finish on edges and inside details, and risks getting paint on your walls and countertops. Removing the doors and drawers allows you to work on a flat, stable surface in a controlled environment, which is essential for a professional result.
Do I really need a separate primer? Can’t I just use paint with primer?
For a kitchen refinishing project, a dedicated, high-quality bonding primer is absolutely necessary. Paint-and-primer-in-one products are designed for new drywall or previously painted surfaces in good condition. Your kitchen cabinets have years of grease, possibly a glossy old finish, and different wood tones. A bonding primer specifically seals, blocks stains, and creates a consistent, adhesive surface that regular paint cannot achieve on its own.
Should I hire a professional or DIY this project?
This depends on your skill level, patience, and available time. If you are meticulous, have a good workspace (garage), and can follow detailed instructions, DIY is very rewarding and cost-effective. Hire a professional if your cabinets have extensive damage, you are uncomfortable with power sanders, you lack a good dust-free workspace, or you simply want a guaranteed flawless finish without the time investment.