Putting your Whirlpool refrigerator drawers back in is a straightforward DIY task you can handle in minutes. The process involves identifying your drawer type (crisper, deli, or freezer), correctly aligning the rails and stops, and gently sliding the drawer back until it clicks securely. Always unplug the fridge or turn off the ice maker first for safety, and never force a drawer that doesn’t slide smoothly. With the right approach, you’ll restore full organization and efficiency to your kitchen without a service call.
Key Takeaways
- Safety First: Always disconnect power or turn off the ice maker before starting to avoid injury or damage.
- Identify Your Drawer Type: Crisper, deli, and freezer drawers have unique rail systems and removal/reinstallation steps.
- Models Vary: Your specific Whirlpool model (check the tag inside) dictates the exact mechanism; consult the manual if possible.
- Align Before You Slide: Properly seat the drawer’s rear wheels or glides onto the rails before pushing the front closed.
- Lubricate Stiff Rails: A tiny dab of food-safe silicone grease on plastic rails can fix a sticky drawer—never use WD-40.
- Listen for the Click: A properly seated drawer will audibly click or settle into place when fully inserted.
- Know When to Call a Pro: If a rail is visibly broken or a drawer is severely bent, replacement parts may be needed from Whirlpool.
📑 Table of Contents
- Introduction: That Frustrating Moment When Drawers Go Missing
- Understanding Your Whirlpool Drawer System
- Essential Prep: Safety and Tool Checklist
- Step-by-Step: Reinstalling the Crisper Drawer
- Step-by-Step: Reinstalling the Deli/Full-Width Drawer
- Step-by-Step: Reinstalling the Freezer Drawer
- Troubleshooting: When It Just Won’t Go In
- Maintenance Tips to Keep Drawers Sliding Smoothly
- Conclusion: You’ve Got This!
Introduction: That Frustrating Moment When Drawers Go Missing
You open your Whirlpool refrigerator for a snack, and there it is—a glaring empty space where your crisp vegetable drawer or deli meat tray should be. Maybe you were cleaning, maybe you were just reorganizing, but now that essential drawer is out, and you’re staring at the confusing maze of plastic rails and stoppers inside. Don’t panic, and don’t resign yourself to a life of scattered produce on a shelf! Learning how to put the drawers back in your Whirlpool refrigerator is a simple skill that saves time, money, and frustration. It’s one of the most common “repairs” in a kitchen, and it’s almost always easier than you think.
This guide will walk you through the entire process, from understanding what type of drawer you’re dealing with to the final satisfying *click* that means it’s secured. We’ll cover the classic crisper drawer, the wider deli drawer, and even the heavier freezer drawer. Forget calling a technician for this—by the end of this article, you’ll have the confidence and clear steps to get your fridge back to its organized, efficient self. Let’s get those drawers home where they belong.
Understanding Your Whirlpool Drawer System
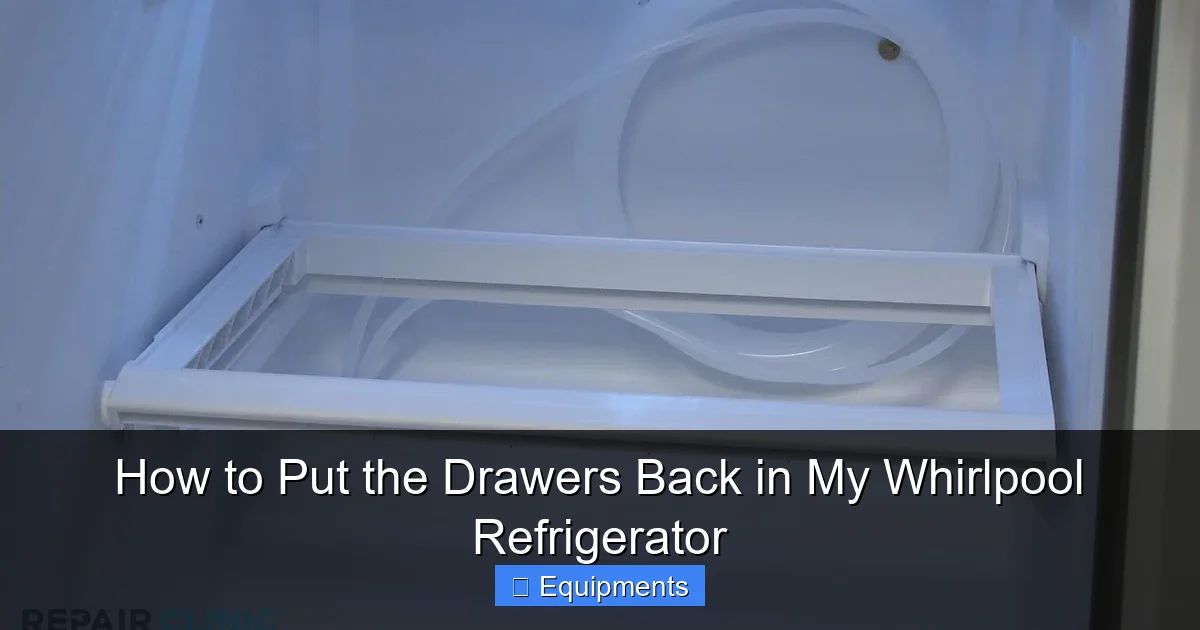
Before you start pushing and pulling, it’s crucial to understand that not all refrigerator drawers are created equal. Whirlpool, like most manufacturers, uses different mechanisms for different storage zones. The three primary types you’ll encounter are the crisper drawer, the deli or full-width drawer, and the freezer drawer. Identifying which one you’re handling is the first step to a successful reinstallation.
Visual guide about How to Put the Drawers Back in My Whirlpool Refrigerator
Image source: refrigeratorsolutions.com
The Crisper Drawer: The Humidity Controller
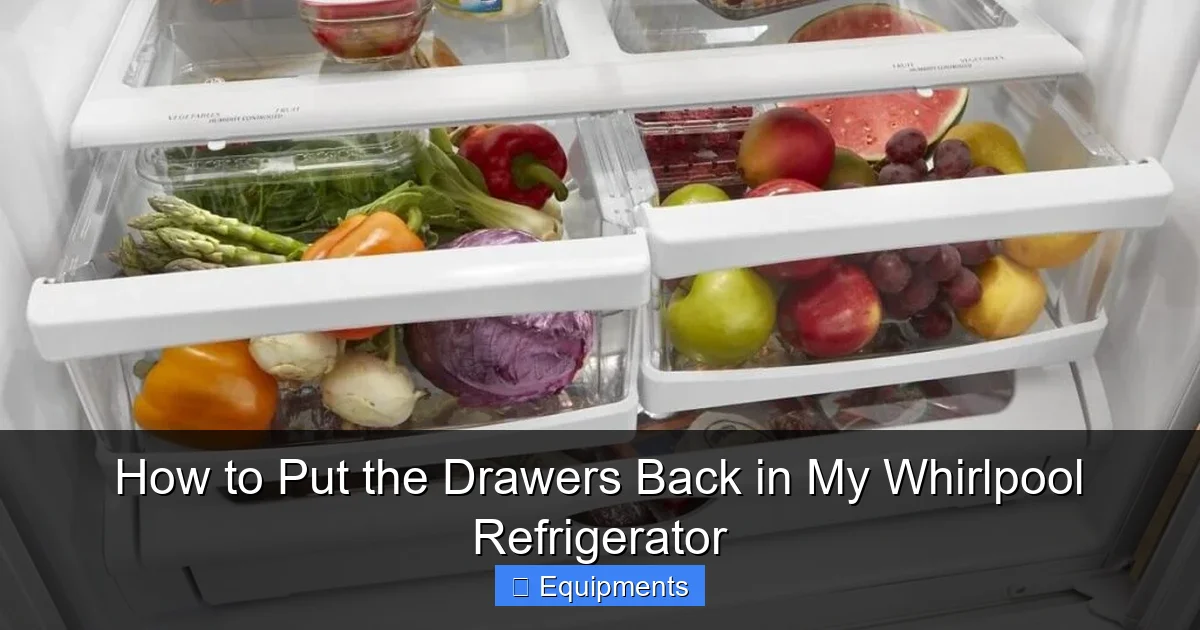
The crisper drawer, usually located at the bottom of the fresh food compartment, is designed for fruits and vegetables. Its key feature is a sliding humidity control vent (a small plastic slider) on the front or top. The rail system for these drawers is typically simpler. They often use plastic tracks or “glides” on the sides of the drawer itself that slide along fixed plastic rails mounted inside the fridge wall. When you pull it out fully, you’ll see small plastic wheels or a smooth plastic slide on each side. The reinstallation is about getting these wheels or slides perfectly aligned with the rails before gently pushing it home.
The Deli Drawer: The Heavy Lifter
The deli drawer, often a full-width drawer just above the crispers, is built for larger items like party trays, meats, and cheese blocks. It’s heavier and usually has a more robust rail system. This system frequently features metal ball-bearing slides that extend completely from the fridge wall. When fully extended, you’ll see a metal rail on both the left and right inside the fridge cavity. The drawer itself has a corresponding metal bracket with wheels or a carriage that attaches to these rails. Because of the weight, proper alignment is even more critical here to ensure smooth operation and prevent the drawer from falling.
The Freezer Drawer: The Cold & Strong
Freezer drawers are the heaviest of all, packed with frozen goods. They almost always use a heavy-duty metal slide system, similar to the deli drawer but often more substantial. Some models, especially French door styles, have a “bucket” style freezer drawer that slides out on large, sturdy metal rails. The process for these is identical to the deli drawer: align the drawer’s carriage with the extended rails and push in evenly. Be prepared for the weight—have a firm grip.
Essential Prep: Safety and Tool Checklist
Rushing into this is a recipe for pinched fingers or a damaged drawer. A few minutes of preparation makes the job foolproof.
Visual guide about How to Put the Drawers Back in My Whirlpool Refrigerator
Image source: refrigeratorsolutions.com
Safety First: Power Down
This is non-negotiable. Before you touch anything inside the fridge compartment:
- Unplug the refrigerator from the wall outlet. This is the safest method.
- If unplugging is impractical (e.g., the outlet is far behind a cabinet), turn off the dedicated circuit breaker for the fridge at your electrical panel.
- For freezer drawers, if your model has an ice maker, locate the shut-off valve (usually under the sink or behind the fridge) and turn it off, then raise the ice maker arm to stop production. This prevents water from siphoning or the ice maker cycling unexpectedly.
This prevents any accidental motor startup, protects you from electrical hazards, and stops the ice maker from trying to dump ice into an open freezer drawer.
Gather Your Tools (You Probably Already Have Them)
You likely don’t need any tools at all. However, have these items on hand:
- A clean, soft cloth or towel (to protect the drawer edges and your floor).
- A flashlight (the interior can be dark and shadowy).
- A small container (to hold any screws or clips that might have come loose—though most modern Whirlpool drawers are tool-free).
- Optional: Food-safe silicone grease (like a plumber’s grease) for stubborn slides.
Locate Your Model Number
If you hit a snag, your model number is your best friend. Find the serial and model number tag inside the refrigerator, usually on a side wall, the ceiling, or behind a crisper cover. Write it down or take a photo. You can use it to:
- Search for a specific PDF manual on the Whirlpool website.
- Identify the exact replacement parts if a rail or stopper is broken.
- Find model-specific tutorial videos online.
Step-by-Step: Reinstalling the Crisper Drawer
This is the most common and usually the simplest drawer to reinstall. Let’s get that humidity-controlled veggie bin back in place.

Visual guide about How to Put the Drawers Back in My Whirlpool Refrigerator
Image source: thekitchenix.com
Step 1: Position and Preliminary Alignment
First, take the crisper drawer out completely. You should have done this already to get to this point. Now, look at the inside walls of your refrigerator where the drawer came from. You’ll see two parallel plastic rails running from front to back. Now, look at the sides of the drawer itself. On each side, near the rear corners, you’ll see either:
- Small plastic wheels (like tiny rollers), or
- A smooth, slightly curved plastic glide (a continuous piece of plastic).
Your goal is to get these wheels or glides to sit *on top* of the fixed rails. Tip the front of the drawer up slightly (about 15-20 degrees). This angle allows the rear wheels/glides to clear the front lip of the rail and drop onto the rail’s top surface.
Step 2: The Critical “Drop” and Engage
With the drawer tilted up, line the rear of the drawer up with the rear of the rail opening. Gently lower the back of the drawer. You should feel a soft thunk or feel the resistance lessen as the rear wheels/glides settle fully onto the rails. The drawer will now be resting on the rails, but the front is still tilted up.
Step 3: Lower and Slide Home
Now, slowly and gently lower the front of the drawer to a level position. As you do this, the front portion of the wheels/glides will engage with the front section of the rail. Once the drawer is level, push it in smoothly and firmly until it is fully seated. You will hear and feel a distinct click or a solid “thump” as the drawer’s front stop (a small plastic protrusion) hits the internal bumper at the back of the fridge cavity. This click is your confirmation that it’s installed correctly and won’t pull out accidentally.
Pro Tip: The Humidity Control
If your crisper has a sliding humidity control on the front, make sure it’s in the desired position (usually “High” for veggies that need moisture, “Low” for fruits) before you push the drawer all the way in, as you won’t be able to access it once it’s closed.
Step-by-Step: Reinstalling the Deli/Full-Width Drawer
This drawer is wider and heavier, so the process requires a bit more finesse with the metal slides.
Step 1: Fully Extend the Rails
Locate the metal ball-bearing slide rails on the left and right inside the fridge. They should be fully retracted (closed). Pull each rail firmly outward until it locks into its fully extended position. You’ll hear clicks as the ball bearings engage the stops. The rails should now be sticking out several inches into the fridge cavity. This is crucial—you cannot install the drawer with the rails retracted.
Step 2: Locate the Drawer’s Carriage
Examine the outside of the deli drawer, specifically the left and right sides near the front and back. You’ll see a metal bracket or carriage attached to the drawer. This carriage has wheels or rollers that fit onto the rails. There is often a small metal lever or tab on the carriage.
Step 3: Engage the Carriage
Hold the drawer at an angle similar to the crisper (front slightly up). Position the drawer so the rear of its carriage is aligned with the extended end of the metal rail. Hook the rear wheels of the carriage onto the rail. You may need to lift the carriage slightly to clear the rail’s lip. Once the rear is engaged, slowly lower the front of the drawer. The front wheels of the carriage should drop onto the rail. Ensure the carriage is fully seated on the rail on both sides before proceeding.
Step 4: The Symmetrical Push
This is the most important part. With both carriages properly on both rails, push the drawer in straight and evenly. Use both hands, one near each side rail, applying equal pressure. Push until the drawer is almost fully in. You will feel increasing resistance as the drawer’s front face nears the fridge’s interior wall. Give it a firm, final push until you hear the solid click of the front stop engaging. The drawer should now be flush with the fridge’s interior and operate smoothly when pulled.
Step-by-Step: Reinstalling the Freezer Drawer
The process for the freezer drawer is 95% identical to the deli drawer, but the weight demands respect.
Key Similarities and Differences
The mechanism is the same heavy-duty metal slide system. The main difference is weight and sometimes the presence of an ice bin that sits inside the drawer. If your freezer drawer has a removable plastic ice bin, take it out first to make the drawer lighter and easier to handle. Reinstall the bin after the drawer is securely in place.
The Weight Management Technique
Because freezer drawers can be very heavy when loaded (even empty, they’re substantial):
- Use your legs, not your back. Bend your knees to lift or support the drawer.
- Get a helper. If the drawer is fully loaded with frozen food, have one person guide and align each side while the other pushes. This prevents skewing and damage.
- Go slowly. Rushing with a heavy drawer can bend the rails or carriage. Ensure each side is engaged before pushing.
Follow the same steps: extend rails, engage rear carriage wheels, lower front, push in evenly until click. Test it by pulling it out and pushing it in a few times to ensure smooth, balanced movement.
Troubleshooting: When It Just Won’t Go In
Even with the best instructions, sometimes things don’t line up. Here’s how to diagnose the most common issues.
“It’s Stuck and Won’t Slide”
This is often a rail alignment or debris issue.
- Check for obstructions: Look inside the rail channel. A stray pea, a piece of broken plastic, or even a spilled liquid that has frozen can block the path. Clean the rails thoroughly with a damp cloth.
- Check rail alignment: Visually inspect the fixed rails. Are they both parallel to each other and to the drawer opening? A bent rail (from a heavy impact) will prevent smooth travel. If bent, the rail likely needs replacement.
- Lubricate carefully: For stiff plastic rails, apply a tiny amount of food-safe silicone grease to a cloth and wipe it along the top surface of the rail. Wipe off excess. Never use petroleum-based lubricants like WD-40, as they can degrade plastic and are not food-safe.
“It Slides but Wobbles or Falls Off”
This indicates the carriage is not fully engaged on one or both rails.
- Remove and re-engage: Pull the drawer out completely. Re-tilt it and make sure you hear/feel the rear wheels/clips click onto the rail. It’s easy to think it’s on when it’s actually just resting on the front lip.
- Check for worn or broken parts: Inspect the carriage wheels. Are they cracked, missing, or do they spin freely? A broken wheel will cause derailment. Also, check the rail end caps (stoppers). If a front or rear stopper is missing or broken, the carriage can fly off.
“There’s a Missing Screw or Plastic Clip”
Some older or specific Whirlpool models use a small plastic clip or screw to secure the drawer’s carriage to the drawer itself. If this is missing, the carriage will pivot and not stay on the rail.
- Do not force it. Operating the drawer with a missing fastener will cause more damage.
- Order the part: Use your model number to find the correct replacement clip or screw assembly from Whirlpool Parts & Accessories or an authorized dealer. This is a cheap and easy fix once you have the right part.
Maintenance Tips to Keep Drawers Sliding Smoothly
Prevention is the best cure. A little care will keep your refrigerator drawers functioning perfectly for years.
Regular Cleaning is Key
Every time you do a deep fridge clean, remove the drawers completely. Wash them with warm, soapy water. While they’re out, use a damp cloth or a cotton swab to clean the rail channels inside the fridge. Wipe away any sticky spills, dried juice, or food particles. This debris is the #1 cause of sticky slides.
Mind the Weight Limit
Every drawer has a weight capacity, especially the deli and freezer drawers. Overloading them with heavy items like full gallon jugs, large turkeys, or multiple heavy pans puts stress on the rails and carriages, leading to premature wear and misalignment. Distribute heavy items on shelves instead.
Gentle Operation
Train your household to pull and push drawers straight. Jerking a drawer out at an angle or pushing it in crooked is a surefire way to knock the carriage off the rail. Teach kids to open drawers fully before reaching in to avoid pulling from the middle, which can also stress the system.
Seasonal Lubrication (If Needed)
Once a year, if you notice any resistance, apply a microscopic amount of food-safe silicone grease to a clean cloth and wipe it along the top of the plastic rails. Work the drawer in and out a few times to distribute it. This creates a protective film that repels dust and moisture.
Conclusion: You’ve Got This!
Reinstalling a drawer in your Whirlpool refrigerator isn’t a mysterious appliance repair; it’s a logical puzzle of alignment and gentle force. By taking a moment to identify your drawer type, powering down for safety, and following the specific steps for your mechanism—whether it’s the simple plastic glide of a crisper or the robust metal slides of a freezer—you can solve this common household hiccup in under five minutes. Remember the golden rules: tilt to engage the rear, lower gently, and push straight and firm until you hear the click. A well-maintained drawer system keeps your food organized, accessible, and fresher. So next time a drawer goes on an unexpected adventure, you’ll know exactly how to welcome it home.
Frequently Asked Questions
My Whirlpool refrigerator drawer is stuck out and won’t go back in at all. What should I check first?
First, ensure nothing is physically blocking the rail inside the fridge cavity, like a food item or broken plastic piece. Second, check if the drawer’s carriage (the part that holds the wheels) is actually engaged on both rails. It may have jumped off. Pull the drawer out fully, tilt the front up, and carefully re-hook the rear wheels onto the rails before lowering and pushing in.
Do I need special tools to put my fridge drawer back in?
No, you typically do not need any tools. Modern Whirlpool refrigerator drawers are designed for tool-free removal and installation. The process is purely mechanical, using gravity, alignment, and sliding motions. You might only need a flashlight to see the rails clearly.
I hear a grinding noise when I try to slide the drawer in. Is it broken?
A grinding noise usually means the carriage wheels are not on the rail and are scraping against the plastic housing. It could also indicate a broken wheel or a piece of debris in the rail channel. Remove the drawer completely, inspect the wheels and rails for damage or foreign objects, clean everything, and try the alignment process again very carefully.
How do I know if my drawer is properly seated?
A properly installed drawer will be flush with the refrigerator’s interior walls. When you push it in, you will feel solid resistance and hear a distinct click or “thump” as the drawer’s front stop engages with the internal bumper. The drawer should not wiggle loosely at the front and should pull out smoothly.
Can I use WD-40 or another lubricant on my fridge drawer rails?
No, you should not use WD-40 or any petroleum-based lubricant. These can degrade plastic and rubber components over time and are not food-safe. For sticky rails, use a tiny amount of food-safe silicone grease (plumber’s grease) applied sparingly with a cloth, or simply clean the rails thoroughly with warm, soapy water and dry them completely.
When should I call a technician instead of trying to fix it myself?
You should call a Whirlpool service technician if you see a visibly bent or broken metal rail, a shattered plastic carriage, or if a critical plastic clip or stopper is missing and you cannot find the correct replacement part. Also, if the drawer is severely warped or bent from heat or impact, it may need to be replaced entirely. For simple re-alignment issues, DIY is almost always sufficient.