Putting up shelves without traditional brackets is easier than you think and creates a stunning, seamless look ideal for modern kitchens. You can achieve this using hidden support systems like floating shelf hardware, tension rods for no-drill installations, or heavy-duty adhesive strips. These bracketless methods are renter-friendly, minimize wall damage, and offer incredible versatility for displaying dishes, spices, and decor. This guide covers everything from choosing the right method to safe installation tips for a flawless finish.
So, you want to add some beautiful, functional shelving to your kitchen. You dream of a clean, modern look where your favorite ceramic mugs, a row of spice jars, or a small potted herb seem to float effortlessly on the wall. But then you picture the bulky L-brackets, the drilling, the patching, and the permanent commitment. What if you could put shelves up without brackets altogether? It’s not magic—it’s smarter hardware and clever techniques. This comprehensive guide will walk you through every bracketless method, from hidden professional-grade systems to renter-friendly hacks, ensuring you achieve a stunning, secure kitchen display.
The kitchen is the heart of the home, and its decor should be both beautiful and practical. Bracketless shelving, often called “floating shelves,” has become a cornerstone of contemporary kitchen design because it eliminates visual clutter, making your walls look expansive and your items the star. Whether you’re a homeowner wanting a built-in look or a renter seeking permission-friendly solutions, learning how to put shelves up without brackets opens a world of sleek, adaptable storage. We’ll break down each technique, discuss the vital safety considerations for a room full of heavy pots and pantry items, and provide step-by-step instructions to give you confidence. Let’s transform your kitchen walls.
Key Takeaways
- Floating shelves use hidden internal supports or cleats for a sleek, bracket-free appearance. The shelf appears to hover magically on the wall.
- Tension rod systems require no tools or holes, using pressure between walls or cabinets. They are ideal for lightweight items and temporary setups.
- Heavy-duty adhesive strips (like Command) offer a true no-drill solution for renters. Proper surface preparation is critical for maximum holding power.
- Weight capacity is the most crucial safety factor, varying drastically by method and wall type. Always overestimate your load and choose the appropriate system.
- Creative alternatives like decorative corbels or ladder shelves can provide support while enhancing style. They blend function with farmhouse or industrial aesthetics.
- Kitchen environments demand moisture and heat resistance from your shelf material and mounting system. Avoid paper-based adhesives near stoves or sinks.
- Proper measurement, leveling, and following manufacturer instructions are non-negotiable for a secure installation. A small mistake can lead to a collapsed shelf and damaged items.
📑 Table of Contents
- Why Choose Bracketless Shelving for Your Kitchen?
- Hidden Support Systems: The Professional Floating Shelf Method
- Tension Rod Solutions: The No-Tool, No-Hole Approach
- Adhesive and No-Drill Options: The Renter’s Salvation
- Creative Alternatives Using Decor as Disguised Support
- Safety First: Weight Limits, Wall Types, and Installation Wisdom
Why Choose Bracketless Shelving for Your Kitchen?
Before diving into the “how,” let’s explore the “why.” Traditional brackets are reliable, but they have significant drawbacks in a kitchen setting. Bracketless methods solve these problems while offering unique aesthetic benefits.
The Allure of a Seamless, Modern Aesthetic
In kitchen design, less is often more. Visible brackets break the clean line of a shelf, creating a busy, industrial, or dated look. A truly bracketless shelf, where the support is completely hidden within or behind the shelf board itself, offers a minimalist, uncluttered appearance. This seamless look makes your displayed items—a set of colorful bowls, a collection of glassware, or fresh herbs—appar to be the sole focus. It’s a design trick that makes small kitchens feel larger and gives any kitchen a custom, high-end feel without the custom price tag.
Unparalleled Flexibility for Renters and Changemakers
If you rent your home, the idea of drilling holes and installing permanent brackets is often a non-starter. Security deposits are at stake! Bracketless methods like tension rods and certain adhesive systems are completely removable, leaving no trace behind. Even homeowners benefit from this flexibility. Kitchen layouts evolve. Maybe that shelf above the coffee station would be better in the breakfast nook. Non-permanent or minimally invasive installations allow you to adapt your storage as your needs and tastes change, without a major drywall repair project.
Maximizing Perceived Space and Light
Because there are no brackets protruding from the wall, bracketless shelves create an open, airy feel. Light can flow more freely around the shelf’s edges, and the wall space behind and below the shelf remains visually accessible. This is particularly valuable in kitchens with limited square footage or lower ceilings, where every bit of visual breathing room counts. It’s a simple way to make the room feel more spacious and less cramped.
Hidden Support Systems: The Professional Floating Shelf Method
This is the gold standard for a permanent, sturdy, and truly invisible bracketless look. The shelf board is supported by a mechanism that is entirely concealed within the shelf itself or inside the wall. It requires more effort and tools than other methods but delivers the most robust and seamless result, perfect for holding heavy dishes, cookbooks, or small appliances.
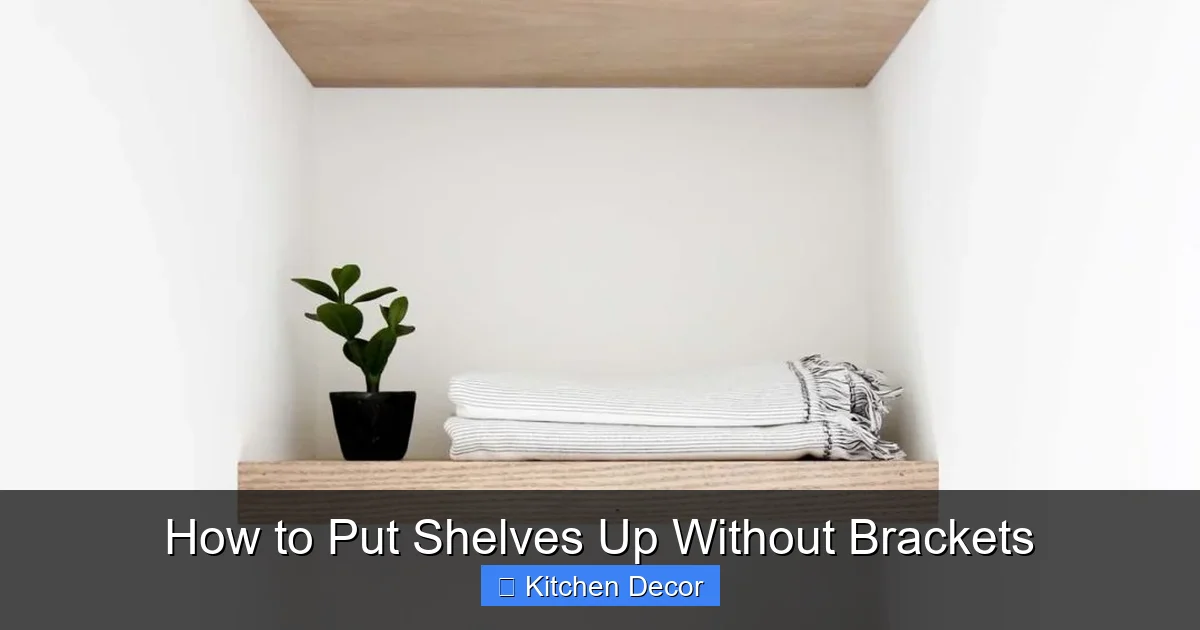
Visual guide about How to Put Shelves Up Without Brackets
Image source: plankandpillow.com
Types of Hidden Supports
There are three primary systems for achieving this professional floating effect:
- Internal Bracket Systems: A metal bracket (often a French cleat or a specialized “shelf support”) is screwed directly into the wall studs. The corresponding mating piece is routed into a groove or attached to the back of the shelf board. The shelf then locks onto the wall bracket. From the front and sides, nothing is visible.
- Rod and Plug Systems: A sturdy metal rod (like a thick threaded rod or a purpose-made support rod) is anchored into the wall. The shelf board is drilled with holes, and the rod is inserted through, with decorative plugs or caps covering the ends on the front of the shelf. This creates a very industrial yet clean look.
- Solid Support Cleats: A solid piece of wood (a cleat) is secured to the wall. The shelf, which has a matching routed groove on its back, slides down onto this cleat. This is a classic, extremely strong method often used by cabinet makers.
Step-by-Step Installation Guide
Let’s outline the process for a common internal bracket system, ideal for a kitchen.
- Locate Wall Studs: This is the most critical step for weight capacity. Use a stud finder to mark the center of studs along your planned shelf line. For a shelf over 24 inches long, you must hit at least two studs. If your shelf span doesn’t align with studs, you’ll need to install a horizontal backing board between studs first, to which you can then anchor your shelf supports.
- Install the Wall Bracket: Position your wall bracket (e.g., a French cleat) so its top edge is exactly where you want the bottom of your shelf to sit. It must be perfectly level. Screw it securely into the studs using long wood screws (2.5-3 inches). Use at least two screws per stud connection.
- Prepare the Shelf: On the back of your shelf board, attach the mating piece of the bracket system according to the manufacturer’s instructions. This usually involves screwing it into the back or routing a groove. Ensure it is perfectly aligned with the wall bracket when you test-fit.
- Mount the Shelf: With a helper, lift the shelf and angle the top of the shelf board onto the wall bracket (for a cleat system) or slide it into place (for a routed groove system). Once engaged, press down firmly and slightly back to lock it. The shelf should now sit flush against the wall with no visible supports.
Pro Tip for Kitchens: Choose a dense, stable wood like oak, maple, or walnut for your shelf board. Avoid particleboard or cheap pine for heavy loads, as they can sag over time. Seal the wood with a kitchen-safe oil or polyurethane to protect against moisture and stains.
Tension Rod Solutions: The No-Tool, No-Hole Approach
For the ultimate in renter-friendly, temporary, and tool-free shelving, tension rods are your best friend. They work on the principle of applying outward pressure between two fixed surfaces. In a kitchen, this typically means between the underside of a wall cabinet and the floor, or between two parallel walls or cabinet sides.
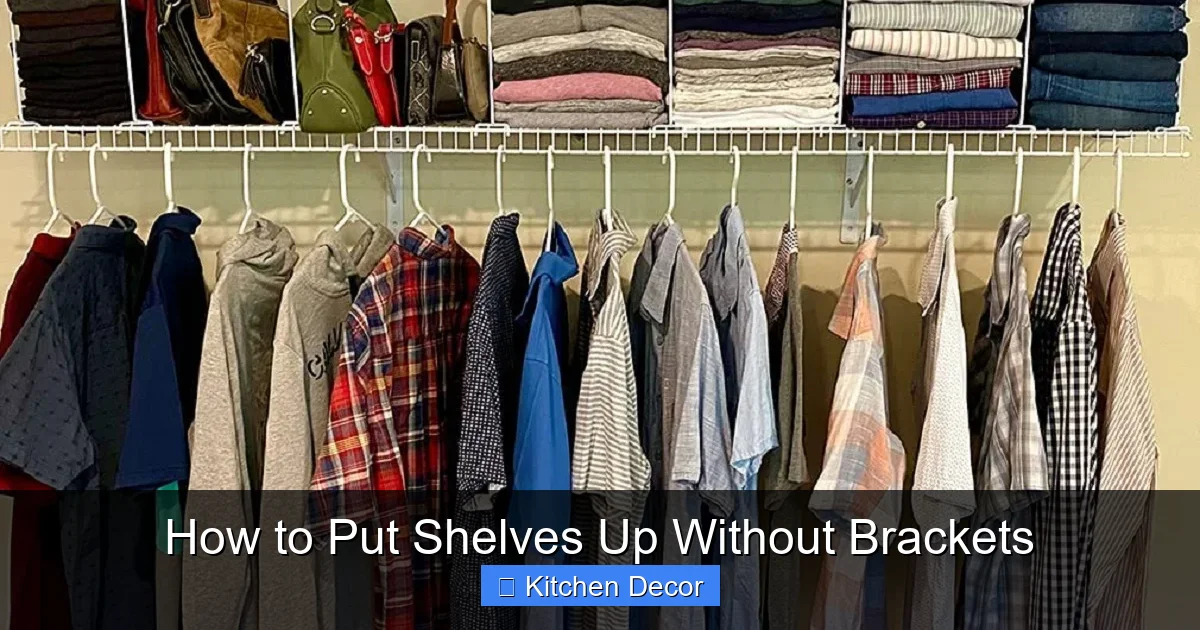
Visual guide about How to Put Shelves Up Without Brackets
Image source: storables.com
How Tension Rods Create Shelf Space
A heavy-duty tension rod is a hollow, threaded metal pipe with a spring or twist mechanism inside. You extend it to fit your space, then twist to tighten, creating immense pressure. You can then place a shelf board directly on top of the tightened rod. For more stability, you can use two rods: one near the front edge and one near the back, with the shelf spanning across them. Alternatively, you can hang baskets or small shelves directly from the rod using S-hooks.
Ideal Kitchen Placements and Uses
- Under Wall Cabinets: Place a tension rod between the bottom of your upper cabinets and the countertop or floor. This creates a perfect spot for hanging frequently used utensils, small pots, or a row of mugs on S-hooks. It adds storage without consuming counter space.
- Between Cabinet Ends: In an L-shaped kitchen, you might have a gap between the end of one cabinet run and the side of another. A tension rod across this gap can hold a narrow shelf for spices or olive oil bottles.
- In a Pantry: Use tension rods vertically to create extra shelf layers inside a deep pantry cabinet, effectively doubling your storage space for cans and dry goods.
Weight Capacity and Safety Tips
Tension rods are not for heavy items. A high-quality, thick-gauge rod rated for 20-30 pounds is standard. Never exceed this limit. Distribute weight evenly. Do not use tension rods above a stove or in direct line of steam from a dishwasher, as constant humidity can cause metal to rust and tension to slip. Always twist until the rod is immovably tight. Test the setup with weight before fully loading it. Remember, this is a flexible solution; a major bump could dislodge it.
Adhesive and No-Drill Options: The Renter’s Salvation
The market for removable adhesives has exploded, and several products are specifically engineered to hold significant weight on smooth, non-porous surfaces like painted drywall, tile, or glass—common in kitchens. The key is selecting the right product and preparing the surface flawlessly.
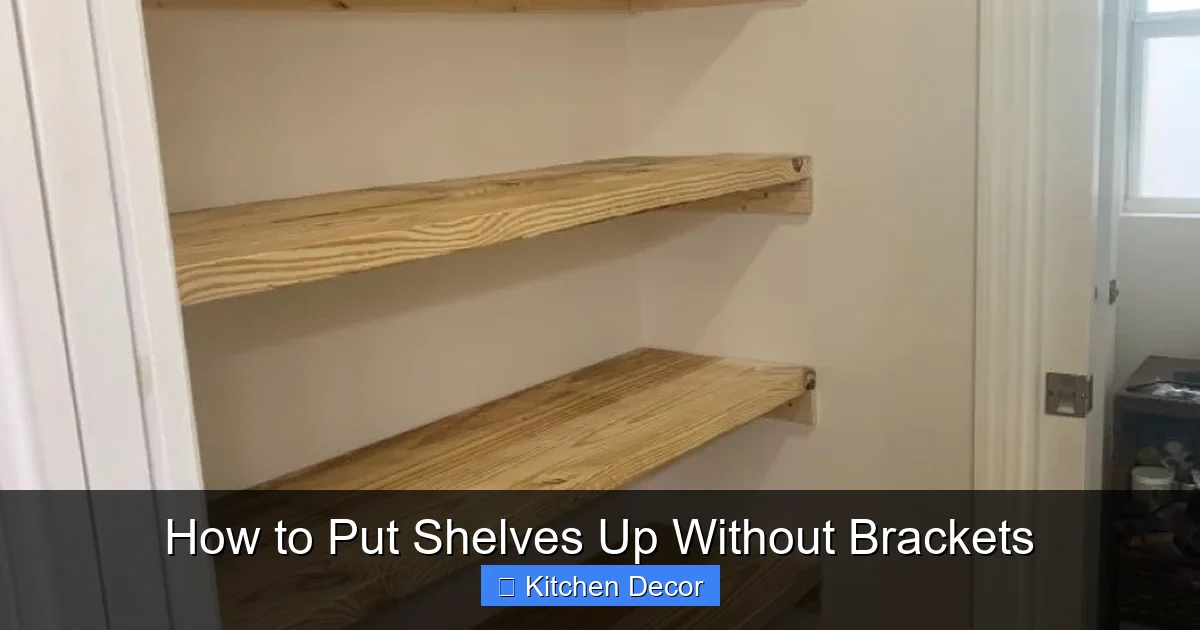
Visual guide about How to Put Shelves Up Without Brackets
Image source: i.pinimg.com
Heavy-Duty Adhesive Strips and Hooks
Brands like Command (by 3M) offer a vast range of products. For shelves, you need a system rated for the weight. Look for:
- Large Picture Hanging Strips: These interlocking strips can hold up to 16-24 pounds per pair, depending on the size. You attach one strip to the wall and one to the back of the shelf. They lock together with a satisfying click. For a shelf, you’ll need multiple pairs spaced along the length.
- Utility Hooks and Clips: Heavy-duty utility hooks can be adhered to the wall. You can then place a shelf board with a routed slot or lip onto these hooks, creating a bracketless look where the hook itself is very small and low-profile.
Suction Cups for Smooth, Non-Porous Surfaces
For glass tile backsplashes or smooth refrigerator doors, industrial-strength suction cups can work. They rely entirely on a perfect seal. They are only suitable for very light loads (a few pounds) and are highly susceptible to failure from temperature changes, humidity, and imperfect surfaces. Use them sparingly and with extreme caution in a kitchen.
Critical Limitations and Surface Preparation
Adhesive solutions have strict rules. The wall surface must be clean, dry, and completely free of grease, dust, or steam residue. Use isopropyl alcohol on a lint-free cloth to clean the area. The wall paint or finish must be in good condition—no peeling or cracking. These adhesives are designed for smooth, painted drywall. They will not adhere reliably to textured walls, wallpaper, or matte finishes. Most importantly, always follow the manufacturer’s “hold time” instructions. You must press the adhesive firmly for 30 seconds and then wait 1 hour (or more) before applying any weight. Removing them requires slow, steady pulling straight down, often with a floss or specialized remover tool, to prevent paint damage.
Creative Alternatives Using Decor as Disguised Support
Sometimes, the line between “support” and “decor” is beautifully blurred. You can use items that are primarily decorative but also provide structural aid, achieving a bracketless feel while being honest about support.
Decorative Corbels as Stylish, Minimal Supports
A corbel is a decorative bracket, often ornate. But a small, simple, modern corbel made of solid wood or metal can be so understated that it doesn’t read as a “bracket.” Install a tiny, minimalist corbel directly under the shelf at one or two points. From a normal viewing distance, the shelf appears to float, but the corbel provides crucial support, especially for longer spans. This is an excellent hybrid approach that adds a touch of architectural detail while maintaining a mostly clean line.
Ladder Shelves and Industrial Pipe Illusions
A leaning ladder shelf rests against the wall without any wall-mounted brackets. Its weight is transferred to the floor. You can build or buy a ladder shelf with wide, sturdy steps perfect for kitchen items. Ensure the top is securely against the wall and consider using a small, discreet adhesive pad or corner bracket at the top to prevent slipping. For an industrial look, use short pieces of decorative pipe with flanges. The flanges are screwed to the wall and the shelf, but the pipe itself becomes a design feature that distracts from the functional bracket.
Repurposing Furniture as Wall-Mounted Shelving
Get creative! A sturdy, shallow drawer from an old dresser can be removed, cleaned, and mounted directly to the wall with heavy-duty adhesive strips or hidden cleats. Its back panel and sides provide a lip that helps contain items, and its vintage character becomes the decor. A simple, solid wood crate can be affixed to the wall using a similar hidden cleat system, offering a rustic, farmhouse-style floating shelf with built-in sides.
Safety First: Weight Limits, Wall Types, and Installation Wisdom
In the kitchen, shelves hold more than just pretty trinkets. They hold heavy stoneware, cast iron pans, full canisters, and appliances. Ignoring weight limits is a recipe for disaster. This section is the most important in the guide.
Calculating Realistic Weight Capacity
Every method has a maximum safe load, but this number is a starting point, not a guarantee. You must consider:
- Wall Material: Drywall alone (without studs) is weak. A single toggle bolt in drywall might hold 20-30 lbs in ideal conditions, but this is risky for dynamic loads (like someone leaning on the shelf). Concrete or brick is much stronger. Tile is tricky; drilling through tile requires a special bit and anchors designed for masonry.
- Installation Quality: A screw that’s 1/4 inch too short or not driven into a stud dramatically reduces capacity. Adhesive that wasn’t prepped for properly will fail.
- Shelf Span and Material: A long, thin shelf will sag in the middle under weight, even if the mounts are strong. A 1-inch thick board will hold more than a 3/4-inch board of the same length. Always check the manufacturer’s rated capacity for your specific hardware and shelf material.
Rule of Thumb: For any kitchen shelf holding dishes, pots, or food items, aim for a total load capacity of at least 40-50 pounds if using studs. If you cannot hit studs, stay under 20 pounds total and distribute weight very evenly. For purely decorative items (a few small plants, a vase), lighter methods are fine.
Proper Installation Techniques for Each Method
Success lies in the details:
- For Hidden Supports: Use a level for the wall bracket. Pre-drill holes for screws to prevent wood splitting. Use screws long enough to penetrate the stud by at least 1.5 inches. For drywall without studs, use heavy-duty toggle bolts or snap toggles rated for the load.
- For Tension Rods: Measure the exact distance between your two surfaces (e.g., floor to cabinet bottom) at multiple points, as floors and ceilings are not always perfectly parallel. Choose a rod slightly longer than your longest measurement to ensure you can achieve proper tension. Twist until the rod is extremely tight; it should not be able to rotate further by hand.
- For Adhesives: Clean the surface with alcohol and let it dry completely. Apply the adhesive strips by pressing firmly for 30 seconds. WAIT the full recommended time (often 1 hour) before loading. Test with a small amount of weight first.
When to Avoid Bracketless Methods Altogether
There are scenarios where traditional brackets are the only safe choice:
- If you need to support very heavy items (e.g., a stand mixer, large stockpot collection).
- If your wall is old, damaged, or you cannot reliably locate studs.
- If the shelf will be subjected to frequent pulling or lateral force (e.g., a pull-out shelf for a heavy item).
- If you have textured walls or non-standard surfaces that adhesives cannot grip.
In these cases, use small, discreet brackets painted to match the wall or shelf color. A few well-placed, tiny brackets are far better than a catastrophic shelf failure.
Conclusion: Learning how to put shelves up without brackets empowers you to create a kitchen that is both a culinary workspace and a showcase of personal style. From the invisible engineering of floating shelves to the no-commitment magic of tension rods and adhesives, there is a bracketless solution for every kitchen, renter, and design dream. The key is respect for the physics involved. By accurately assessing your weight needs, choosing the correct system for your wall type, and following installation protocols with precision, you can enjoy stunning, secure, and clutter-free shelving for years to come. Measure twice, install once, and then step back to admire your handiwork—a clean wall, a perfect shelf, and all your favorite kitchen items beautifully displayed, all without a single visible bracket in sight.
Frequently Asked Questions
Can I use adhesive strips to put up a shelf for heavy dishes and pots?
Most adhesive strips are not rated for the dynamic, heavy loads of kitchen dishes. They are best for very light, decorative items. For heavy items, you must use a method that anchors into wall studs, like a hidden bracket system. Always check the product’s weight rating and stay well below it for safety.
What is the safest bracketless method for a rental kitchen?
The safest rental methods are tension rods (for lightweight items between cabinets) and heavy-duty adhesive strips specifically designed for the wall surface (painted drywall). Both cause no permanent damage when removed correctly. Avoid any method that requires drilling into tile or stone, as this is almost always a lease violation.
How do I find wall studs without a stud finder?
You can tap the wall lightly; studs often sound denser and less hollow. Look for outlets and switch plates, as their boxes are typically attached to studs. Measure from the corner; studs are usually spaced 16 or 24 inches on center. However, a magnetic stud finder (inexpensive) or a proper electronic stud finder is highly recommended for accuracy and to avoid plumbing or electrical hazards.
My kitchen walls are tiled. Can I still put up a floating shelf?
Yes, but it’s more complex. You must drill through the tile using a diamond-tipped drill bit and then use anchors designed for masonry or tile. This is a permanent modification. For a temporary solution on tile, a tension rod between cabinet and counter is your best bet. Adhesive strips will not adhere reliably to glazed tile.
What is the maximum weight a tension rod shelf can hold?
A high-quality, thick-gauge tension rod rated for 30 pounds can typically support a shelf with a total distributed load of 20-25 pounds. This is suitable for a few mugs, light cookbooks, or small plants. It is not suitable for stoneware, cast iron, or full canisters. Always test gradually.
How do I remove a shelf with hidden supports without damaging the wall?
The removal process depends entirely on the system. For a French cleat or routed groove, you simply lift the shelf straight up and off the wall bracket. The wall bracket will remain, but it is low-profile and can be easily patched if desired. For adhesive systems, follow the manufacturer’s removal instructions precisely, usually involving slowly pulling a tab or using dental floss to saw behind the adhesive strip to release it from the wall without taking paint with it.