Measuring for pull-out shelves is a precise but simple process that prevents installation headaches and wasted money. The key is measuring the cabinet’s interior opening, not the exterior frame, and accounting for all obstructions like hinges or drawer slides. You must measure width, depth, and height at multiple points to catch irregularities, then subtract the necessary clearance for the shelf’s hardware. Following a systematic approach ensures your new storage solution fits perfectly and operates smoothly.
So, you’ve decided to conquer that cluttered cabinet and install a pull-out shelf. Fantastic choice! These ingenious organizers turn dark, deep voids into accessible, efficient storage. But before you click “buy” on that sleek, fully-extension slide you’ve been eyeing, there’s one absolutely critical step: how to measure cabinets for pull out shelves correctly.
This isn’t a ” eyeball it ” situation. Getting your measurements wrong is the fastest way to a shelf that binds, doesn’t fit, or worse, requires a costly return or a cabinet modification. The good news? Measuring is a straightforward skill anyone can master with a systematic approach. Think of it as a treasure map where “X” marks the spot for your perfect-fit shelf. Let’s break it down, step by step, so you can measure with confidence and transform your kitchen storage.
Key Takeaways
- Measure the Interior Opening: Always measure inside the cabinet box where the shelf will sit, not the outer cabinet frame or door.
- Check for Obstructions: Look for and measure the space taken up by hinges, drawer slides, plumbing, or electrical conduits that will block the shelf’s path.
- Take Multiple Measurements: Cabinets are rarely perfect squares. Measure width and depth at the front, middle, and back, and use the smallest dimension for ordering.
- Understand Clearance Requirements: Pull-out shelf systems need ¼” to ½” of total clearance (sides, top, bottom) to operate without binding.
- Identify Your Cabinet Type: Base cabinets, wall cabinets, and corner cabinets have different standard dimensions and measurement challenges.
- Measure Depth from Front to Back: The critical depth measurement is from the interior front face of the cabinet to the back interior wall, not to the door.
- Height is for Vertical Space: Measure the interior vertical space to ensure the shelf’s frame and contents have enough headroom.
📑 Table of Contents
- Why Precision is Non-Negotiable: The Cost of a Bad Measurement
- Gather Your Tools: The Measuring Kit
- The Step-by-Step Measurement Protocol for Any Cabinet
- Special Considerations: Measuring for Different Cabinet Types
- Choosing Your Hardware: Matching Measurements to Solutions
- Common Measurement Mistakes (And How to Avoid Them)
- Pro Tips for a Flawless Installation
- Conclusion: Your Journey to Organized Cabinets Starts with a Tape Measure
Why Precision is Non-Negotiable: The Cost of a Bad Measurement
Before we grab the tape measure, let’s talk about why this matters so much. Pull-out shelf systems are engineered to precise specifications. The width of the shelf basket, the length of the slide rails, and the overall frame dimensions are all fixed. Your cabinet’s interior opening is the variable.
If you order a shelf that’s even ¼-inch too wide, it simply won’t fit. If it’s too narrow, it’ll rattle around, be unstable, and potentially damage your cabinet walls over time. Measuring inaccurately for depth can cause the shelf to hit the back wall or the cabinet door, stopping it from fully extending. The result is frustration, wasted time, and money down the drain. Proper measurement is the foundation of a successful, functional installation.
The Golden Rule: Interior Opening, Not Exterior Frame
This is the single most important concept. You are measuring the empty space inside the cabinet box where the shelf will live. You are not measuring the outside of the cabinet, the door, or the face frame (the decorative wood around the opening). The shelf slides into the cabinet’s carcass. Place the tip of your tape measure on the interior side of one cabinet wall and stretch it to the interior side of the opposite wall. That’s your usable width.
Gather Your Tools: The Measuring Kit
You don’t need a toolbox full of gadgets. A few simple, accurate tools will do the job perfectly.
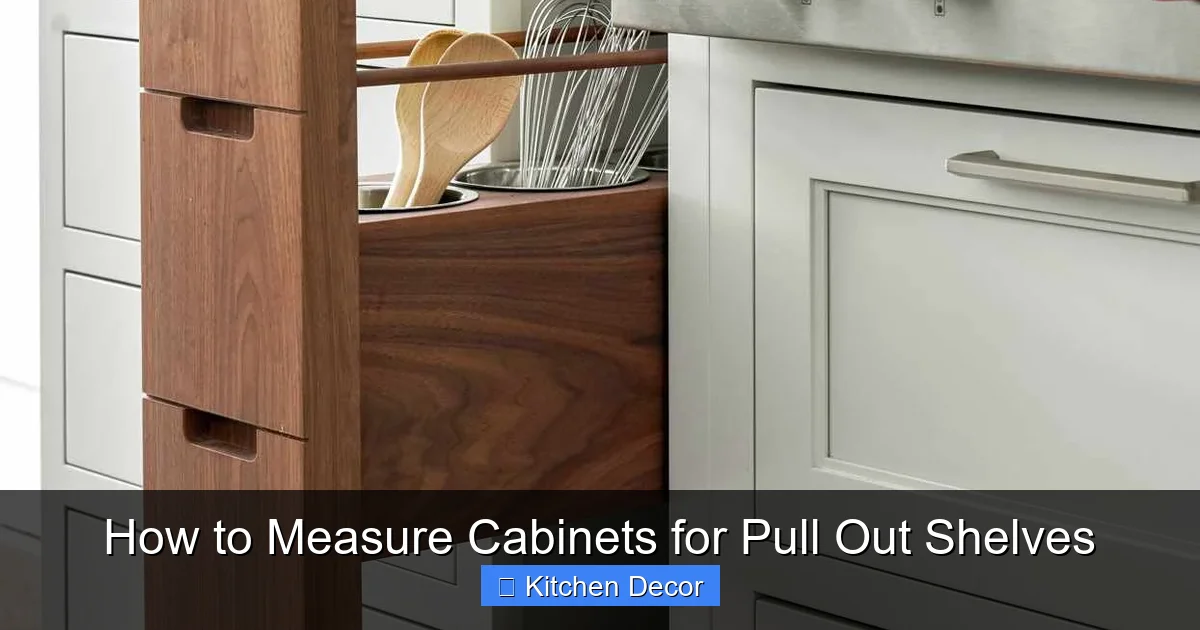
Visual guide about How to Measure Cabinets for Pull Out Shelves
Image source: bhg.com
- A Sturdy Steel Tape Measure: A 25-foot retractable tape is ideal. Avoid flimsy cloth tapes as they can stretch and give inaccurate readings.
- A Small Notebook and Pen/Pencil: Immediately write down every measurement. Don’t trust your memory. Label each set clearly (e.g., “Base Cabinet #1 – Width”).
- A Small Level or Straight Edge (Optional but Helpful): Useful for checking if your cabinet floor or sides are truly level and square, which can affect measurements.
- A Flashlight: Cabinets are dark. A bright light helps you see obstructions like hinge screws or plumbing pipes in the back.
- A Helper (Optional): For large cabinets, a second set of hands can hold the tape end securely while you take the reading.
The Step-by-Step Measurement Protocol for Any Cabinet
Now, let’s get our hands dirty. Follow this exact sequence for every cabinet you plan to outfit. We’ll cover specific cabinet types next, but this protocol is universal.
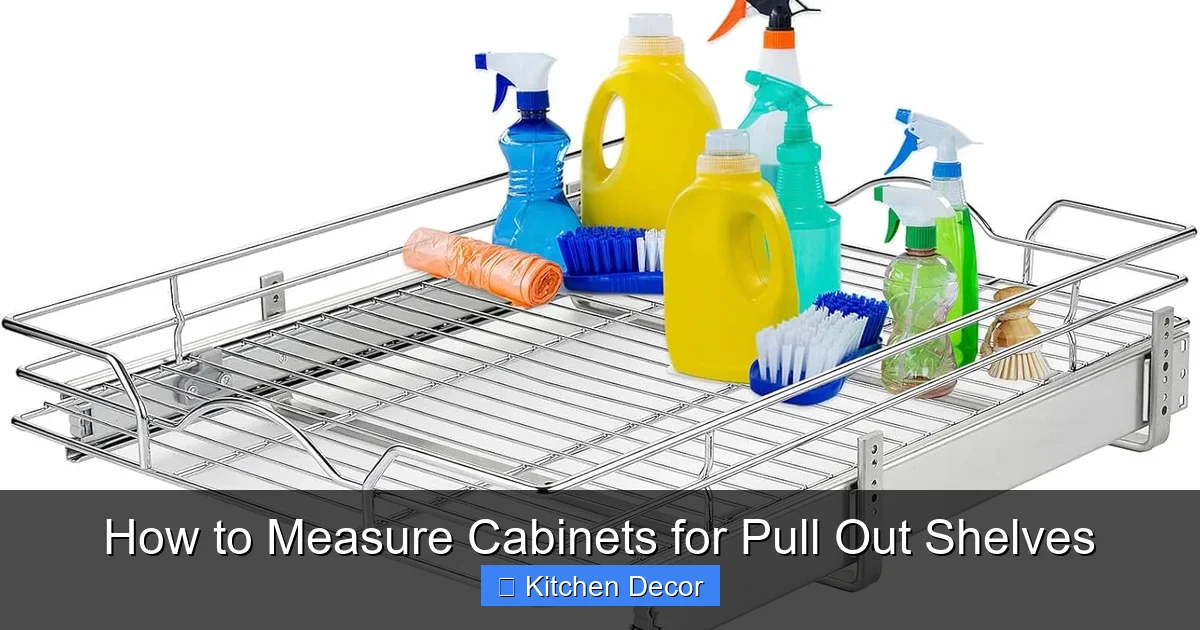
Visual guide about How to Measure Cabinets for Pull Out Shelves
Image source: images-cdn.ubuy.co.in
Step 1: Empty and Inspect the Cabinet
Remove everything from inside. This is your chance to see the true space and spot hidden obstacles. Look closely at the back wall and the side walls. Do you see any pipes, wires, conduit, or HVAC ducts? Are there screws from old hardware protruding? Is there a bulky hinge mechanism (like for a lazy Susan) that takes up space? Note the location of any obstruction in your notebook with a rough sketch.
Step 2: Measure the Width (Side-to-Side)
This is your most critical measurement for ordering the shelf’s width.
- Place the tape measure hook against the interior side wall of the cabinet.
- Stretch it straight across to the interior side of the opposite wall.
- Do this in three places: At the very front (just inside the opening), in the middle of the cabinet, and at the very back. Cabinets, especially older ones, can be out of square.
- Record all three numbers. The smallest of these three measurements is the one you will use for your shelf’s width specification. This ensures the shelf can fit through the narrowest point.
Step 3: Measure the Depth (Front-to-Back)
This determines how far the shelf will extend. A common mistake is measuring to the door.
- Position yourself in front of the open cabinet.
- Place the tape end against the interior front face of the cabinet (where the door closes against).
- Extend the tape straight back to the interior back wall.
- Again, measure at the left, center, and right sides.
- Use the smallest depth measurement. This prevents the shelf from jamming into the back wall when extended.
Step 4: Measure the Height (Vertical Clearance)
This ensures the shelf frame and your items have enough room to fit vertically.
- Measure from the interior bottom of the cabinet floor (or the top of an existing shelf) straight up to the interior bottom of the cabinet top or the next shelf.
- Do this at the front and back.
- Use the smaller height. This is the maximum vertical space your pull-out shelf assembly can occupy.
Step 5: Document Obstructions & Clearance Needs
Now, combine your findings. Pull-out shelf systems require a small amount of clearance on all sides to operate smoothly—typically ¼” to ½” total. This means your shelf’s frame must be at least ½” to 1″ smaller than your smallest interior width and depth measurements to allow for this wiggle room and the thickness of the slide rails. Always check the specific clearance requirements provided by the shelf manufacturer you intend to buy.
Special Considerations: Measuring for Different Cabinet Types
While the core protocol is the same, certain cabinets present unique challenges.
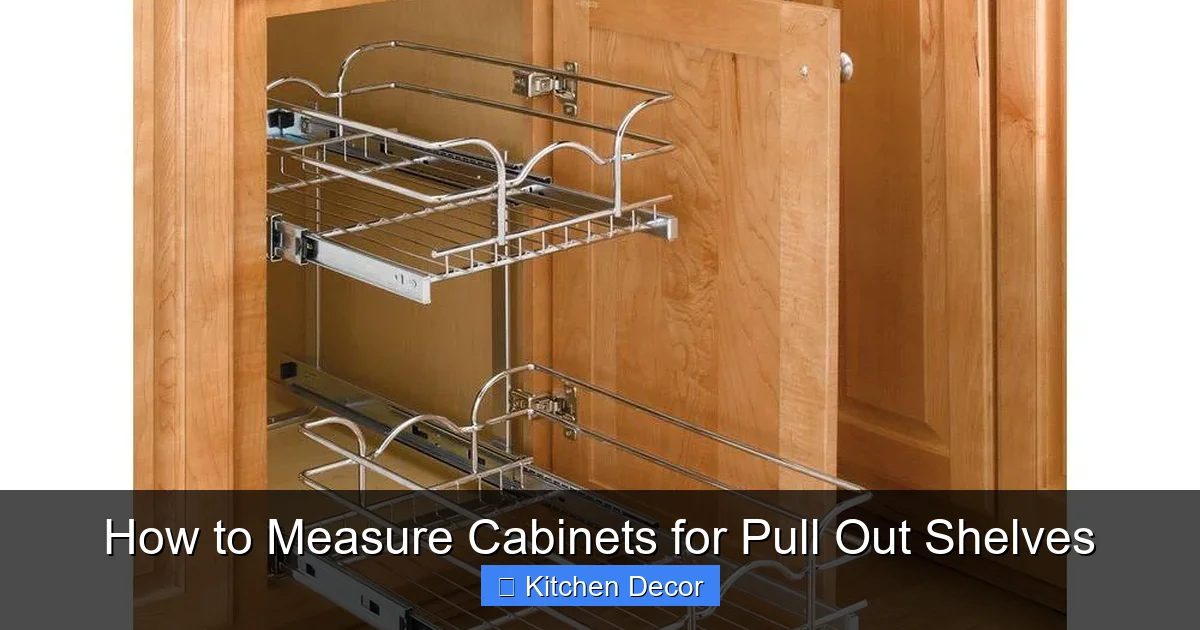
Visual guide about How to Measure Cabinets for Pull Out Shelves
Image source: images.homedepot-static.com
Base Cabinets (Under-Counter)
These are your most common targets. The main obstruction is usually the hinge plates for the cabinet door. European-style concealed hinges often have a mounting plate that sits on the cabinet side wall and can protrude significantly into the cabinet space. Open the door to 90 degrees and look inside. Use a pencil to lightly mark the furthest point the hinge plate extends. Your shelf’s width must clear this. For base cabinets with a drawer above (a “drawer stack”), measure the space below the drawer.
Wall Cabinets (Above-Counter)
Height is often the limiting factor here. You must measure from the interior bottom of the wall cabinet down to the countertop or the cabinet below. Also, check for any ventilation openings in the cabinet back or bottom that could interfere with a shelf’s back rail. Lightweight items are best here—avoid storing heavy pots in a wall cabinet pull-out.
Corner Cabinets (Lazy Susan & Diagonal)
This is the trickiest. For a standard lazy Susan corner cabinet, you typically measure the width at the front opening (the narrow point) and the depth at the deepest point (the corner). Many pull-out shelf systems are specifically designed for corners and have a “pie-cut” or curved basket. You must order a corner-specific model. Measure the interior opening carefully, as the angle can make a standard rectangular shelf useless.
For a diagonal corner cabinet (with a straight front), measure the width along the front diagonal edge and the depth from that front edge straight back to the back wall.
Cabinets with Obstructions: Pipes, Wires, and vents
Found a pipe running down the back? You have a few options. First, see if a shorter shelf (less depth) would work, sacrificing some rear space but avoiding the pipe. Second, some manufacturers offer “offset” or “notched” slide kits. You may need to custom-order a shelf with a cutout. Document the exact location (distance from left wall and height from floor) of the obstruction. In worst-case scenarios, you might need to relocate the pipe, which is a plumber’s job.
Choosing Your Hardware: Matching Measurements to Solutions
Armed with your three key measurements (smallest width, smallest depth, smallest height), you can now shop. But don’t just buy any shelf.
Understanding Slide Ratings and Types
Ball-bearing slides are the standard for kitchen cabinets. They come in different load ratings (e.g., 50-100 lbs). Choose based on what you’ll store. Heavy pots and pans need a 100+ lb rating. Light pantry items can use a 50 lb rating. The extension length is also key. A “full-extension” slide (often 16″ or 18″ on a 24″ deep cabinet) lets you see everything in the back. A “partial extension” is cheaper but leaves items hidden.
Matching to Manufacturer Specifications
Every pull-out shelf company provides a detailed spec sheet or sizing guide. This is your bible. It will list:
- Minimum Cabinet Width: The smallest interior width required.
- Maximum Load: Weight capacity.
- Required Clearance: Exact side, top, and bottom clearance needed (e.g., “requires ⅜” clearance on each side”).
- Available Depths: The shelf basket depth options (e.g., 18″, 20″, 22″). You choose based on your cabinet depth minus the slide and frame thickness.
Take your measurements to these spec sheets. If your cabinet width is 15.5″ and the shelf requires a minimum of 16.5″ (including clearance), you cannot use that model. You must find a slimmer-profile system.
When to Consider Custom or Semi-Custom
If your cabinet is an odd size (e.g., 11.5″ wide) or has a significant, immovable obstruction, off-the-shelf solutions may fail. This is the time to explore custom pull-out shelf manufacturers. They can build a shelf to your exact specifications, often with notched slides or custom widths. It’s more expensive but solves the problem perfectly. For slightly irregular sizes, “semi-custom” kits with adjustable components might work.
Common Measurement Mistakes (And How to Avoid Them)
Even with the best intentions, pitfalls happen. Here are the most frequent errors:
Mistake 1: Measuring the Door or Face Frame
The Error: Measuring the width of the cabinet door or the outer frame. The shelf goes inside, not on top of the frame.
The Fix: Always, always measure the bare interior cavity. Open the door fully and place your tape against the inside surface of the side wall.
Mistake 2: Forgetting the Slide Rail Thickness
The Error: Thinking your 15″ wide cabinet will fit a 15″ wide shelf. The metal slides that the shelf rides on attach to the side walls and take up space. A standard slide can be ½” thick or more.
The Fix: Your shelf’s basket width will be less than your cabinet’s interior width. You must subtract the thickness of two slide rails plus the required clearance from your smallest width measurement to find the maximum basket width you can order. The manufacturer’s spec sheet will tell you the exact deduction needed.
Mistake 3: Ignoring the Cabinet’s “Squareness”
The Error: Taking one width measurement at the front and assuming the back is the same.
The Fix: The three-point measurement rule (front, middle, back) is mandatory. Use the smallest number. If your cabinet is significantly out of square (more than ¼” difference), you may need a custom solution or to shim the slides during installation.
Mistake 4: Overlooking the Back Wall Thickness
The Error: Measuring depth to the back of the cabinet’s exterior or to a back panel that isn’t flush.
The Fix: Ensure your tape is touching the actual interior back wall surface. Sometimes a thin plywood back is set back slightly from the frame. Measure to that surface.
Pro Tips for a Flawless Installation
You’ve measured, you’ve ordered, your package has arrived. Before you start drilling:
Double-Check Your Measurements Against the Box
Lay out all components. Measure the actual width of the shelf frame (the part that goes into the cabinet). Compare this to your recorded smallest interior width. It should be smaller by the required clearance amount. Do a “dry fit” without attaching the slides. Can the frame slide in freely? If not, identify what’s hitting.
Mark Your Cabinet Interiors
Once you confirm the shelf fits, with the shelf in the cabinet, use a pencil to mark the exact location of the slide mounting holes on the cabinet’s side walls. This transfers your perfect measurements to the installation point and eliminates guesswork.
Use the Right Hardware
Never use the short, flimsy screws that sometimes come with hardware kits. For cabinet side walls (usually ½” to ¾” thick), use #8 x 1-½” wood screws. They provide superior holding power and reduce the risk of stripping or the screw popping out under load.
Conclusion: Your Journey to Organized Cabinets Starts with a Tape Measure
Learning how to measure cabinets for pull out shelves empowers you. It transforms a potentially stressful purchase into a guaranteed success. Remember the core principles: measure the interior, take multiple points, find the smallest dimension, and always account for the hardware’s needs. A little patience with the tape measure now saves countless hours of frustration later. You’re not just measuring wood; you’re mapping the path to a more organized, functional, and enjoyable kitchen. So grab your tape, empty that cabinet, and take control. Your perfectly organized drawers are waiting.
Frequently Asked Questions
What is the minimum clearance needed around a pull-out shelf?
Most systems require a total of ¼” to ½” of clearance—that’s side-to-side and top-to-bottom combined. This is typically split as ⅛” to ¼” on each side and top/bottom. Always check your specific manufacturer’s specs, as heavy-duty slides may need more room.
My cabinet is not perfectly square. Can I still use a standard pull-out shelf?
Yes, but you must use your smallest width and depth measurements when ordering. If the out-of-square condition is more than ¼”, the shelf may bind. You can often shim the slide rails during installation to compensate for a slightly tapered cabinet, but significant irregularities may require a custom solution.
What’s the most common tool people forget to use when measuring?
A flashlight and a notebook. You cannot see obstructions like hinge plates, plumbing, or wiring in a dark cabinet without a good light. And you must write down every measurement immediately—it’s too easy to forget which number was for the front vs. the back.
How do I measure for a pull-out shelf in a corner lazy Susan cabinet?
You need a corner-specific pull-out kit. Measure the width of the front opening (the narrowest point between the two side walls). Measure the depth from that front opening straight back to the deepest corner point. Note the cabinet’s angle (usually 90 degrees). These measurements determine which pie-cut or angled shelf kit will fit.
Can I install a pull-out shelf if there’s a pipe running down the back of the cabinet?
Often, yes. You would measure the depth from the front to the front of the pipe, not the back wall. This gives you the maximum usable depth for your shelf. You may need a shorter shelf basket or a custom kit with a notch cut out for the pipe at the appropriate location.
Should I measure for pull-out shelves before or after removing old shelving?
Always measure the empty cabinet interior. If there’s a fixed shelf in the way, you must remove it first to get true interior dimensions. However, if you’re measuring to see if a shelf can fit before demolition, measure from the current floor or shelf surface up to the next obstruction to determine available height, and measure between any fixed obstructions for width and depth.