Cream cabinets can develop a yellow cast over time due to lighting, aging finishes, and undertones. The good news is you don’t always need a full replacement. By strategically adjusting your kitchen’s lighting to cooler tones, selecting the right paint colors for walls and accessories, implementing a proper cleaning regimen, and making savvy decor choices, you can dramatically neutralize that yellow hue and refresh your entire space.
Key Takeaways
- Lighting is the #1 culprit: Warm incandescent and halogen bulbs amplify yellow tones. Switch to cool white (3500K-4100K) or daylight (5000K+) LEDs for an instant fix.
- Paint is your secret weapon: Use cool-toned wall paints (greiges, soft blues, grays) to create contrast and make cream cabinets appear brighter and less yellow by comparison.
- Clean with care: Grease, grime, and wax buildup create a yellow film. Use pH-neutral cleaners and avoid oils that can attract dust and darken over time.
- Accessorize with cool colors: Introduce hardware, backsplashes, and textiles in brushed nickel, chrome, cool blues, or greens to visually counterbalance yellow undertones.
- Understand the finish: Glossy or lacquer finishes can yellow with age. A professional refinishing with a water-based, non-yellowing topcoat is a permanent solution.
- Consider the undertone: Not all cream is equal. Cabinets with a pink/peach undertone will look different than those with a green/olive undertone. Match your fixes to the specific cast.
- Sometimes replacement is best: If the cabinet material itself is yellowing (like certain wood species or old laminate) and refinishing isn’t viable, new doors may be the most effective long-term solution.
📑 Table of Contents
- Why Your Once-Bright Cream Cabinets Are Looking Yellow
- Strategic Lighting Overhaul: Your First Line of Defense
- The Power of Paint: Using Color Theory to Counteract Yellow
- Deep Cleaning and Surface Refinishing: Removing the Physical Yellow
- Decor and Accessory Alchemy: Finishing Touches That Count
- When All Else Fails: The Path to Replacement
- Conclusion: Your Bright, Yellow-Free Kitchen Awaits
Why Your Once-Bright Cream Cabinets Are Looking Yellow
You fell in love with the warm, inviting promise of cream-colored kitchen cabinets. They felt like a sunny, neutral backdrop for your culinary adventures. But now, year after year, they’re starting to look… well, a little jaundiced. That soft, buttery hue has shifted into a noticeable yellow cast, making your whole kitchen feel dated, dingy, or just plain wrong. Before you panic and start saving for a complete gut, take a deep breath. This is an incredibly common issue, and there are dozens of ways to address it, ranging from simple, no-cost adjustments to more involved (but still affordable) projects. Understanding why this happens is the critical first step to making your cream cabinets look less yellow and reclaiming that fresh, bright kitchen you want.
The yellowing isn’t usually in your imagination, and it’s rarely a sign of poor quality on its own. It’s typically a perfect storm of environmental factors and material science working against you. Your cream paint or finish is a complex formula of pigments, binders, and resins. Over time, the clear coats and binders—especially those in older oil-based paints and polyurethanes—undergo a chemical reaction called oxidation. This process breaks down the molecules, and a byproduct of that breakdown is often a yellow or amber chromophore (a molecule that absorbs certain light wavelengths). Think of it like an apple slice browning; it’s a natural reaction to air and light. Now, layer on top of that the relentless assault of kitchen grease, cooking oils, and even cigarette smoke (if applicable), which can settle into the porous surface of painted or stained wood, creating a permanent yellowed film. But the biggest and fastest-acting villain? Your lighting.
The Lighting Trap: How Bulbs Turn Your Cream to Custard
If you’ve ever wondered why your cabinets look perfect in the store but yellow at home, look up. The color temperature of your light bulbs is measured in Kelvin (K). Lower numbers (2700K-3000K) emit that warm, cozy, incandescent-like glow we associate with relaxation. Higher numbers (5000K+) mimic bright, clear daylight. The problem is, that warm, yellow-orange light from old bulbs doesn’t just illuminate your cream cabinets; it actively tints them. It’s like holding a yellow filter over a camera lens. Every surface in its path, especially light neutrals like cream, will absorb and reflect that yellow cast, making the yellow in the cabinet’s own undertone pop violently. This is why a simple bulb swap can feel like magic.
But it’s not just about color temperature. The Color Rendering Index (CRI) of a bulb matters too. CRI measures how accurately a light source reveals the true colors of objects compared to natural light. A bulb with a low CRI (below 90) can distort colors, making whites look dingy and neutrals look muddy or yellow. So, your mission is two-fold: increase the color temperature and ensure a high CRI. The best LED bulbs for this job are labeled “Cool White” (3500K-4100K) or “Daylight” (5000K-6500K) with a CRI of 90 or higher. For a kitchen where you want bright, cheerful light for cooking and a clean look for your cabinets, 4000K is often the sweet spot—bright enough to counteract yellow but not so blue it feels clinical.
Strategic Lighting Overhaul: Your First Line of Defense
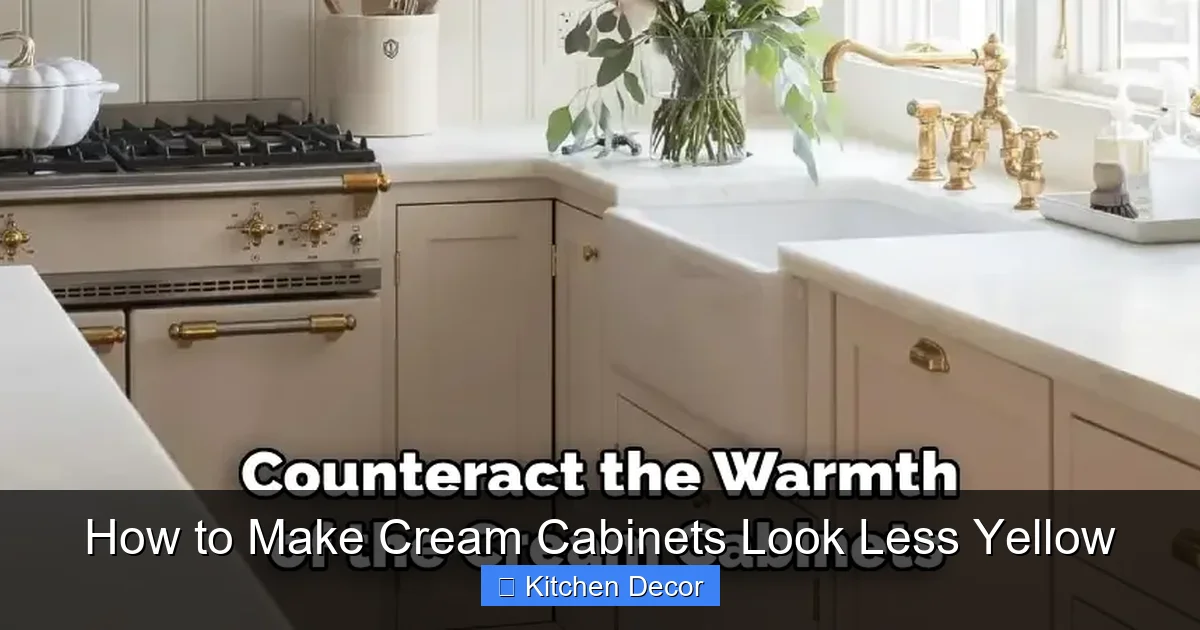
Armed with the knowledge that your bulbs are likely the primary accelerator of yellowing, let’s implement a lighting strategy. This is the single highest-impact, lowest-cost change you can make. We’re going to tackle both the bulbs you use and how you use light in the space.
Visual guide about How to Make Cream Cabinets Look Less Yellow
Image source: indoorense.com
Bulb Swapping 101: Finding the Perfect Kelvin and CRI
Start by replacing every bulb in your kitchen, especially those under the cabinet and in recessed cans directly over the countertops where cabinets are most visible. Don’t just grab any “cool white” LED. Read the packaging. You want:
- Color Temperature: Aim for 3500K to 4100K. If your cabinets are extremely yellow, you might even benefit from 5000K, but be warned this can feel very stark to some people.
- CRI (Color Rendering Index): Minimum 90, preferably 93+. This ensures you’re seeing the true color of your food and your cabinets, not a distorted version.
- Lumens: Ensure you have enough brightness. For task lighting over counters, 500-700 lumens per bulb is a good target.
Brands like Sylvania, Philips, and Cree often clearly label CRI on their premium LED lines. It’s worth the slightly higher price tag for this application. Make this swap and live with it for a week. You will likely see a dramatic improvement immediately, as the yellow-tinted light is removed from the equation.
Layered Lighting: The Professional Touch
Relying on a single overhead fixture creates harsh shadows and uneven color distribution. A layered approach not only makes your kitchen more functional but also helps “wash” your cabinets with clean, consistent light that minimizes color casts.
- Task Lighting: This is non-negotiable. Install LED strip lights under your upper cabinets. Position them towards the front edge so they cast light down onto the counter, not back onto the cabinets. Choose strips with a high CRI and your target color temperature (4000K). This direct light will illuminate the cabinet face evenly.
- Ambient Lighting: Your main ceiling fixture or recessed lights should provide overall, shadow-free illumination. Use the corrected bulbs here as well.
- Accent Lighting: A small, directional spotlight on a beautiful backsplash or inside a glass-front cabinet adds depth and draws the eye away from the cabinet faces themselves.
By controlling the quality and direction of light, you take back control over how your cream color is perceived.
The Power of Paint: Using Color Theory to Counteract Yellow
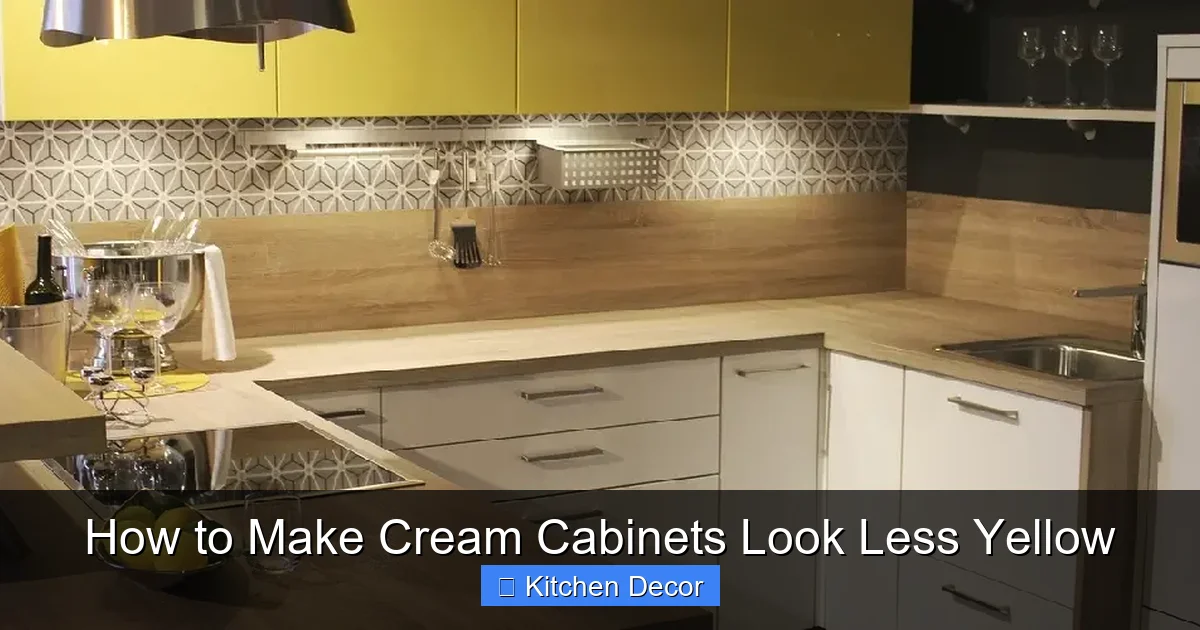
Once your lighting is optimized, your next most powerful tool is the color on your walls, backsplash, and even your island. This is where you use color theory—specifically, the color wheel—to make your cream cabinets appear cooler and brighter. The goal is to surround the yellow-tinged cabinets with colors that are their opposites or near-opposites on the wheel, creating a visual cancellation effect.
Visual guide about How to Make Cream Cabinets Look Less Yellow
Image source: indoorense.com
Wall Paint: The Background Game-Changer
The wall color is the largest field of color adjacent to your cabinets. A warm beige or yellow-based wall will make your yellow cabinets look even more yellow by reinforcing the same hue. You need to introduce a cool, contrasting neutral.
- Greige is Your Best Friend: This gray-beige hybrid is the champion of neutralizing cream. Look for greiges with a clear gray base and minimal yellow or red undertones. Names like “Repose Gray,” “Agreeable Gray,” or “Collingwood” from popular brands are excellent starting points. They provide a soft, sophisticated backdrop that makes cream look crisp and intentional.
- Soft Blues and Greens: These are the direct color complements to yellow on the wheel. A dusty blue (like “Sea Serpent” or “Icicle”) or a muted sage green can be stunning with cream, creating a fresh, coastal or cottage feel. The coolness of these hues will make the yellow in the cabinets recede.
- Cool Grays: A straight, neutral gray with no warmth (often called “true gray”) will provide maximum contrast. Be cautious of grays that have a purple or green undertone, as they can clash with certain cream undertones. Test swatches extensively!
Action Step: Get large sample pots of 2-3 colors you’re considering. Paint 2×3 foot swatches on several walls in your kitchen. Look at them at different times of day under your new lighting. The right color will make your cabinets look brighter and more balanced, not dingy.
Backsplash & Decor: Strategic Color Placement
Don’t forget the vertical plane between your counter and cabinets. A cool-toned backsplash is a powerful visual interrupt.
- Tiles: Subway tiles in a bright white (not warm white) with gray grout. Or consider slate, tumbled marble with gray veins, or even a cool-toned glass mosaic in blues, silvers, or charcoals.
- Hardware: This is a micro-adjustment with macro impact. Replace yellowed brass or oil-rubbed bronze with brushed nickel, polished chrome, or matte black. These cool metals reflect light differently and add a crisp, modern element that counters warmth.
- Textiles: A tea towel, runner, or set of curtains in a cool pattern (think navy stripes, gray checks, or a botanical print with blue leaves) will add repeated cool notes throughout the space.
Deep Cleaning and Surface Refinishing: Removing the Physical Yellow
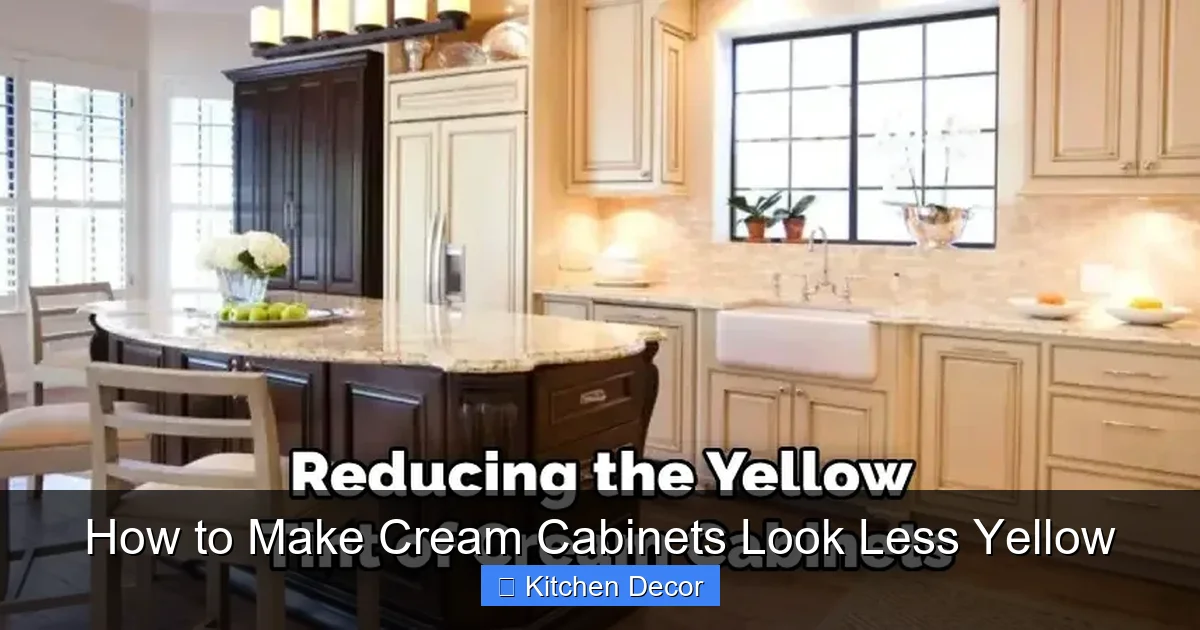
So far we’ve been changing the light and the surrounding colors to trick the eye. Now we address the physical film of grime and the aged finish on the cabinets themselves. This is where you can see the most dramatic “before and after” if yellowing is due to buildup.
Visual guide about How to Make Cream Cabinets Look Less Yellow
Image source: indoorense.com
Identifying the Source of the Stain
Get up close and personal with your cabinet fronts. Is the yellowing:
- Uniform and deep? Likely oxidized finish or the natural wood (like pine or oak) darkening with age and finish.
- Concentrated around handles, above the sink, and near the stove? This is almost certainly grease and oil buildup. Kitchens are grease factories, and that fine mist settles everywhere.
- A sticky or waxy film? You may have been using too much furniture polish or an oil-based cleaner (like Murphy’s Oil Soap), which can attract dust and create a dark, yellowed residue.
Diagnosing this correctly determines your cleaning approach. A good test: dab a small, inconspicuous spot (like inside a door) with a little rubbing alcohol on a white cloth. If the cloth comes off yellow, you have a surface film. If not, the yellow is likely in the finish itself.
The Deep Clean Protocol
For surface grime, you need a degreaser that is strong enough to cut through oil but gentle enough not to strip your finish. Avoid harsh abrasives like Comet or steel wool.
- Mix your solution: In a bowl, mix warm water with a few drops of a strong dish soap (like Dawn) OR a dedicated degreaser like Simple Green. For stubborn buildup, add a tablespoon of baking soda to create a gentle paste.
- Test first: Apply to a hidden area. Gently scrub with a soft cloth or non-scratch sponge in circular motions. Rinse immediately with a clean, damp cloth.
- Work in sections: Clean one cabinet door at a time. Dry thoroughly with a microfiber towel to prevent water spots.
- For wax/polish buildup: You may need a dedicated furniture polish remover or a solution of 1 part white vinegar to 1 part water. Vinegar is excellent at cutting through wax. Again, test first.
If the yellow persists after a thorough clean and the cabinets feel sticky, the problem is the finish itself. It’s oxidized and yellowed from within.
Refinishing: The Permanent Fix for Yellowed Finish
This is a DIY project of intermediate difficulty but with huge rewards. The goal is to remove the old, yellowed topcoat and apply a new, non-yellowing one.
- Stripping: Use a chemical stripper (follow manufacturer instructions meticulously) or sanding (starting with 120-grit, moving to 220-grit) to remove the existing finish completely. This is labor-intensive but necessary to get to a clean base.
- Cleaning & Sanding: After stripping, clean the surface with a tack cloth. Sand lightly with 220-grit to smooth the wood grain.
- Priming (Crucial Step): Use a high-quality, oil-based or shellac-based primer (like BIN or Cover Stain) to seal the wood and block any remaining stains or tannins that could bleed through.
- Painting: Use a water-based acrylic latex paint in a non-yellowing formula. Many “kitchen and bath” paints are water-based and will stay white. Apply 2-3 thin coats, sanding lightly between coats with 320-grit.
- Topcoat: For extra durability, apply a water-based polyurethane in a satin or semi-gloss finish. Avoid oil-based polyurethane at all costs—it will yellow again.
Pro Tip: If you love the look of stained wood but it’s yellowed, you can re-stain with a cooler-toned stain (like a gray wash or a light oak) and then seal with a water-based topcoat.
Decor and Accessory Alchemy: Finishing Touches That Count
With your lighting fixed, walls painted, and surfaces clean, it’s time for the final stylistic nudges. These small elements work together to create a cohesive, cool-leaning aesthetic that permanently downplays any remaining warmth in your cream cabinets.
Hardware: The Jewelry of the Kitchen
As mentioned, this is huge. Yellowed brass is the arch-nemesis of cream cabinets trying to look fresh. Upgrade to:
- Brushed Nickel: The goldilocks of hardware. It’s cool, but not as stark as chrome. It has a soft luster that feels modern and warm at the same time.
- Matte Black: Incredibly popular for a reason. It’s bold, contemporary, and acts as a strong visual dark anchor that makes surrounding colors pop. It has zero warm undertones.
- Polished Chrome: For a brighter, more reflective look. It’s the coolest metal and adds a lot of shine.
- Oil-Rubbed Bronze (with caution): The traditional “dark” finish. But beware! Many ORB finishes have a brown undertone that can actually enhance yellow. Look for versions with a distinct black or charcoal base.
Choose a consistent finish throughout—mixing metals can look messy unless done with extreme intention.
Countertops and Backsplashes: The Supporting Cast
Your countertop is a large, horizontal surface near your cabinets.
- Quartz: Many quartz options have cool gray or white bases with minimal veining. Look for patterns with gray, black, or blue tones.
- Granite: Avoid granites with strong gold, yellow, or brown veins. Seek out “absolute black,” “tan brown” (which is actually gray/brown), or “slate” varieties.
- Butcher Block: If you have wood counters, they can add warmth. Consider a cool-toned wood like maple or ash, or seal them with a water-based polyurethane to keep them from yellowing further.
For the backsplash, as discussed, cool tiles are key. A simple white subway tile with gray grout is a timeless choice that reflects light cleanly. A hexagon tile in a cool gray or a zellige tile in a muted blue-green are also fantastic options.
Textiles and Art: The Final Flourishes
Add pops of cool color with:
- A runner in a navy or charcoal stripe.
- Pot holders and aprons in crisp white or pale gray.
- Wall art featuring blues, greens, or black-and-white photography.
- Even your dishware! Display a few pieces with cool-toned glazes on open shelves if you have them.
The goal is to create a “cool color echo” throughout the room. Every time your eye lands on a cool blue towel, a gray backsplash, or a nickel knob, it reinforces the perception that the surrounding cream is also cool and fresh.
When All Else Fails: The Path to Replacement
Sometimes, the yellowing is beyond repair. If your cabinets are made from a wood species that naturally yellows with age (like some pines or fir), or if the cabinet boxes themselves are a yellowed particleboard or old laminate, no amount of surface cleaning or painting will fix the core color. If you’ve tried the lighting, wall color, and deep clean/refinishing routes and are still unhappy, it might be time to consider replacing just the cabinet doors and drawer fronts. This is far less expensive and disruptive than a full cabinet box replacement. You can choose a new, cooler-toned paint color (like an off-white or a very light greige) or even a different material like thermofoil or painted MDF that is less prone to yellowing. Combine this with your new cool lighting and wall color, and you’ll have a completely transformed kitchen without the full demolition cost.
Conclusion: Your Bright, Yellow-Free Kitchen Awaits
Seeing yellow in your cream cabinets doesn’t have to be a permanent sentence to a dated kitchen. It’s a solvable problem with a multi-pronged approach. Start with the easiest, most impactful step: swap every bulb for a high-CRI, cool-white LED. Then, assess your walls and introduce a cool-toned greige or soft blue. Give your cabinets a serious, proper deep clean to remove years of grease film. If the finish itself is yellowed, consider the commitment of a refinishing project using water-based products. Finally, tie it all together with cool hardware, a complementary backsplash, and thoughtful accessories. By attacking the issue from the angles of light, color perception, physical cleanliness, and stylistic support, you will successfully make your cream cabinets look less yellow, brighter, and beautifully modern. Your dream kitchen is closer than you think.
Frequently Asked Questions
Will painting my cream cabinets a different color solve the yellow problem permanently?
Yes, repainting with a non-yellowing, water-based paint in a color you prefer (like white, gray, or even a bold hue) is the most permanent solution to eliminate the existing yellow color entirely. It removes the problematic material and replaces it with your chosen finish.
Is it safe to use bleach or harsh chemicals to clean yellowed cabinets?
We strongly advise against it. Bleach can damage the finish, cause discoloration (like spotting or whitening), and is unnecessarily harsh for grease. Stick to pH-neutral cleaners, degreasers like Simple Green, or a mild vinegar-water solution for wax. Always test any cleaner in an inconspicuous spot first.
How much does it cost to refinish kitchen cabinets versus replacing them?
Professional refinishing typically costs 30-50% less than full replacement. DIY refinishing is even more affordable, costing primarily in materials (stripper, sandpaper, primer, paint, topcoat—$300-$800 for an average kitchen). Full door replacement is in-between, while total cabinet box replacement is the most expensive option.
My cabinets are a very pale cream. Do I still need to worry about cool lighting?
Absolutely. Even a slight yellow undertone will be amplified by warm light. The paler the color, the more it reflects the color temperature of its surroundings. Cool lighting will keep your pale cream looking clean and bright instead of warm and dingy.
Can I just use a white paint with blue undertones to cover yellow cabinets without priming?
No. Painting over an existing finish, especially one that may be glossy or stained, requires proper preparation. You must clean, sand (to de-gloss), and prime with a stain-blocking primer (oil or shellac-based) to ensure good adhesion and to prevent old yellow tones from bleeding through your new paint.
Will a water-based polyurethane topcoat really stay clear and not yellow?
Yes, that is the primary advantage of water-based polyurethane over oil-based. Water-based finishes remain crystal clear over time. Oil-based polyurethanes will amber and yellow with age and light exposure. For a long-lasting, non-yellowing protective coat on light-colored cabinets, water-based is the only correct choice.