Creating a built-in refrigerator cabinet transforms a standard appliance into a luxurious, integrated kitchen feature. This comprehensive guide walks you through the entire DIY process, from precise planning and material selection to frame construction, door fabrication, and critical ventilation setup. By following these detailed steps, you can achieve a professional, custom look that maximizes space and elevates your kitchen’s aesthetic, all while saving significantly compared to commercial integrated models.
Key Takeaways
- Precision Planning is Non-Negotiable: Success hinges on exact measurements of your refrigerator’s dimensions, including clearance needs for ventilation and door swing, and a detailed cabinet plan that accounts for all materials and finish thicknesses.
- Ventilation is a Critical Safety System: A refrigerator must have dedicated, code-compliant airflow channels (typically top and bottom) to expel heat. Blocking this causes compressor failure, so designing and installing proper venting is the most important technical step.
- Material Choice Dictates Longevity: Use stable, moisture-resistant materials like ¾” plywood or MDF for the cabinet box. Solid wood can warp with humidity and temperature changes from the appliance, compromising the seal and appearance.
- Panel-Ready Appliances Simplify the Finish: For a truly seamless look, use a “panel-ready” refrigerator that accepts custom cabinet door panels. If using a standard fridge, you must build a cabinet that fully encloses it, requiring careful access planning.
- Shimming and Leveling Ensure Function: The refrigerator must sit perfectly level inside its enclosure. Use adjustable shims under the unit and within the cabinet frame to compensate for floor irregularities and ensure smooth door operation.
- Finish Before Final Assembly: Apply all paints, stains, or veneers to cabinet components in a controlled environment (garage or shop) before bringing them into the kitchen for final installation. This prevents overspray on other surfaces and ensures a flawless coat.
[FEATURED_IMAGE_PLACEHOLDER]
📑 Table of Contents
- Introduction: The Allure of the Integrated Look
- Phase 1: Planning and Design – Measure Twice, Cut Once
- Phase 2: Materials and Tools – Gathering Your Arsenal
- Phase 3: Constructing the Cabinet Box – The Skeleton
- Phase 4: Building and Hanging the Doors/Panels
- Phase 5: Integrating Electrical and Final Prep
- Phase 6: Installation and Sealing the Deal
- Conclusion: Enjoying Your Masterpiece
Introduction: The Allure of the Integrated Look
There’s something undeniably sophisticated about a kitchen where the refrigerator disappears into the cabinetry. No longer a bulky, standalone appliance, it becomes a quiet, cohesive part of the room’s architecture. This “built-in” look has long been the hallmark of high-end, custom kitchens, but the price tag for a true integrated refrigerator and cabinet system can be staggering. The good news? With careful planning, a steady hand, and a commitment to understanding your appliance’s needs, you can build your own built-in refrigerator cabinet. This project is less about advanced carpentry and more about meticulous planning and execution. It’s a weekend warrior’s dream—a challenging but immensely rewarding DIY project that adds thousands of dollars in perceived value to your home. We’re going to break down every phase, from the initial sketch on graph paper to the final screwdriver turn, ensuring your built-in refrigerator cabinet is both beautiful and, most importantly, functional for years to come.
Phase 1: Planning and Design – Measure Twice, Cut Once
This phase cannot be rushed. Rushing to the saw with a vague idea is the fastest path to a cabinet that doesn’t fit, doesn’t ventilate, or ruins your appliance. Your goal here is to create a complete, dimensioned plan.
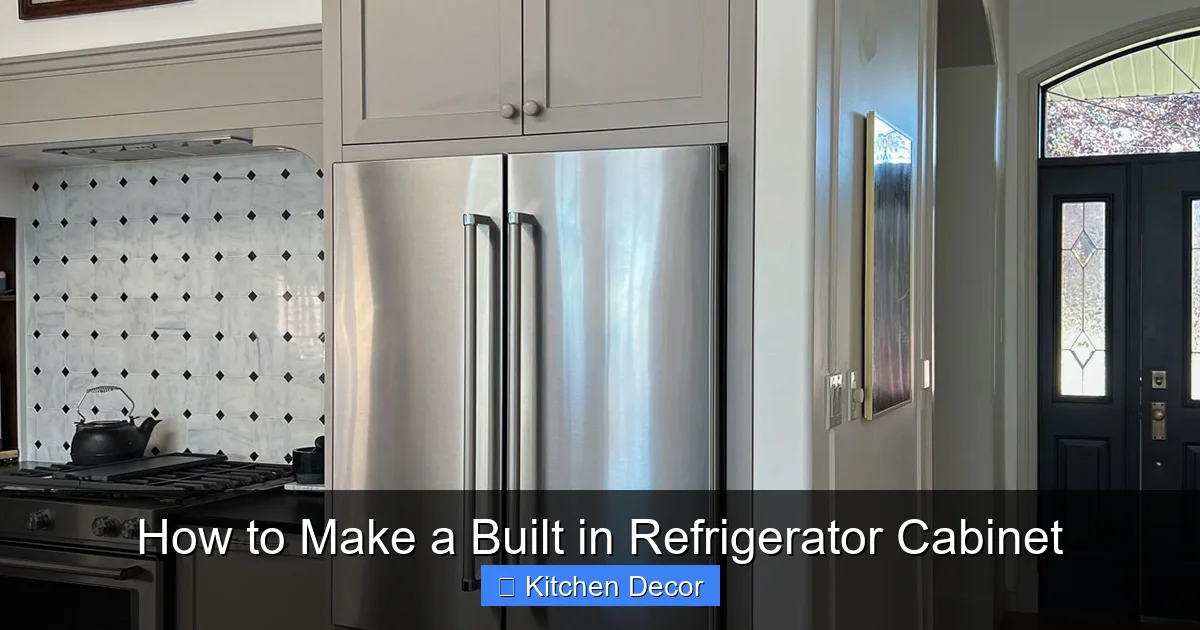
Visual guide about How to Make a Built in Refrigerator Cabinet
Image source: erinzubotdesign.com
Understanding Your Refrigerator’s True Dimensions
Start by finding the actual installation dimensions for your specific refrigerator model. Do not use the typical retail specs listed online, as they often exclude necessary clearances. You need the:
- Width: Measure from the outermost edges of the side panels.
- Height: Measure from the floor to the very top of the unit, including any rear-mounted hardware.
- Depth: This is critical. Measure from the front of the door (when closed) to the rearmost point, which is usually the condenser coils or compressor housing. Standard countertops are 25-26” deep, but many refrigerators are 28-32” deep at the back.
Most importantly, find the manufacturer’s required ventilation clearances. This is usually a minimum of 1” on the sides, top, and back. Some models require a channel at the top and bottom. This information is in your user manual or online spec sheet. Ignoring this will lead to overheating and premature failure.
Deciding on Your Cabinet Style
You have two primary paths:
- Full Enclosure: You build a box that the refrigerator slides into. You must then provide access to the interior, typically via a separate, smaller door or by designing the main cabinet doors to open in a way that doesn’t block access (e.g., bi-fold or pivot hinges). This works with any fridge but is more complex.
- Panel-Ready Integration: You purchase a “panel-ready” refrigerator. These appliances are designed to accept cabinet door panels on their front, making them look exactly like the rest of your cabinets. Your cabinet structure then simply provides a housing on the sides and top, with the fridge’s own “doors” (now custom panels) doing the covering. This is the cleaner, more professional method if you’re buying a new appliance.
Creating Your Shop Drawing
Grab graph paper or use a free online cabinet design tool. Draw a front elevation and a side view. Your cabinet’s inside dimensions must be at least the refrigerator’s outside dimensions plus the required ventilation clearances. For example, if your fridge is 36” wide and needs 1” clearance on each side, your cabinet’s interior width must be at least 38”.
Now, add the thickness of your cabinet materials (e.g., ¾” plywood). This determines your outside dimensions. Factor in the countertop overhang (usually 1-1.5”) and any toe-kick space (typically 4” high x 3” deep). Your final design should show every piece: the two side panels, top, bottom, back, and any internal framing. Label each piece with its exact dimensions. This drawing is your blueprint and cut list.
Phase 2: Materials and Tools – Gathering Your Arsenal
Quality materials are an investment in a project that will last a decade. Don’t cheap out here.
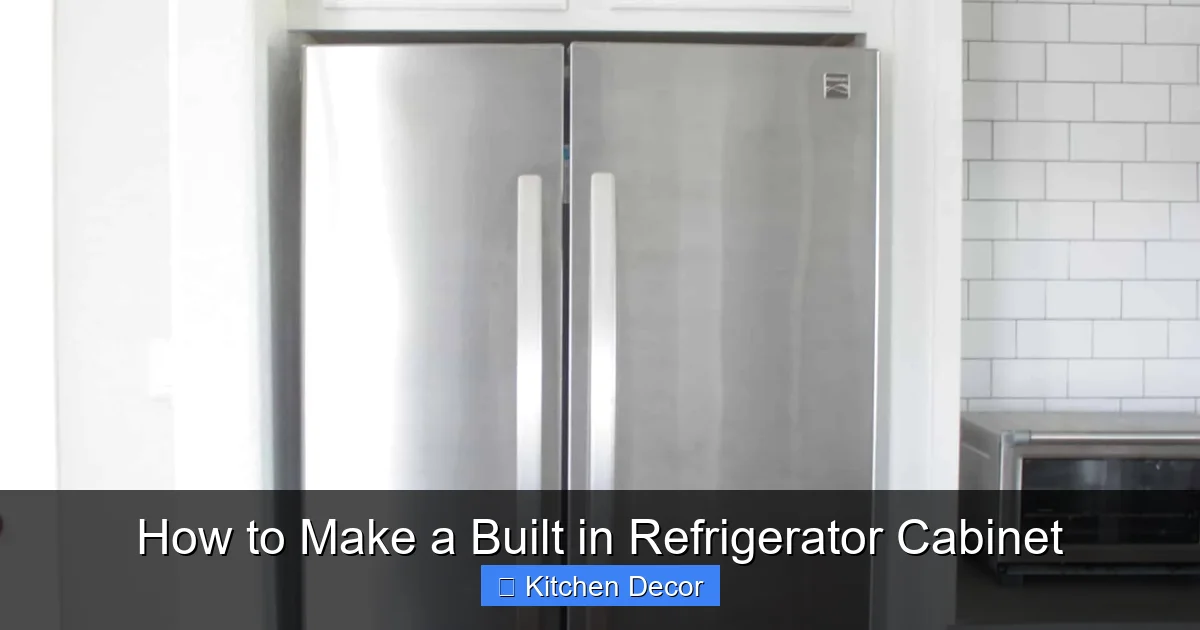
Visual guide about How to Make a Built in Refrigerator Cabinet
Image source: theinspiredworkshop.com
Selecting the Right Wood
Plywood is your best friend. For the cabinet box (sides, top, bottom, back), use ¾” birch or oak plywood. It’s stable, strong, and resists the humidity and temperature fluctuations emitted by the refrigerator. Avoid particleboard or MDF for the main box—they can swell if any moisture gets behind the fridge.
For the cabinet doors and face frames, you have more options. You can use solid wood (like maple or cherry) but it must be well-seasoned and acclimated to your home. A more stable and often more affordable choice is to use a hardwood veneer plywood for the door panels, with a solid wood frame. If you’re doing a full enclosure with a separate access door, that door should match your other kitchen cabinets.
Essential Tools Checklist
You’ll need a well-equipped workshop. Ensure you have:
- Cutting: Circular saw or table saw with a fine-tooth blade, miter saw for clean angles.
- Joining: Pocket hole jig (Kreg Jig is the gold standard) is invaluable for strong, hidden joints. You’ll also need wood glue, clamps, and screws (confirm they are compatible with your material—e.g., bugle head for plywood).
- Finishing: Random orbital sander with various grits, dust collection (a must!), router with a rabbeting bit for door panel grooves, and your chosen finish (paint, stain, lacquer).
- Installation: Level, tape measure, drill/driver, shims (composite or wood), and helpers (this cabinet is heavy).
Phase 3: Constructing the Cabinet Box – The Skeleton
With your cut pieces laid out and labeled, it’s time to assemble the core structure. Work on a flat, level surface.
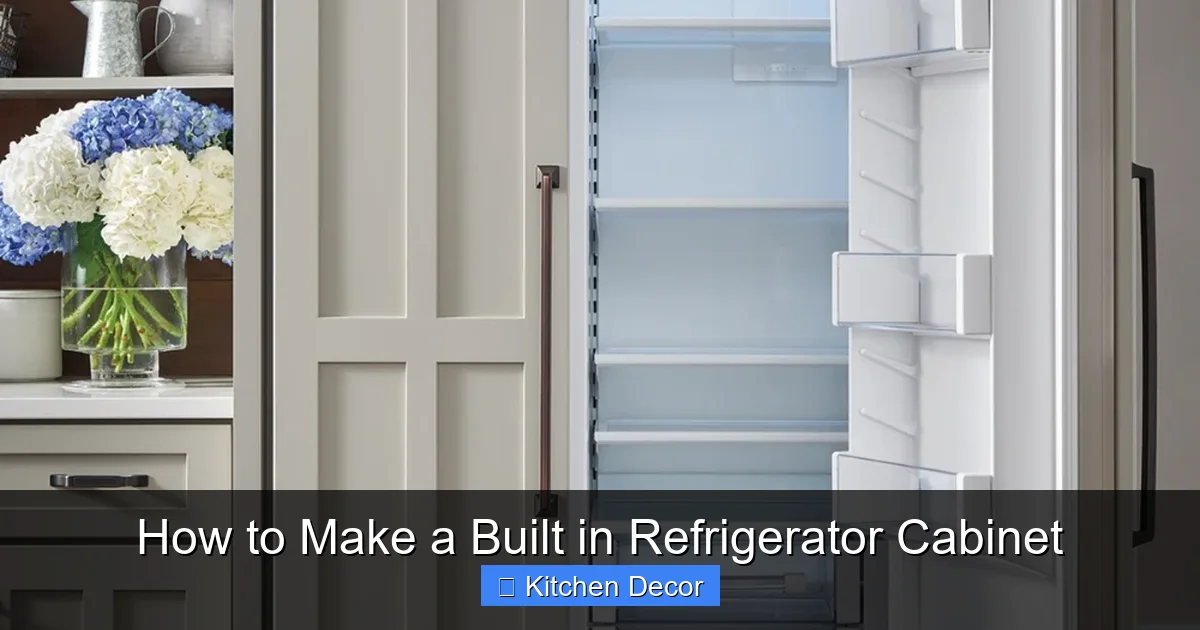
Visual guide about How to Make a Built in Refrigerator Cabinet
Image source: i.pinimg.com
Assembling the Sides, Top, and Bottom
The most robust method for a box this size is using pocket hole screws with glue. Drill pocket holes on the inside faces of the side panels where they will connect to the top and bottom. Apply a thin, even bead of wood glue to the edge, clamp securely, and drive the screws. For the back, you can use simple screws into the edge of the sides, top, and bottom, or create a dado (slot) for the back panel to sit in for a cleaner look. The back adds crucial racking resistance (preventing the box from becoming a parallelogram).
Integrating the Ventilation Channels
This is the make-or-break step. You must create a continuous airflow path. The most common and effective design is a double-walled top and bottom.
- Build a secondary, smaller box (or just a frame) that sits inside the main cabinet, creating a 1-2” gap around the perimeter at the top and bottom.
- The refrigerator sits on the bottom of the main cabinet. Air is drawn in from the front-bottom (often through the toe-kick area, which you’ll vent with a grille), travels up the back and sides between the two walls, and is expelled out the top (through a vented cabinet top panel or a gap at the top-rear).
- Map this out on your drawing. You may need to add 1×2 or 1×3 furring strips inside the cabinet to create these channels. Ensure no insulation or debris blocks these paths.
Installing the Cabinet Bottom and Toe-Kick
The cabinet bottom must be solid and support the refrigerator’s weight. If your kitchen floor is not perfectly level, this is where you’ll shim the entire cabinet later. The toe-kick—that recessed area at the floor—is typically a separate piece of ¾” material, notched at the corners and attached to the front of the cabinet base. It should be 3.5” to 4” high and 3” deep. This not only looks finished but provides essential foot space.
Phase 4: Building and Hanging the Doors/Panels
This is where the project transitions from functional box to beautiful furniture.
For a Panel-Ready Refrigerator
Your work is simpler. You need to build two cabinet doors that match the rest of your kitchen. Use your shop drawing to get the exact height and width needed to cover the fridge’s front panels. The hinges will be the specialized, heavy-duty Euro-style concealed hinges (like Blum or Salice) that are designed for overlay doors. You will mortise these hinges into the side panels of your built-in cabinet, not the fridge itself. The door panels will then attach to the fridge’s manufacturer-provided mounting brackets. Precision is key here—the gaps between these doors and adjacent cabinets must be perfectly even (usually 1-2mm).
For a Full Enclosure Cabinet
You are building one large cabinet with a front door that provides access to the refrigerator. This is essentially a very large, deep cabinet door. You’ll need heavy-duty, long hinges—either massive piano hinges or, more commonly, a set of robust butt hinges or concealed hinges rated for the door’s weight. The door must be rigid; use a frame-and-panel construction (stiles, rails, and a recessed panel) to prevent warping over time. The handle should be placed ergonomically, and you may need a magnetic catch or latch system to keep the heavy door closed securely.
Phase 5: Integrating Electrical and Final Prep
Before you move this 300+ pound box into the kitchen, a few final details must be addressed.
Drilling for Power and Water
Your refrigerator needs a dedicated, grounded electrical outlet. The safest, cleanest method is to have an electrician install a dedicated circuit with an outlet at the back top of the cabinet, inside the ventilation channel. The cord then plugs in and routes up and out. Never use an extension cord. If your fridge has a water line for an ice maker, you must also drill a hole through the cabinet back (and possibly the wall behind it) for a ¼” water line. This hole must be sealed and the line must not kink.
The All-Important Dry Fit
In your workshop, do a complete dry fit. Place the refrigerator (unplugged!) into the cabinet box. Does it slide in easily? Is there clearance on all sides? Check with a feeler gauge or thin cardboard. Does it sit level? Use shims under the fridge’s leveling feet or inside the cabinet to achieve this. Open and close the doors. Do they hit the cabinet sides? Does the door swing clear? This is your last chance to make adjustments without a massive, heavy object in your kitchen.
Finishing Touches in the Shop
Now is the time for the final sanding and finish. Apply your chosen paint or stain to all visible surfaces. For a painted finish, use a primer and at least two coats of a durable, scrubbable enamel (like Benjamin Moore Advance or Sherwin-Williams ProClassic). Sand lightly between coats. For stained wood, apply a sanding sealer, then your stain, and protect with multiple coats of a water-based polyurethane for clarity and durability. Let the finish cure fully according to manufacturer instructions—this can take days.
Phase 6: Installation and Sealing the Deal
The moment of truth. This step requires at least two strong people and careful planning.
Positioning the Cabinet
First, install the cabinet box into the kitchen opening. It should be secured to the floor (through the toe-kick or bottom) and to adjacent wall cabinets (through the sides) using long wood screws. Use your level to ensure it is perfectly plumb and level. Shim behind the cabinet if the wall is uneven. The cabinet must be a rigid, immovable unit.
Sliding in the Refrigerator
With the cabinet securely in place, carefully slide the refrigerator into its new home. You may need to remove the doors and shelves first to reduce weight. Protect your floors with cardboard or a moving blanket. Have one person guide it from the front, ensuring it stays centered and doesn’t scrape the sides. Once it’s fully in, check for level again. Use wood shims (not cardboard) under the front or rear of the fridge’s base to fine-tune the level. The fridge must be level side-to-side and front-to-back for the doors to seal properly and the ice maker to function correctly.
Attaching Doors/Panels and Final Adjustments
If you have panel-ready doors, now attach them to the fridge’s mounting brackets, then attach the cabinet-side hinges to the cabinet box. Open and close the doors repeatedly. Use a Phillips screwdriver in the hinge adjustment screws to move the door in/out, up/down, and side-to-side until the gaps are perfectly uniform and the door closes with a firm, even “thunk.”
For a full enclosure door, hang it on its hinges now. Install the magnetic catch or latch. The final adjustment is crucial here too—the door should close squarely and seal without dragging.
Sealing and Ventilation Grilles
The final aesthetic and functional step is addressing the ventilation openings. You do not want to see a raw hole in your toe-kick or cabinet top. Install custom-cut metal or wood vent grilles. For the bottom intake, a simple louvered grille in the toe-kick works. For the top exhaust, you can use a grille integrated into the cabinet’s top panel or, in some designs, a gap between the top of the cabinet and the countertop (if the countertop is not a solid piece). Ensure these grilles are not blocked by anything—no baseboard, no rug, no stored items.
Conclusion: Enjoying Your Masterpiece
You did it. You’ve taken a utilitarian box of cold food and transformed it into a seamless element of your home’s architecture. Your built-in refrigerator cabinet is more than just a storage solution; it’s a statement. It speaks to patience, precision, and a desire for a tailored living space. The journey required you to be part engineer, part carpenter, and part interior designer. You learned to read appliance specs, to think three-dimensionally about airflow, and to appreciate the quiet satisfaction of a perfectly aligned gap. Now, step back. Open that cabinet door (or fridge panel) and grab a cold drink. You’ve earned it. This project proves that with the right knowledge and a fearless can-do attitude, you can achieve that coveted custom look without the custom price tag. Your kitchen, and your wallet, will thank you for years to come.
Frequently Asked Questions
Is building a built-in refrigerator cabinet really a DIY project for a beginner?
It’s an advanced DIY project. It requires intermediate woodworking skills, comfort with power tools, and strong problem-solving abilities, especially for ventilation design and precise measuring. A confident beginner with excellent planning skills could succeed, but it’s not recommended for a first-time woodworking project.
How much does it cost to build versus buy an integrated refrigerator system?
Building your own cabinet can cost $500-$1,500 for materials (plywood, hardware, finish), depending on size and finish quality. A true factory-built integrated refrigerator and cabinet system starts at $8,000 and can exceed $15,000. The DIY savings are substantial, but you supply all the labor and risk.
Can I use any refrigerator, or do I need a special “panel-ready” model?
You can use a standard refrigerator, but you must build a full cabinet enclosure with a separate access door, which is more complex. A panel-ready refrigerator is designed for this application, accepting custom door panels and simplifying the cabinet to just side and top enclosures. It’s the easier, cleaner path if you’re buying a new appliance specifically for this project.
What is the most common mistake that ruins a built-in fridge project?
Ignoring or improperly designing the ventilation system. Refrigerators generate significant heat that must be vented. Blocking this airflow causes the compressor to work overtime, leading to overheating, high energy bills, and ultimately, premature failure. Always follow the manufacturer’s clearance specs and design dedicated airflow channels.
Do I need an electrician or plumber for this project?
Yes, for safety and code compliance. An electrician should install the dedicated electrical outlet inside the cabinet. If your refrigerator has a water line for an ice maker, a plumber should install the shut-off valve and run the water line to the cabinet. You can do the cabinetry around their rough-ins.
Will this project increase my home’s resale value?
A professionally executed built-in refrigerator is a major upgrade that appraisers and buyers recognize as a high-end feature. It can significantly increase your kitchen’s perceived value and help your home stand out in a competitive market. A shoddy, non-ventilated installation, however, could be a liability. Quality work is key.