Need to lift your stove top for cleaning or repairs? This guide walks you through the safest methods, essential tools, and common pitfalls to avoid. Follow our easy steps and you’ll have your stove top lifted in minutes—without damage or injury.
Key Takeaways
- Safety first: Always disconnect power and gas before starting.
- Right tools matter: A sturdy suction cup, a flat pry bar, and a helper make the job easier.
- Know your stove type: Electric, gas, and induction models have different lift points.
- Gentle handling: Support the glass or metal surface evenly to prevent cracks.
- Check for warranty: Some lifts can void warranties; read the manual first.
- Re‑assemble correctly: Align burners, wires, and seals before testing.
- Regular maintenance: Lifting the top periodically helps keep the stove clean and efficient.
📑 Table of Contents
- Introduction: Why You Might Need to Lift Your Stove Top
- 1. Identify Your Stove Type and Model
- 2. Gather the Right Tools and Safety Gear
- 3. Prepare the Kitchen and Disconnect Power/Gas
- 4. Removing the Stove Top – Step by Step
- 5. What to Do Once the Top Is Off
- 6. Re‑assembling and Testing Your Stove
- Conclusion: Lift With Confidence
Introduction: Why You Might Need to Lift Your Stove Top
Most of us think of a stove as a permanent fixture—something you set and forget. In reality, the stove top is a high‑traffic area that gathers spills, burnt‑on food, and even small debris that can affect performance. Whether you’re cleaning stubborn grime, replacing a burner, or troubleshooting a faulty element, lifting the stove top is often the first step.
Doing it the right way saves you from costly repairs, cracked glass, and personal injury. This article breaks down the process into simple, conversational steps, so you can feel confident even if you’ve never lifted a stove before.
1. Identify Your Stove Type and Model
Before you grab a screwdriver, you need to know what you’re dealing with. Stoves generally fall into three categories:
Visual guide about How to Lift Stove Top
Image source: autoliftenstove.be
- Electric coil or smooth‑top: Uses heating elements or a glass‑ceramic surface.
- Gas: Features burners, a metal griddle, and a gas line.
- Induction: Has a smooth glass surface with magnetic coils underneath.
How to Find Your Model Information
Look for a metal tag on the back or underneath the oven door. It usually lists the brand, model number, and sometimes the year. Write this down; you’ll need it when you search for a service manual or replacement parts.
Why Model Matters
Different models have unique lift points, screw patterns, and safety interlocks. For example, many Samsung electric models have four hidden screws, while a GE gas range may use clips that snap into place. Knowing the specifics prevents you from stripping screws or breaking clips.
2. Gather the Right Tools and Safety Gear
Having the right tools makes the job smoother and reduces the risk of damage. Here’s a checklist you can print and stick on your fridge:
Visual guide about How to Lift Stove Top
Image source: thekitchenix.com
- Screwdriver set: Both flat‑head and Phillips; a magnetic tip helps.
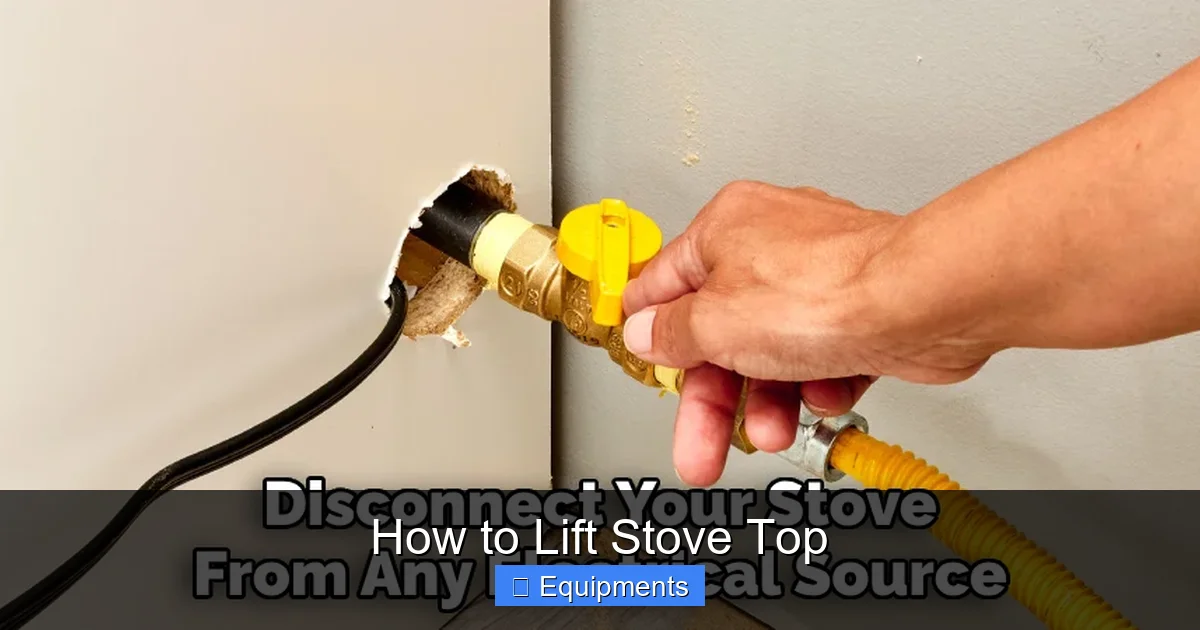
- Adjustable wrench: For gas line nuts (if you have a gas stove).
- Flat pry bar or putty knife: To gently pop clips without cracking glass.
- Heavy‑duty suction cup: Ideal for lifting glass‑ceramic tops.
- Protective gloves: Heat‑resistant, preferably cut‑proof.
- Safety goggles: To protect eyes from debris.
- Utility knife: For cutting sealant or old adhesive.
Tip: Use a Helper
A second pair of hands can hold the top steady while you remove screws. This prevents the surface from wobbling and cracking.
3. Prepare the Kitchen and Disconnect Power/Gas
Safety isn’t just about tools; the environment matters too.
Visual guide about How to Lift Stove Top
Image source: thekitchenix.com
Step‑by‑Step Safety Prep
- Turn off electricity: Locate the circuit breaker for the stove and flip it off. If you have a dedicated plug, unplug it.
- Shut off the gas: For gas stoves, turn the gas valve to “off.” If you’re unsure, call a professional.
- Clear the area: Remove pots, pans, and any combustible items from the countertop.
- Ventilation: Open windows in case you need to clear fumes.
- Lay a protective blanket: Place a thick towel or moving blanket on the floor to catch any dropped screws.
Testing for Power
Use a non‑contact voltage tester on the stove’s plug or wiring before you start. No beep = no power.
4. Removing the Stove Top – Step by Step
Now the fun part begins. Follow these steps in order, and you’ll have the top off in about 15‑30 minutes.
4.1 Locate and Remove Fasteners
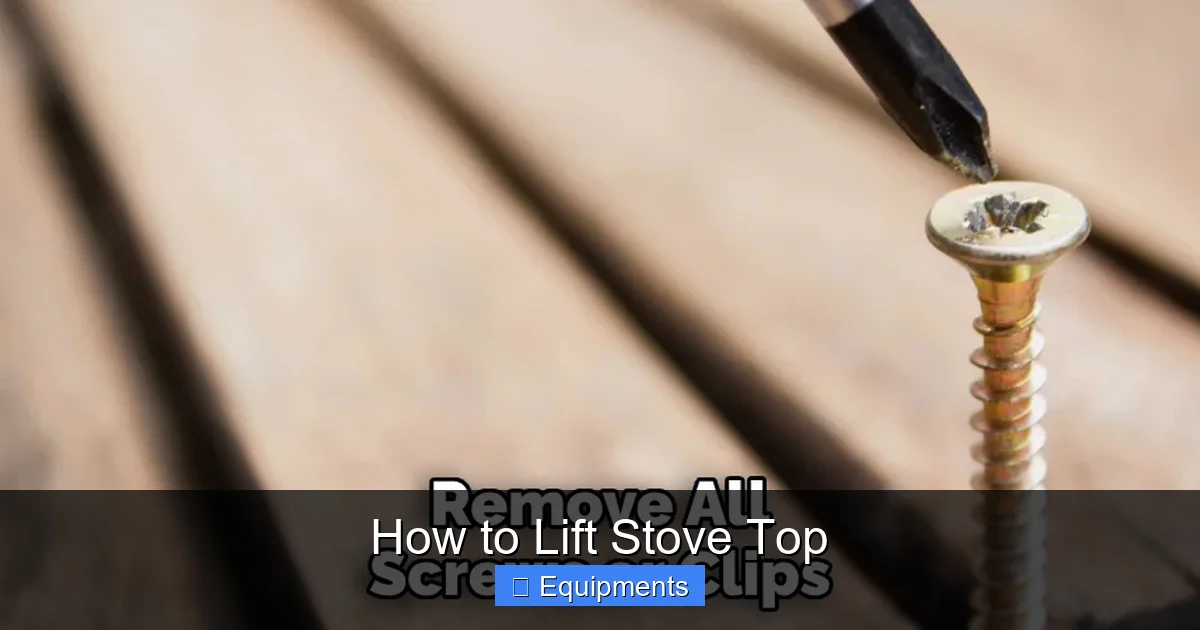
Most tops are secured with either screws hidden under a trim or clips that snap into a groove.
- Electric smooth tops: Look for four screws at the back corners, often covered by a plastic cap.
- Gas ranges: Clips are common; they may be plastic or metal.
- Induction models: Usually have a single central screw plus clips.
Use the screwdriver to remove each fastener. Keep them in a small bowl so they don’t roll away.
4.2 Release the Sealant (If Present)
Some manufacturers apply a thin bead of silicone around the edge to keep moisture out. Gently cut this with a utility knife, being careful not to scratch the glass.
4.3 Use a Suction Cup for Glass‑Ceramic Tops
Place the suction cup in the center of the top, press firmly, and pull upward in a steady motion. If the top feels stuck, wiggle slightly while maintaining suction.
Tip: If you don’t have a commercial suction cup, a strong rubber jar opener can work in a pinch.
4.4 Pry Gently with a Flat Bar (Metal Tops)
Insert the flat pry bar under the edge, using a thin piece of wood as a buffer to protect the finish. Apply even pressure and lift slowly.
4.5 Lift and Support
Once the fasteners are out and the seal is broken, lift the top straight up. Have your helper hold the opposite side to keep it level. Place it on a padded surface—your blanket or a large cardboard box.
5. What to Do Once the Top Is Off
With the top removed, you can address the underlying issue.
5.1 Cleaning Stubborn Residue
Mix a solution of warm water, a few drops of dish soap, and a splash of vinegar. Apply with a soft cloth, let sit for 5 minutes, then scrub gently with a non‑abrasive pad.
5.2 Replacing Burners or Elements
For gas burners, disconnect the connector, pull out the old burner, and snap the new one into place. For electric elements, note the wiring layout (take a photo) before unplugging, then swap the element and reconnect.
5.3 Checking for Damage
Inspect the underside for cracked wiring, corroded gas lines, or warped metal. If you spot any damage, replace the part or call a technician.
5.4 Re‑sealing the Top
When you’re ready to put the top back, apply a thin bead of high‑temperature silicone around the edge. This helps keep moisture out and reduces rattling.
6. Re‑assembling and Testing Your Stove
Putting everything back together is almost as important as the lift itself.
6.1 Align Fasteners and Clips
Place the top back onto the stove frame, ensuring the holes line up with the screw threads or clip slots. Press down gently to engage any clips.
6.2 Re‑install Screws
Hand‑tighten each screw first, then use the screwdriver to give a firm but not overtightened finish. Over‑tightening can crack the glass.
6.3 Restore Power and Gas
Turn the circuit breaker back on and, for gas models, slowly open the gas valve. Light each burner to confirm proper ignition.
6.4 Run a Final Test
Set each burner or element to high for a few minutes. Watch for unusual noises, uneven flames, or error codes on digital displays. If anything looks off, turn it off and double‑check connections.
Conclusion: Lift With Confidence
Lifting a stove top doesn’t have to be a daunting chore. By following the safety steps, using the right tools, and understanding your stove’s construction, you can clean, repair, or replace components without a hitch. Regular maintenance—like lifting the top once a year—keeps your kitchen running smoothly and extends the life of your appliance. Remember, when in doubt, call a professional, especially for gas line work. Happy cooking!
Frequently Asked Questions
Can I lift a stove top without a suction cup?
Yes, you can use a strong rubber jar opener or a piece of non‑slip rubber to create grip, but a proper suction cup provides the safest, most even lift.
Do I need to disconnect the oven when lifting the top?
Only the stove portion needs power or gas shut‑off. The oven can stay connected if it has its own separate circuit, but many people unplug both for extra safety.
Will lifting the top void my warranty?
Most manufacturers allow owners to lift the top for cleaning, but if you replace parts yourself, the warranty on those parts may be void. Check your manual first.
What if the glass top cracks during lifting?
Stop immediately. Do not use the stove. Contact the manufacturer or a certified repair service for a replacement. Cracked glass can shatter with heat.
How often should I lift my stove top for maintenance?
Once a year is a good rule of thumb, or sooner if you notice spills that won’t come out with surface cleaning.
Is it safe to lift a gas stove top if I smell gas?
No. If you detect a gas odor, shut off the gas valve, ventilate the area, and call a licensed technician before attempting any work.