Leveling your stove is essential for even heating, safety, and longevity. This guide walks you through the tools, steps, and troubleshooting tricks you need to get a perfectly flat cooking surface every time. Follow the simple checklist and you’ll avoid wobble, uneven flames, and costly repairs.
Key Takeaways
- Safety first: Always disconnect power or gas before adjusting the stove.
- Tools matter: A bubble level, adjustable wrench, and shim kit are all you really need.
- Check all four corners: Even a slight tilt in one corner can cause uneven cooking.
- Use shims wisely: Properly placed shims keep the stove stable without damaging the floor.
- Re‑test after each adjustment: Verify the level after every tweak to avoid over‑correction.
- Maintain regularly: Periodic checks prevent future wobble and extend appliance life.
- Know when to call a pro: Complex gas line or built‑in models may need a licensed technician.
📑 Table of Contents
Why a Level Stove Matters
Imagine cooking a pancake on a stove that tilts to one side. The batter pools, burns on one edge, and stays raw on the other. That’s what happens when a stove isn’t level. A properly leveled stove does three important things:
- Even heat distribution: Flames or electric elements sit flat, so food cooks uniformly.
- Safety: A wobbly stove can tip, spill hot liquids, or cause gas leaks.
- Longevity: When the weight is evenly supported, bolts, hinges, and connections last longer.
Most homeowners never think about stove levelness until a problem appears—flames that lean, pots that slide, or a “wiggle” when you touch the oven door. The good news? Fixing it is a quick weekend project.
Tools and Materials You’ll Need
Basic Toolkit
Gather these items before you start. Having everything at hand prevents interruptions.
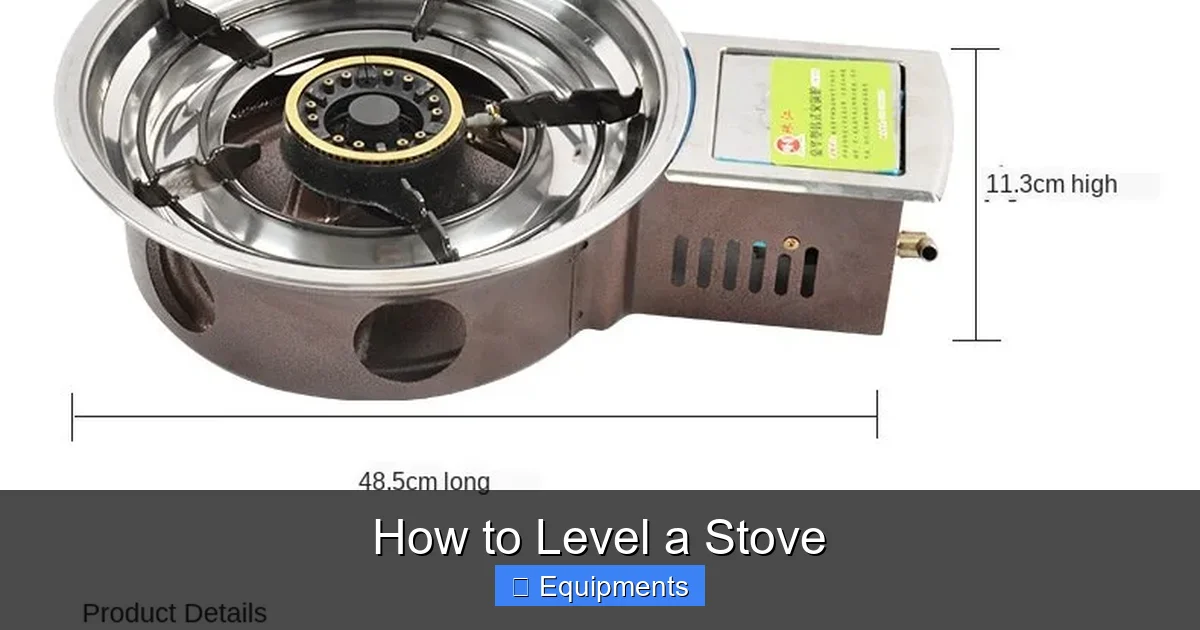
Visual guide about How to Level a Stove
Image source: images.nexusapp.co
- Bubble level (or laser level): A 24‑inch level works well for most ranges.
- Adjustable wrench or socket set: For loosening and tightening mounting bolts.
- Shims (metal or wood): Thin pieces (1‑4 mm) to raise low corners.
- Screwdriver (Phillips and flat‑head): Some models use screws instead of bolts.
- Measuring tape: To check the distance between the stove base and the floor.
- Protective gloves: Handy when dealing with hot surfaces or sharp edges.
Optional Extras
- Laser level – for a quick, highly accurate read.
- Foam self‑adhesive shims – great for tile or uneven hardwood.
- Floor protection mat – prevents scratches while you work.
Step‑By‑Step Guide to Leveling a Freestanding Stove
1. Safety First – Disconnect Power or Gas
If you have an electric stove, unplug it from the wall outlet or turn off the circuit breaker. For gas stoves, locate the shut‑off valve behind the appliance and turn it off. Let the stove cool completely before you touch any parts.

Visual guide about How to Level a Stove
Image source: images.nexusapp.co
2. Clear the Area
Remove burners, grates, and any cookware. This gives you clear access to the stove’s legs and bottom.
3. Place the Bubble Level
Lay the level on the top surface of the stove, front‑to‑back first. Check the bubble. If it’s centered, the front‑to‑back axis is level. Rotate the level side‑to‑side and repeat. Note which corners are low.
4. Locate the Adjustment Points
Most freestanding ranges have four threaded legs with nuts that can be turned to raise or lower each corner. Some models use sliding glides or screw‑in feet. Identify the type on your stove.
5. Loosen the Adjustment Nuts
Using the adjustable wrench, turn each nut counter‑clockwise just enough to allow movement—do not remove them completely.
6. Insert Shims or Adjust the Legs
For low corners, slide a shim under the leg. If the leg is adjustable, turn the nut clockwise to raise that side. Make small adjustments (¼ turn at a time), then re‑check the level.
7. Tighten the Nuts Securely
Once the bubble stays centered in both directions, tighten each nut clockwise until snug. Avoid overtightening, which can crack the floor or strip the threads.
8. Re‑Test the Level
Place the level on the stove again. If the bubble moves, repeat steps 5‑7. It often takes two or three rounds to get perfect balance.
9. Re‑Assemble and Test
Put burners, grates, and cookware back. Turn the power or gas back on. Light the burners—watch for even flames. If the flames lean, double‑check the level.
Leveling a Built‑In or Slide‑In Stove
Built‑in ranges are a bit different because they sit in a cabinet frame. The floor may be level, but the surrounding cabinetry can cause a tilt.
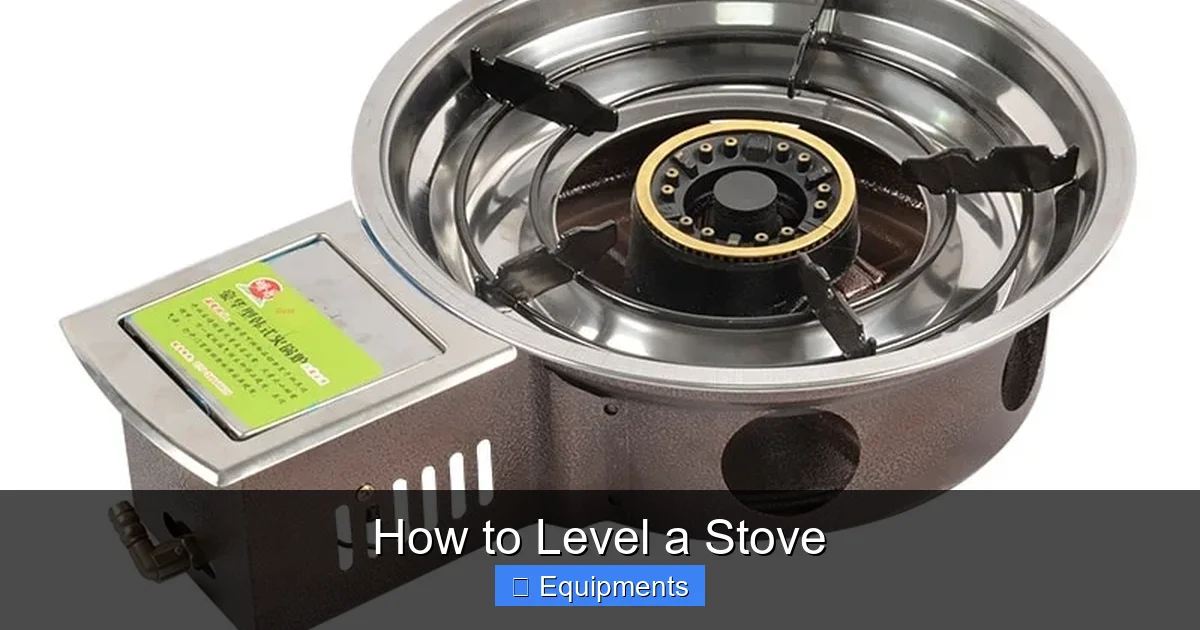
Visual guide about How to Level a Stove
Image source: images.nexusapp.co
Check the Cabinet Frame
Use a level on the countertop around the stove opening. If the countertop is uneven, you’ll need to shim the stove base rather than the floor.
Adjust the Mounting Brackets
Most slide‑ins have two metal brackets that secure the appliance to the cabinet. Loosen the bracket screws, place shims under the low side, then retighten.
Use a Turn‑Buckle System (if available)
Some high‑end models feature turn‑buckle adjustments on the rear feet. Turn the buckle clockwise to raise, counter‑clockwise to lower. Follow the manufacturer’s instructions for torque limits.
Final Checks
After adjustments, close the oven door. It should sit flush with the countertop without gaps. Open the door; it should swing smoothly without rubbing.
Common Problems and How to Fix Them
Flames Lean to One Side
Even a ¼‑inch tilt can cause a lean. Re‑level the stove, then clean the burner ports—clogged ports can mimic a tilt.
Oven Door Doesn’t Close Properly
This usually means the stove is low at the front. Add a thin shim under the front legs or adjust the front mounting brackets.
Wobbly Oven Racks
Check that the oven interior floor is level. If the racks rock, the oven may have settled. Place a thin heat‑resistant shim under the oven’s rear foot.
Floor Damage or Scratches
When shims press hard against tile or wood, they can cause cracks. Use a piece of felt or rubber between shim and floor to distribute pressure.
Persistent Uneven Heat After Leveling
Sometimes the issue is a faulty burner or heating element, not the level. Test each burner individually; replace any that show uneven flames or hot spots.
Maintenance Tips to Keep Your Stove Level
Quarterly Checks
Every three months, place a level on the stove and verify balance. It takes only a minute and catches shifts caused by floor settling.
Watch for Heavy Loads
Placing a large cast‑iron skillet on one side for a long time can tip the stove slightly. Rotate heavy cookware regularly.
Inspect Shims Annually
Shims can compress over time. If you notice a wobble, replace the shims with fresh ones.
Professional Service
If you have a gas line, a built‑in model, or notice gas odors after adjusting, call a licensed technician. Safety should never be compromised.
When to Call a Professional
Most homeowners can level a freestanding stove with basic tools. However, certain situations require expert help:
- Gas‑line adjustments or leaks.
- Stoves installed on uneven concrete slabs that need structural correction.
- Complex built‑in cabinets with limited access.
- Warranty concerns—some manufacturers require a certified technician for adjustments.
Don’t hesitate to reach out; a quick service call can prevent costly damage down the road.
Conclusion
Leveling a stove isn’t rocket science, but it does demand a little patience and the right tools. By following the step‑by‑step guide above, you’ll enjoy even cooking, safer operation, and a longer‑lasting appliance. Remember to check the level regularly, use shims sparingly, and call a professional whenever you’re unsure about gas or structural issues. A flat stove is a happy stove—so take a few minutes today and keep your kitchen running smoothly.
Frequently Asked Questions
How do I know if my stove is level?
Place a bubble level on the stove top both front‑to‑back and side‑to‑side. If the bubble stays centered in both positions, the stove is level.
Can I use wood shims under a gas stove?
Yes, but make sure the wood is dry and not prone to compression. Metal or non‑compressible plastic shims are preferred for long‑term stability.
What if the floor is uneven but the stove is level?
Use shims under the stove legs to compensate for floor irregularities. Check the level after each shim placement to avoid over‑correction.
Do I need to level the oven interior separately?
No. If the stove base is level, the oven interior will be level as well. Only check the oven door alignment if you notice gaps.
Is it safe to adjust a built‑in stove yourself?
Minor shim adjustments are safe, but any work involving gas lines or structural brackets should be done by a licensed technician.
How often should I re‑check the level of my stove?
Every three to six months is a good rule of thumb, especially after moving furniture or renovating the kitchen.