How To Kasher An Electric Stove Top is an essential topic that provides valuable insights and practical knowledge for anyone interested in learning more about this subject.
“`html
How to Kasher an Electric Stove Top
Let’s be honest: the moment you decided to keep a kosher kitchen, you signed up for a unique kind of adventure. It’s a journey filled with delicious tradition, deep meaning, and yes—the occasional head-scratcher of a task. For me, one of the biggest “Wait, how do I do this?” moments came with my shiny, modern electric stove top. Growing up, our kitchen had a gas range, and the concept of kashering seemed more straightforward. But an electric coil or a smooth glass-ceramic surface? That felt like a different beast entirely. If you’re standing in your kitchen, staring at your stove after a meat-heavy cooking session and wondering how on earth you transition to dairy, take a deep breath. You are not alone. This guide is born from my own research, my conversations with rabbis, and plenty of hands-on (sometimes messy) experience. We’re going to walk through this process together, step by step, and turn that intimidating task into a manageable, even satisfying, part of your kosher routine.
Kashering, at its core, is about purification—creating a clean slate so that the absorbed flavors of one food category (like meat) don’t transfer to another (like dairy). With an electric stove, the primary concern isn’t open flame (which has its own rules), but the surface itself and the heating elements. Residual grease, burnt-on food particles, and absorbed tastes can linger. The good news is that with the right method and a little elbow grease, you can effectively kasher your electric stove top, whether it’s the classic coil type or a modern smooth-top. The goal here isn’t just to follow a rule; it’s to imbue your cooking space with intention and care, making every meal a conscious act.
Key Takeaways
- Understanding How To Kasher An Electric Stove Top: Provides essential knowledge for making informed decisions
- Practical applications: Can be applied in various real-world scenarios
- Key benefits: Offers significant advantages when properly implemented
- Important considerations: Requires attention to specific details and best practices
- Future implications: Continues to evolve and impact related fields
📑 Table of Contents
- Understanding the “Why” Before the “How”: The Principles of Kashering
- Gathering Your Arsenal: Essential Tools and Preparation
- The Step-by-Step Kashering Process for Electric Stove Tops
- Special Considerations for Smooth-Top (Glass-Ceramic) Stoves
- Common Pitfalls and How to Avoid Them
- Maintenance: Making Kashering Easier Next Time
- Data Table: Electric Stove Kashering Methods at a Glance
- Conclusion: From Daunting Task to Meaningful Ritual
Understanding the “Why” Before the “How”: The Principles of Kashering
Before we grab a sponge, it’s crucial to understand *why* we do what we do. This isn’t just a cleaning checklist; it’s a process rooted in Jewish law (Halacha) that addresses a concept called ta’am ke’ikar, meaning “taste is like the primary substance.” Essentially, porous materials or surfaces that have absorbed food flavors can transfer those flavors later. The kashering process is designed to remove or neutralize that absorbed taste.
The Key Concept: Libun and Hag’alah
For metal surfaces like your electric stove grates and burners, the primary method of kashering is libun (heating until red-hot) or hag’alah (immersion in boiling water). An electric stove presents a unique challenge because you can’t typically heat a metal grate to the same incandescent temperature as you can on a gas flame. Therefore, the accepted practice for most electric stoves focuses on a meticulous cleaning process combined with the intense heat of the self-cleaning oven cycle (if available) or a very high-heat burner setting, followed by a waiting period. The surface itself (the cooktop or drip pans) is treated differently.
Electric vs. Gas: A Critical Distinction
This is the most important distinction. With a gas stove, you can often kasher the grates by heating them directly on the flame until they glow red (libun gamur). You simply cannot do this safely or effectively with standard electric coil burners or glass-ceramic tops. The heating elements are designed to get hot, but not to the extreme, even-red temperatures required for libun. Applying that much heat to a glass top would likely shatter it. Therefore, the approach for electric stoves is more about extreme and thorough cleaning combined with applying intense, continuous heat from the burner itself to the point of self-cleaning, and then allowing a significant waiting period for any residual absorbed taste to dissipate. This waiting period, often 24 hours, is a critical component of the process.
Gathering Your Arsenal: Essential Tools and Preparation
Thinking of kashering as a special project helps mentally prepare you. You’ll need more than your everyday sponge. Setting up your station with the right tools makes the job far less frustrating. Here’s what you’ll need to succeed.
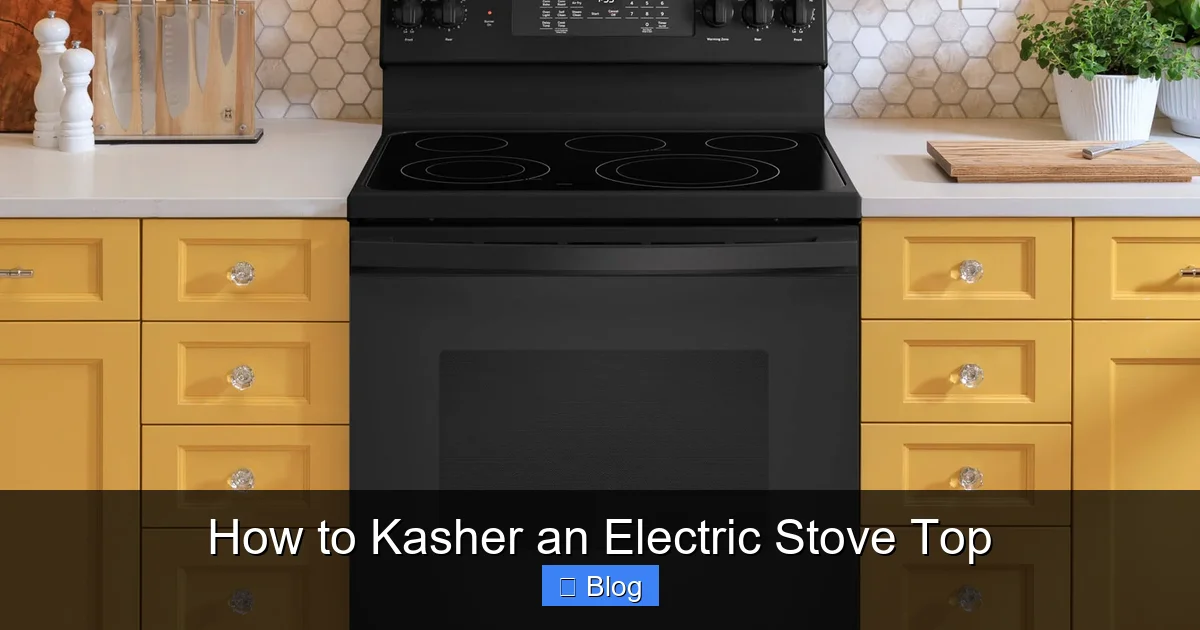
Visual guide about How to Kasher an Electric Stove Top
Image source: cdn.thewirecutter.com
The Cleaning Toolkit
- Heavy-Duty Degreaser: A dedicated stove-top cleaner or a strong commercial degreaser is your best friend. For a more natural option, a paste of baking soda and water works wonders but requires more soaking time.
- Non-Abrasive Scrapers and Brushes: For glass-ceramic tops, a special razor scraper (held at a 45-degree angle) is essential to remove burnt-on residue without scratching. For coil stoves, a sturdy wire brush or a dedicated grate brush works well. Avoid steel wool on glass tops.
- Microfiber Cloths: Plenty of them. You’ll need them for applying cleaners, scrubbing, and the final polishing.
- Rubber Gloves: Protect your hands from harsh chemicals and hot surfaces.
- Old Toothbrushes: Perfect for getting into the crevices around burner elements and control knobs.
- Oven Mitts or Pot Holders: You’ll be handling hot components.
Preparation is 90% of the Battle
Before you even touch a cleaner, you must disconnect the stove. For electric models, unplug it from the wall. If it’s a hardwired connection, you’ll need to turn off the circuit breaker. Safety first—always. Next, if your stove has removable coil burners and drip pans, take them off. This allows you to clean every nook and cranny. Soak the drip pans and grates in hot, soapy water or your degreaser solution while you work on the main surface. This softens baked-on grease and makes scrubbing easier. Also, remove the control knobs if possible and wash them separately.
The Step-by-Step Kashering Process for Electric Stove Tops
Alright, the stove is unplugged, parts are soaking, and your cleaning supplies are laid out. Now, we get into the heart of the matter. This process has two main tracks: one for the surface (the cooktop itself) and one for the removable metal parts (coils, grates, drip pans). They are treated differently.
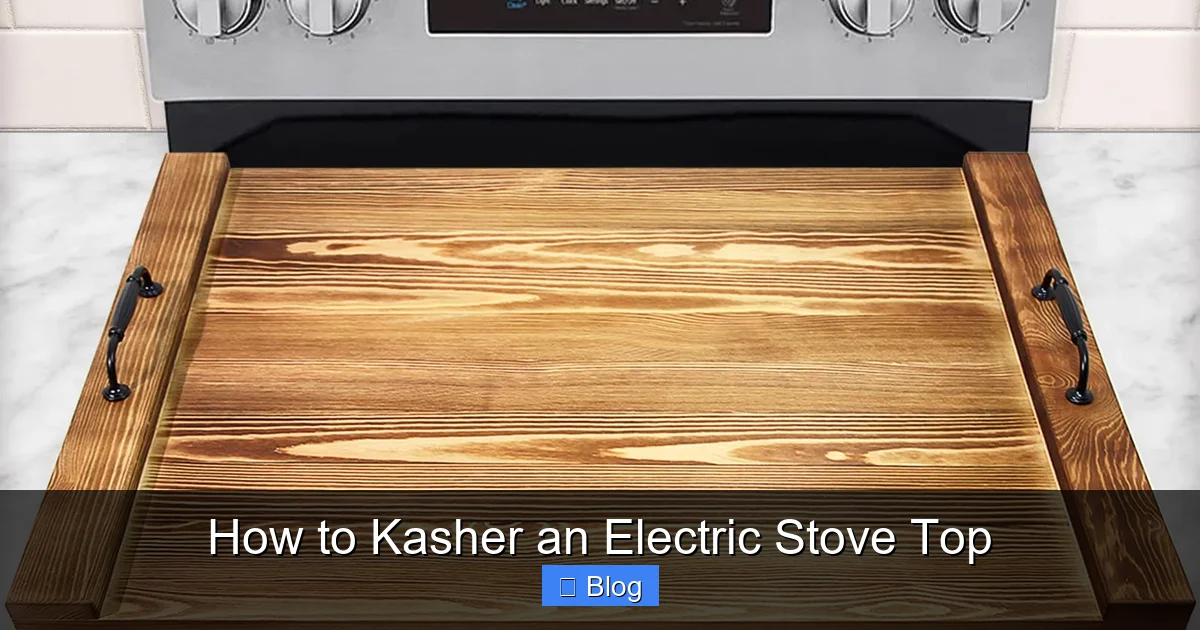
Visual guide about How to Kasher an Electric Stove Top
Image source: m.media-amazon.com
Part 1: Kashering the Cooktop Surface (Glass-Ceramic or Metal)
The goal here is to achieve a pristine, residue-free surface. Any remaining food particle or grease film can harbor absorbed taste.
- Initial Scrape: Using your razor scraper (for glass) or a stiff spatula (for metal), gently scrape off all loose, burnt-on food debris. Hold the scraper flat against the surface to avoid scratching.
- Apply Cleaner & Soak: Spray your heavy-duty stove-top cleaner generously over the entire surface. For tough stains, apply the baking soda paste. Let it sit for at least 15-20 minutes, or follow the product’s instructions. This allows the cleaner to break down the grease and carbonized particles.
- Scrub Vigorously: Using your non-abrasive brush or a scrub pad designed for your surface type, scrub the entire cooktop in circular motions. Pay special attention to the areas around the burner openings, where spills often seep and burn. Use your old toothbrush for these tight spots.
- Wipe and Rinse: Wipe away the dirty cleaner with a damp microfiber cloth. Follow with a clean, water-dampened cloth to remove any cleaner residue. Residue itself can be a problem.
- Final Polish: Dry the surface completely with a clean, dry microfiber cloth. Buff it until it shines. You should be able to see your reflection clearly—this is a good sign of a truly clean surface.
Important Note: For glass-ceramic cooktops, some rabbinical authorities recommend a final wipe-down with a small amount of isopropyl (rubbing) alcohol on a cloth to remove any remaining oily film. Check with your local rabbi for their specific guidance.
Part 2: Kashering the Removable Metal Parts (Coils, Grates, Drip Pans)
Here is where the heat component comes into play for metal. After a thorough cleaning, we apply intense heat.
- Scrub and Soak: Remove all baked-on food from the coils, grates, and drip pans using your brush and degreaser. The soaking step is crucial. They should be visibly clean, with no carbon build-up.
- Rinse and Dry: Rinse all parts thoroughly with hot water and dry completely with a towel.
- The Self-Cleaning Oven Method (The Gold Standard): If you have a self-cleaning oven, this is the most effective way to kasher metal parts. Place the clean, dry grates, coils, and drip pans inside the oven. Run the self-cleaning cycle. This cycle heats the oven to around 900°F (480°C), which effectively incinerates any remaining absorbed taste (this is a form of libun kal). Caution: Do not put plastic knobs or anything non-metal in there!
- The Alternative: High-Heat Burner Method: If you do not have a self-cleaning oven, you can use your electric stove itself. Reassemble the clean, dry coils and drip pans on the stove. Turn each burner to its highest setting and let them heat until they are glowing red-orange. This will take time (often 15-20+ minutes) and will produce smoke. Ensure your kitchen is well-ventilated! This intense heat achieves a similar purifying effect. Once red-hot, turn off the burners and let them cool completely before handling.
Special Considerations for Smooth-Top (Glass-Ceramic) Stoves
Smooth-top ranges require extra care because their surface is delicate and their heating elements are hidden beneath the glass. The principles are the same (thorough cleaning + heat), but the execution differs.
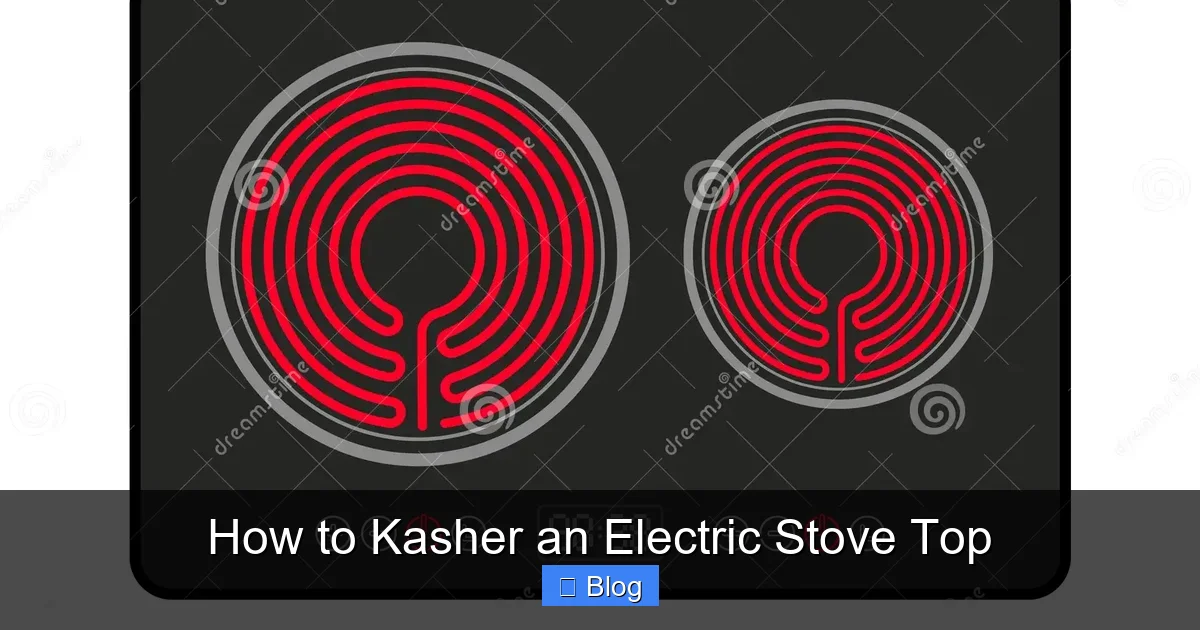
Visual guide about How to Kasher an Electric Stove Top
Image source: thumbs.dreamstime.com
Surface Cleaning: Patience and the Right Tools
As outlined above, the cleaning process for the glass surface is paramount. Never use abrasive pads, harsh scrapers held at a wrong angle, or creams containing metal particles. The razor scraper—when used correctly—is your safest and most effective tool for carbonized spills. Always keep the surface slightly damp while scraping to reduce friction.
Addressing the “Heating Element” Issue
This is the tricky part. On a smooth-top, the heating element is a coil or radiant panel hidden under the glass. You cannot remove it. Therefore, the “libun” process for the element itself is achieved by:
- Ensuring the entire glass surface is impeccably clean (as described).
- Turning the burner to its highest setting and allowing it to heat for an extended period (30-45 minutes). This superheats the glass and the element beneath it, attempting to burn off any absorbed taste that may have seeped through microscopic pores in the glass from spills. Note: This method is a subject of rabbinic discussion. Some authorities are stringent, requiring a 24-hour waiting period after this high-heat treatment before the stove may be used for the opposite (dairy after meat, or vice versa). Others are more lenient if the surface was perfectly clean first. This is a key area where you must consult your personal rabbi for a ruling you are comfortable with.
Common Pitfalls and How to Avoid Them
Even with the best intentions, it’s easy to make mistakes. Knowing these common pitfalls will save you from having to redo the work or, worse, from an invalid kashering.
Pitfall #1: Rushing the Cleaning Process
The Mistake: Giving the surface a quick wipe-down and calling it a day. If you can still see a film or smell grease, it’s not clean enough.
The Fix: Adopt a “restaurant kitchen” standard. Your goal is a surface that looks and feels brand new. Use a bright light at an angle to spot grease films. If in doubt, clean it again. The time spent cleaning is an investment in a valid kashering.
Pitfall #2: Ignoring the Drip Pans and Underneath
The Mistake: Only cleaning the visible cooktop and forgetting the drip pans, the burner bowls underneath, and the area under the stove where debris collects.
The Fix: Make disassembly a mandatory first step. Soak and scrub every removable part. Use a vacuum with a crevice tool to clean under the stove and around the burner connections. Grease and food particles accumulate in these hidden spots and can continuously drip onto your clean surface.
Pitfall #3: Misunderstanding the “Waiting Period”
The Mistake: Thinking the process is complete once the stove is cool. For many electric stoves, especially smooth-tops, a 24-hour waiting period (called eino ben yomo) is required after the high-heat treatment before the surface can be used for the opposite food type. This allows any last vestiges of absorbed taste to become ineligible for transfer.
The Fix: Plan your kashering schedule accordingly. Do it the day *before* you need to switch. If you’re kashering from meat to dairy on a Sunday for a dairy-heavy Monday, do the kashering on Saturday night. Always confirm the waiting period requirement with your rabbi, as custom and stringency levels vary.
Maintenance: Making Kashering Easier Next Time
The best kashering is the one you don’t have to do extensively. By integrating simple habits into your daily cooking routine, you can make the periodic deep-clean a breeze.
Clean As You Go: The Golden Rule
This is non-negotiable. Wipe up spills and splatters immediately, before they have a chance to bake on. A quick wipe with a damp cloth after the stove cools down takes 30 seconds and saves you 30 minutes of scrubbing later. Keep a dedicated cloth or sponge by the stove for this purpose.
Use Liner Pads and Covers
Consider using disposable aluminum foil liners or reusable silicone mats under the burners and on drip pans (where safe for your stove model). They catch drips and spills and can be simply replaced or washed. For smooth-tops, a specialized, heat-resistant silicone mat can protect the surface during messy cooking projects (like frying fish or saucy stews). Just be sure any cover you use does not trap heat against the glass, which could cause damage.
Schedule Regular Light Cleans
Don’t wait for a major switch to do a major clean. Once a week, do a more thorough wipe-down with your dedicated stove cleaner. This prevents the buildup of layers of grease and grime, keeping the surface in a constantly “almost-kashered” state. It’s the difference between sweeping the floor daily versus scrubbing a month’s worth of mud.
Data Table: Electric Stove Kashering Methods at a Glance
| Stove Type | Primary Kashering Method | Key Steps | Typical Waiting Period | Rabbinic Consultation Recommended? |
|---|---|---|---|---|
| Electric Coil Stove | Extreme Cleaning + High-Heat Treatment | 1. Disassemble & soak parts. 2. Scrub surface to pristine condition. 3. Clean all metal parts. 4. Heat coils/drip pans on high until red-hot (or use self-cleaning oven). | Often 24 hours for the surface after high-heat treatment. | Yes, for confirmation on waiting period and method. |
| Smooth-Top (Glass-Ceramic) | Meticulous Surface Cleaning + High-Heat Burner Treatment | 1. Use razor scraper & dedicated cleaner. 2. Achieve mirror finish. 3. Heat the specific burner on high for 30-45 mins. 4. Let cool completely. | Very commonly 24 hours for the surface post-heating. Stringency is higher. | Absolutely essential. This is the most debated area. |
Conclusion: From Daunting Task to Meaningful Ritual
Kashering your electric stove top might seem like a daunting chore, but reframing it changes everything. It’s not just a cleaning task; it’s a physical manifestation of your commitment to the values of kashrut. Each scrub of the sponge, each careful wipe, is an act of mindfulness. You’re not just removing grease; you’re creating a sacred space for the meals that will nourish your body and soul.
The process—research, prepare, clean, apply heat, wait—mirrors a cycle of renewal. It asks us to be thorough, patient, and intentional. Yes, it takes time and effort. But so does any meaningful practice. The peace of mind that comes from knowing your kitchen is properly prepared is worth every minute. Start by reading this guide, gather your supplies, and set aside a few hours. Listen to a podcast or your favorite music while you work. Turn the practical into the pleasant.
Finally, remember the most important tool in your kashering kit is your rabbi. This guide provides a general framework, but local custom (minhag) and specific rabbinic rulings can vary. Have a conversation with your spiritual guide to ensure your practice aligns with your community’s standards. Once you’ve done it once, you’ll see it’s completely manageable. You’ve got this. Here’s to many more delicious, mindful, and kosher meals in your well-prepared kitchen.
“`
Frequently Asked Questions
What is How To Kasher An Electric Stove Top?
How To Kasher An Electric Stove Top is an important topic with many practical applications and benefits.
How can How To Kasher An Electric Stove Top help me?
Understanding How To Kasher An Electric Stove Top can improve your knowledge and provide practical solutions.