Installing kitchen cabinets on a tile floor is a precise task that prioritizes preparation over power. The key is to avoid drilling through the tile whenever possible by securing cabinets to the wall studs above. When you must penetrate tile, use the correct diamond-tipped drill bit and go slowly to prevent cracks. Always shim cabinets meticulously to achieve a perfect, level surface on an often uneven tile floor, and never rely on adhesive alone for structural support.
So, you’ve got beautiful, hard-wearing tile in your kitchen. It’s a fantastic choice for durability and style. But now you’re facing the installation of new kitchen cabinets, and that pristine tile floor looks a little intimidating. You might be wondering: “Can I just screw into this? Will I crack it? How do I get these heavy boxes to sit straight on a surface that feels like a mosaic of tiny hills and valleys?”
First, take a breath. Installing kitchen cabinets on a tile floor is a common and very doable DIY project. It just requires a different mindset and a few extra steps compared to installing on a bare wood or concrete subfloor. The fundamental principles are the same—find studs, level everything, secure properly—but the execution needs more finesse to protect your investment in that lovely tile. Think of it less like construction and more like delicate surgery. Your goal is to work with the tile, not against it. This comprehensive guide will walk you through every phase, from the crucial planning stages to the final screw turn, ensuring your new cabinets look professional, level, and secure, all without a single unsightly crack in your tile.
Key Takeaways
- Locate and mark studs first: Your primary anchor points are the wall studs, not the tile floor. Use a reliable stud finder on the wall above the tile to plan your cabinet layout.
- Drill through tile with extreme care: If a screw must go through tile, use a diamond-tipped core bit, start at a low speed with constant water cooling, and use a guide hole to prevent wandering and cracking.
- Shimming is non-negotiable: Tile floors are rarely perfectly level. You will need to use composite or wood shims under the cabinet base and between cabinets to create a truly level and plumb installation.
- Secure cabinets to studs, not just the floor: The wall connection provides the critical structural support. Screws through the cabinet back rail and into studs are what hold everything in place.
- Dry-fit everything: Assemble and position all base cabinets empty before any final securing. This allows you to adjust shims, check gaps, and verify the entire layout is perfect.
- The toe-kick is your friend: A properly installed wood toe-kick (finished or painted) covers the gap between the cabinet base and the tile floor, providing a clean look and protecting the edge.
- Work from a reference point: Always start your layout from the highest point of the floor or a confirmed level line on the wall, not from a corner, to compensate for floor slope.
📑 Table of Contents
- Phase 1: The Golden Rule – Preparation and Meticulous Planning
- Phase 2: Armory – Tools and Materials for the Tile Battlefield
- Phase 3: The Operation – Step-by-Step Installation
- Phase 4: The Finishing Touches – From Functional to Flawless
- Phase 5: Pitfalls and Pro-Tips – Avoiding Common Mistakes
- Conclusion: Your Tile-Floored Kitchen, Perfectly Installed
Phase 1: The Golden Rule – Preparation and Meticulous Planning
Rushing this phase is the single biggest cause of cabinet installation disasters on tile. You are not just putting boxes on the floor; you are creating a level, stable, and anchored system. The tile is your finished floor, so your approach must change. You cannot simply shim under the cabinets to level them against the wall if the wall itself is out of plumb, and you cannot assume the tile floor is flat. Your preparation must account for three things: the wall (for vertical plumb and studs), the floor (for levelness), and the cabinets themselves (their inherent squareness).
Step 1: Assess the Battlefield – Check for Level and Plumb
Before you even open a cabinet box, you need to understand the true condition of your kitchen’s geometry. Grab a long, reliable level (a 4-foot or 6-foot spirit level is ideal) and a laser level if you have one.
- Check the Wall: Place your level vertically on the wall where the cabinet backs will sit. Is the wall plumb? Most walls have some variance. Note any significant bows. This will tell you how much you’ll need to shim the cabinet backs to make them flush with the wall.
- Find the High Spot on the Floor: This is the most critical step for a tile floor. Using your long level, check the floor along the entire planned cabinet run. Tile floors are often installed over concrete, which can have slopes. You must identify the highest point along your base cabinet line. This high spot becomes your “zero” reference. Your goal is to shim the cabinets up from this point so the cabinet tops (and ultimately your countertop) are level. You will likely have significant shim height differences from one end of a run to the other.
- Check the Floor Flatness: Run the level diagonally and in multiple directions. You’re looking for major humps or depressions. Small variances are expected and will be taken up by shims; large ones may require a self-leveling underlayment, which is a more involved project best done before cabinet installation.
Step 2: The Treasure Hunt – Locate Wall Studs
Your cabinets get their strength from being screwed into the wall studs. On a tiled wall, finding these is the first major challenge. A standard electronic stud finder often works poorly on tile because the tile and mortar create a uniform density that confuses the sensor.
- The Knock-and-Look Method: Tap along the wall. A solid “thud” indicates a stud, a hollow sound indicates cavity. Mark these areas. This is imprecise but gives you a general area.
- The Magnet Method (Most Reliable):strong> Use a strong neodymium magnet. Slowly drag it across the tiled wall. It will be attracted to and “stick” to the nails or screws holding the drywall to the stud. The line of nails/screws will be visible through the grout lines. Follow this vertical line to confirm the stud center. Mark it clearly with a pencil. This works exceptionally well on tile.
- The “From Below” Method: If you have access from the basement or crawlspace below, you can often see the underside of the subfloor and the nails holding the drywall up. This gives you an exact stud location to transfer up.
Mark all stud locations clearly on the wall with a pencil line. You will align your cabinet screws to these marks. Typically, you want at least one screw into a stud for every cabinet section, but two is better (one near the top and one near the bottom of the cabinet back rail).
Step 3: The Blueprint – Create a Detailed Layout
You have your high floor spot and your stud lines. Now, translate your cabinet order into a physical layout on the floor and wall.
- Measure from a Fixed Point: Do not measure from a corner, as corners are rarely square. Measure from your main window, a door jamb, or a major appliance. Snap a chalk line on the floor for the front edge of your base cabinet run, starting from your high spot. This line represents where the *front* of your cabinets will sit.
- Account for Overhang: Standard countertops overhang the cabinet front by 1 to 1.5 inches. Make sure your chalk line accounts for this if you are planning for a finished look against a wall or island.
- Dry-Fit the Cabinets: This is non-negotiable. Bring all your base cabinets into the kitchen and assemble them (without doors/drawers) in their final positions on the floor. Use shims under them as you go to start leveling from your high spot. This dry run will reveal any problems: mismatched sizes, awkward gaps, or needed adjustments before you make any holes.
- Mark Wall Reference: Once your dry-run is level and plumb, use a pencil to mark the top and side edges of the cabinet run lightly on the wall. This is your “ghost” outline to guide you during final installation.
Phase 2: Armory – Tools and Materials for the Tile Battlefield
Having the right tools for the specific challenges of tile is what separates a smooth job from a stressful, destructive one. Gather everything before you start.
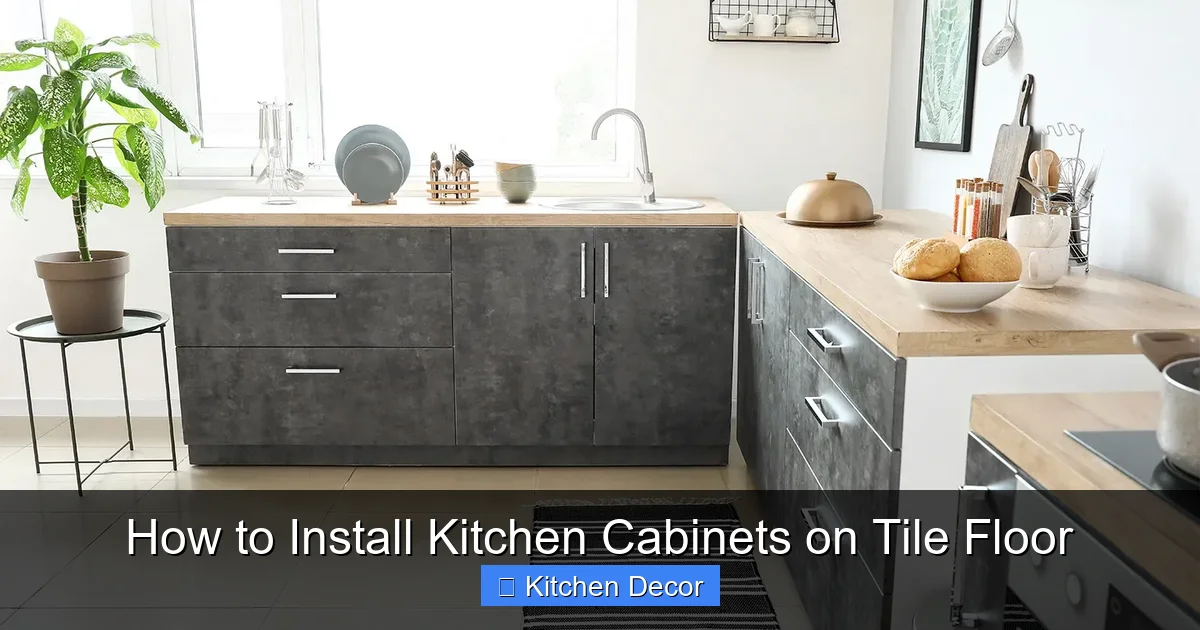
Visual guide about How to Install Kitchen Cabinets on Tile Floor
Image source: i1.wp.com
The Essential Toolkit
- Drill & Diamond-Tipped Core Bits: This is your most important tool for tile. A standard masonry bit will chip and crack tile. You need a diamond-tipped hole saw or core bit, sized for your cabinet screws (usually 3/16″ or 1/4″). A set with a guide drill bit is best.
- High-Quality Stud Finder & Strong Magnet: As discussed, for locating studs behind tile.
- Long Levels (4ft+): A 6-foot level is a game-changer for checking long runs. Also, a small torpedo level for individual cabinet adjustments.
- Clamps: Several 2- to 4-inch F-clamps or quick-grip clamps. They are indispensable for holding cabinets together tightly while you screw them.
- Shims: Composite plastic shims (like those from PLIX) are superior to wood. They don’t compress, are moisture-resistant, and are easy to cut. Have a variety of thicknesses (1/16″, 1/8″, 1/4″).
- Drill Masonry Bits: For drilling through the tile’s mortar bed if your stud marks don’t align perfectly with where you need a screw.
- Heavy-Duty Cabinet Screws: 2.5″ to 3″ long, coarse-threaded screws (like GRK RSS or similar). These are designed to pull the cabinet tight to the wall without stripping.
- Pencil, Tape Measure, Chalk Line, Utility Knife.
- Safety Gear: Safety glasses, ear protection, and a dust mask when drilling.
Materials That Make a Difference
- Construction Adhesive (Optional but Recommended): A small bead of a high-quality, flexible construction adhesive ( like Liquid Nails S adhesive) on the back rail *after* it’s screwed to the wall can add significant shear strength and prevent future squeaks. Never use it as a replacement for screws into studs.
- Wood Toe-Kick: A simple 1×4 or 1×6 pine board, painted or stained to match, to cover the bottom gap. This creates a finished, integrated look.
- Filler Strips: For any remaining gaps at the ends of runs or against walls.
Phase 3: The Operation – Step-by-Step Installation
With your layout planned and tools ready, it’s time for the main event. This process follows a logical order: attach wall, level and secure, connect adjacent cabinets, finish.
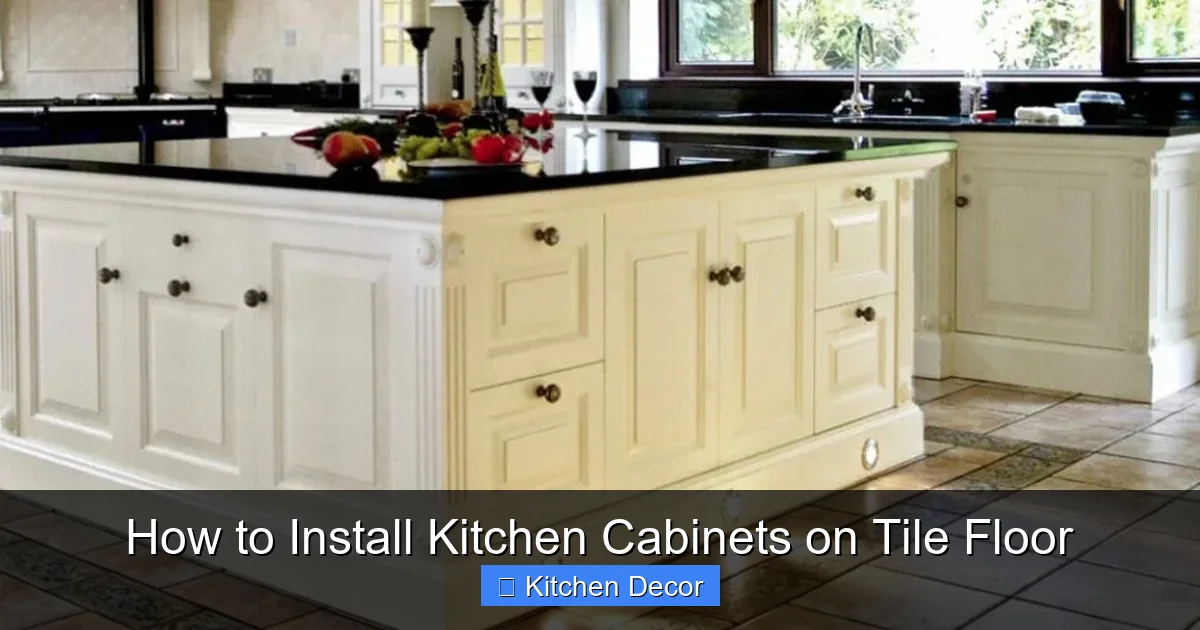
Visual guide about How to Install Kitchen Cabinets on Tile Floor
Image source: thekitchenix.com
Step 1: Position and Level the First Cabinet
The first cabinet sets the tone for the entire run. Choose an end cabinet or one that will define your main layout. Place it in its marked position against your chalk line.
- Shim from the High Spot: Starting at your identified high point on the floor, slide shims under the cabinet base until the top of the cabinet is level front-to-back and side-to-side. Use your long level across the top. You will likely have a stack of shims at the low end of the run. Don’t worry about the sides yet.
- Check for Plumb: Place your level vertically on the cabinet front. Adjust shims under the base until the cabinet is perfectly plumb. This may require shimming the sides as well. The goal is a cabinet that is level and plumb.
- Secure to the Wall (Temporarily):strong> Before final screwing, get the cabinet stable. Drive one 3″ screw through the back rail, through the tile and mortar (if needed), and into a stud. This is your pivot point. Re-check your level and plumb. You will adjust shims and then add the final screws.
Step 2: The Critical Wall Attachment
This is where you use your stud marks. The cabinet’s back rail is your nailing surface.
- Pre-Drill Through the Back Rail: With the cabinet in position, mark on the back rail where your stud centers are. Pre-drill pilot holes through the cabinet back (usually 1/8″ bit) at these marks. This prevents the wood from splitting.
- The Tile Penetration Protocol: If your stud mark aligns with where you need a screw, you must drill through the tile. Here is the precise method:
- Place your diamond core bit on the pilot hole mark in the cabinet back.
- Start the drill at a very low speed (under 500 RPM). Apply firm, steady pressure. Do not force it.
- Use Water: Have an assistant gently pour a trickle of water over the drilling spot or use a spray bottle. This cools the bit and washes away dust, preventing overheating which can crack the tile.
- Drill straight and perpendicular. Let the bit do the work. It will take longer than drilling wood. Once you feel the bit break through the tile into the air space behind it, stop.
- You can now switch to a regular masonry bit to drill through the mortar and into the stud.
- If You Hit a Stud Without Tile: Sometimes, especially near the floor, your screw may go through the cabinet, through the air gap behind it, and directly into the stud without hitting tile. This is ideal. Just drill a pilot hole through the cabinet and drive the screw.
- If You Miss a Stud: Do not screw into just mortar or drywall. Move your screw location up or down 1.5 inches to hit the next stud. Use a toggle bolt or a snap toggle as a last resort for non-stud locations, but a solid stud connection is always preferred.
- Drive the Screws: With the hole drilled, drive your 2.5″ or 3″ cabinet screw. Do not overtighten. Tighten until the cabinet back is pulled snugly against the wall/shims. Overtightening can strip the wood or crack the tile around the hole.
Step 3: Connect Adjacent Cabinets
Once your first cabinet is level, plumb, and secured to the wall, bring the next one into place.
- Clamp Them Together: Position the second cabinet tightly against the face frame of the first. Use F-clamps at the top and bottom to pull them together. The faces should be perfectly flush. If they aren’t, you have a cabinet that is out of square. You must shim between the cabinets at the top or bottom to pull them flush. Do not force them; shim to correct the alignment.
- Screw Through the Face Frame: With cabinets clamped tightly, drill pilot holes and drive 1.5″ or 2″ wood screws through the side face frame of one cabinet into the stile (vertical frame piece) of the adjacent cabinet. Use at least two screws per connection—one near the top and one near the bottom. This creates a strong, seamless cabinet box.
- Re-check Level: After connecting two cabinets, place your long level across their tops. The connection process can sometimes shift them. Adjust shims under the base as needed and re-secure the wall screws if necessary.
Repeat this process for each subsequent cabinet in the run. Always clamp, screw side-to-side, check level, and secure to the wall studs. For a long run, you may secure every other cabinet to a stud, as the side-to-side connections provide significant strength, but every cabinet should be anchored to the floor via shims and eventually the toe-kick.
Phase 4: The Finishing Touches – From Functional to Flawless
Your cabinet boxes are now level, plumb, and securely attached. The functional part is done. Now for the details that make it look professional.
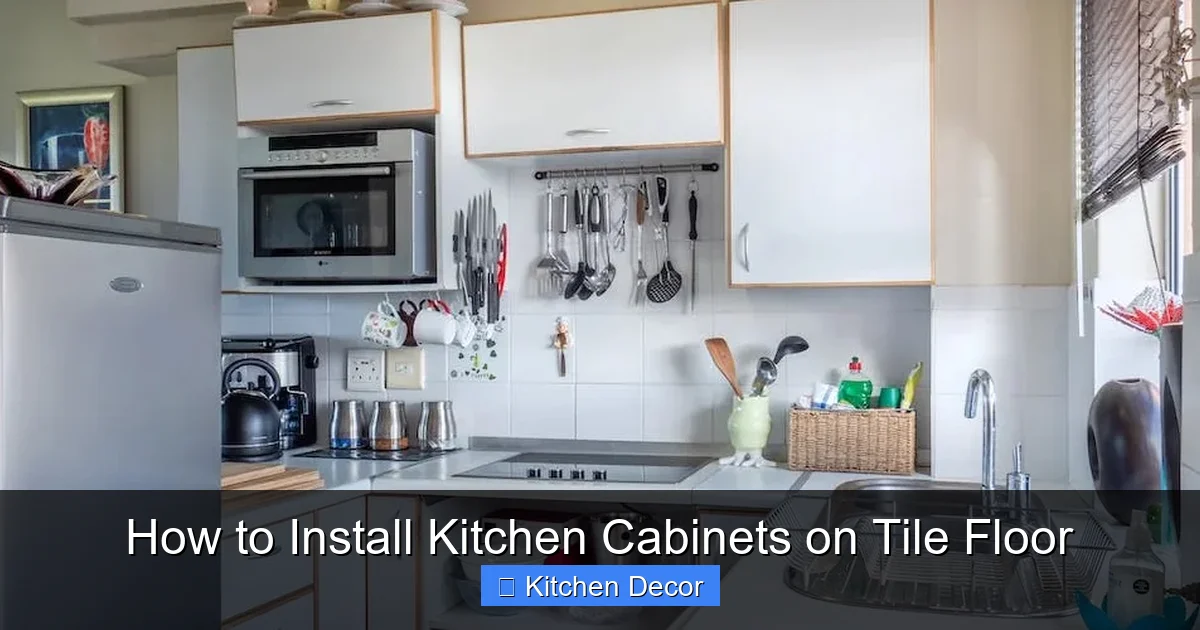
Visual guide about How to Install Kitchen Cabinets on Tile Floor
Image source: woodfixes.com
Installing the Toe-Kick
The gap between your cabinet base and the tile floor is not just an aesthetic issue; it’s a practical one. It hides the shim stacks, prevents debris from collecting under cabinets, and protects the cabinet edge from kicks and mopping water.
- Cut your 1×4 or 1×6 lumber to the exact length of your cabinet run.
- Paint or stain it to match your cabinets or your design scheme.
- Apply a thin bead of paint-grade silicone caulk to the back of the toe-kick board.
- Press it firmly into place under the cabinet base. The caulk will hold it and create a moisture barrier. You can also secure it with a few small finish nails from the top (inside the cabinet) or brad nails from the front (which you’ll fill).
Final Wall and Fill Work
- Fill Screw Holes: The screw holes in the cabinet back rails that are visible from inside the cabinet (behind where shelves or backsplash will go) should be filled with wood filler.
- Address Gaps: Any remaining gap between the cabinet end and a wall or in a corner needs a filler strip. Cut a piece of matching cabinet material or wood to fit the gap. It should be tight. Glue and nail it in place, then sand smooth.
- Install Cabinet Shelves and Backs: Now is the time to install any adjustable shelves and the cabinet back panels (if they are separate).
The Countertop Professional’s Secret
If you are installing a new countertop (especially a heavy stone or quartz one), this is the time to have the fabricator come and do a precise, on-site template. They will do this with the cabinets fully installed, level, and with the toe-kick in place. They will also verify the wall is plumb behind the countertop overhang. This ensures a perfect, gap-free fit. Never attempt to install a heavy stone countertop yourself without professional help and proper support.
Phase 5: Pitfalls and Pro-Tips – Avoiding Common Mistakes
Even with a great plan, a few missteps can ruin your project. Here are the most common errors and how to avoid them.
Mistake 1: Ignoring Floor Slope and Not Shimming Enough
The Problem: Cabinets are installed “by eye” without a long level, resulting in a countertop that slopes visibly toward one end. Water pools, and it just looks wrong.
The Fix: Always use a 4- to 6-foot level. Find the high spot and shim up from there. Expect to use shims that are 1/4″ thick or more at the low end. Use composite shims and stack them as needed. The cabinet top must be level, not the base following the floor.
Mistake 2: Drilling Tile Haphazardly and Cracking It
The Problem: Using a regular drill bit, starting at high speed, or not cooling the bit causes the tile to explode or chip around the hole.
The Fix: Use a diamond-tipped core bit. Go slow (low RPM). Use constant water. Use a piece of masking tape on the tile as a starting surface to prevent the bit from wandering. Be patient.
Mistake 3: Not Securing to Studs
The Problem: Relying on screws into just drywall or mortar, or using only adhesive. Cabinets will pull away from the wall over time, especially when loaded with heavy dishes or when someone leans on the countertop.
The Fix: Your primary security is screws into studs. Use a magnet or find studs from below. If you absolutely cannot hit a stud where needed, use a heavy-duty toggle bolt rated for the load, but this is a compromise, not a best practice.
Mistake 4: Forgetting to Allow for Countertop Overhang
The Problem: The cabinet run is placed flush against a wall, but the countertop will overhang by 1.5″. This means the front of the countertop will be further from the wall than planned, potentially interfering with a backsplash or appliance.
The Fix: In your initial layout, account for the countertop overhang. Your chalk line for the cabinet front should be set back from the final wall line by the overhang amount.
Mistake 5: Installing Cabinets Before the Final Flooring
The Problem: If you plan to change the tile floor or add a new layer of flooring (like a luxury vinyl plank) after cabinets, you’ll have a step-up at the toe-kick and a gap under the cabinets.
The Fix: The absolute best practice is to install the final, finished flooring first, then install the cabinets on top of it. The toe-kick then sits on the new floor. If this is impossible (e.g., you’re redoing cabinets but keeping the floor), you must meticulously scribe the cabinet bases to the existing floor to hide the gap.
Conclusion: Your Tile-Floored Kitchen, Perfectly Installed
Installing kitchen cabinets on a tile floor transforms a potentially daunting challenge into a rewarding demonstration of careful planning and skilled execution. The process rewards patience, precision, and the right tools far more than brute force. Remember, your success hinges on those first steps: finding the true high spot, locating every stud, and dry-fitting the entire layout. The dance of shimming to achieve level, drilling through tile with a steady hand and a cooling stream of water, and clamping cabinets into a seamless, flush wall is a craft in itself.
When you step back and see that perfectly straight, level line of cabinet tops, ready for your beautiful countertop, the effort will be worth it. You’ve not only built storage; you’ve created a foundation. You’ve worked with your tile, respected its permanence, and integrated new elements into your space without compromising its integrity. Take your time, follow these steps methodically, and you’ll achieve a professional-looking, secure, and stunning kitchen installation that you can be proud of for years to come. Now, go enjoy that beautiful tile floor—you’ve earned it.
Frequently Asked Questions
Can I install kitchen cabinets directly on tile without removing it?
Yes, absolutely. In fact, it’s standard practice. You secure the cabinets to the wall studs, not the tile floor. The tile floor simply requires careful shimming underneath the cabinet base to achieve levelness. The toe-kick covers the gap between the cabinet and the tile.
What is the best way to find wall studs behind a tiled wall?
The most reliable method is using a strong neodymium magnet. Drag it slowly across the tiled surface; it will be attracted to the nails or screws holding the drywall to the stud. You’ll see a vertical line of these fasteners through the grout lines. Mark this line to find your stud center.
Do I need a special drill bit to go through tile for cabinet screws?
Yes, you must use a diamond-tipped hole saw or core bit. Standard masonry or twist bits will almost certainly chip, crack, or shatter the glazed surface of the tile. The diamond bit grinds through the hard material. Always use it at low speed with constant water cooling.
How do I level cabinets on an uneven tile floor?
You use shims. Place your first cabinet on the highest point of the floor (which you find with a long level). As you move toward lower areas, slide composite shims under the cabinet base until the top of the cabinet is perfectly level. Check with a long level across the entire cabinet top. Shim as needed at the low spots.
Can I just glue the cabinets to the tile floor?
No. Construction adhesive alone is not a secure or code-compliant method for anchoring heavy kitchen cabinets. Cabinets must be mechanically fastened to the wall studs for structural stability. Adhesive can be used as a supplementary measure on the back rail after screwing, but it is never a substitute for screws.
What if my studs don’t line up with where I need to screw the cabinet?
You must adjust your cabinet position slightly to align a back rail screw hole with a stud. The studs are your fixed anchor points. If a cabinet’s pre-drilled hole misses a stud, move the cabinet a fraction of an inch left or right so a new pilot hole you drill will hit the center of the stud. Never screw into just drywall or mortar.