Installing a Brita filter on your pull-out faucet is a simple DIY project that provides great-tasting, filtered water instantly. By using the correct adapter kit and following a few careful steps, you can enjoy clean water without replacing your entire faucet. This guide walks you through everything from checking compatibility to troubleshooting leaks.
Ever turn on your kitchen faucet, ready for a glass of refreshing water, only to be met with that familiar tap water taste? You’re not alone. Many of us crave the clean, crisp taste of filtered water but hesitate at the cost and hassle of installing a whole new faucet. What if I told you there’s a simpler way? Enter the Brita pull-out faucet adapter kit. This clever little system lets you transform your existing pull-out or sprayer faucet into a filtered water source in under 15 minutes. No major renovations, no expensive plumber bills. Just pure, great-tasting water on demand. Let’s walk through this process together, step-by-step. It’s easier than you think.
Key Takeaways
- Compatibility is Key: Not all pull-out faucets work with Brita adapters. Check your faucet’s make/model and the adapter kit compatibility list before starting.
- Tools Are Simple: You typically only need an adjustable wrench, a cloth, and sometimes a pair of pliers. No special plumbing skills required.
- Thread Direction Matters: Faucet and adapter threads are usually reverse (left-handed). Turning the wrong way will tighten instead of loosen—a common installation mistake.
- Leaks Are Usually Fixable: Most leaks occur from misaligned threads or missing washers. Always hand-tighten first, then use a tool for a quarter-turn more.
- Filter Placement: The filter cartridge installs vertically in the adapter housing under the sink. Ensure it clicks into place and isn’t cross-threaded.
- Initial Flush is Crucial: Always run cold water through the new filter for 5-10 minutes to flush carbon particles and activate the filter media.
📑 Table of Contents
Understanding Your Pull-Out Faucet & Brita Adapter Kits
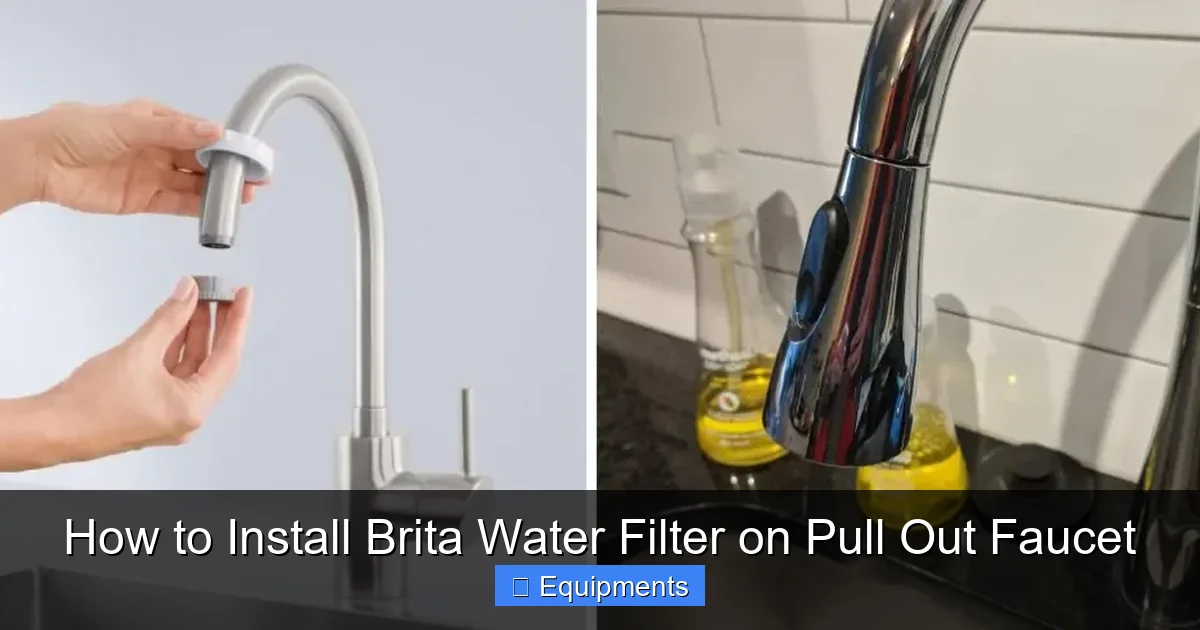
Before we grab any tools, the most critical step is understanding what you’re working with. Your pull-out faucet (the kind where the spray head pulls out from the spout) has a specific connection. At the end of the hose, inside the spout base, is a small metal or plastic threaded fitting. This is where your current sprayer head attaches. Brita’s system works by inserting a special adapter between this threaded fitting and your existing sprayer head. The adapter then has a port to screw in the long, cylindrical Brita filter cartridge, which usually sits under your sink.
The Different Types of Pull-Out Connections
Pull-out faucet connections aren’t one-size-fits-all. The two most common thread types are:
- Male/Female Threads: The connection on your faucet hose could be male (threads on the outside) or female (threads on the inside). The Brita adapter must match this.
- Thread Size & Pitch: The diameter and the “tightness” of the threads (called pitch) vary by manufacturer. Common sizes are 15mm or 22mm. Using the wrong adapter is the #1 reason for installation failure.
Pro Tip: The best way to identify your faucet is to unscrew the existing sprayer head from the hose. Take it with you to the hardware store or compare it directly to the adapter diagrams on the Brita box. Brita sells multiple adapter kits (like the Brita Faucet Water Filter System with Premium Adapter Kit) designed for different brands like Moen, Delta, Kohler, and many others. Don’t guess—match it perfectly.
What’s in the Brita Box?
A standard Brita pull-out kit includes:
- The main adapter housing (this screws onto your faucet hose).
- A filter cartridge (the long white/blue cylinder).
- Various plastic washers and O-rings (seals).
- Sometimes a small spanner wrench for tightening.
- The mounting bracket (to hold the filter under the sink).
- Instruction manual (always give it a glance!).
Essential Tools and Preparation
With the right adapter in hand, let’s get our workspace ready. A little prep prevents a big mess. You’ll be working under the sink, so clear out any cleaning supplies, boxes, or pipes you might bump your head on. Good lighting is your best friend down there.
Visual guide about How to Install Brita Water Filter on Pull Out Faucet
Image source: theplumbero.com
Tool Checklist
- Adjustable Wrench or Basin Wrench: This is your primary tool. A basin wrench is specially designed for tight spaces under sinks and is a fantastic investment for any DIYer.
- Bucket or Large Bowl: To catch any residual water in the hose when you disconnect it.
- Clean Cloth or Rag: For wiping up spills and holding slippery parts.
- Flashlight or Headlamp: Seriously, don’t try this in the dark under a cabinet.
- Plumber’s Tape (Teflon Tape): Optional, but a good backup if threads are old or slightly damaged to ensure a seal.
- Vinegar and Old Toothbrush: For cleaning the faucet threads if they’re caked with mineral deposits.
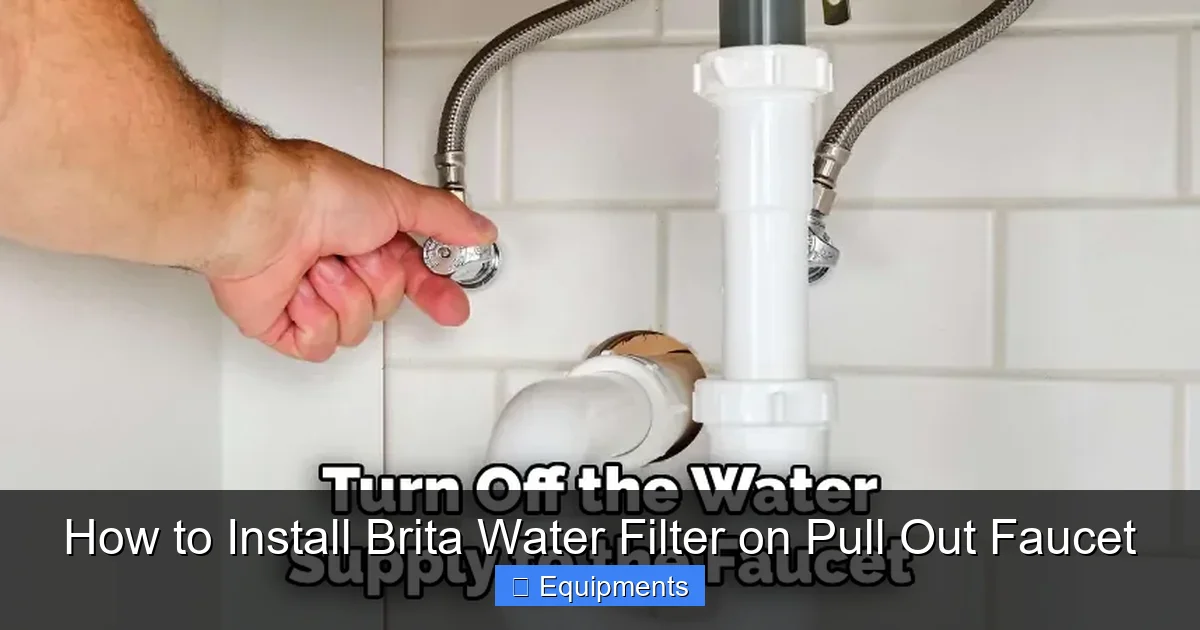
Safety First: Before you start, locate and shut off the water supply valves under your sink. They’re usually two small knobs (hot and cold) on the wall or pipes leading to your faucet. Turn them clockwise until tight. Then, turn on the faucet to relieve any pressure and drain the lines. This prevents a mini-geyser when you disconnect the hose.
Pre-Installation Cleaning
This is the pro move most people skip. With the water off and the sprayer head removed, inspect the threaded end of the faucet hose. Use your cloth and a bit of vinegar to scrub away any old plumber’s tape, grit, or limescale. Clean threads are essential for a good seal. Wipe everything dry. Also, check the O-rings and washers from your Brita kit for any defects and give them a quick rinse.
Step-by-Step Installation Guide
Now, the main event. We’ll break this into three clear phases: connecting the adapter to the faucet, mounting the filter, and final hookup. Breathe. Go slow. Hand-tightening is your friend at every stage.
Visual guide about How to Install Brita Water Filter on Pull Out Faucet
Image source: theplumbero.com
Phase 1: Connecting the Adapter to Your Faucet Hose
This is the most delicate part. The goal is to connect the Brita adapter to the end of your pull-out hose that the sprayer head originally screwed onto.
- Identify the Correct Adapter Piece: From your Brita kit, select the adapter piece that has threads on one end (to go on the hose) and a larger, knurled (ridged) collar on the other. This is your main connection.
- Add the Seal: Slide the correct rubber washer or O-ring onto the threaded end of the adapter. Refer to the instructions—some kits use a plastic washer, some use rubber. Lubricate it slightly with a drop of water to help it seat properly.
- Hand-Tighten: Carefully screw the adapter onto the clean threads of your faucet hose. CRITICAL: Most pull-out faucet hoses have reverse threads (left-handed). This means you turn it counter-clockwise to tighten, which feels counterintuitive. If it spins freely the wrong way, you’re on the right track! If it tightens when you turn clockwise, stop—you’re cross-threading or it’s a standard thread. Turn it until it’s snug by hand.
- Tool Tighten (Gently): Using your wrench, give it a very gentle quarter to half turn more to secure it. Do not force it. Overtightening plastic threads is a surefire way to crack the adapter or strip the hose threads.
Phase 2: Mounting the Filter Cartridge Under the Sink
Now we get the filter itself into position. The filter cartridge is long, so you need a clear vertical space under your sink.
- Find the Spot: Look for a clear area on the cabinet wall or back wall where the filter can hang vertically. The top of the filter will connect to the adapter we just installed. You’ll need enough clearance below to remove and replace the cartridge later (every 2-3 months).
- Attach the Mounting Bracket: Most kits use a simple plastic bracket that screws to the cabinet wall with provided screws. Mark your holes, predrill if needed (especially in hardwood), and screw it in securely.
- Prepare the Filter: Take the new Brita filter cartridge out of its wrapper. You’ll see a small plastic cap on the top—remove it. There’s also a protective sticker on the bottom—remove that too. Rinse the cartridge under cold water for a few seconds to wet the filter media.
- Insert into Bracket: Slide the filter cartridge into the mounting bracket. It should sit snugly. The top of the cartridge has a connector that will eventually attach to the adapter hose.
Phase 3: Connecting the Hose and Final Checks
This final connection links the water flow from your faucet, through the adapter, down to the filter, and back up to your sprayer head.
- Locate the Short Hose: Your Brita kit includes a short, flexible plastic or braided hose. One end connects to the adapter on your faucet hose; the other end connects to the top of the filter cartridge.
- Connect to the Adapter: On the adapter piece still attached to your faucet hose, you’ll see a small port with threads. Screw one end of the short hose onto this port. Again, hand-tighten first. Check for the rubber washer inside this connection—it should be present and seated.
- Connect to the Filter: Now, take the other end of the short hose and push it firmly onto the connector on top of the filter cartridge. This is usually a push-fit or a simple snap-lock connection. You should hear/feel a click. Give it a gentle tug to ensure it’s locked.
- Reattach Your Sprayer Head: Finally, screw your original pull-out sprayer head back onto the adapter’s outlet port (the part that now has the short hose going to the filter). Hand-tighten.
Visual Check: Look at all your connections. They should be aligned, not kinking any hoses. The filter should hang freely without strain on the hose connections.
Testing, Activation, and Troubleshooting Common Issues
With everything connected, it’s time for the moment of truth. But before you celebrate, we need to test for leaks and activate the filter media.
Visual guide about How to Install Brita Water Filter on Pull Out Faucet
Image source: theplumbero.com
The Initial Activation and Flush
Your new Brita filter contains carbon media that needs to be wetted and any loose carbon dust flushed out. Here’s the process:
- Turn On the Water Supply: Go back under the sink and slowly turn the hot and cold water valves back on.
- Check for Leaks Immediately: Look at all three connection points: the adapter-to-hose, the short hose-to-filter, and the sprayer head. Have a towel ready. If you see a drip, tighten that connection by hand or with a tiny wrench turn. Do not overtighten.
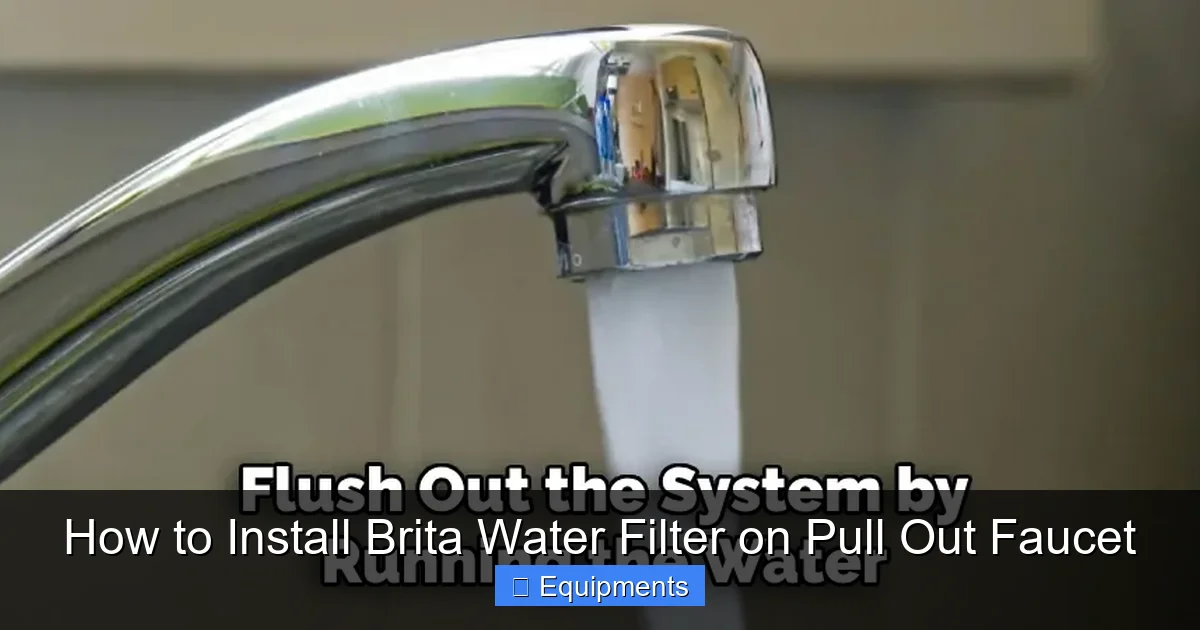
- Flush the Filter: With the sprayer head in the sink (pointing down), turn on the cold water and let it run at a moderate flow. You will see cloudy, blackish water. This is normal carbon particles. Let it run for at least 5-10 minutes or until the water runs completely clear. This may require filling and emptying the sink several times. For the first few uses, you might still see slight cloudiness—keep flushing.
- Test Both Spray and Stream: While flushing, press the button on your sprayer head to toggle between spray and stream modes. Ensure both work and there are no leaks at the sprayer head connection during the switch.
Diagnosing and Fixing Leaks
If you get a persistent drip after the flush, here’s your troubleshooting tree:
- Leak at Adapter-to-Faucet Hose: This is the most common. Unscrew it. Check the rubber washer inside the adapter. Is it missing, pinched, or damaged? Replace it with a new one from the kit (or a standard flat washer). Clean the threads again, reapply a tiny bit of plumber’s tape if threads are nicked, and re-tighten carefully.
- Leak at Short Hose-to-Filter Top: Ensure the hose is fully pushed onto the filter’s connector until it clicks. Pull it off, inspect the connector for debris, and reattach firmly.
- Leak at Sprayer Head: Unscrew the sprayer head. Check the washer on the adapter’s outlet thread. Replace if needed. Sometimes the sprayer head itself has a worn washer; you can try swapping it with one from the Brita kit if it fits.
- Leak from Filter Body/Cartridge: This is rare and usually means the cartridge is cross-threaded into the adapter or is defective. Unscrew the cartridge, check the threads on both the cartridge and adapter for damage, and reinstall. If it persists, the cartridge may be faulty.
Golden Rule: Always start by hand-tightening every connection. Use a tool only for a final, gentle nudge. Force is the enemy of plastic threads and rubber seals.
Maintenance and Filter Replacement Schedule
Your new system is working! Now, let’s keep it that long. Brita filters don’t last forever, and a clogged filter reduces water pressure and effectiveness.
When to Change Your Filter
Brita recommends changing the filter cartridge every 2-3 months or after filtering 40-100 gallons of water (depending on your model and local water hardness). Many filters have a smart indicator (a small gauge that changes color or a timer you set). Don’t ignore it. A tired filter won’t remove contaminants effectively and will slow your water flow to a trickle.
The Simple Replacement Process
Replacing the cartridge is the easiest part of the whole system:
- Buy the Correct Replacement: Brita replacement filter cartridges for the faucet system are specific. Look for “Brita Faucet Water Filter Replacement Cartridges.” They are not the same as pitcher filters.
- Turn Off Water and Depressurize: For safety, turn off the under-sink valves and turn on the faucet to drain the lines.
- Remove the Old Cartridge: Simply pull the old cartridge down and out of its mounting bracket. There’s no unscrewing—it’s a friction fit. Discard it.
- Install the New One: Remove the protective caps and stickers from the new cartridge. Rinse it under cold water for 10-15 seconds. Slide it straight up into the bracket until it seats firmly at the top.
- Turn Water Back On and Flush: Turn the supply valves back on. Run cold water through the filter for a full 2-3 minutes to prime the new filter media. You’ll see some carbon dust—that’s normal. Your filtered water is now ready!
Cleaning the Adapter and Sprayer Head
Every few months, unscrew the sprayer head and the adapter from the hose. Soak them in a vinegar-water solution (1:1) for 15-20 minutes to dissolve mineral deposits. Use a soft brush to scrub the tiny spray holes in the head. Rinse thoroughly before reinstalling. This maintains good water pressure.
The Tangible Benefits: Beyond Just Taste
You’ve done the work. You’re drinking the water. But why go through this? The benefits extend far beyond a pleasant flavor.
Taste and Odor Transformation
This is the immediate payoff. Brita filters use activated carbon to adsorb chlorine, chloramine, and other organic compounds that give tap water its medicinal or “swimming pool” taste and smell. If your water is heavy with chlorine (common in municipal supplies), the difference is night and day. Coffee, tea, and cooking water all taste noticeably purer and more balanced.
Reducing Contaminants
While not a full reverse osmosis system, Brita faucet filters are certified to reduce:
- Chlorine Taste & Odor
- Mercury (from natural deposits or industrial pollution)
- Benzene (a chemical from pollution)
- Asbestos (from old cement pipes)
- Lead (from old plumbing—though not all models; check your specific model’s certification)
- Cadmium & Zinc
It’s a significant step up from unfiltered tap water, especially if you have an older home with potential lead solder in pipes or live in an area with industrial agricultural runoff concerns.
Economic and Environmental Sense
Think about the alternative: bottled water. A family that drinks a few bottles a day spends hundreds, even thousands, of dollars a year. Those bottles create massive plastic waste. A Brita filter system has an upfront cost (filter + adapter kit, typically $30-$60) and an ongoing filter replacement cost (~$15-$20 per filter, 2-3 times a year). You’re looking at a fraction of the cost of bottled water and keeping hundreds of plastic bottles out of landfills and oceans. It’s a win for your wallet and the planet.
Conclusion: Your Next Sip of Pure Water
Installing a Brita water filter on your pull-out faucet isn’t just a home improvement task; it’s an upgrade to your daily health and comfort. We’ve covered the journey: from the crucial first step of verifying your faucet’s compatibility and getting the right adapter, to the careful, hand-tightening dance of the installation itself, and finally, to the rewarding flush of clean, clear water. Remember, patience and the right tools are your allies. A leak is almost always a fixable seal issue, not a failed project.
Once that initial cloudiness clears, you’ll have a dedicated source of great-tasting, filtered water right at your sink—perfect for drinking, cooking, and filling your pet’s bowl. The small effort you put in today pays dividends in taste, potential health benefits, cost savings, and environmental responsibility for months to come. So, grab that adapter kit, check your threads, and get ready to transform your tap. That first glass of crisp, filtered water will be your reward.
Frequently Asked Questions
Will a Brita filter work with any pull-out faucet?
No, compatibility varies significantly. Brita offers multiple adapter kits designed for specific faucet brands and thread types. You must identify your faucet’s connection (usually by removing the sprayer head) and match it to the correct Brita adapter kit. Using the wrong kit will result in leaks and a failed installation.
My installation still leaks after following all steps. What should I do?
First, don’t overtighten. Identify the exact leak point. Most leaks come from a missing, damaged, or misaligned rubber washer. Disconnect that joint, inspect and replace the washer, clean the threads, and re-tighten by hand only. If the leak persists from the filter body itself, the cartridge may be cross-threaded or defective—try reinstalling or contact Brita support.
How often do I really need to change the Brita filter cartridge?
Brita recommends changing the cartridge every 2-3 months or after filtering 40-100 gallons, whichever comes first. This depends on your water usage and local water quality (harder, more mineral-rich water may clog the filter faster). Many filter housings have a indicator dial or electronic reminder. Don’t exceed the recommended time, as filtration effectiveness drops significantly.
Can I install the Brita filter without the adapter if I just want filtered water from the spout?
No. The Brita faucet filter system is specifically designed to be installed *between* your pull-out hose and sprayer head. The filter cartridge is large and meant to be mounted under the sink. There is no “in-line” version that installs directly on the spout tip for pull-out models. Attempting to do so would not work and would likely cause leaks.
How long does the filtered water stay fresh in my cup or pitcher?
Once filtered, the water is best consumed within 24-48 hours for optimal taste. The activated carbon can re-absorb contaminants and odors from the air if left sitting too long. For daily drinking, it’s perfect to fill a glass or a dedicated pitcher from your newly installed filtered faucet as needed.
Does installing the Brita filter reduce my water pressure?
Slightly, yes. Any filter adds some resistance to water flow. You will notice a minor reduction in pressure compared to your unfiltered flow, but it should still be a strong, usable stream. If pressure drops to a weak trickle, your filter is likely clogged and past its replacement date. A new filter will restore stronger flow.