Never search frantically for a hot mitt again. Hanging your oven mitts directly on the oven door is a simple kitchen organization hack that boosts safety and convenience. This guide covers everything from selecting the right hanging solution for your oven’s surface to installing it securely and maintaining a clean look. Transform cluttered drawers into streamlined, accessible storage with our step-by-step methods and creative ideas.
You’re pulling a sizzling tray of cookies from the oven. The heat hits your face. You reach for the oven mitt… and it’s not in the drawer. It’s buried under a stack of baking sheets. Panic sets in. Sound familiar? This moment of kitchen chaos is all too common. But what if your mitt was right there, hanging neatly on the oven door itself? It’s a tiny change with a massive impact on your cooking flow and safety. Hanging oven mitts on the oven door isn’t just a decor trick; it’s a functional upgrade that brings a tool you need in a moment of high heat directly to the point of use. This comprehensive guide will walk you through every consideration, method, and creative solution to master this simple yet transformative kitchen organization skill.
Key Takeaways
- Enhanced Safety & Convenience: Having your oven mitt immediately accessible on the door prevents burns from grabbing a hot pan with a bare hand or using a damp towel.
- Surface Compatibility is Crucial: The hanging method (magnetic, adhesive, hook) must match your oven door’s material—stainless steel, enamel, or glass—to avoid damage.
- Weight & Material Matter: Heavy, silicone-lined mitts require stronger support (like heavy-duty hooks or magnets) than lightweight fabric gloves.
- Aesthetic & Clutter Reduction: This method clears counter and drawer space, creating a cleaner kitchen look while keeping essential tools within arm’s reach.
- Non-Permanent Solutions Preferred: Renters or those wary of damage should prioritize magnetic hooks, over-the-door organizers, or removable adhesive options.
- Regular Maintenance Prevents Grime: Oven mitts near heat and food splatter need frequent washing; ensure your hanging spot allows for easy removal and cleaning.
- Placement for Optimal Use: Hang mitts on the side of the door you naturally use to open it, at a height that’s easy to grab without stooping or stretching.
📑 Table of Contents
- Why Hanging Oven Mitts on the Door is a Game-Changer
- Essential Tools & Materials: What You’ll Need
- Method 1: The Magnetic Solution (For Stainless Steel Ovens)
- Method 2: Adhesive Power (For Non-Magnetic Surfaces)
- Method 3: Suction Cups & Over-the-Door Solutions
- Creative & Alternative Hanging Ideas
- Maintenance, Safety, and Style Considerations
- Strong Conclusion
Why Hanging Oven Mitts on the Door is a Game-Changer
Before we dive into the “how,” let’s establish the “why.” Why go through the trouble of installing a hook or magnet when a drawer has always done the job? The benefits extend far beyond mere convenience.
The Unbeatable Convenience Factor
When you’re in the middle of cooking, multitasking between stirring, timing, and checking temperatures, every second counts. Digging through a drawer adds precious seconds and disrupts your rhythm. An oven mitt hanging on the door is in your direct line of sight and reach. It becomes part of your cooking choreography—open door, grab mitt, pull out tray. No fumbling. This seamless access is especially critical for high-heat tasks like broiling or moving Dutch ovens, where hesitation can mean a burn.
A Major Boost for Kitchen Safety
Safety is the paramount reason. In that split-second decision when a pot handle is too hot, people often improvise with a dishtowel or, worse, their bare hand. A permanently accessible, heat-resistant mitt eliminates this dangerous improvisation. It creates a dedicated, visible home for this safety tool, reinforcing the habit of using it every single time. It’s a passive safety feature that actively prevents accidents.
Maximizing Precious Kitchen Real Estate
Modern kitchens, especially in smaller homes and apartments, are notorious for lacking storage. That one drawer dedicated to bulky oven mitts, pot holders, and trivets is prime real estate. By moving the most-used item (the mitt) to the oven door, you free up drawer space for other essentials like thermometers, peelers, or specialty utensils. It’s a win for overall kitchen organization.
Essential Tools & Materials: What You’ll Need
The success of your project hinges on selecting the right components for your specific oven. Using the wrong adhesive on a stainless steel door can lead to a sticky residue nightmare. A weak magnet will send your mitt crashing to the floor. Here’s your pre-shopping checklist.
Visual guide about How to Hang Oven Mitts on Oven Door
Image source: thekitchenix.com
Understanding Your Oven Door Surface
This is your first and most important step. Get up close and identify your oven’s exterior material.
- Stainless Steel: Magnetic. This is the easiest surface to work with. You can use any strong magnet-based solution.
- Enamel or Painted Metal: Non-magnetic. Requires adhesive hooks or suction cups. Test adhesives in an inconspicuous spot first.
- Glass Door (common on modern ranges): Non-magnetic and smooth. Suction cups or very strong, specialized adhesive hooks (like those for mirrors) are your best bet. Avoid heavy items that could stress the glass.
- Plastic or Composite Panels: Often textured. Adhesive is usually the only option; ensure the surface is perfectly clean and dry.
Hanging Hardware Options Compared
Let’s break down the main categories of hanging solutions.
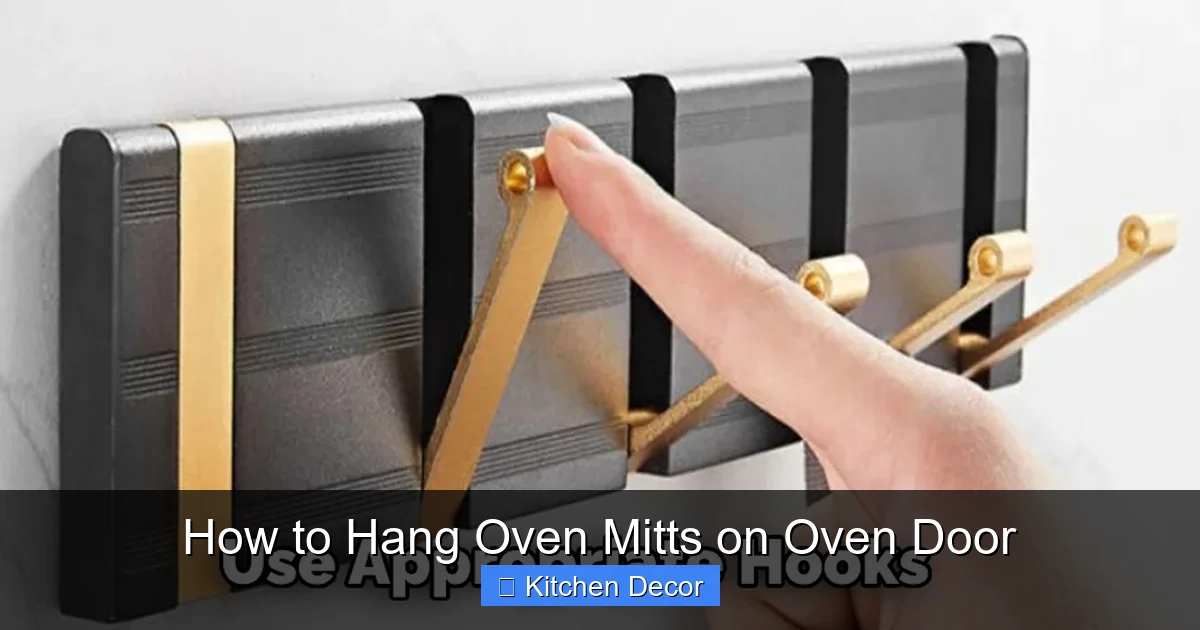
- Magnetic Hooks: The gold standard for stainless steel ovens. Look for hooks with a neodymium (rare earth) magnet core. These are incredibly strong, often holding 5+ pounds. They come in simple S-hooks, multi-pronged designs, or even decorative styles. Ensure the magnet is coated (usually in nickel or rubber) to prevent scratching.
- Adhesive Hooks (Command Strips & More): Perfect for non-magnetic surfaces. Brands like 3M Command are renter-friendly and designed for clean removal. For heavier mitts or silicone styles, look for the “heavy-duty” or “utility” versions with larger adhesive strips. Always clean the surface with rubbing alcohol before application.
- Suction Cup Hooks: A great option for glass doors or smooth enamel. Modern suction cups with silicone suction pads can be quite strong. They are completely removable and leave zero trace. Their holding power depends entirely on a perfectly clean, smooth surface and proper application (press firmly for 30 seconds).
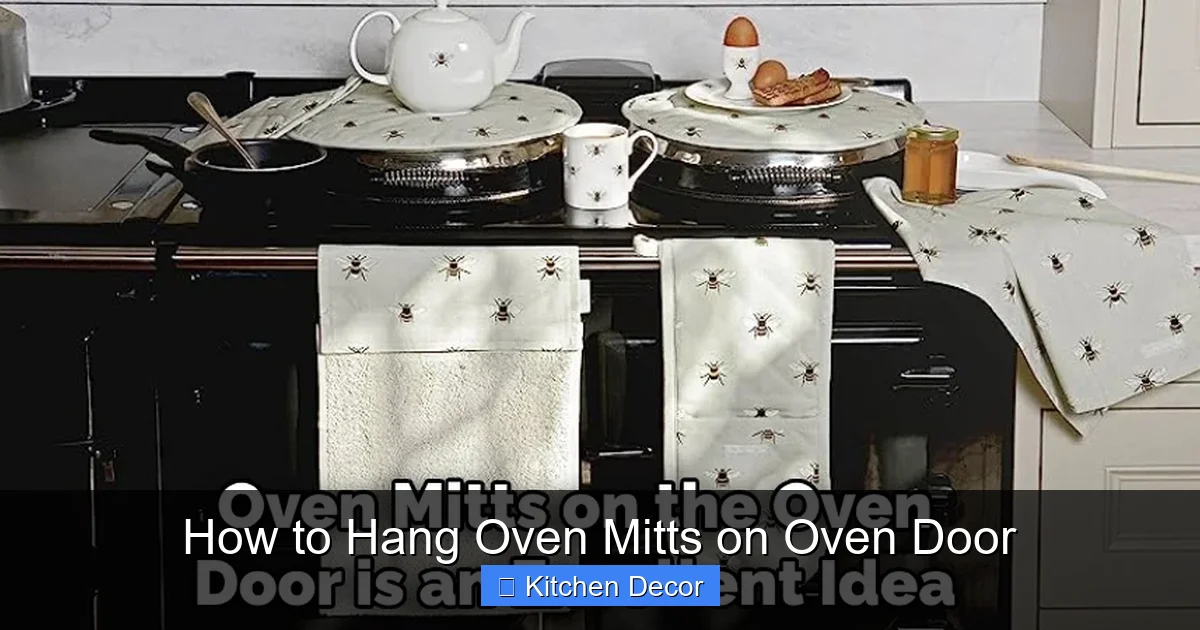
- Over-the-Door Organizers: These are small fabric or plastic pockets that hang over the top edge of the oven door. They often have multiple slots for mitts, tongs, and thermometers. They require no adhesive or magnets and distribute weight evenly. Ensure your oven door has a flat, narrow top edge to accommodate it.
- Dedicated Oven Mitt Racks: Some manufacturers sell racks specifically designed to attach to oven doors, often using a combination of magnets and a stabilizing base. These can be more expensive but are engineered for the task.
Matching the Mitt to the Method
Not all oven mitts are created equal. A bulky, silicone-lined mitt that weighs over a pound needs a more robust solution than a thin cotton glove.
- Heavy-Duty/Silicone Mitts: Prioritize strong neodymium magnets or heavy-duty adhesive hooks rated for at least 2-3 pounds. Test the weight of your mitt first.
- Standard Fabric Mitts: Most hanging solutions will work, but always check the weight rating against your mitt.
- Mitts with Loops or Rings: Many mitts have a small loop at the cuff or a metal ring. This is ideal! You can hang it on any hook or even a simple nail. If your mitt lacks this, consider adding a small, heat-resistant loop with needle and thread or a zip tie.
Method 1: The Magnetic Solution (For Stainless Steel Ovens)
If your oven is stainless steel, you have the simplest, strongest, and most flexible option. Here’s how to do it perfectly.
Visual guide about How to Hang Oven Mitts on Oven Door
Image source: thekitchenix.com
Step-by-Step Installation
- Clean the Surface: Use a microfiber cloth with a small amount of stainless steel cleaner or rubbing alcohol. Wipe the area where the magnet will sit. Remove all grease, fingerprints, and dust. Let it dry completely. Any residue will weaken the magnetic bond.
- Test the Magnet: Before final placement, test the hook’s strength. Place the magnet on the oven door. Attach your heaviest mitt. Try to pull it off. It should require a firm, deliberate tug. If it slides easily, you need a stronger magnet.
- Position Precisely: Decide on the spot. The side of the door is usually best, not the front, to avoid the mitt brushing against your clothes. Place it high enough that the mitt doesn’t touch the floor when hanging, but low enough for easy reach (typically 12-18 inches from the bottom of the door).
- Attach and Press: Place the magnet on the cleaned spot. Press down firmly for 10-15 seconds, ensuring full contact. For larger base magnets, press across the entire surface.
- Load and Test: Hang your mitt. Open and close the oven door a few times. The magnet should hold securely without the mitt swinging wildly. Adjust position if needed.
Pro Tips & Troubleshooting
- Avoid the Control Panel: Never place magnets near electronic oven controls or displays. The magnetic field can interfere with their function.
- Prevent Scratches: Choose magnets with a rubberized or nickel coating. Never use a bare magnet directly on stainless steel.
- Multiple Mitts: Use a multi-pronged magnetic hook or two single hooks spaced apart to hold a mitt and a pair of tongs or a thermometer.
- It’s Slipping: Re-clean the surface. The magnet may be too weak for your mitt’s weight. Upgrade to a hook with a larger magnet base.
Method 2: Adhesive Power (For Non-Magnetic Surfaces)
For enamel, painted metal, or glass, adhesive hooks are your go-to. The key is proper application for a strong, lasting, and removable bond.
Visual guide about How to Hang Oven Mitts on Oven Door
Image source: thekitchenix.com
Choosing the Right Adhesive Hook
Not all adhesive is created equal. For a kitchen environment with heat and potential steam, you need industrial strength.
- Command Strips (Heavy-Duty): The most renter-friendly. They use a 3M adhesive that stretches to remove cleanly. Look for the “Picture Hanging” or “Utility” strips rated for 3-5+ pounds. The hook itself clips onto the strip.
- Suction Cup with Adhesive Tab: Some hybrid designs have a suction cup for smooth glass but also include a small adhesive pad for extra security on surfaces like glossy enamel.
- Specialty Kitchen Adhesives: Brands like Gorilla make clear, heavy-duty mounting tapes. They are stronger but can be harder to remove without heat and scraping.
The Golden Rules of Adhesive Application
Failure usually comes from poor surface prep. Follow these steps religiously.
- Temperature Check: Apply adhesive hooks when the room and oven surface are between 60°F and 90°F (15°C – 32°C). Cold surfaces reduce adhesion.
- Clean with Rubbing Alcohol: Use a 70% isopropyl alcohol wipe. This removes oily residues that cleaners can leave behind. Let it evaporate completely (no wet spots).
- No Touching: Once the adhesive backing is exposed, do not let your fingers touch it. The oils from your skin will compromise the bond.
- Firm, Even Pressure: Position the hook. Press down on the entire adhesive area (not just the center) with firm, even pressure for 30-60 seconds as directed by the manufacturer.
- Curing Time is Non-Negotiable: Do NOT hang your mitt for at least 1 hour (often 24 hours for maximum strength). The adhesive needs time to form a full bond with the surface.
Removal Without Damage
When it’s time to remove the hook, do it correctly to avoid peeling paint or leaving gunk.
- For Command Strips: Pull the tab straight down slowly. It will stretch and release. If any adhesive remains, use a hairdryer on low heat to warm it, then rub with your thumb. A little rubbing alcohol on a cloth can help.
- For Other Adhesives: Use a hairdryer to heat the adhesive for 15-20 seconds. This softens it. Then use a plastic scraper (like a credit card edge) to gently pry it up. Go slowly.
- Residue Clean-Up: A commercial adhesive remover like Goo Gone can work, but test it in a hidden spot first. Often, the gentle heat-and-scrape method is safest.
Method 3: Suction Cups & Over-the-Door Solutions
These are the zero-commitment, ultra-removable options. They are ideal for renters, glass doors, or anyone who wants to avoid any adhesive at all.
Mastering the Suction Cup
Suction cups fail for two reasons: a dirty surface or improper technique.
- Surface Prep: Clean the glass or smooth enamel with glass cleaner or rubbing alcohol. Dry it with a lint-free cloth. Any speck of dust will break the seal.
- Wet the Cup: Lightly moisten the inner rim of the suction cup with a damp finger. This helps create an initial seal.
- Press and Lock: Place the cup firmly against the surface. Press the center of the cup inward (some have a locking lever) to expel air and create vacuum. You should hear a faint pop or feel it grip tightly.
- Test Before Loading: Give it a firm tug after 5 minutes. If it holds, hang your mitt. Avoid hanging very heavy mitts.
Pro Tip: In humid kitchens, suction cups can lose their grip over time. Re-wet the rim and re-press monthly.
The Over-the-Door Organizer Advantage
These fabric or plastic pouchers slip over the top edge of the oven door. They distribute weight across the entire door thickness and hold multiple items.
- Measure Your Door: Ensure the organizer’s opening is wider than your oven door’s top edge (typically 1-2 inches thick).
- Even Weight Distribution: Place heavier items like mitts in the center pockets to prevent the organizer from sliding to one side.
- Easy Removal: Simply lift it off. No tools, no residue. You can even take it with you if you move.
- Multi-Use: Use the extra pockets for a thermometer, a small knife, or a packet of oven mitts.
Creative & Alternative Hanging Ideas
Think outside the hook! There are charming and functional ways to keep your mitt handy that add personality to your kitchen.
The Command Hook + Basket Combo
Instead of hanging just the mitt, hang a small, lightweight wire basket or a sturdy fabric tote bag from a heavy-duty Command hook. Toss the mitt, a pair of tongs, and your favorite spice brush inside. It’s a portable, all-in-one station for your grilling or baking projects.
Repurposed Hardware
Visit a flea market or salvage store. A single, beautiful old brass drawer pull or a small, ornate coat hook can be attached with strong adhesive to become a statement piece. Just ensure the back is flat for adhesive contact. A vintage “S” hook from an old tool shed works wonders on stainless steel.
The Rail & Clip System
If you have a pot rack or a wall-mounted rail near your oven, extend the system. Install a small section of the rail on the side of your oven (using magnets or adhesive) and use standard S-hooks to hang your mitt. This creates a cohesive look if you already use rails for pots.
“Invisible” with Clear Adhesive Hooks
For a minimalist look, use clear plastic adhesive hooks. They blend almost seamlessly with stainless steel or white enamel. When empty, they are barely noticeable, maintaining a clean aesthetic.
Maintenance, Safety, and Style Considerations
Getting it hung is just the start. Keeping it safe, clean, and stylish requires a little ongoing attention.
Cleaning Around the Hanging Spot
The area around the oven gets splattered with grease, food particles, and dust. This buildup can weaken adhesive bonds and make your setup look grimy.
- Wipe down the oven door and the hook/magnet weekly with a damp cloth and mild cleaner.
- Every month, remove the mitt and hook. Clean the back of the hook and the oven surface thoroughly. Reapply or re-press as needed.
- For fabric mitts hanging constantly, consider a protective sleeve or a second “display” mitt for show and a clean one for use, rotating them weekly.
Fire Safety Reminder
This is critical. An oven mitt is a safety tool, not a decoration. Ensure:
- The mitt is fully dry before hanging. A damp mitt stored in a warm spot can mildew.
- The mitt is not resting against the oven’s vent or heat exhaust ports. The constant radiant heat can degrade the mitt’s insulating material over time.
- You are using a mitt rated for the temperatures you’re cooking at. A decorative cotton mitt is for 350°F cookies; a silicone-lined mitt is for 500°F broiling.
Styling for Your Kitchen Aesthetic
Your hanging solution can complement your kitchen’s style.
- Modern/Industrial: Go for a brushed nickel magnetic hook or a sleek, black adhesive hook.
- Farmhouse/Cottage: Look for a rustic wrought-iron hook (magnetic if possible) or a small wooden knob glued on.
- Minimalist: A single, clear adhesive hook or a tiny, powerful magnet is all you need. Keep the mitt itself in a neutral color.
- Color Pop: Use a brightly colored adhesive hook or a decorative S-hook to add a splash of color against a neutral oven.
What to Do If You Have a Double Oven or Wall Oven
The principles are the same, but placement is key.
- Double Oven (Stacked): Hang the mitt on the lower oven’s door. It’s the one you’ll use more frequently for everyday tasks, and it’s easier to reach. You can hang a second mitt on the upper oven if you regularly use both.
- Wall Oven: This is often trickier as the door may be smaller or the surrounding area tiled. A magnetic hook works if it’s stainless. A small adhesive hook on the side panel (not the door itself, to avoid swinging during door opening) can work. An over-the-door organizer is usually the best fit here.
- Consider a Nearby Surface: If the oven door itself is unsuitable, place a small magnetic knife strip on the side of the range (if metal) or a adhesive hook on the cabinet next to the oven. The goal is proximity.
Strong Conclusion
Hanging your oven mitt on the oven door is a deceptively simple act of kitchen optimization. It’s a $10 solution that pays dividends in safety, efficiency, and calm. By understanding your oven’s surface, choosing the right hardware, and installing it with care, you create a dedicated, visible home for your most important heat-protective tool. You banish the frantic drawer search, free up valuable storage, and add a touch of intentional style to your cooking space. So, measure your door, pick your hook or magnet, and make this tiny change. The next time you pull a hot pan from the oven, you’ll reach with confidence, knowing your mitt is exactly where it should be. That’s the hallmark of a kitchen that truly works for you.
Frequently Asked Questions
Will adhesive hooks damage my stainless steel oven door?
High-quality adhesive hooks like Command Strips are designed for clean removal and should not damage a properly prepared stainless steel surface. Always clean the area with rubbing alcohol first and follow the removal instructions carefully. For stainless steel, a magnetic solution is always preferable and risk-free.
What if my oven mitt is too heavy for a standard magnetic hook?
Upgrade to a hook with a larger neodymium magnet base, or use two smaller magnets spaced apart. Alternatively, consider a small metal basket that hangs from a strong magnet, distributing the mitt’s weight over a larger surface area.
Can I hang multiple items (mitts, tongs) on one hook?
Yes, if you use a multi-pronged hook or a sturdy S-hook. Just be mindful of the total weight. A heavy-duty hook rated for 5 pounds can easily hold one mitt and a pair of tongs. Distribute weight evenly to prevent tipping.
Is it safe to hang an oven mitt directly over the oven vent?
No. Avoid placing the mitt or its hanging hardware directly over any vent openings on the oven door or control panel. Constant, concentrated heat can degrade the mitt’s insulating materials and potentially warp or weaken plastic/metal hooks over time.
My oven has a glass door. What’s the best non-permanent option?
For glass, high-quality suction cups are your best first try. Ensure the glass is impeccably clean. If suction fails, a very small, discrete adhesive hook (like a tiny clear Command hook) applied to the *side frame* of the oven (not the glass itself) can be a secure alternative.
How often should I clean the hanging area and the mitt itself?
Wipe down the hook/magnet and the surrounding oven surface weekly with a damp cloth to remove grease and dust. Your oven mitt should be washed after every 3-5 uses, or immediately if it comes into contact with food splatter. A clean mitt hanging on a clean hook is more hygienic and effective.