That new air fryer plastic smell is a common but fixable issue. It’s caused by protective coatings, manufacturing residues, or low-quality materials heating up for the first time. You can usually banish it completely with a few thorough cleaning cycles using vinegar, lemon, or baking soda. Persistence is key, and choosing the right accessories prevents future problems. If the smell remains after multiple deep cleans, contact the manufacturer—it may indicate a defect.
Key Takeaways
- The smell is typically temporary: It stems from protective coatings, dust, or manufacturing residues burning off during initial uses, not from the plastic itself melting under normal cooking temperatures.
- Deep cleaning with acids/bases works: Running empty cycles with a vinegar-water mix or lemon slices, followed by a baking soda paste scrub, neutralizes odor-causing compounds effectively.
- Material choice is critical: Always use air fryer-safe accessories made from stainless steel, silicone, or untreated ceramic. Avoid any accessory not explicitly labeled safe for high heat.
- Preheating and proper use help: A thorough preheat cycle before first use and avoiding cooking very fatty foods initially can minimize residual smells.
- Patience and repetition are required: It may take 3-5 complete cleaning cycles over several days to fully eradicate a strong new appliance odor.
- Persistent smells may indicate a defect: If the plastic odor remains after multiple deep cleans and you’ve verified all accessories are safe, the heating element or internal components may be faulty.
- Ventilation is your friend: Always use your air fryer in a well-ventilated kitchen, preferably near an open window or running exhaust fan, especially during the initial “break-in” period.
📑 Table of Contents
- Understanding the Plastic Taste Phenomenon
- Immediate Action Plan: First Steps to Neutralize the Odor
- Deep Cleaning Protocols for Persistent Odors
- Preventive Habits for Long-Term Freshness
- Material Matters: Choosing Accessories Wisely
- When to Worry: Signs of a Defective Unit
- Conclusion: Breathing Easy with Your Air Fryer
Understanding the Plastic Taste Phenomenon
So, you’ve unboxed your shiny new air fryer, filled the basket with some fries, hit start, and… whoa. That’s not the smell of crispy potatoes. That’s a distinct, often unpleasant, chemical or plastic odor. Don’t panic. This is one of the most common complaints from new air fryer owners, and in the vast majority of cases, it’s not a sign of a dangerous malfunction. It’s a temporary, albeit off-putting, rite of passage. Understanding exactly why this happens is the first step toward banishing it for good and getting back to enjoying healthy, delicious meals.
The Science Behind New Appliance Smells
That smell isn’t necessarily “melted plastic” in the dramatic sense. It’s more accurately described as the vaporization of various manufacturing residues and protective coatings. During production, components like the heating element, fan, and interior housing are coated with protective oils, release agents, or anti-corrosion layers. Dust and microscopic plastic particles from the molding process can also settle inside the unit. When you power on your air fryer for the first few times, these elements heat up rapidly, causing these substances to burn off or off-gas. This creates that characteristic “new appliance” or “plastic” smell that permeates your food. Think of it like the smell from a new shower curtain or a freshly unrolled yoga mat—it’s the same principle of volatile organic compounds (VOCs) being released by synthetic materials under heat.
Why Air Fryers Are Prone to This
Air fryers are particularly susceptible to this issue because of their core operating mechanism. They use a powerful heating element and a high-speed fan to circulate extremely hot air (often 400°F/200°C and above) in a relatively small, enclosed space. This creates a perfect storm for rapid off-gassing. Any residue on the heating element itself will be immediately subjected to intense, direct heat. The fan then efficiently distributes those odor molecules throughout the entire cooking chamber, ensuring they come into contact with your food. Furthermore, many air fryer baskets and interiors are made from coated metals or specific plastics engineered to withstand high heat. The first few heating cycles are essentially “seasoning” the interior, burning away the last traces of factory-applied substances.
Immediate Action Plan: First Steps to Neutralize the Odor
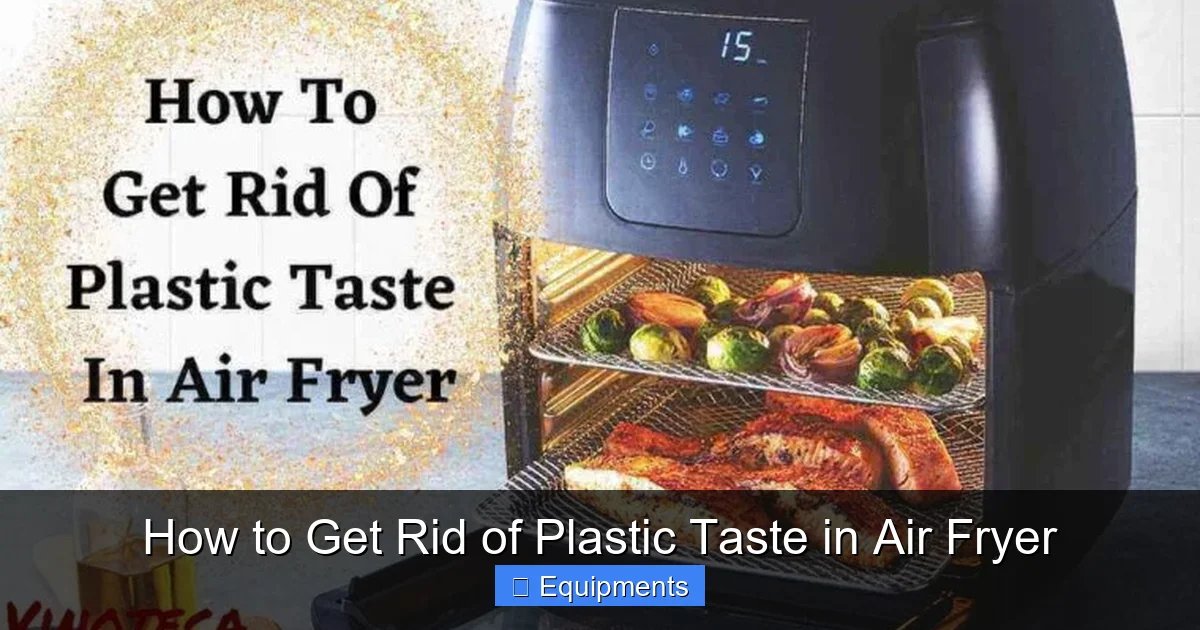
Before you resign yourself to eating food that tastes like a hardware store, you need to take action. The goal here is to safely and effectively “burn off” or neutralize those offending compounds. The most important rule: do not use chemical cleaners or abrasive scrubbers inside the cooking chamber at this stage. You’ll just add more chemicals to the mix. Instead, we use simple, food-safe acids and heat. Start with these two powerful, foolproof methods.
Visual guide about How to Get Rid of Plastic Taste in Air Fryer
Image source: vinotecarestaurant.com
The Vinegar-Boiling Method
White distilled vinegar is a superstar for neutralizing alkaline odors. Its acetic acid cuts through greasy residues and helps dissolve mineral deposits that can trap smells. This is your go-to first attack.
- What you need: 1 cup of white distilled vinegar, 1 cup of water, a heat-safe bowl or ramekin (that fits inside your air fryer basket).
- The Process: Mix the vinegar and water in the bowl. Place the bowl in the center of the empty air fryer basket. Set the air fryer to the highest temperature possible (usually 400°F/200°C) and run it for 15-20 minutes. Let it cool completely with the door closed for another 30 minutes. The steam and heat will carry the vinegar vapor throughout the interior, attacking odor molecules.
- Follow-up: Once cool, remove the bowl. Wipe the interior, basket, and heating element (if accessible) gently with a damp cloth or soft sponge. You may see some discolored residue—that’s the gunk being removed! Rinse everything thoroughly with clean water and dry completely.
The Lemon Power Boost
Lemons are fantastic because their citric acid works similarly to vinegar but leaves behind a fresh, clean scent. This is an excellent second step or alternative if the vinegar smell is too strong for your liking.
- What you need: 1-2 lemons, sliced thin.
- The Process: Place the lemon slices directly on the air fryer basket or on a piece of parchment paper on the basket. Run the air fryer at a high temperature (350-400°F) for 10-15 minutes. The heat will release the citrus oils and steam, which are excellent natural deodorizers.
- Follow-up: After cooling, discard the lemons (they’ll be cooked and can be composted). Wipe down all surfaces as described above. The combination of the acid and the fresh scent provides a powerful one-two punch against stubborn odors.
Pro Tip: You can combine these methods! After a vinegar cycle, do a lemon cycle. Or, add a few lemon slices to the vinegar-water mixture in the bowl for a supercharged treatment.
Deep Cleaning Protocols for Persistent Odors
If the smell is still noticeable after one or two of the above cycles, it’s time for a more hands-on, deep cleaning approach. This involves getting into the nooks and crannies where residue loves to hide, especially around the heating element and fan housing. Always ensure the air fryer is completely unplugged and cool before beginning any disassembly or scrubbing.
Visual guide about How to Get Rid of Plastic Taste in Air Fryer
Image source: vinotecarestaurant.com
Disassembly and Component-Specific Cleaning
Your air fryer’s basket and crisper tray are likely dishwasher safe (check your manual!), but for odor removal, hand washing is more controlled.
- The Basket and Tray: Remove these components. Soak them in hot, soapy water for 20-30 minutes. Use a non-abrasive sponge or soft brush to scrub. Pay special attention to the mesh holes and any textured surfaces where oil can pool. For baked-on grime, make a paste of baking soda and water, apply it, let it sit for 15 minutes, then scrub. Rinse extremely well to remove all soap and baking soda residue, which can themselves cause odd tastes if left behind. Dry thoroughly.
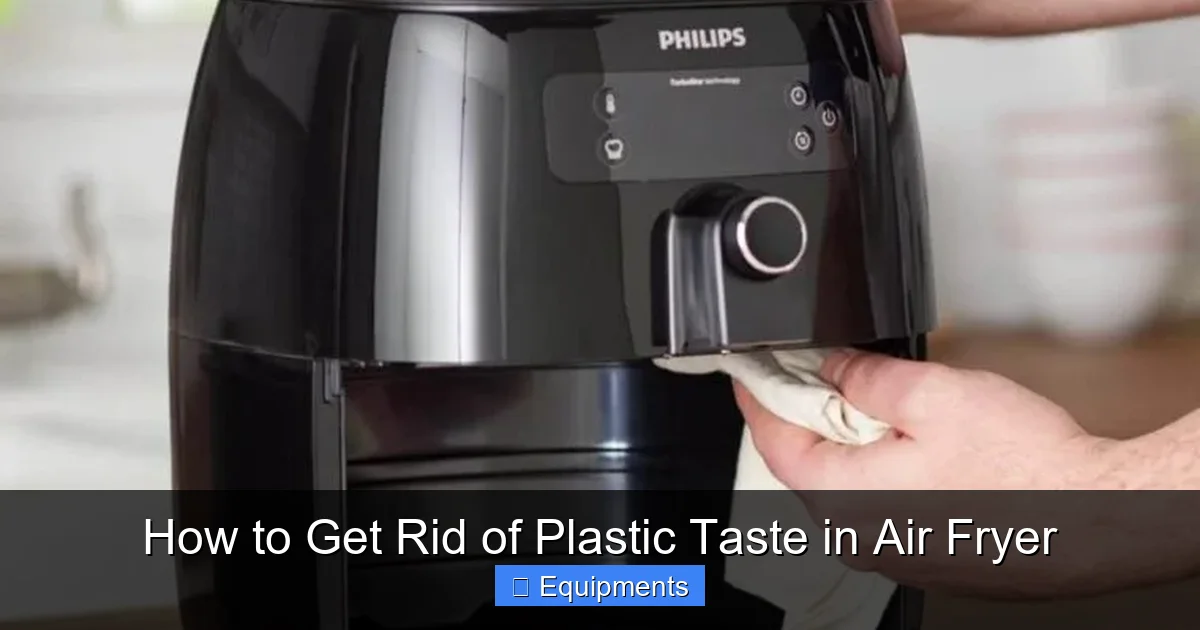
- The Interior and Heating Element: This is the delicate part. Use a damp microfiber cloth or a soft sponge dipped in your vinegar-water solution. Gently wipe the interior walls and the exposed parts of the heating element. Never use a metal utensil or abrasive pad on the heating element. You can use a cotton swab or an old, soft toothbrush to carefully reach around the element’s base. For the fan, you can gently rotate it with your finger (if accessible) and wipe the blades with a cloth-wrapped toothpick or a soft brush. Be meticulous here—dust and grease on the fan blades will just get circulated again.
- The Door and Gasket: The rubber seal around the door can trap odors and grease. Pull it back slightly and wipe underneath with a vinegar-water cloth. Clean the door glass with a vinegar solution or a glass cleaner (ensure it’s fully wiped dry).
The Baking Soda Paste Remedy
Baking soda is a mild alkali that excels at absorbing and neutralizing acidic and organic odor molecules. It’s perfect for tackling any lingering smells after you’ve done the initial acid-based cycles.
- Making the Paste: Mix 3 parts baking soda with 1 part water to form a thick paste.
- Application: Apply the paste liberally to the interior of the basket, the crisper tray, and any greasy spots inside the main unit. Let it sit for at least 1-2 hours, or even overnight for maximum effect. The baking soda will dry and may darken—that’s it working.
- Removal: Use a damp cloth or sponge to wipe away the paste. Rinse all treated surfaces with a clean, damp cloth multiple times to ensure no baking soda grit remains. Baking soda residue can cause a bitter, soapy taste if not fully rinsed. Dry everything completely before reassembling and using.
Final Rinse Cycle: After all this deep cleaning, run one final empty cycle at a high temperature with just a bowl of plain water inside. This helps to evaporate any remaining traces of cleaning solution and “resets” the interior. Let it cool and air out.
Preventive Habits for Long-Term Freshness
Once you’ve conquered the initial plastic taste, your goal is to keep it from ever coming back. A few simple habits integrated into your cooking routine will ensure your air fryer stays odor-free and performs optimally for years.
Visual guide about How to Get Rid of Plastic Taste in Air Fryer
Image source: vinotecarestaurant.com
Cooking Without Compromise
How you use your air fryer day-to-day has a huge impact on its internal atmosphere.
- Always Preheat: Just like an oven, preheating your air fryer for 3-5 minutes before adding food helps burn off any microscopic food particles or grease from the last cook. It also ensures your food cooks evenly from the start.
- Avoid Extremely Fatty Foods Initially: In the first few weeks of ownership, try to avoid cooking very greasy items like bacon, chicken wings with skin, or heavily marinated meats. Excess fat and grease can aerosolize and coat the heating element and fan, creating a breeding ground for stale, rancid odors later. If you do cook these, be extra vigilant about cleaning the basket and running an empty high-heat cycle afterward.
- Don’t Overfill: Overcrowding the basket blocks airflow. This forces hot air to circulate around food particles instead of directly on them, leading to uneven cooking and more splatter and grease that can settle on the heating element. Cook in batches if necessary.
- Use Parchment Liners or Perforated Liners Wisely: These are great for preventing mess, but never use them without food on top. A loose liner can be sucked up by the fan and touch the heating element, causing smoke and potentially melting. Always weigh down the liner with your food.
Storage Solutions That Protect
What you do when you’re not cooking matters too.
- Store with the Door Ajar: After cleaning and drying your air fryer, leave the basket pulled out and the door slightly ajar (if your model allows) when storing it. This allows any residual moisture to evaporate completely, preventing mildew or stale odors from developing in a sealed, damp environment.
- Keep it Clean Before Storage: Never store a dirty air fryer. Even small crumbs or grease spots will bake onto the surfaces over time, becoming harder to remove and contributing to odors. Make it a habit to wipe the basket and interior after each use once it’s cooled.
- Avoid Plastic Storage: Don’t store plastic bags or containers inside the air fryer basket. The enclosed space can cause plastics to off-gas, and you don’t want those smells absorbed by the interior surfaces.
Material Matters: Choosing Accessories Wisely
Your air fryer itself might be odor-free, but the wrong accessory can quickly reintroduce that plastic taste. The market is flooded with generic “air fryer accessories,” and not all are created equal. Using inappropriate tools is a leading cause of recurring plastic smells.
Safe Materials for Air Fryer Baskets
When shopping for racks, skewers, pans, or liners, stick to these materials:
- Stainless Steel (304 or 316 grade): The gold standard. It’s non-reactive, durable, and can withstand any temperature your air fryer throws at it. It won’t off-gas or leach chemicals. Look for solid, well-constructed pieces.
- Food-Grade Silicone: High-quality, pure silicone (often labeled “platinum-cured”) is heat-resistant up to 450-500°F (230-260°C), making it safe for most air frying. It’s flexible and non-stick. Caution: Cheap silicone can contain fillers and may have a lower heat tolerance or a chemical smell itself. Buy from reputable brands.
- Unglazed Ceramic or Stone: Truly natural, unglazed ceramic dishes (like small ramekins or pizza stones) are excellent and inert. Warning: Glazed ceramics can contain lead or cadmium in the glaze, which is unsafe. Only use explicitly “food-safe, lead-free” glazed items or, better yet, unglazed.
- Tempered Glass: Some brands offer glass pans. These are inert and safe, but always verify it’s tempered and rated for high oven/air fryer temperatures. Sudden temperature changes can shatter regular glass.
What to Avoid at All Costs
- Plastic Anything (Unless Specifically Rated): This is the big one. Never put a plastic bowl, plate, or cheap silicone mold in your air fryer unless the manufacturer explicitly states it’s safe for temperatures above 400°F. Many “silicone” baking mats or liners are only rated to 425°F, and the concentrated heat in an air fryer can easily exceed that in spots. When in doubt, leave it out.
- Painted or Coated Metals: Accessories with non-stick coatings (Teflon, ceramic coatings) can degrade at high temperatures, releasing fumes. Stick to bare metal.
- Recycled or Unknown Materials: Avoid repurposing containers from other uses (like yogurt tubs). Their plastic composition and heat tolerance are unknown and risky.
- Paper Products (Except Parchment): Never use paper towels, regular paper plates, or cardboard. They are fire hazards. Only use parchment paper or specially designed perforated air fryer liners, and always secure them with food.
The Bottom Line: If an accessory smells like plastic when you first wash it, don’t use it. Run it through a high-heat empty cycle in your air fryer (if safe for the material) or in your regular oven to see if the smell persists. If it does, return it.
When to Worry: Signs of a Defective Unit
You’ve followed every step: deep cleaned with vinegar, scrubbed with baking soda, used only stainless steel accessories, and preheated religiously. Yet, that unmistakable plastic odor still haunts your crispy chicken and roasted veggies. At what point is this not just a “new smell” but a legitimate defect requiring a return or warranty claim?
Persistent Odors After Multiple Cleanings
This is the primary red flag. A normal manufacturing residue smell should be completely gone or at least 90% reduced after 3-5 thorough cleaning cycles as described above. If the smell is strong, consistent, and unchanged in character after your best efforts, the source is likely internal and not just residue. Possible culprits include:
- Faulty or Low-Quality Internal Wiring Insulation: The plastic coating on wires near the heating element could be overheating due to a malfunction.
- Defective Heating Element Coating: The protective coating on the element itself may be substandard or improperly applied, causing it to off-gas continuously at operating temperatures.
- Off-Gassing from Internal Plastic Components: Some air fryers have internal plastic fan blades, housing parts, or wiring channels that, if made from low-grade plastics, can continuously release odors when heated.
Health and Safety Red Flags
Do not ignore these symptoms alongside the smell:
- Visible Smoke or Haze: Any amount of smoke (not just a wisp of steam) during operation is a serious issue. Turn the unit off immediately, unplug it, and do not use.
- Melting or Deformation: If you notice any plastic parts inside (like a crisper tray support, door seal, or internal vent cover) that appear warped, bubbled, or melted, this is a critical failure.
- Electrical Smell: Distinguish between a “plastic” smell and a sharp, acrid “electrical burning” odor (like ozone or burnt wiring). The latter indicates an electrical fault and is a fire hazard. Unplug and discontinue use instantly.
- Taste That Doesn’t Fade: If your food consistently has a chemical or plastic taste that lingers, even after you’ve stopped using the air fryer for a few days, this suggests volatile compounds are leaching into your cooking environment.
What to Do: If you encounter any of these, stop using the appliance immediately. Contact the manufacturer’s customer service. Reference your model number, the steps you’ve taken to clean it, and the persistent symptoms. If it’s under warranty, they should replace or repair it. If the manufacturer is unresponsive or the unit is a cheap, no-name brand, consider it a safety risk and dispose of it properly. Your health is not worth the gamble.
Conclusion: Breathing Easy with Your Air Fryer
That initial plastic taste in a new air fryer is almost always a solvable problem, born from factory residues meeting high heat. By arming yourself with knowledge—understanding the cause, executing a strategic sequence of cleaning with vinegar, lemon, and baking soda, adopting preventive cooking habits, and being a savvy shopper for accessories—you can transform that smelly new appliance into a fresh, reliable kitchen workhorse. Remember, patience is part of the process. Give it a few dedicated cleaning cycles. Your air fryer is designed to make your life easier and your food healthier, not to taint it with chemical flavors. With the steps outlined here, you’re well on your way to enjoying perfectly crispy, utterly delicious, and completely odor-free foods for years to come. Now, go fry some fries with confidence!
Frequently Asked Questions
Is it safe to eat food cooked in an air fryer that smells like plastic?
If the smell is from normal new-appliance residue and you’ve run a few empty cleaning cycles, it’s likely safe, but the taste will be unpleasant. However, if the smell is strong, persistent after cleaning, or accompanied by smoke or melting, do not consume the food and stop using the appliance immediately, as it may indicate a hazardous defect.
How long does it typically take for the new air fryer plastic smell to go away?
With consistent deep cleaning (vinegar/lemon cycles followed by baking soda scrubs), most users see a significant reduction within 2-3 uses and complete elimination within 5-7 cleaning cycles. This can span several days of dedicated effort. Patience and thoroughness are key.
Can I use regular dish soap to clean the inside of my air fryer to get rid of the smell?
You can use a small amount of mild dish soap on a damp cloth for wiping down surfaces after an acid-based cleaning cycle, but never use soapy water for the initial “burn-off” cycles, as it can create suds and leave a residue. Always rinse any soap away completely with a clean, damp cloth and dry thoroughly.
Will preheating my air fryer before first use help reduce the plastic taste?
Yes, absolutely. Running an empty preheat cycle at the highest temperature for 5-10 minutes before you ever cook food is a crucial first step. It initiates the “burn-off” process for manufacturing residues. Combine this with a vinegar-water bowl in the basket during the preheat for an even more effective start.
What if the plastic smell comes back after I’ve already cleaned it once?
If the smell returns after a few uses, it’s often due to cooking very greasy foods that coat the heating element. After cooking such items, run an empty high-heat cycle to burn off the new grease film. Also, double-check that all your accessories are truly air fryer-safe and not off-gassing themselves during subsequent uses.
Does the warranty cover a persistent plastic smell in a new air fryer?
Yes, a persistent, strong plastic odor that does not dissipate after following the manufacturer’s break-in instructions and proper deep cleaning is generally considered a defect in materials or workmanship. Contact the manufacturer’s customer service with your model number and a description of the issue and the steps you’ve taken. They should offer a replacement or repair under the warranty terms.