Ventilating a range hood on an interior wall is a complex but achievable DIY project that requires careful planning to meet building codes and ensure safety. The process involves routing ductwork through wall cavities and often into the attic or roof, prioritizing the shortest, straightest path with proper materials to prevent fire hazards and grease buildup. Success hinges on using rigid metal ductwork, sealing all joints, insulating in cold climates, and installing a proper exterior vent cap. While doable for experienced DIYers, consulting an HVAC professional is wise if you’re unsure about structural elements or local codes.
Key Takeaways
- Plan the Shortest, Straightest Route: Every bend and foot of duct reduces efficiency. Map the path from hood to exterior, aiming for minimal turns and the shortest distance possible, often via the attic.
- Use Only Rigid Metal Ductwork: Never use flexible plastic or foil “dryer” vent hose. It traps grease, is a fire hazard, and collapses. Use smooth-walled, rigid galvanized steel or aluminum duct.
- Seal and Insulate All Joints and Ducts: Use metal-grade foil tape (not duct tape) on every seam. In unconditioned spaces (attics, crawlspaces), wrap ducts in insulation to prevent condensation and grease solidification.
- Size Ducts Correctly: Match the duct diameter to your range hood’s output (typically 6″ or 8″ round). Never reduce duct size down the line. Use the proper size wall cap and roof cap.
- Install a Backdraft Damper and Proper Exterior Cap: The exterior vent must have a backdraft damper to prevent outside air, rain, and pests from entering. A louvered or capped vent is essential for weatherproofing.
- Check for Obstructions and Code Compliance: Before cutting, use a stud finder and inspect for wiring, plumbing, and fire blocks. Always follow local building codes, which often require permits for this work.
- Prioritize Fire Safety: Maintain proper clearances from combustibles. Use fire-rated caulk where ducts pass through fire barriers. Grease-laden vapors are flammable; your system must be a non-combustible, cleanable path.
📑 Table of Contents
- Introduction: The Interior Wall Challenge
- Understanding the “Why” and the Rules
- Planning Your Route: The Blueprint Stage
- Choosing the Right Materials: Don’t Skimp Here
- The Installation Step-by-Step
- Common Mistakes and Pitfalls to Avoid
- Maintenance: Keeping Your System Clean and Safe
- Conclusion: A Job Worth Doing Right
Introduction: The Interior Wall Challenge
So, you’ve got a beautiful new range hood, and it’s going right over your stove on an interior wall. Fantastic! But then it hits you: “How do I get all that steam, grease, and smoke outside when there’s no exterior wall to vent through?” Venting a range hood on an interior wall is one of the more common—and tricky—challenges in a kitchen renovation or upgrade. Unlike a simple through-the-wall vent on an exterior side, an interior setup requires you to become a temporary architect, engineer, and code detective, routing a pathway for your ducts through the hidden anatomy of your home.
The goal remains the same: capture airborne grease, moisture, and odors at the source and exhaust them directly outside. But the path is a journey. You’ll likely be traveling up through the floor/ceiling or sideways through wall studs, then into the attic or crawlspace, and finally piercing the roof or an exterior gable wall. It’s a project that demands patience, precision, and a deep respect for building science and fire safety. But don’t be discouraged! With the right plan, materials, and knowledge, you can successfully vent a range hood on an interior wall and keep your kitchen air clean and safe. This guide will walk you through every step, from the initial blueprint to the final caulk seal.
Understanding the “Why” and the Rules
The Critical Importance of Proper Venting
Before we talk about “how,” let’s cement the “why.” A range hood isn’t just a fan; it’s a critical safety appliance. Cooking, especially frying and searing, produces aerosolized grease particles. If these particles aren’t captured and expelled, they settle on walls, cabinets, and inside your ductwork. Over time, this creates a sticky, flammable film. A grease fire inside a concealed duct is a nightmare scenario—it can spread invisibly through your walls or attic. Proper venting removes this hazard at its source. It also controls humidity, which prevents mold and mildew, and eliminates lingering food odors, making your entire home more pleasant.
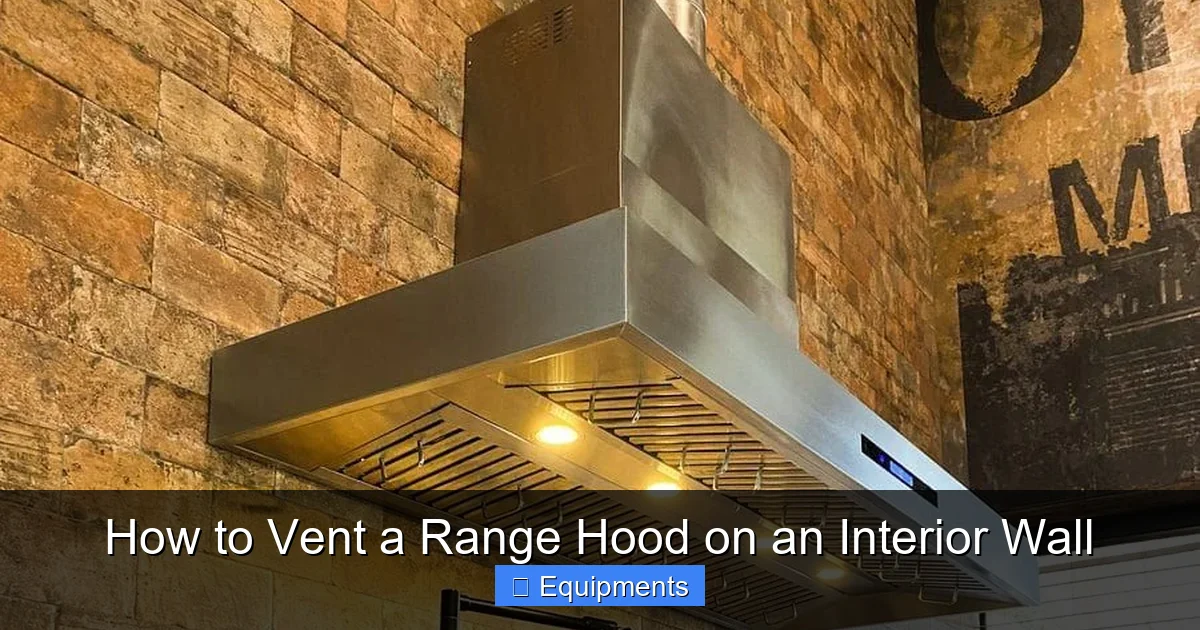
Visual guide about How to Vent a Range Hood on an Interior Wall
Image source: i.pinimg.com
Building Codes: Your Non-Negotiable Roadmap
You cannot ignore building codes. They exist for your safety. While specific regulations vary by municipality, common requirements for range hood venting include:
- Duct Material: Almost universally, codes mandate smooth-walled, rigid metal duct (galvanized steel or aluminum). Flexible foil or plastic ducts are prohibited due to grease accumulation and fire risk.
- Duct Size: The duct must match the hood’s outlet size. Reducing duct diameter restricts airflow and reduces capture velocity. Most residential hoods use 6″ or 8″ round duct, or a rectangular equivalent.
- Duct Length and Turns: Codes often limit the total equivalent length of the duct run (straight runs plus equivalent feet for each elbow). A 90-degree turn might count as 10-25 equivalent feet. Check your hood’s manual for its maximum allowable duct run.
- Exterior Termination: The vent must terminate with a listed roof cap or wall cap that includes a backdraft damper. It cannot terminate into an attic, garage, or crawlspace.
- Clearances: Ducts must maintain specific clearances from combustible materials (like insulation, wood framing). This is often 1″ or more, but check local codes. If clearances are too tight, you must use a listed, insulated duct assembly or create a fire-rated chase.
- Firestopping: Where the duct passes through fire-rated walls or floors (like a ceiling/floor assembly between stories), you must use firestop caulk or a firestop collar to maintain the fire-resistance rating.
Action Step: Before you buy a single tool, call your local building department. Ask about permit requirements for range hood venting. In many areas, this work requires a permit and inspection. Getting guidance upfront can save you from a costly tear-out later.
Planning Your Route: The Blueprint Stage
Visualizing the Path from Hood to Sky
This is the most critical phase. A poorly planned route leads to a noisy, inefficient hood and a major headache. You need to find a continuous, unobstructed path from the range hood’s location to the outdoors. Here’s how to map it:
1. Start at the Hood: Locate the exact spot on your interior wall where the hood will mount. Behind this wall, you have a cavity framed with studs. You need to know what’s in that cavity. Use a high-quality stud finder with AC wire detection to locate electrical wires, and a magnet to find metal plumbing pipes or fire blocks. Look for any obvious obstructions.
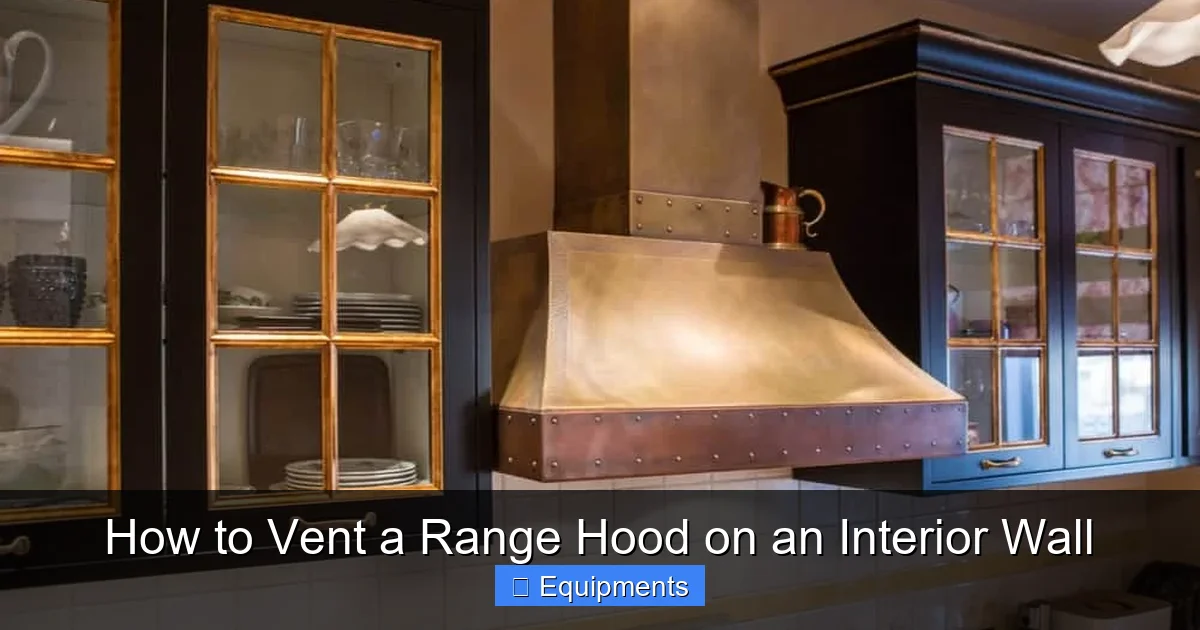
Visual guide about How to Vent a Range Hood on an Interior Wall
Image source: sunrisespecialty.com
2. Choose Your Vertical or Horizontal Ascent: You have two primary paths:
- The Up-and-Over (Most Common): You drill a hole through the top plate of the wall (the horizontal framing member at the top of the wall studs) into the floor/ceiling cavity above. From there, you route the duct through the attic space, then through the roof or a gable end wall. This is often the shortest path if the attic is accessible.
- The Side-Stepping: You route the duct horizontally through the wall studs to reach a different wall that is exterior. This requires navigating multiple stud cavities and is generally more complex and longer, increasing resistance.
3. Scout the Attic or Crawlspace: If going up, get into your attic (ensure it’s safely accessible and lit). Look for the most direct route from the point above your wall to the nearest suitable exterior wall or the roof ridge/valley. Identify any HVAC ducts, wiring, or plumbing you’ll need to cross. Note the location of roof rafters—you’ll want to vent between them, not through one.
4. The Golden Rule: Minimize Bends. Every 90-degree elbow is a significant airflow restrictor. A single, long, sweeping 45-degree bend is better than two hard 90s. Plan for as few turns as possible. A straight shot is ideal.
Calculating Equivalent Duct Length
Your range hood’s installation manual will specify a maximum “static pressure” or “equivalent duct length” it can overcome. You must calculate your planned run. Here’s a simplified guide:
- 1 foot of straight, rigid 6″ round duct = 1 foot of equivalent length.
- A standard 90-degree elbow = ~10-15 equivalent feet (check your duct manufacturer’s specs).
- A 45-degree elbow = ~5-7 equivalent feet.
- A wide-sweep 90-degree bend (if available) = ~5 equivalent feet.
Add up all the straight footage and the equivalent feet for every bend. Your total must be less than the hood’s maximum rating. If your ideal route exceeds it, you may need a more powerful hood (higher CFM) or to rethink your path to be shorter/straighter.
Choosing the Right Materials: Don’t Skimp Here
The Ductwork: Rigid Metal is King
We cannot stress this enough: use only rigid, smooth-walled metal duct. Purchase it in 4-foot or 5-foot lengths. For a 6″ duct, 26-gauge galvanized steel is common and affordable. Aluminum is lighter but can be softer. The smooth interior surface allows grease to be carried out efficiently and is easy to clean with proper tools later. Avoid the temptation to use that flexible foil “dryer” vent hose—it is a fire trap and a code violation. It’s also terrible for airflow.
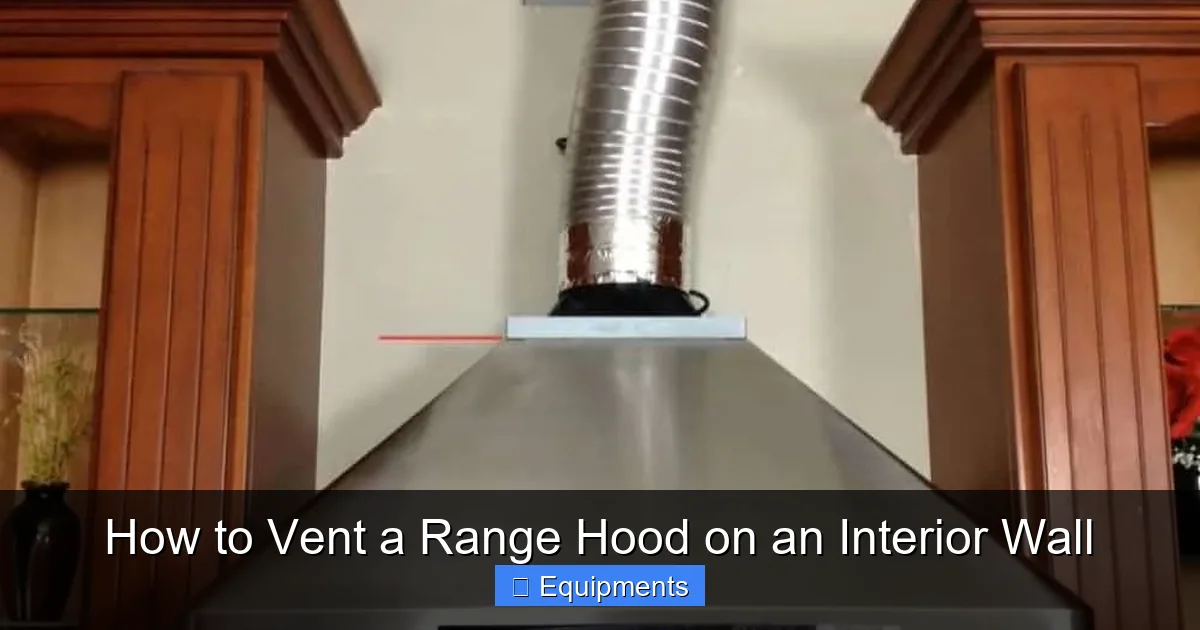
Visual guide about How to Vent a Range Hood on an Interior Wall
Image source: sunrisespecialty.com
Connectors and Fittings
- Duct Collars: These are the flanged ends that connect to your hood’s outlet and to the exterior vent cap. They often come with the hood or the cap.
- Elbows: Use 45-degree or 90-degree metal elbows. For tighter spaces, there are “offset” fittings that create an S-curve in a compact space, but they add significant resistance.
- Straight Sections: The bulk of your run.
- Wye or Tee Fittings: Only if you have a complex run with branches (rare for a single hood).
The All-Important Sealant: Metal Foil Tape
Forget about the gray “duct tape” you see on HVAC systems. It dries out, peels, and fails. You need aluminum foil tape with a strong adhesive, specifically rated for HVAC applications (e.g., 3M 3350, Nashua 322). This tape is heat-resistant, stays flexible, and creates an airtight, grease-resistant seal. You will use it on every seam, every joint, and every connection.
Exterior Vent Cap: Your Home’s Last Line of Defense
This is the cap you see on the roof or wall. It must be:
- Listed for Range Hood Use: Not a generic dryer vent cap. Range hood caps have a backdraft damper designed to resist grease-laden air and often have a grease baffle or screen.
- Properly Sized: Match the cap’s inlet to your duct size.
- Weatherproof: For roof caps, ensure it has a robust flashing that integrates with your roofing material (shingles, tile, metal). For wall caps, it should have a louvered design that closes tightly.
Pro Tip: Consider a cap with a removable baffle for easier cleaning.
Insulation: For Cold Climates and Unconditioned Spaces
If any part of your duct run will be in an unconditioned space (attic in winter, unconditioned garage, crawlspace), you must insulate it. Warm, moist air from cooking will condense on the cold duct walls, leading to water dripping into your ceiling or walls, and causing grease to solidify into a thick, hard-to-remove paste. Wrap the entire duct run in R-6 or R-8 foil-faced duct insulation. The foil facing acts as a vapor barrier. Secure it with foil tape or zip ties. The insulation also helps maintain air temperature and velocity.
The Installation Step-by-Step
Phase 1: Cutting the Openings
With your route planned and materials gathered, it’s time to make the first cuts. This is the most invasive part.
Step 1: Interior Wall Hole (at the hood location). Most range hoods come with a template. Secure it to the wall at the specified height. The template will show the duct outlet location. You need to cut a hole in the drywall behind the hood that aligns with this outlet. This hole will connect to your first duct section. Use a drywall saw or rotary tool. But first, double-check behind the drywall with your stud finder!
Step 2: Top Plate / Ceiling Hole. This is the critical pass-through from the wall cavity into the space above (attic or floor/ceiling assembly). You need to drill a large hole through the top plate of the wall (the horizontal 2×4 at the top of the studs) and likely through the subfloor and any ceiling drywall below. The hole size depends on your duct size plus clearance. For a 6″ round duct, a 7″ hole is sufficient. For rectangular duct, measure accordingly. Use a hole saw or reciprocating saw. Extreme caution: Identify all wiring and pipes in this area. It’s often safer to cut small inspection holes first to visually confirm the path is clear.
Step 3: Roof or Gable Wall Hole. This is the final penetration to the outside.
- For a Roof Vent: You must locate the hole between roof rafters. From the attic, measure between rafters and mark on the roof sheathing. Use a reciprocating saw to cut through the sheathing and roofing material. The hole should be just large enough for the vent cap’s base flange (usually 1-2″ larger than the duct). Critical: You must install proper roofing flashing (often sold with the vent cap) to prevent leaks. This is not a DIY task for a novice with a asphalt shingle roof—it’s easy to cause a major leak if done incorrectly.
- For a Gable Wall Vent: This is often simpler. From the attic, locate the exterior wall. Cut a hole through the interior finish (drywall/plaster), the sheathing, and the exterior siding. Install the wall cap with its own flange, ensuring a tight seal with caulk and proper flashing integration with the siding.
Phase 2: Assembling and Installing the Duct Run
Step 4: Start at the Hood. Connect the first section of rigid duct to the hood’s outlet using the provided collar or a sheet metal screw. Apply a bead of foil tape over the connection for an airtight seal.
Step 5: Route Through the Wall. Feed the duct up through the hole you made in the top plate. You may need to assemble sections inside the wall cavity. This can be awkward. Use elbows sparingly. If you need a turn inside the wall, a short 45-degree elbow is best. Secure the duct to the framing (studs, top plate) with metal duct straps or hangers. Do not use zip ties or wire. The duct should be supported every 4-6 feet to prevent sagging, which creates low spots where grease can pool.
Step 6: The Attic Journey. In the attic, continue assembling your duct run. Keep it as straight and level as possible. If you must run it across joists, secure it with straps. If you run it perpendicular to joists, you can often lay it on top of the joists and secure it. If your duct passes within 1″ of any combustible material (like wood framing or insulation), you must create a 1″ clearance. This can be done by using metal framing to build a small chase around the duct, or by using an insulated duct assembly. This is a key code requirement.
Step 7: Insulate. Once the metal duct is fully assembled and secured in the unconditioned attic space, wrap it completely with foil-faced duct insulation. Overlap the seams by 2″ and seal them with foil tape. This is your defense against condensation.
Step 8: The Final Penetration and Cap. Feed the last section of duct through the roof or wall hole you cut. From the outside, slide the vent cap’s base flange over the duct. Secure it to the roof sheathing or wall sheathing with screws. Apply a generous bead of roofing or polyurethane caulk under the flange and over the screw heads to create a waterproof seal. If it’s a roof cap, install the flashing according to the manufacturer’s instructions—this often involves lifting shingles and sliding the flashing underneath.
Phase 3: Sealing, Testing, and Finishing
Step 9: Seal Every Seam. Go back through your entire run from hood to cap. Reinforce every joint, every seam, every connection with foil tape. The system must be airtight. Air leaks in the system reduce efficiency and can leak grease and moisture into your walls.
Step 10: Firestopping. If your duct passed through a fire-rated ceiling (between floors) or firewall, you must now seal the annular gap (the space between the duct and the framing) with intumescent firestop caulk. This material expands when exposed to heat, sealing the hole and maintaining the wall’s fire rating. This is a code requirement and a major safety feature.
Step 11: Reinstall the Hood and Test. With the duct fully connected and sealed, you can now mount the range hood according to its instructions. Turn on the hood and go to the exterior vent. You should feel a strong, steady stream of air. Have someone turn the hood on and off while you watch the cap’s damper—it should open and close freely. Check for any air leaks or rattles in the duct run. Listen for excessive noise, which can indicate turbulence from too many bends or an undersized duct.
Common Mistakes and Pitfalls to Avoid
Using the Wrong Duct: The Flexible Foil Trap
This is the #1 DIY mistake. That cheap, accordion-style foil duct is not for permanent installation. Its ridges trap grease, which builds up quickly and creates a fire hazard. It also sags, creating low points. It’s also highly restrictive to airflow. Always, always use rigid metal.
Ignoring Insulation and Condensation
“It’s in the attic, who cares?” You will care when you see water stains on your ceiling. Warm, moist kitchen air hitting a cold duct in a winter attic will condense. This water mixes with grease, creating a nasty, corrosive slurry that drips down. Insulating the duct keeps the air warm until it exits, preventing condensation.
Creating Too Many Bends
Every 90-degree turn is like adding 10-15 feet of straight duct to your system. You might plan a neat, square corner in the attic, but it’s killing your hood’s performance. Use long, sweeping 45-degree bends where possible. The straighter, the better.
Poor Sealing with the Wrong Tape
Duct tape fails. It’s that simple. The heat and humidity from kitchen exhaust degrade the adhesive. Use only aluminum foil tape rated for HVAC. Apply it smoothly, pressing firmly to ensure a complete seal.
Forgetting the Backdraft Damper on the Cap
Some cheap vent caps don’t have a functional damper. This allows cold air, rain, snow, and pests to pour into your attic and down your duct. Always buy a cap specifically listed for range hoods with a working, grease-resistant damper.
Compromising Fire Safety with Clearances
Ducts get hot. If they’re too close to insulation or wood, it’s a fire risk. Maintain the code-required clearance (usually 1″). If you can’t, you must use an insulated duct assembly or build a non-combustible chase. Never bury a bare duct in insulation.
Maintenance: Keeping Your System Clean and Safe
Your work isn’t done after installation. A vented range hood is a system that requires regular maintenance.
Filter Cleaning:
This is the easiest part. Metal mesh or baffle filters should be removed and cleaned monthly with hot, soapy water or in the dishwasher (check manufacturer guidelines). Charcoal filters (for non-vented hoods) are not used in vented systems and should be removed.
Duct Cleaning:
This is the big one. Over years, a thin layer of grease will coat the inside of your duct, especially in the first few feet near the hood and in any low spots or sharp bends. This is normal but must be managed. The National Fire Protection Association (NFPA) recommends having residential range hood ducts cleaned by a professional if there is a visible grease buildup. For heavy cooks (daily frying), consider cleaning every 1-3 years. For lighter cooks, every 3-5 years may suffice. Do not attempt to clean a long, concealed duct run yourself. Professionals use powerful vacuums and rotary brushes designed for this purpose. Trying to do it yourself can spread grease throughout your system or damage the duct.
Exterior Cap Inspection:
Twice a year, check the exterior vent cap. Ensure the damper moves freely and isn’t clogged with leaves, nests, or snow. Make sure the caulk seal around the flange is intact. Look for any signs of animal intrusion or water staining around the penetration.
Conclusion: A Job Worth Doing Right
Venturing into the walls and attic to vent a range hood on an interior wall is a serious DIY project. It’s more involved than swapping out a light fixture. It demands respect for building codes, fire safety, and the physics of airflow. The rewards, however, are immense. You’ll have a kitchen that stays cleaner, smells fresher, and is fundamentally safer from grease fire risks. You’ll also have the deep satisfaction of having engineered a clean, functional solution to a common home problem.
If at any point you feel overwhelmed—especially when dealing with roof penetrations, firestopping, or navigating a packed attic—it is a smart and safe decision to call a licensed HVAC contractor or general handyman. The cost of a professional installation is minor compared to the potential cost of repairing water damage from a poorly sealed roof vent, or worse, dealing with a concealed duct fire. By following the principles outlined here—plan meticulously, use the right materials, seal everything, and insulate where needed—you can conquer the interior wall challenge and enjoy the full benefits of a properly vented, powerful range hood for years to come.
Frequently Asked Questions
Is it against code to vent a range hood into an attic or garage?
Yes, this is a major code violation and a severe fire and moisture hazard. Exhaust air containing grease and moisture must be terminated directly to the outdoors. Venting into an attic or garage will coat surfaces with flammable grease and cause condensation damage.
Can I use my existing chimney or fireplace flue to vent my range hood?
No. Chimneys and fireplace flues are sized and constructed for high-temperature, clean-burning wood fires. Range hood exhaust is cooler and laden with grease and moisture. It will condense and solidify inside the flue, creating a fire hazard and potentially causing damage. They are not compatible systems.
What’s the maximum length for my range hood duct run?
There is no single number. It depends entirely on your specific range hood’s CFM rating and the number/type of elbows in your run. You must calculate the “equivalent duct length” (straight feet + equivalent feet for each bend) and ensure it does not exceed the maximum static pressure rating listed in your hood’s installation manual. Exceeding this will drastically reduce performance.
Should I insulate the duct if it’s only in my heated basement?
If the basement is fully conditioned (heated and cooled to the same temperature as the living space) and the duct run is entirely within that thermal envelope, insulation is typically not required for condensation control. However, check local codes, as some jurisdictions require insulation on all concealed ductwork regardless of location.
Can I run the duct horizontally through a wall for a long distance to reach an exterior wall?
You can, but it’s generally not recommended. Long horizontal runs through multiple stud cavities increase the number of required bends (elbows) to navigate around obstacles, which severely restricts airflow. The “up and over” through the attic is almost always a more efficient path with fewer turns.
I’m not comfortable cutting through my roof. Are there any alternatives?
Yes. The primary alternative is to vent horizontally through an exterior gable wall instead of the roof. This avoids the most challenging and leak-prone part of the job (roof flashing). If no gable wall is accessible, you might consider a “ductless” or recirculating hood with high-quality charcoal filters, though this does not remove moisture or heat as effectively as true venting. Another option is to hire a professional for just the roof penetration and flashing while you handle the interior ductwork.