Drying basil in the oven is a fast, efficient way to preserve your herb garden’s bounty. By using low heat and proper preparation, you can lock in that vibrant flavor and aroma for year-round cooking. This method takes just 1-2 hours and requires minimal equipment, making it perfect for home cooks. Follow our detailed guide to avoid common pitfalls and achieve perfectly crisp, flavorful dried basil every time.
There’s nothing quite like the smell of fresh basil. That sweet, peppery, slightly anise-like fragrance is the heart of so many summer dishes—caprese salads, pesto, pasta sauces, and margherita pizzas. But when the growing season ends or your single plant produces a bounty beyond your weekly grocery needs, you face a dilemma: how do you capture that fleeting summer flavor? Drying basil in the oven is one of the fastest and most accessible methods to preserve this culinary treasure. Unlike air-drying, which can take days and risk mold or dust, the oven method gives you control and results in just an hour or two. It transforms those glossy green leaves into a concentrated, shelf-stable pantry staple that will transport you back to your garden all winter long.
Many home cooks are intimidated by the idea of “cooking” their herbs instead of drying them. It’s a valid concern! Too much heat will indeed bake the delicate volatile oils out of the basil, leaving you with bland, brittle green flakes. But with the right technique—focusing on low temperature, proper preparation, and vigilant watching—you can master how to dry basil in oven like a pro. This guide will walk you through every single step, from harvesting your best leaves to storing your final product for maximum flavor longevity. We’ll troubleshoot common mistakes and share pro tips to ensure your oven-dried basil is aromatic, vibrant, and a true asset to your spice rack.
Key Takeaways
- Low and slow is the rule: Always use the lowest oven temperature possible (140-170°F / 60-75°C) to dry basil without cooking or burning it, which destroys essential oils and flavor.
- Prep is critical: Wash basil thoroughly, dry it completely (a salad spinner and towels are your friends), and remove leaves from stems for even drying. Moisture is the enemy.
- Use parchment, not foil: Line baking sheets with parchment paper to prevent sticking and allow for better air circulation around the leaves.
- Check constantly: Oven drying times vary. Start checking after 20 minutes and watch closely. Basil is ready when leaves are crisp and crumble easily.
- Cool completely before storing: Any residual heat will create steam and moisture in your storage container, leading to mold. Let dried basil cool on a wire rack for at least an hour.
- Store airtight, away from light and heat: Use glass jars or airtight containers in a cool, dark pantry. Properly stored, it retains peak flavor for 6-12 months.
- It’s not a dehydrator substitute: The oven method is excellent but offers less precise temperature control than an electric dehydrator. Monitor your oven’s actual temperature with an oven thermometer.
📑 Table of Contents
Why Choose the Oven Method for Drying Basil?
Before we dive into the “how,” let’s talk about the “why.” You have several options for drying herbs: hanging them in bunches, using a dedicated food dehydrator, or a microwave. So what makes the oven such a compelling choice?
Speed and Convenience
The primary advantage is time. Where air-drying can take 1-2 weeks depending on humidity, drying basil in the oven typically takes between 45 minutes to 2 hours. You can process a significant harvest in a single afternoon. There’s no need to find a dark, well-ventilated room or worry about dust settling on your herbs. Your kitchen oven is a tool you already own, making this method incredibly cost-effective—no need to invest in a separate appliance unless you dry herbs on a massive, commercial scale.
Control and Consistency
Modern ovens, even basic models, allow for more consistent temperature control than a room’s ambient conditions. You set the temperature and, with a few simple tricks (like propping the door open), you can manage the airflow. This control helps prevent the two biggest risks of herb drying: mold from insufficient drying and flavor loss from excessive heat. You are the active monitor, ensuring each leaf reaches the perfect state of crispness.
Excellent for Small Batches
If you have a small herb garden or just a few pots on a balcony, you might not have enough basil to justify hanging a large bundle or running a dehydrator for hours. The oven method is perfect for processing one or two baking sheets’ worth of leaves. You can dry basil in the oven as you harvest it throughout the season, ensuring you always have a fresh supply.
Preserves Color and Flavor Well (When Done Correctly)
When executed at the proper low temperature, oven drying effectively removes moisture while minimizing damage to the delicate chlorophyll (color) and essential oils (flavor). The result is basil that retains a pleasant green hue and a concentrated, sweet, and slightly spicy aroma far superior to store-bought dried basil. It’s this flavor retention that makes the method so worthwhile.
Essential Preparation: Setting the Stage for Success
The work you do *before* your basil ever hits the oven sheet is 80% of the battle. Rushing or skipping these preparation steps is the number one reason for failed oven-dried basil—either it’s chewy, moldy, or tasteless. Here is your non-negotiable prep checklist.
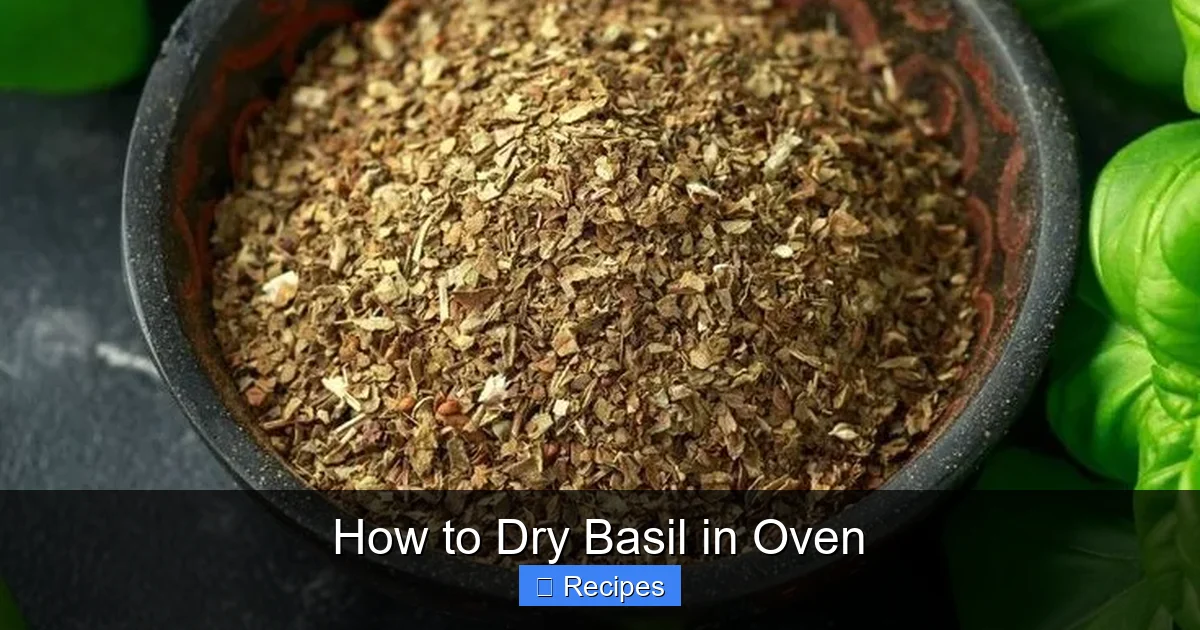
Visual guide about How to Dry Basil in Oven
Image source: i.pinimg.com
Harvesting at Peak Potency
Timing is everything. The best time to harvest basil for drying is just before the plant flowers. Once a basil plant sends up a flower stalk, its energy shifts from leaf production to reproduction, and the flavor in the leaves becomes less intense, sometimes developing a slight bitterness. Harvest in the morning after the dew has dried but before the hottest sun hits the leaves. This is when the essential oils are most concentrated. Use sharp scissors or pruning shears to make clean cuts, which helps the plant recover.
Washing and Thorough Drying: The Moisture is the Enemy
Never skip the wash. Garden herbs can have soil, tiny insects, or pollen. Fill a large bowl or clean sink with cool water and gently swish the basil bunches. Change the water if it’s very dirty. Now, this is the critical part: you must remove every single drop of surface moisture. Any water left on the leaves will turn to steam in the oven, steaming the herbs instead of drying them. This creates a perfect environment for spoilage and results in dark, limp, flavorless leaves.
Pro Method: Use a salad spinner. Load the leaves (stems removed, see next step) and spin in batches until no more water droplets fly out. Then, lay the leaves out in a single layer on clean, dry kitchen towels or paper towels. Pat them gently but firmly with another towel. Let them air-dry on the towels for 15-20 minutes. You should be able to touch a leaf and feel no cool, damp sensation whatsoever.
De-stemming and Sorting
While you can dry basil with the stems on, it’s inefficient. The woody stems take much longer to dry than the tender leaves, and you’ll end up over-drying the leaves while waiting for the stems. Pick the leaves off the stems. Discard any leaves that are bruised, yellowed, or have insect damage. You want only the healthiest, most vibrant green leaves for drying. This is also a good time to give them one final gentle shake or pat to dislodge any hidden debris.
The Oven Drying Process: Step-by-Step
Now for the main event. With your pristine, bone-dry basil leaves ready, let’s get them into the oven. Precision and patience are your allies here.
Visual guide about How to Dry Basil in Oven
Image source: freshexchange.com
Step 1: Preheat and Prepare Your Baking Sheets
Preheat your oven to the lowest possible temperature setting. For most home ovens, this is 170°F (77°C). If your oven has a “Warm” or “Proof” setting (often around 100-110°F / 38-43°C), that’s even better, though drying will take longer. The absolute goal is to stay below 200°F (93°C). Invest in an inexpensive oven thermometer. Many ovens’ actual temperature can be 20-50°F off from the dial setting. You need to know your oven’s true low.
Line your baking sheets with parchment paper. Do not use aluminum foil directly under the leaves, as it can reflect heat unevenly and potentially cause hot spots. The parchment provides a neutral, non-stick surface and allows for easy transfer of the fragile dried leaves later.
Step 2: Arrange the Leaves in a Single Layer
Take your completely dry basil leaves and arrange them on the parchment-lined sheets in a single, uncrowded layer. They should not touch or overlap. If leaves are piled on top of each other, the ones on the bottom will steam instead of dry, becoming dark and potentially moldy. Use as many sheets as you need to accommodate your harvest without crowding. It’s better to do multiple batches than to crowd a single batch.
Step 3: The Door Trick for Airflow
Moisture needs to escape. The closed oven environment traps steam. The simplest solution is to prop the oven door open slightly with a wooden spoon or a heat-proof silicone utensil. This allows warm, moist air to rise and escape, being replaced by drier air. This is a crucial step for successful how to dry basil in oven. If your oven has a convection/fan setting, you can use that instead of propping the door, as the fan actively circulates air and removes moisture. In that case, you can keep the door closed.
Step 4: Monitoring: The Most Important Step
Place the sheets in the preheated oven. Set a timer for 20 minutes. When it goes off, carefully check the leaves. They will likely still be pliable. Gently touch one; it should feel dry but not yet crisp. Flip the leaves over carefully with tongs or a spatula to ensure even drying. Return to the oven.
Continue checking every 10-15 minutes thereafter. The drying time is highly variable based on your oven’s true temperature, humidity in your kitchen, and how thick the leaves are. Total time usually falls between 45 minutes and 1.5 hours. Do not walk away. This is not a set-it-and-forget-it process. The difference between perfectly dried and scorched can be 5 minutes.
Step 5: The “Crumble Test” for Doneness
How do you know they’re done? The leaves should be completely crisp. They will feel light and brittle. Pick up a leaf and gently try to crumble it between your fingers. It should shatter easily, like a dry autumn leaf. If it bends or feels leathery, it still has moisture and needs more time. If it’s turning dark brown or black, it’s burning—remove immediately. Once a batch is done, remove the entire sheet from the oven and let it cool on a wire rack. The residual heat will continue to dry any slightly moist leaves.
Storing Your Dried Basil for Maximum Shelf Life
You’ve done the hard work. Your basil is perfectly dried and cooling on the rack. Now, improper storage can ruin all that effort in a matter of weeks. Here’s how to lock in that flavor.
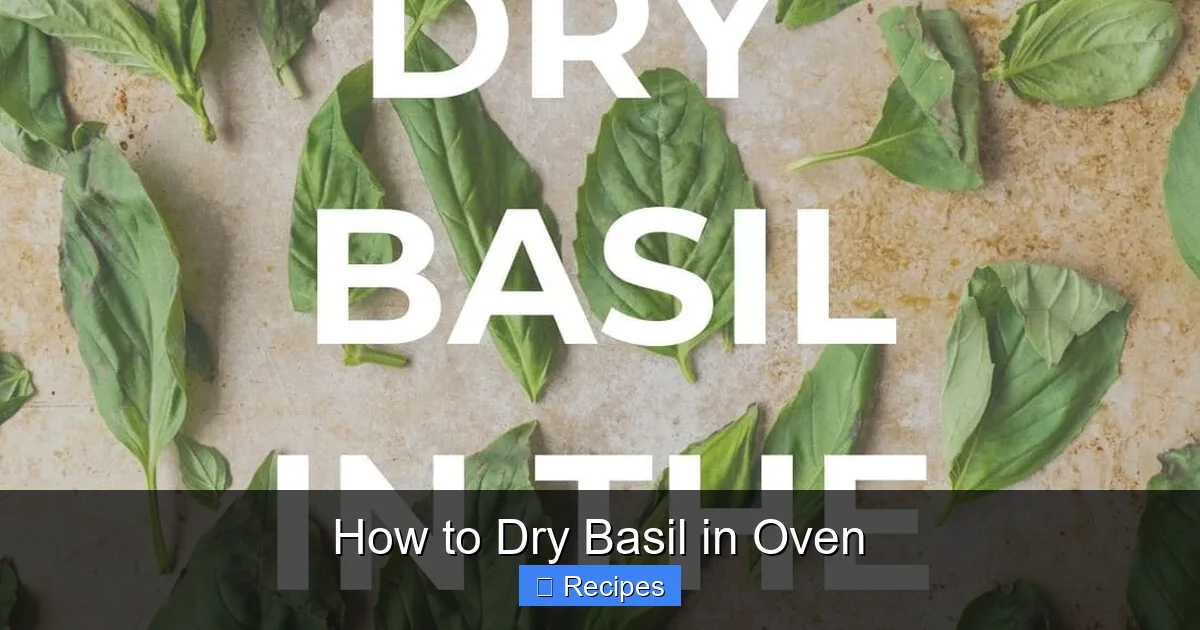
Visual guide about How to Dry Basil in Oven
Image source: brooklynfarmgirl.com
The Crucial Cool-Down Period
This is non-negotiable. Never transfer warm or even slightly warm dried basil into a sealed container. The trapped heat will cause condensation, introducing moisture back into the herbs. This is a guaranteed recipe for mold or loss of crispness. Let the basil cool completely on the wire rack for at least one hour, or until the leaves feel completely room temperature to the touch.
Choosing the Right Container
Airtight is the name of the game. The three best options are:
- Glass Mason Jars: The classic choice. They create a perfect seal, block light, and you can easily see the contents. Wide-mouth jars are easiest for filling and scooping.
- High-Quality Plastic Airtight Containers: Look for containers with locking lids and silicone gaskets. Ensure they are food-grade and BPA-free.
- Vacuum-Sealer Bags: For the longest possible storage (up to 18 months), use a vacuum sealer to remove all air. You can then store the bags in a dark cupboard or even the freezer.
Avoid using simple spice jars with shaker tops unless you are certain they have a tight seal. Light and air are the two biggest enemies of dried herbs.
Labeling and Storage Location
Label your container with “Dried Basil” and the date. It’s easy to forget! Store the container in a cool, dark, and dry place. A pantry cupboard away from the stove or oven is ideal. Do not store it above the sink or near the dishwasher where steam and humidity are issues. Properly stored in these conditions, your oven-dried basil will maintain its best flavor and aroma for 6 to 12 months. After a year, it will gradually lose its potency but will still be safe to use.
Common Mistakes and How to Avoid Them
Even with the best intentions, things can go wrong. Let’s troubleshoot the most frequent problems people encounter when they dry basil in the oven.
Mistake 1: Temperature Too High
Symptom: Leaves turn dark green, brown, or black. They smell cooked or burnt, not herbal. They are brittle but flavorless.
Solution: This is the most common error. Your oven must be at its absolute lowest setting. If your oven’s lowest is 200°F, try propping the door open more to let heat escape, or use the convection setting which may allow for a lower effective temperature. An oven thermometer is your best diagnostic tool. If you consistently can’t get below 190°F, consider a dedicated dehydrator for better results.
Mistake 2: Insufficient Drying (Moisture Left)
Symptom: Leaves are pliable, slightly leathery, or have a faint cool/damp feel. When stored, they may develop a musty smell or visible mold spots within a few weeks.
Solution: Extend the drying time. The leaves must be utterly crisp. The “crumble test” is your guide. If in doubt, dry them for 10 more minutes. It’s better to over-dry slightly (which mostly just affects texture) than to under-dry (which causes spoilage). Ensure your pre-drying wash and pat-dry was thorough.
Mistake 3: Crowding the Baking Sheets
Symptom: Some leaves are dry and crisp while others in the center of the pile are limp, dark, and possibly starting to smell off.
Solution: Always use a single layer. If you have a lot of basil, use multiple baking sheets and do multiple batches. It’s a bit more time-consuming, but it guarantees uniform drying and prevents steaming. Patience pays off.
Mistake 4: Skipping the Cool-Down
Symptom: Your basil seems perfectly dry when you put it in the jar. A day later, you open it and feel slight moisture on the leaves or glass. They may start clumping together.
Solution: This is so important it bears repeating. Let the dried basil cool on a wire rack for a full hour after removing it from the oven. The wire rack allows air to circulate on the bottom as well. Only when it’s truly at room temperature should it be sealed away.
Beyond the Basics: Creative Uses and Flavor Tips
Now that you have a jar of beautiful, home-dried basil, what do you do with it? It’s more versatile than you might think, and its flavor profile is slightly different from fresh basil.
Flavor Profile: Concentrated and Smoky
Oven-dried basil has a more concentrated, slightly caramelized, and sometimes subtly smoky note compared to fresh basil’s bright, grassy punch. It lacks the juicy freshness but makes up for it with a deep, warm, herbaceous backbone. This makes it exceptional for dishes that cook for a long time, where fresh basil would dissipate.
Best Culinary Applications
- Slow-Cooked Sauces and Stews: Add it to tomato sauce, chili, minestrone, or beef stew in the last 30 minutes of cooking. It will rehydrate and infuse the dish with its flavor.
- Rub Mixtures and Marinades: Crumble it into spice blends for grilled meats (like a Greek-style lamb rub with oregano and garlic) or mix with salt, pepper, and olive oil for a simple focaccia or bread dip.
- Soups and Braises: Toss a pinch into vegetable soups, chicken noodle, or braised greens like kale or collards.
- Homemade Seasoning Salts: Blend dried basil with coarse sea salt and a touch of dried garlic to create a fantastic all-purpose finishing salt for roasted vegetables or popcorn.
- Infused Oils and Vinegars: Place a few sprigs (or a tablespoon of crumbled leaves) in a bottle of olive oil or white wine vinegar and let sit for 1-2 weeks. Strain and use for dressings.
How to Crush and Use
The best way to release the flavor from dried basil is to crumble it between your fingers just before adding it to a dish. This breaks the cell walls and awakens the essential oils. Avoid using a mortar and pestle on dried basil, as it can become pasty. For sprinkle-on uses (like on pizza or pasta), you can crumble it finely or use it as is.
Frequently Asked Questions
Can I dry basil in the oven at a higher temperature to make it faster?
No. Using a temperature above 200°F (93°C) will quickly cook the basil, driving off its volatile aromatic oils and leaving you with flavorless, dark, brittle leaves. The “low and slow” approach is essential for preserving flavor and color.
How long does oven-dried basil last in storage?
When stored in an airtight container in a cool, dark, and dry place, properly dried and cooled basil will maintain its best flavor and aroma for 6 to 12 months. After a year, it will slowly lose potency but remains safe to use indefinitely if kept dry and mold-free.
Do I need to rehydrate dried basil before using it in a recipe?
No, you do not need to rehydrate it separately. Simply add the dried basil directly to your dish, especially if it involves liquid (sauce, soup, stew) and some cooking time. The liquid will naturally rehydrate the leaves as it simmers. For dry applications like rubs, use it as-is.
Is an oven better than a food dehydrator for drying basil?
Both can yield excellent results. A dehydrator offers more precise, consistent low temperatures (often 95-115°F) and excellent airflow without needing to prop the door open, making it slightly more foolproof and energy-efficient for large batches. The oven is a great, zero-cost alternative for small to medium batches if you monitor it closely.
Can I dry other herbs like oregano or thyme the same way in the oven?
Yes, the same low-temperature, single-layer method works beautifully for most delicate herbs like parsley, cilantro, chives, mint, and dill. Woody herbs like rosemary, thyme, and sage have a lower moisture content and can dry slightly faster, so check them a few minutes earlier. Always use the crumple test for doneness.
What are the signs that my dried basil has gone bad?
Look for any signs of mold (fuzzy spots, usually white, green, or black), a musty or “off” smell (instead of a sweet, herbal aroma), or any clumping that indicates moisture absorption. If it smells like damp cardboard or has lost all its fragrance, it’s past its prime and should be discarded.
Pingback: How to Preserve Fresh Basil - kitchenandhouseware.com