Dehydrating veggies in your oven is a simple, cost-effective way to create long-lasting, nutritious snacks and ingredients without a specialized machine. By using low heat and proper preparation, you can transform fresh produce into crispy, flavorful bits perfect for soups, salads, or munching. This guide walks you through every step, from slicing and blanching to optimal temperatures and foolproof storage, ensuring delicious results every time.
Key Takeaways
- Uniform Slicing is Critical: Slice veggies evenly (1/4-inch thick) for consistent drying. Use a mandoline for best results.
- Low & Slow is the Rule: Oven temperatures must be between 120°F and 150°F (50°C to 65°C) to cook, not bake, the vegetables.
- Prep Matters: Most veggies benefit from a quick blanch or steam to preserve color and texture before drying.
- Airflow is Non-Negotiable: Use baking sheets with wire racks or a dehydrator tray insert to allow air to circulate fully around each piece.
- Condition Before Storing: After drying, let veggies cool completely and “condition” in a jar for a week to redistribute any residual moisture.
- Storage is Key: Keep dried veggies in airtight containers with oxygen absorbers in a cool, dark, dry place for maximum shelf life.
📑 Table of Contents
- Why Dehydrate Veggies in Your Oven? Unlock a World of Flavor and Convenience
- Essential Prep: The Foundation of Perfectly Dried Veggies
- Setting the Stage: Oven Temperature, Equipment, and Arrangement
- The Step-by-Step Drying Process: Patience and Monitoring
- Storage and Conditioning: Ensuring Long-Term Success
- Troubleshooting Common Problems & Pro Tips
Why Dehydrate Veggies in Your Oven? Unlock a World of Flavor and Convenience
Have you ever looked at a bumper crop of tomatoes, a surplus of zucchini, or a great sale on bell peppers and wondered how to make it last? Dehydrating veggies in the oven is your secret weapon. It’s an ancient preservation technique, brilliantly simple and incredibly effective. Forget cluttered pantries full of canned goods or the cost and space of a standalone dehydrator. Your kitchen’s most trusted appliance—the oven—can become a powerful tool for creating shelf-stable, nutrient-dense, and intensely flavorful vegetable ingredients.
Think about it: a sprinkle of homemade sun-dried tomatoes in your winter pasta, a handful of crispy kale chips ready in minutes, or a jar of savory vegetable flakes to instantly boost soups and stews. When you dehydrate veggies in the oven, you’re concentrating their natural sugars and flavors into a tiny, lightweight package. It’s a fantastic way to reduce food waste, prepare for camping or emergency kits, and have gourmet ingredients on hand year-round. Best of all, it requires no special investment—just your oven, a little know-how, and some patience. This guide will transform you from a curious beginner into a confident oven-drying expert.
Essential Prep: The Foundation of Perfectly Dried Veggies
Success in the oven starts long before you turn the dial to “warm.” Proper preparation ensures even drying, vibrant color, and the best texture. Rushing this stage is the number one cause of uneven results, sticky pieces, or lost nutrients. Let’s break down the non-negotiable steps.

Visual guide about How to Dehydrate Veggies in the Oven
Image source: thekitchenix.com
Selecting and Washing Your Produce
Start with the freshest, highest-quality vegetables you can find. They should be firm, unbruised, and at their peak ripeness. Overripe or damaged produce will not dry well and is prone to spoilage. Give everything a thorough rinse under cool running water to remove dirt and pesticides. For items like carrots or potatoes with more soil, use a vegetable brush. Pat everything completely dry with a clean kitchen towel. Any surface moisture will steam the veggies instead of drying them, extending the process significantly.
The Art of Slicing: Consistency is Everything
This is the most important physical step. Every single slice must be the same thickness. Why? Because oven heat, even on a low setting, isn’t perfectly uniform. If you have a mix of thick and thin pieces, the thin ones will become brittle or burn while the thick ones are still leathery and moist inside. Aim for a uniform thickness of about 1/8-inch to 1/4-inch (3-6mm).
- Best Tools: A mandoline slicer is a game-changer for achieving perfect, consistent slices quickly and safely (use the hand guard!). A very sharp chef’s knife and a steady hand also work well.
- Shape Matters: For round vegetables like onions or cucumbers, slice them into rounds. For long veggies like zucchini or carrots, you can slice them into rounds or lengthwise into strips (which dry a bit faster). For peppers, remove seeds and membranes, then slice into strips or rings.
To Blanch or Not to Blanch? That is the Question.
Blanching—briefly boiling or steaming vegetables before shocking them in ice water—is a crucial step for most, but not all, veggies. It inactivates enzymes that can cause loss of color, flavor, and texture during storage. It also softens cell walls, allowing moisture to escape more efficiently during drying.
- Blanch These: Green beans, broccoli, cauliflower, peas, carrots, asparagus, corn, spinach and other leafy greens, and beets. Times vary: 2-3 minutes for most, up to 4 for denser carrots.
- Skip the Blanch: Tomatoes, mushrooms, onions, garlic, bell peppers, zucchini, and herbs. Their structure is already ideal for drying, and blanching can make them too soft or waterlogged.
- The Process: Boil a pot of water. Drop veggies in for their specified time. Immediately remove with a slotted spoon and plunge into a bowl of ice water to stop the cooking. Drain thoroughly and pat bone-dry with towels.
Setting the Stage: Oven Temperature, Equipment, and Arrangement
Now for the technical heart of the process. Your goal is to evaporate moisture, not cook the vegetables. This requires precise temperature control and excellent airflow. Your standard oven has hot spots and a thermostat that cycles, making it trickier than a dedicated dehydrator, but absolutely doable with these tricks.
Visual guide about How to Dehydrate Veggies in the Oven
Image source: thekitchenix.com
The Golden Temperature Range: 120°F to 150°F (50°C to 65°C)
This is the dehydrator’s secret, and it’s your oven’s target. Most home ovens don’t go this low. The lowest setting on many is “Warm” or ~170°F (77°C), which is often too hot and can “case harden” the veggies—forming a tough outer layer that traps moisture inside, leading to spoilage. Here’s how to solve it:
- Use an Oven Thermometer: Do not trust your oven’s dial. Place a digital oven thermometer on the rack to know the true temperature.
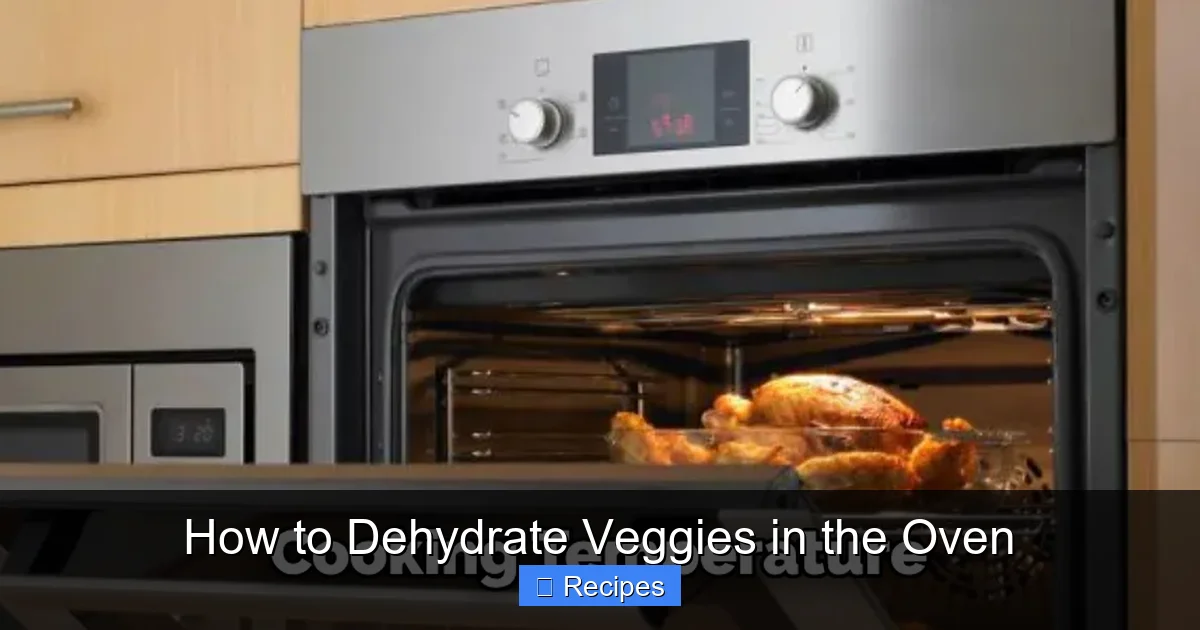
- Prop the Door Open: This is the single most important trick. Prop the oven door open 2-4 inches with a wooden spoon or oven-safe tool. This allows moist air to escape and prevents the temperature from climbing too high. It also mimics a dehydrator’s constant airflow.
- Use the Convection/Bake Setting: If your oven has a convection fan, use it! The circulating air is a massive help. If not, you may need to rotate your trays more frequently.
Essential Equipment: Baking Sheets and Racks
You need maximum surface area exposure. Never lay vegetable slices directly on a solid baking sheet; they will steam and stick.
- Best Setup: Use rimmed baking sheets (to catch drips) topped with wire cooling racks. The racks lift the veggies, allowing hot air to circulate above and below each piece. This is the closest you’ll get to a dehydrator tray.
- Alternative: If you have dehydrator trays and your oven is large enough, use those directly on the oven racks. They are designed for airflow.
- Avoid: Parchment paper or silicone mats on the racks. They block airflow. If you must use a sheet pan for very small pieces (like herbs), line it with a very thin layer of parchment and ensure pieces are not touching.
Arranging the Veggies: The “No-Touch” Rule
Place your dried veggie slices on the racks in a single layer. They must not touch or overlap. Any contact point will trap moisture, preventing those areas from drying and creating a spot for mold. Leave a little space between pieces. If your oven is small, work in batches. It’s better to dry two trays perfectly than four trays poorly.
The Step-by-Step Drying Process: Patience and Monitoring
With your oven preheated (to the lowest possible setting, with the door propped), your veggies sliced and blotted dry, and your racks loaded, it’s time to dry. The time varies wildly based on the veggie, thickness, humidity, and your oven. This is a marathon, not a sprint.

Visual guide about How to Dehydrate Veggies in the Oven
Image source: thekitchenix.com
Initial Drying Phase (First 1-2 Hours)
Place your loaded racks in the oven. You’ll notice immediate steam rising—that’s good! It means moisture is escaping. Set a timer for 30 minutes. After 30 minutes, carefully check the pieces. Flip them over using a spatula or tongs. This ensures even drying and prevents sticking. For very thin slices (like kale or zucchini), they may already be starting to crisp at the edges.
The Middle Stretch (2-6 Hours)
This is where patience is key. Check and flip your trays every 45-60 minutes. The rate of drying will slow as the remaining moisture is harder to extract. You’ll notice the veggies going from pliable and moist to leathery and flexible. They will shrink considerably in size and become translucent in spots. The smell in your kitchen will become wonderfully concentrated and sweet.
The Leathery vs. Crispy Test: How to Know They’re Done
This is the most critical skill. Don’t guess by time alone; test by texture. The goal is to remove enough moisture (typically 90-95%) to prevent spoilage while retaining some flexibility for storage and rehydration.
- For Herbs & Leafy Greens (Kale, Spinach): They should be crisp and shatter when bent. No flexibility remains.
- For Most Veggies (Carrots, Peppers, Green Beans, Zucchini): They should be leathery. Take a piece and try to bend it. It should be pliable and flexible, not stiff like a chip, but not moist or sticky either. If you can tear it easily and it has a dry, matte feel, it’s done. If it feels cool or damp, it needs more time.
- For Tomatoes: They can be dried to a leathery state for salads or to a crisp, brittle state for grinding into powder. For whole slices, aim for leathery with no tackiness.
Storage and Conditioning: Ensuring Long-Term Success
Your veggies are dry! Don’t ruin it now. Improper storage is the second most common reason for failed dehydration. The enemy is residual moisture and oxygen.
The Critical Conditioning Step
This simple step equalizes any remaining tiny pockets of moisture. Place your completely cooled dried vegetables into a clean, dry glass jar. Fill it about 2/3 full. Seal the lid tightly. Leave it at room temperature for 7-10 days. Once a day, shake the jar vigorously. If you see any condensation on the jar walls, the batch is not dry enough and must be returned to the oven for another 1-2 hours. After a week with no condensation, your batch is properly conditioned and ready for long-term storage.
Long-Term Storage Solutions
For storage beyond a month, you need an airtight, light-proof, and moisture-proof container.
- Best: Use high-quality Mylar bags with oxygen absorbers. For a home cook, this is the gold standard for multi-month or year-long storage.
- Very Good: Heavy-duty, sealable freezer bags with the air pressed out, stored inside a dark, cool cupboard or bin.
- Good for Short-Term (1-2 months): Glass jars with tight-sealing lids (like Mason jars), kept in a pantry away from the stove and dishwasher.
- Label Everything: Include the contents and the date. Even you won’t remember in six months!
Store in a cool (below 70°F/21°C), dark, and dry place. A basement or interior closet is ideal. Avoid the kitchen if it gets warm and humid.
Troubleshooting Common Problems & Pro Tips
Even with the best plan, things can go awry. Here’s how to diagnose and fix the most common issues.
“My veggies are sticky/tacky and won’t dry!”
Cause: Temperature is too high (casing), slices are too thick, or humidity in your kitchen/oven is very high. Fix: Lower the oven temperature (you may need to prop the door more), slice thinner, and ensure your oven fan (if convection) is on. Be patient; it may take twice as long.
“My dried veggies are brittle and burnt on the edges!”
Cause: Temperature is too high, or pieces on the outer edges of the rack are drying much faster than the center. Fix: Rotate your trays (front to back, top to bottom) every hour. If your oven has hot spots, move pieces from the edges to the center midway through. Always use the lowest possible temp.
“They’re dry on the outside but still moist inside!”
Cause: Slices are uneven, or drying time was insufficient. This is a spoilage risk. Fix: If caught early, return them to the oven for another 1-2 hours. Always do the bend test on a few pieces from the center of the batch. If they feel cool or damp, they need more time.
Pro Tips for Specific Vegetables
- Tomatoes: Roma or plum tomatoes are best (less water). Slice lengthwise into 1/4-inch slices. Sprinkle with a tiny pinch of salt to draw out more moisture initially.
- Mushrooms: Clean with a damp cloth, never soak. Slice 1/4-inch thick. They dry very quickly and become wonderfully crisp.
- Leafy Greens (Kale, Chard): Remove tough stems. Tear leaves into bite-sized pieces. They dry in 1-2 hours and are perfect for chips. Massage with a tiny bit of oil and salt before drying for best chips.
- Root Veggies (Carrots, Beets):strong> Blanch first. Slice thinly on a mandoline. They take 6-10 hours. Beets will stain everything pink—use a separate tray.
- Onions & Garlic: Slice evenly. They become very brittle and pungent. Great for powder. Work in a well-ventilated area; the smell will permeate your home!
Frequently Asked Questions
Can I use any oven, or does it have to be a convection oven?
You can use any oven, but a convection oven with a fan is significantly more effective because it circulates air, removing moist air faster. For conventional ovens, propping the door open and rotating trays frequently is essential to compensate for stagnant air and hot spots.
How do I rehydrate my dried vegetables?
Rehydration is simple. For most veggies, soak them in hot (not boiling) water for 20-30 minutes. For soups or stews, you can add them directly to the liquid, and they will rehydrate during cooking. Leafy greens like kale can be quickly rehydrated by sprinkling with water and letting sit for 5 minutes before use.
Is it safe to dehydrate vegetables at such low temperatures?
Yes, absolutely. The low temperature (120°F-150°F) is specifically to avoid cooking the food. The goal is to remove water, which happens well below the boiling point. The key is time and airflow. The propped door and long drying time ensure moisture evaporates safely without promoting bacterial growth.
What’s the difference between dehydrating and baking veggies?
The intent and temperature are completely different. Baking typically uses higher heat (325°F+) to cook the food through, creating a specific texture and flavor (like roasted veggies). Dehydrating uses very low heat over a long period solely to remove water for preservation, aiming for a leathery or crisp texture with a concentrated, sometimes different flavor profile.
Can I mix different vegetables on the same tray?
It’s not recommended. Different vegetables have vastly different drying times and moisture contents. A tomato slice might take 6 hours, while a kale leaf takes 1.5. Drying them together means one will be over-dried or under-dried. For best results, dry similar vegetables (by moisture content and thickness) together.
How long will oven-dried vegetables last?
Properly dried (95% moisture removed), conditioned, and stored in an airtight container with an oxygen absorber in a cool, dark, dry place, most vegetables will last 6-12 months. Leafy greens and herbs have a shorter shelf life (3-6 months). Always check for off smells, visible mold, or a chewy (not leathery) texture before using. When in doubt, throw it out.