Dehydrating pears in your oven is a simple, rewarding way to preserve their sweet flavor and create a nutritious, shelf-stable snack. By properly preparing the pears, setting your oven to a low temperature, and allowing for adequate drying time, you can achieve perfectly chewy dried pears. This method requires no special equipment beyond a baking sheet and parchment paper, making it accessible for any home cook.
Key Takeaways
- Choose the right pears: Select ripe but firm pears like Bartlett or Bosc for the best texture and sweetness after dehydrating.
- Pretreatment is key: A lemon juice or ascorbic acid bath prevents browning and preserves color and nutrients.
- Slice uniformly: Consistent ¼-inch slices ensure even drying and a uniform final product.
- Use low oven heat: Set your oven to its lowest setting, ideally between 130°F-150°F (55°C-65°C), for slow, even dehydration.
- Dry until pliable: Pears are done when they are dry to the touch but still slightly flexible, not brittle.
- Condition before storage: Let dried pears rest in a jar for a week to equalize moisture and prevent spoilage.
- Store correctly: Keep in an airtight container in a cool, dark place for up to 6 months, or freeze for longer storage.
📑 Table of Contents
- Why Dehydrate Pears? A Sweet & Smart Preservation Method
- Selecting & Preparing Your Pears: The Foundation of Success
- Pretreatments for Perfect Color and Flavor: Don’t Skip This!
- Setting Up Your Oven for Dehydration Success
- The Dehydration Process: Patience and Observation
- Storing, Using, and Enjoying Your Dried Pears
- Troubleshooting Common Dehydrating Problems
- Conclusion: Your Oven, Your Pantry, Your Pear Perfection
Why Dehydrate Pears? A Sweet & Smart Preservation Method
There’s something truly magical about capturing the peak-of-summer sweetness of a ripe pear and enjoying it months later. Dehydrating pears transforms this delicate fruit into a concentrated, chewy, and intensely flavorful snack that’s perfect for lunchboxes, hiking trips, or simply satisfying a sweet tooth without refined sugar. Unlike canning, which can be intimidating and requires special equipment, learning how to dehydrate pears in oven is astonishingly straightforward. Your standard kitchen oven becomes a powerful dehydration tool, making this an accessible project for everyone.
Beyond the delightful taste and convenience, dehydrated pears offer fantastic nutritional benefits. The process concentrates their natural sugars, fiber, and vitamins like Vitamin C and potassium. They become an excellent source of quick energy and dietary fiber. Furthermore, dehydrating is an incredible way to reduce food waste. If you have a bumper crop from your orchard or find a great sale at the farmer’s market, you can preserve that abundance and enjoy it all year long. It’s a economical, eco-friendly, and deeply satisfying kitchen skill.
Selecting & Preparing Your Pears: The Foundation of Success
The journey to perfect dried pears begins long before you turn on the oven. Your choice of fruit and how you prepare it will dictate the final texture, flavor, and appearance. Rushing this step is the most common mistake beginners make. Taking the time to select and prep properly sets you up for dehydrating success.
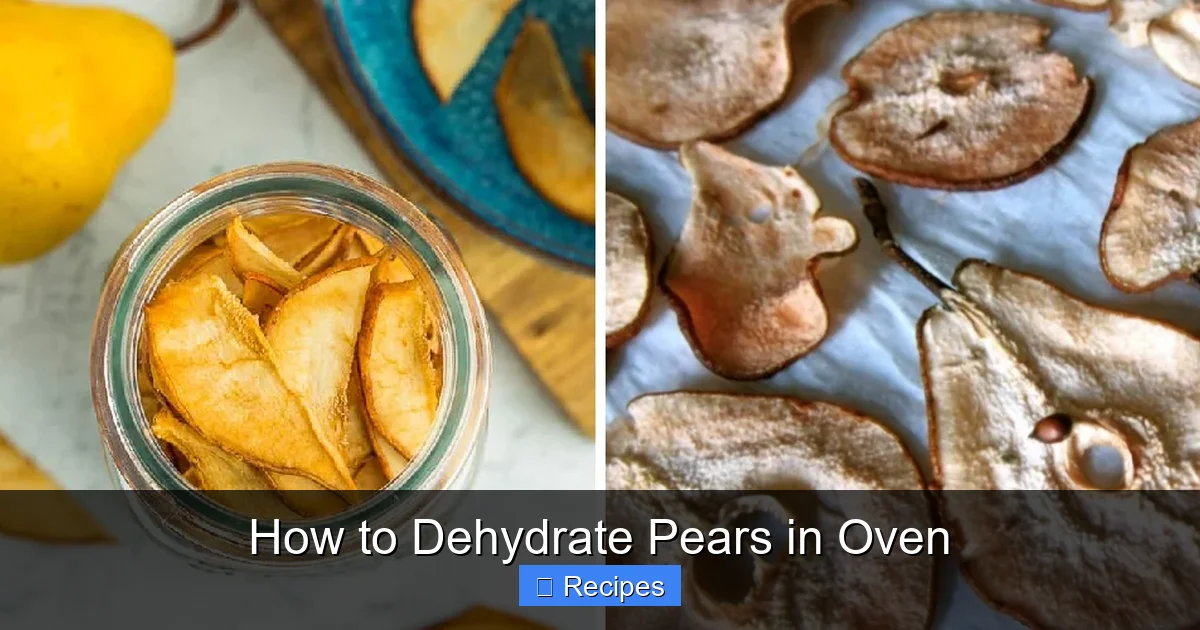
Visual guide about How to Dehydrate Pears in Oven
Image source: thekitchenix.com
Choosing the Best Pears for Dehydration
Not all pears are created equal when it comes to drying. You want pears that are ripe but still firm. Overly ripe, mushy pears will become sticky and difficult to slice cleanly, and they may never fully dry properly. Under-ripe pears will be starchy and lack sweetness, even after dehydration.
- Bartlett Pears: The classic choice. They have a classic, sweet pear flavor and a juicy texture that dehydrates beautifully into a tender-chewy result.
- Bosc Pears: Known for their firm, dense flesh and slightly spicy, cinnamon-like notes. They hold their shape exceptionally well and yield a chewier, more substantial dried slice.
- Anjou Pears: Another excellent firm variety. They have a mild, sweet flavor and dehydrate to a pleasant, flexible texture.
Avoid varieties that are extremely juicy or have a very soft, melting texture, as they can be problematic.
The Essential Prep Work: Washing, Peeling, and Coring
Once you have your perfect pears, it’s time for a little hands-on work. This process is simple but crucial.
Washing: Always wash your pears thoroughly under cool running water, even if you plan to peel them. Gently scrub the skin with a vegetable brush to remove any wax, dirt, or pesticide residues.
Peeling: While you can dehydrate pears with the skin on, the skins can become tough and leathery. For the best texture and a more appealing appearance, peeling is highly recommended. Use a sharp vegetable peeler or a paring knife. A peeled slice will be uniformly smooth and will rehydrate more evenly if you choose to use it in cooking later.
Coring & Slicing: After peeling, cut the pear in half lengthwise and use a spoon or a melon baller to remove the core and seeds. Now, slice the pear halves into uniform pieces. The ideal thickness is about ¼-inch (6 mm). Slices that are too thin will become brittle and may burn. Slices that are too thick will take forever to dry and could mold on the inside before the outside is crisp. A mandoline slicer set to ¼-inch is a fantastic tool for achieving perfect, consistent slices every single time.
Pretreatments for Perfect Color and Flavor: Don’t Skip This!
Here is the single most important step for professional-looking results: pretreatment. Fresh pear slices are prone to enzymatic browning—that unsightly brown discoloration that happens when the fruit is exposed to air. Pretreatment halts this process, preserving the beautiful pale gold or creamy white color of your pears and also helping to retain some of their Vitamin C.
Visual guide about How to Dehydrate Pears in Oven
Image source: thekitchenix.com
The Lemon Juice Bath: Your Go-To Method
This is the easiest and most accessible pretreatment. You’ll need:
- 1 cup (240ml) of water
- ¼ cup (60ml) of fresh lemon juice (or bottled)
Mix these together in a medium bowl. Immediately after slicing your pears, submerge all the slices in this lemon-water solution. Let them soak for 5-10 minutes, giving them an occasional gentle stir to ensure all surfaces are coated. Use a slotted spoon to transfer the slices to your drying rack or baking sheet, letting excess liquid drip off. The slight acidity from the lemon creates a protective barrier against oxidation.
Ascorbic Acid Powder: The Pro’s Choice
For an even more effective and flavor-neutral option, use pure ascorbic acid powder (Vitamin C powder), which you can find in the canning section of many grocery stores or online. It’s more potent and won’t impart any citrus flavor.
- Follow package directions, but typically you’ll dissolve 1 teaspoon of powder in 1 cup of cold water.
- Soak the pear slices for 2-3 minutes.
- Drain thoroughly on paper towels.
Note: If you are using a commercial fruit preserver that contains sulfites, be aware this is not a natural method and can cause allergic reactions in some individuals. The lemon or ascorbic acid methods are preferred for home dehydrating.
Setting Up Your Oven for Dehydration Success
Your oven is about to become a dehydrator. The key is to mimic the low, circulating heat of a dedicated machine. This requires a bit of strategy and maybe a small accessory or two.
Visual guide about How to Dehydrate Pears in Oven
Image source: fooddehydratorrecipes.com
Understanding Oven Temperature
The goal is to dry the pears at a temperature between 130°F and 150°F (55°C and 65°C). This range is hot enough to evaporate moisture but not so hot that it cooks the pears or creates a hard, “case-hardened” exterior that traps moisture inside—a surefire path to spoilage. The problem? Many home ovens don’t go this low. Their lowest “warm” setting is often 170°F (77°C) or higher.
- If your oven goes down to 150°F or lower: Perfect! Set it to 140°F (60°C) for a reliable, slow dry.
- If your oven’s lowest setting is 170°F or higher: This is a challenge. You can try propping the oven door open slightly with a wooden spoon or oven-safe silicone handle to allow heat and moisture to escape. This will lower the internal temperature and increase airflow. You must monitor this carefully with an oven thermometer to ensure the temperature doesn’t spike too high.
An oven thermometer is non-negotiable. Do not trust your oven’s dial. Place the thermometer on the baking sheet to get an accurate reading of the temperature where the pears are actually sitting.
The Importance of Airflow & Parchment Paper
Air must circulate around each slice. Do not overcrowd your baking sheets. Arrange the pretreated pear slices in a single layer with a small gap between each piece. They can touch slightly as they shrink, but they should not be overlapping.
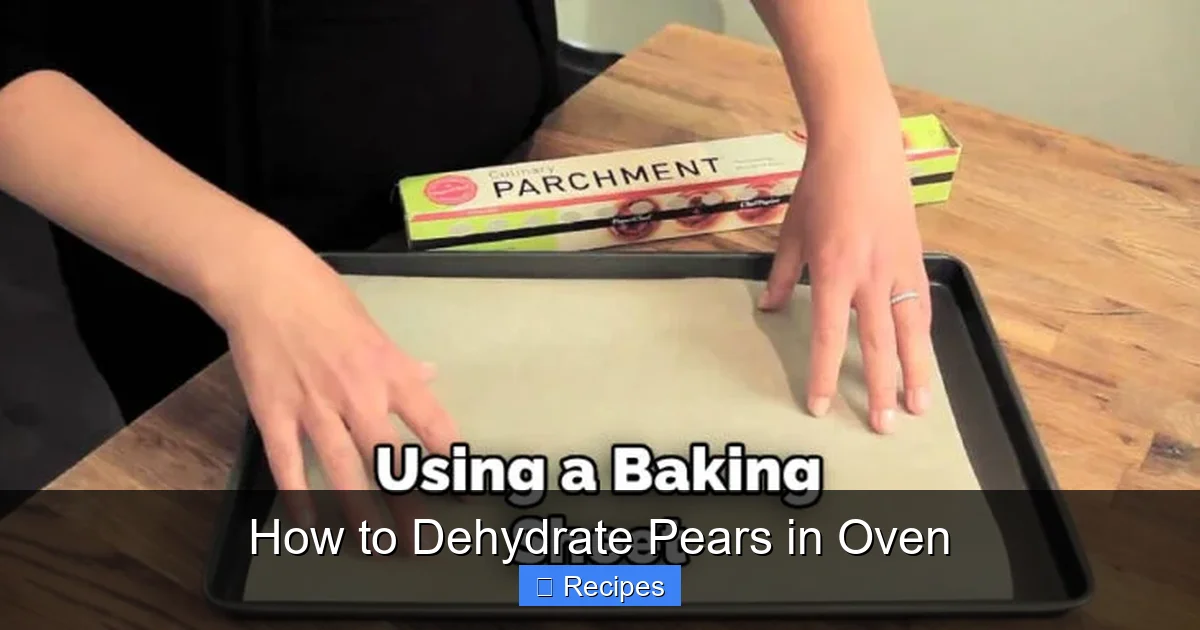
Line your baking sheets with parchment paper. This is not just for easy cleanup. It provides a non-stick surface and prevents the sugary pear juices from caramelizing and sticking to the metal pan, which can cause burning and make cleanup a nightmare.
The Dehydration Process: Patience and Observation
With your oven preheated (as best as it can be to the target range) and your sheets loaded, the waiting game begins. This phase is all about low and slow.
Drying Time and Rotation
Drying time is highly variable, depending on your oven’s true temperature, slice thickness, humidity, and the pear’s natural water content. Expect the process to take anywhere from 6 to 12 hours. Thinner slices in a well-ventilated, low oven will be on the shorter end; thicker slices or a hotter oven will take longer.
About halfway through the estimated drying time, rotate your baking sheets. Swap the top and bottom sheets, and turn each sheet front-to-back. This compensates for hot spots in your oven and promotes even drying. If you are using the “propped door” method, check the oven more frequently to monitor temperature and moisture buildup.
How to Tell When They’re Done
This is the most critical skill. You cannot rely on time alone. The “doneness test” is your guide. Begin checking the pears after about 6 hours. A properly dehydrated pear slice will be:
- Dry to the touch: It should feel completely dry, not sticky or damp.
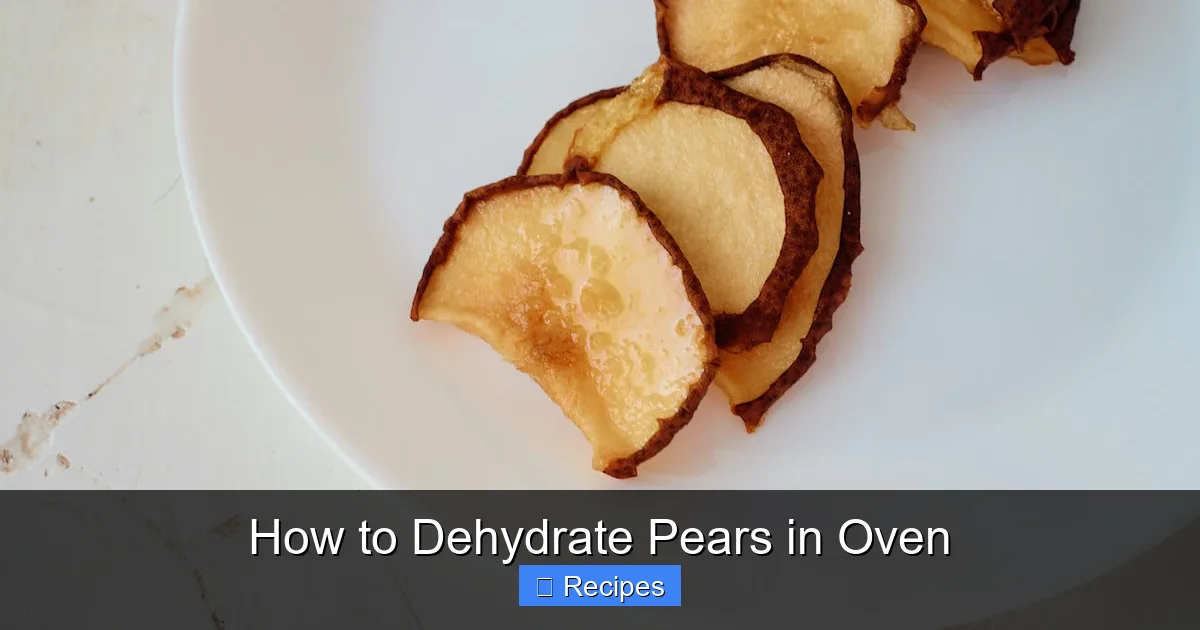
- Pliable, not brittle: When you bend a slice, it should bend without breaking. It should feel like a soft, flexible leather. If it snaps or cracks, it is over-dried and will be tough.
- No visible moisture: When you tear a piece in half, the inside should be dry and may have a few tiny pockets of moisture, but no wet spots.
Remove the fully dried slices as they finish. Thinner slices on the edge of a sheet will dry faster than those in the center. It’s perfectly fine to remove trays in stages.
Storing, Using, and Enjoying Your Dried Pears
You’ve done the work, and your kitchen smells incredible. But the process isn’t quite over. Proper conditioning and storage are what separate a 2-week snack from a 6-month treasure.
The Critical Conditioning Step
Conditioning is a simple but vital process that equalizes any remaining moisture throughout the batch. Here’s how:
- Allow the dried pear slices to cool completely on the baking sheet.
- Place them in a large, clean, dry glass jar. Do not fill it more than ⅔ full.
- Screw the lid on tightly and leave the jar at room temperature for 5-7 days.
- Once a day, shake the jar vigorously. This redistributes any pieces that may still have slight moisture.
During this week, watch for signs of condensation (water droplets) on the inside of the jar or on the slices. If you see any, the slices are not dry enough and must be returned to the oven for another 1-2 hours. If no condensation forms after a week, your batch is properly conditioned and safe for long-term storage.
Long-Term Storage Solutions
For storage, you want an airtight, moisture-proof, and light-proof environment.
- Short-Term (1-2 months): Airtight glass jars or high-quality plastic food storage containers kept in a cool, dark pantry.
- Long-Term (6+ months): Use vacuum-sealed bags or mylar bags with oxygen absorbers. Store these in the freezer. The cold dramatically slows any potential rancidity of the fruit’s natural oils and prevents insect infestation.
- Best Practice: Always store in a cool, dark place. Heat, light, and oxygen are the enemies of dried food.
Properly stored and conditioned dried pears will retain their best quality for about 6 months in the pantry, and up to a year or more in the freezer.
Creative Ways to Use Dried Pears
Don’t just eat them straight from the jar (though that’s perfectly acceptable!). These versatile gems can elevate countless dishes:
- Trail Mix & Granola: Chop them up and add to homemade granola, oatmeal, or yogurt for a burst of natural sweetness.
- Baking: Rehydrate them in warm water or tea and chop for muffins, scones, breads, or fruitcakes. They add moisture and intense flavor.
- Savory Dishes: Add a surprising sweet element to salads, grain bowls, or as a topping for roasted meats like pork or chicken.
- Infusions: Steep a few slices in hot water for a delicate, sweet pear tea.
- Charcuterie Boards: They pair beautifully with sharp cheeses like aged cheddar or gouda, nuts, and cured meats.
Troubleshooting Common Dehydrating Problems
Even with the best plan, things can go awry. Here’s how to diagnose and fix the most common issues.
Problem: Pears are Sticky or Never Fully Dry
Cause: Oven temperature is too high, creating a hard outer “case” that traps internal moisture. Slices may also be too thick.
Solution: Ensure your oven is truly at 130°F-150°F using an independent thermometer. If your oven runs hot, prop the door open. Next time, slice thinner. If a batch is already sticky, return it to the oven for a few more hours at the correct low temperature.
Problem: Pears are Brittle and Hard to Chew
Cause: Over-drying. They were left in the oven for too long.
Solution: Set a timer and start checking earlier. Remember, you want them pliable. If you accidentally over-dry a batch, you can rehydrate it by placing it in a steamer basket over simmering water for 5-10 minutes, or by soaking in warm liquid.
Problem: Pears Have Darkened Significantly
Cause: Skipped or insufficient pretreatment. The natural enzymes oxidized quickly.
Solution: Always use the lemon juice or ascorbic acid soak. Ensure slices are fully submerged for the full 5-10 minutes. This is a cosmetic issue more than a safety one (they’re still safe to eat), but it affects appeal.
Problem: Uneven Drying (Some slices dry, others are wet)
Cause: Inconsistent slice thickness or poor oven airflow/rotating.
Solution: Use a mandoline for perfect uniformity. Rotate trays and flip slices halfway through drying. Ensure your oven isn’t overcrowded and that heat can circulate freely.
Conclusion: Your Oven, Your Pantry, Your Pear Perfection
Mastering how to dehydrate pears in oven connects you to an ancient tradition of food preservation in a wonderfully modern, convenient way. It’s a skill that pays for itself in the form of healthy, homemade snacks, thoughtful gifts, and a pantry stocked with the essence of summer. The process—selecting firm fruit, slicing with care, a quick dip in lemon water, a low oven, and patient waiting—is a meditation in simplicity. There is a profound satisfaction in seeing those translucent, golden-chewy slices emerge from the oven, knowing you’ve captured flavor and nutrition in its most portable form.
So, the next time you see a beautiful box of pears at the market, consider buying a few extra. Grab your baking sheets, turn that oven to its lowest setting, and get dehydrating. You’ll be rewarded with a versatile, delicious staple that will have you wondering why you didn’t try it sooner. Your future self, reaching into the pantry for a piece of sunshine-sweet dried pear on a cold winter’s day, will thank you.
Frequently Asked Questions
Can I dehydrate pears without pretreatment (lemon juice)?
Technically yes, but they will brown significantly, turning a dark, unappealing brown. Pretreatment is highly recommended for both appearance and to preserve some vitamin C. The lemon flavor dissipates during drying, so it won’t make your pears taste lemony.
How long do dehydrated pears last?
When properly conditioned and stored in an airtight container in a cool, dark pantry, they will stay fresh and flavorful for 4-6 months. For maximum longevity and to prevent any potential for spoilage, store them in the freezer in vacuum-sealed bags for up to a year or more.
Can I use a convection oven to dehydrate pears?
Absolutely! A convection oven is actually ideal because the fan circulates air, promoting even and faster drying. If using convection, you may be able to set the temperature 10-15°F lower than a conventional oven, as the moving air is more efficient. Still, use an oven thermometer to verify the temperature and check for doneness frequently.
Why are my dried pears tough and not chewy?
This usually means they were over-dried. If left in the oven too long, all the moisture is removed, leaving a brittle, hard texture. The key is to remove them when they are dry to the touch but still pliable and flexible. They should bend without snapping.
Do I need to peel the pears before dehydrating?
Peeling is strongly recommended for the best texture. Pear skins can become tough and leathery when dried. Peeling ensures a uniformly smooth, tender-chewy slice. If you choose to leave the skin on for more fiber, be prepared for a chewier final product.
Can I dehydrate frozen pears?
Yes, you can. Thaw the frozen pears completely first. They will release a lot of liquid, so you may need to pat them dry with a towel before pretreating and slicing. The texture after dehydrating may be slightly less firm than using fresh pears, but they will still be delicious.