Don’t toss that stale bread! You can easily crisp bread in the oven to restore its delicious texture and flavor. The key is understanding why bread goes stale (it’s a starch retrogradation issue, not just drying out) and applying the right heat and moisture technique. Whether you have a crusty baguette, a sandwich loaf, or thick slices, specific oven methods—from direct heat to steam revival—can transform it. Master temperature control, timing, and proper cooling to achieve perfect crispness every time and turn leftovers into culinary gold.
Key Takeaways
- Staling is a molecular change: Bread goes stale due to starch retrogradation (crystallization), not just moisture loss. Crisping reverses this by applying heat to melt and re-set the starch structure.
- Moisture is a double-edged sword: Too much humidity makes bread chewy, not crisp. Methods either drive moisture out (direct heat) or introduce a brief burst of steam to re-gelatinize starch before drying it out.
- Temperature and time are critical: Lower temperatures (300-325°F/150-160°C) for longer periods are safer and more even for thick loaves. Higher heat (375-400°F/190-200°C) works for thin slices but requires vigilant watching to prevent burning.
- Bread type dictates the method: Dense, rustic loaves (sourdough, rye) benefit from slow oven crisping. Soft, commercial sandwich bread crisps best with a quick, high-heat blast. Sweet or enriched breads (brioche, challah) require lower heat to avoid burning sugars.
- Cooling is non-negotiable: Let crisped bread cool completely on a wire rack. This allows residual heat to finish the job and prevents steam from trapped interior moisture from making the crust soft again.
- You cannot rescue moldy bread: Crisping improves texture but does not kill mold spores. If bread shows any signs of mold, it must be discarded for safety.
- Revived bread has a short shelf life: Once crisped, bread is at its peak for a few hours. Store leftovers in an airtight container for 1-2 days and re-crisp briefly if needed.
📑 Table of Contents
- The Magic of Making Stale Bread Crisp Again
- The Science of Stale Bread: It’s Not What You Think
- Primary Methods for Oven Crisping: A Technique for Every Bread
- Essential Tools and Setup for Success
- Bread-Specific Strategies: One Size Does Not Fit All
- Troubleshooting: Why Your Crisping Failed & How to Fix It
- Beyond Crisping: Creative Uses for Your Revived Bread
- Conclusion: A Simple Skill with Delicious Returns
The Magic of Making Stale Bread Crisp Again
There’s a universal sigh of disappointment when you reach for a beautiful loaf of bread, only to find it has lost its delightful crackle and turned disappointingly soft and tough. Before you toss it in the compost or, worse, the trash, stop. The solution to this common kitchen woe is likely sitting right in your appliance lineup: your oven. Learning how to crisp bread in oven is a simple, powerful skill that transforms food waste into culinary treasure, saves you money, and elevates your meals with perfect texture. It’s not just about drying it out; it’s about a delicious resurrection.
This guide will walk you through everything, from the science of staling to foolproof methods for every type of bread. We’ll move beyond the basic “throw it in the toaster” idea and into the nuanced, reliable world of oven-based crisping. Whether you have a day-old baguette, week-old sandwich bread, or even leftover pancakes or waffles, you’ll have the knowledge to bring back that sought-after golden crunch. Forget limp toast and sad croutons; get ready for consistently excellent results.
The Science of Stale Bread: It’s Not What You Think
To master the art of crisping, you must first understand your opponent: staling. The common belief is that bread goes stale because it simply dries out and loses moisture. While moisture migration plays a role, the primary culprit is a process called starch retrogradation. When bread is baked, starch granules absorb water and swell, creating a soft, fluffy crumb. As the bread cools and ages, these starch molecules begin to recrystallize and realign, pushing water out of their structure. This expelled water migrates to the crust or evaporates, leaving the crumb dry, firm, and tough. That’s why a sealed bag of bread can feel dry even if it hasn’t lost much weight in water.
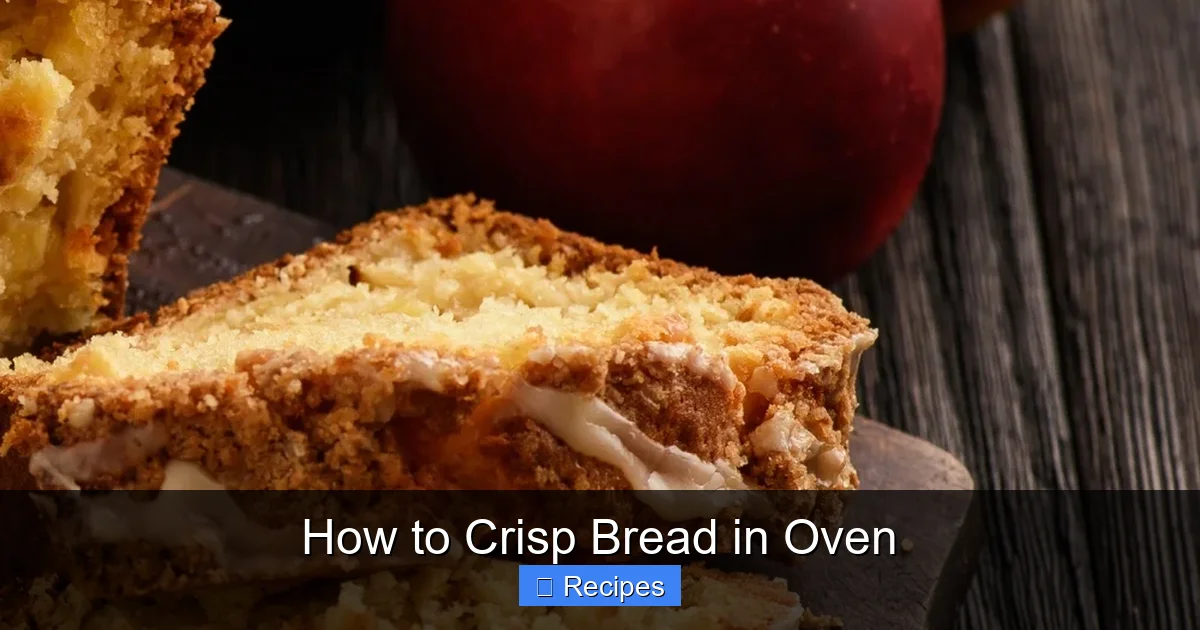
Visual guide about How to Crisp Bread in Oven
Image source: fruitydesserts.com
Why the Oven is the Perfect Battlefield
Heat is the antidote to starch retrogradation. When you apply controlled heat in an oven, you’re essentially melting those newly formed starch crystals, allowing them to reabsorb some moisture and re-gelatinize. The subsequent drying phase then creates a new, crisp crust. The oven provides even, ambient heat that penetrates the loaf without instantly burning the exterior, which is the risk with a skillet or direct flame. It’s a gentler, more controlled revival process.
Primary Methods for Oven Crisping: A Technique for Every Bread
Not all breads are created equal, and neither are the methods to crisp them. We’ll categorize the main oven techniques based on the bread’s density, moisture content, and your desired end result. The two fundamental principles are direct dry heat and steam-assisted revival.
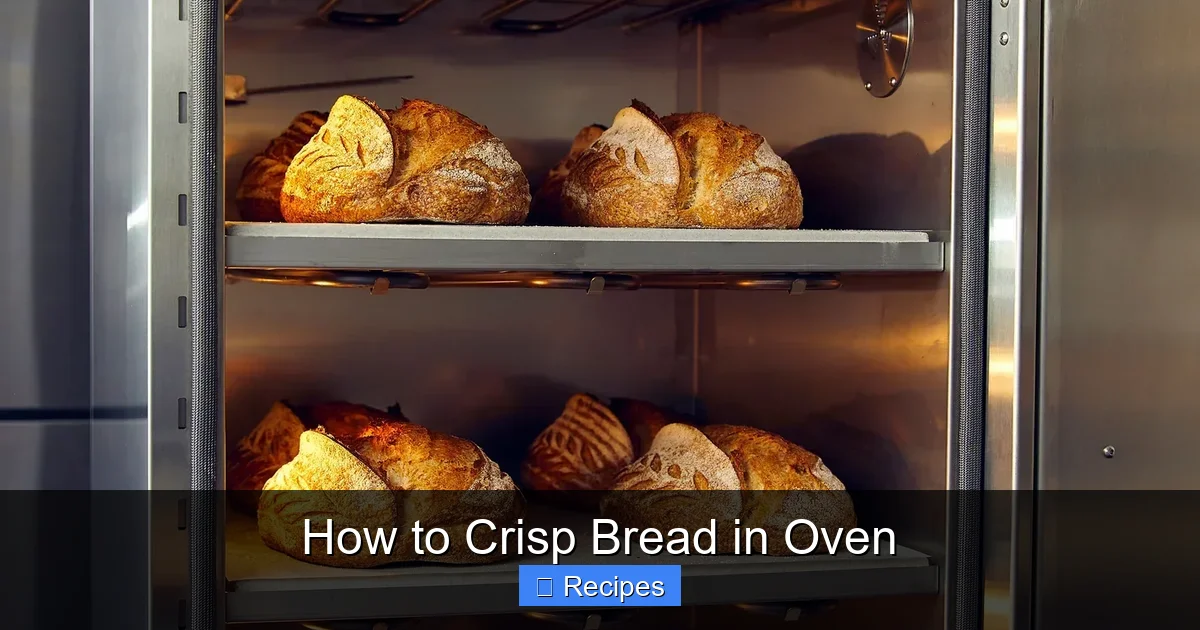
Visual guide about How to Crisp Bread in Oven
Image source: eu.simply-bread.co
Method 1: The Direct Heat Crisp (Best for Crusty Loaves & Slices)
This is the go-to method for rustic loaves like baguettes, ciabatta, sourdough boules, and even thick slices of hearty bread. The goal is to drive out excess internal moisture and re-bake the crust until it’s audibly crisp.
- Preparation: Preheat your oven to 350°F (175°C). If the loaf is very large (like a whole boule), score the top lightly with a sharp knife to allow steam to escape evenly.
- Process: Place the bread directly on the oven rack for maximum airflow. For shorter loaves or slices, use a baking sheet lined with parchment paper. Bake for 5-10 minutes for slices, or 10-15 minutes for a whole small loaf. You’re looking for a deep golden color and a firm feel.
- Pro Tip: For extra-crisp results on a baguette, spritz the loaf lightly with water from a spray bottle before placing it in the oven. The initial burst of steam helps re-gelatinize the surface starch before the dry heat crisps it.
Method 2: The Steam Revival (Best for Dense, Moist Breads)
Dense breads like rye, pumpernickel, or even whole-wheat loaves often have a tighter crumb and higher moisture content. They can benefit from a brief steam phase to rehydrate the interior slightly before crisping the exterior, preventing a tooth-breaking hardness.
- Preparation: Preheat oven to 300°F (150°C). Place a sturdy, empty metal pan on the bottom rack of the oven as it preheats.
- Process: Once preheated, carefully toss 3-4 ice cubes into the hot pan and immediately close the door. This creates a quick burst of steam. Quickly place your bread on the middle rack and bake for 12-18 minutes. The steam penetrates, and the moderate heat gently dries and crisps.
- Pro Tip: You can also mimic this by placing a ramekin with hot water on the bottom rack before adding the bread, though the ice cube method provides a more intense initial steam burst.
Method 3: The Low & Slow Re-bake (Best for Large, Thick Loaves & Brioche)
For large, heavy loaves (like a challah or a thick pain de mie) or sweet, enriched breads with high sugar content (brioche, cinnamon rolls), a gentle approach is best. High heat will scorch the sugars and burn the exterior before the interior crisps.
- Preparation: Preheat oven to a low 275-300°F (135-150°C).
- Process: Place bread on a baking sheet. Bake for 15-25 minutes, depending on size. This slow heat has time to penetrate, melt starch crystals throughout, and evaporate moisture evenly without charring.
- Pro Tip: For enriched breads, tent the loaf loosely with aluminum foil for the first half of the baking time to prevent the top from browning too quickly, then remove foil for the final crisping stage.
Essential Tools and Setup for Success
You don’t need special equipment, but a few key tools make the process more reliable and efficient.
Visual guide about How to Crisp Bread in Oven
Image source: yummiesdeli.com
The Oven: Your Most Important Tool
Conventional ovens work perfectly. If you have a convection (fan-assisted) oven, use it! The circulating air promotes even drying and crisping, often reducing time by 2-3 minutes. However, watch more closely as convection can accelerate browning. Always know your oven’s true temperature with an oven thermometer; many home ovens run hot or cold.
Racks and Pans: Maximizing Airflow
The ideal setup is placing bread directly on the middle or lower-middle oven rack. This allows hot air to circulate above and below. If your bread is very soft or small and might fall through, use a wire rack set inside a baking sheet. The wire rack elevates the bread, allowing air to circulate underneath, which is crucial for all-around crispness. Avoid solid baking sheets without a rack, as the bottom can steam and soften.
Optional but Helpful: The Dutch Oven
For a whole, round sourdough boule that’s gone soft, a preheated Dutch oven is a miracle worker. Preheat the Dutch oven (with lid) at 450°F (230°C) for 30 minutes. Place the loaf inside, score the top, cover, and bake for 10 minutes. Then, remove the lid and continue baking for another 15-20 minutes. The trapped initial steam revives the crumb, and the uncovered phase creates a crackly crust. This is essentially a mini professional bakery setup in your kitchen.
Bread-Specific Strategies: One Size Does Not Fit All
Applying the wrong method to the wrong bread is a common cause of failure. Here’s a quick-reference guide.
- Crusty Artisan Loaves (Baguette, Ciabatta, Sourdough): Use Method 1 (Direct Heat) at 350-375°F. Slice after crisping for perfect dipping. A quick spritz of water before baking enhances results.
- Dense Whole-Grain & Rye Breads: Use Method 2 (Steam Revival) at 300-325°F. The steam prevents a dry, crumbly texture and revives the moist, dense character.
- Soft Sandwich Bread & Hamburger Buns: Use a hybrid. Lightly mist slices or buns with water, then use Method 1 at a slightly higher temp (375°F) for 4-6 minutes. This gives a crisp exterior without making the interior tough.
- Sweet & Enriched Breads (Brioche, Challah, Banana Bread): Use Method 3 (Low & Slow) at 275-300°F. The low heat protects the sugars and butter from burning while gently reviving the tender crumb.
- Flatbreads & Pizza Crusts: Use Method 1 at a high temp (400°F) for a very short time (3-5 minutes). They crisp up quickly due to their thinness.
- Pancakes, Waffles, French Toast: These are best crisped on a baking sheet at 350°F for 5-8 minutes. They are already cooked; you’re just removing surface moisture and re-browning.
Troubleshooting: Why Your Crisping Failed & How to Fix It
Even with the best plan, things can go wrong. Here’s how to diagnose and solve common problems.
“My bread is hard as a rock!”
Cause: Over-crisping or using too high a heat for too long, which evaporates *all* moisture, including the moisture that should be in the crumb. This often happens with thin slices or soft breads.
Fix: Next time, lower the temperature by 25°F and reduce time by 2-3 minutes. For already rock-hard bread, you can sometimes rescue it by brushing it very lightly with water or milk and warming it at a very low temp (250°F) for 3-4 minutes, but prevention is key.
“The crust is crisp, but the inside is still soft and gummy.”
Cause: The bread was too thick or dense for the chosen time/temp. The exterior crisped before the interior starch could fully retrograde and dry out.
Fix: Use the Low & Slow method (275-300°F) for a longer duration. For a whole loaf, you may need 20-30 minutes. The slower heat penetrates more evenly. You can also tent the loaf with foil for the first half of cooking to prevent crust over-darkening while the center catches up.
“It’s crispy right out of the oven, but it goes soft again in minutes.”
Cause: The bread was not allowed to cool completely. Trapped steam inside the loaf, unable to escape, migrates back to the crust as it cools, softening it. Also, crisping on a solid surface without airflow can trap moisture on the bottom.
Fix: Always cool on a wire rack. This allows air to circulate on all sides, letting any residual steam escape. Be patient; wait at least 15-20 minutes for a loaf, 5-10 minutes for slices, before serving or storing.
“It tastes burnt or bitter.”
Cause: Temperature was too high, or bread was placed too close to the heating element. Sugars in the bread (especially in brioche, wheat breads, or burnt edges) caramelized and then burned.
Fix: Lower the oven temperature. Use the middle rack, not the top. For sweet breads, always use the Low & Slow method. If the top is browning too fast, tent loosely with foil for part of the bake time.
Beyond Crisping: Creative Uses for Your Revived Bread
Once you’ve mastered the technique, a world of culinary possibilities opens up. Crisped bread isn’t just for eating plain.
- Homemade Croutons: The #1 use! Cut your crisped bread into cubes, toss with olive oil, salt, and herbs, and bake for 5 more minutes at 400°F. Toss into salads, soups, or pasta.
- Fresh Breadcrumbs: Pulse crisped bread (especially crusty loaves) in a food processor. You get light, airy, flavorful crumbs perfect for coating cutlets, topping casseroles, or binding meatballs. Store in the freezer.
- Panzenella or Ribollita: Tear crisped stale bread into a bowl of ripe tomatoes, cucumber, and onions, dress with vinaigrette, and let sit for 10 minutes. The bread soaks up the juices, becoming tender yet still textured—a classic Italian use for stale bread.
- Bread Pudding & Stratas: Crisped bread actually works *better* than fresh for these dishes. Its dry, porous texture soaks up custard more evenly, preventing a soggy result. Use your oven-crisped bread as the base.
- Savory Toast Toppings: A crisp slice is the perfect vehicle for mashed avocado, ricotta and honey, bruschetta topping, or a fried egg. The crispness provides a satisfying contrast to soft toppings.
- Gratin & Casserole Layers: Layer crisped bread cubes in place of fresh in dishes like mac and cheese or vegetable gratin. They hold their shape better and add a delightful textural layer.
Conclusion: A Simple Skill with Delicious Returns
Crisping bread in the oven is more than a food-saving hack; it’s a fundamental kitchen technique that connects you to the tradition of using every part of your food. By understanding the simple science of starch retrogradation and matching your bread type to the right heat and time, you gain complete control over texture. You’ll never again face the sadness of a discarded, perfectly good loaf. Instead, you’ll have a reliable method to create perfect croutons, ideal toast, and resurrected artisan breads with that coveted crackle. It requires only minutes of your time and your oven, but it returns immeasurable value in flavor, texture, and the quiet satisfaction of a job well done. So preheat that oven, grab your stale loaf, and get crisping.
Frequently Asked Questions
Can I crisp frozen bread directly in the oven?
Yes, but it’s better to thaw it first for even results. If crisping from frozen, use a lower temperature (300°F) and add 5-8 minutes to the time. Be aware that excess ice crystals may create more initial steam, which can slightly soften the crust before it crisps.
What’s the ideal oven temperature for crisping bread?
There is no single ideal temperature. For most crusty loaves and slices, 350-375°F (175-190°C) is perfect. For dense, moist breads or enriched breads, drop to 275-300°F (135-150°C). For very thin items like crackers or pizza, 400°F (200°C) for a short time works.
How long does crisped bread stay crispy?
At its peak, crisped bread is perfect for 2-4 hours if left exposed on a counter. Once it begins to absorb ambient humidity, it will soften. Store leftovers in an airtight container for up to 2 days. To refresh, simply re-crisp in a 300°F oven for 3-5 minutes.
Can I crisp bread that has mold on it?
No. While heat can kill some bacteria, the mold roots and mycotoxins produced by mold are heat-resistant and can make you sick. If you see any fuzzy spots of any color, discard the entire loaf. Crisping is only for stale, non-moldy bread.
Should I wrap bread in foil when crisping it?
Never wrap it in foil. Foil traps steam, which is the enemy of crispness. The goal is to allow moisture to escape. Always place bread on an open rack or a baking sheet. Foil is only useful as a tent to *prevent* over-browning on the top of very large or sweet loaves.
Is convection better for crisping bread?
Yes, convection is generally superior. The fan circulates hot air, promoting faster and more even moisture evaporation and browning. If using convection, reduce the suggested temperature by 25°F and check for doneness 2-3 minutes earlier than the recipe states.

Pingback: Amish Friendship Bread Starter Recipe in a Bag - kitchenandhouseware.com