Buckwheat is a nutritious, gluten-free pseudo-cereal that’s surprisingly simple to cook perfectly with the right technique. In 2026, modern kitchen equipment like precision cookers and smart appliances make achieving ideal texture—fluffy yet tender—easier than ever. The key is understanding your buckwheat variety, mastering the water-to-grain ratio, and allowing a proper steam rest. Follow this guide to transform this ancient staple into a delicious, versatile base for any meal.
Hello, fellow food explorer! If you’ve ever stared at a bag of buckwheat groats wondering, “How do I actually cook this without turning it into mush?” you’re in the right place. Buckwheat—despite its name—isn’t a wheat at all. It’s a nutritious, gluten-free pseudo-cereal related to rhubarb, and it’s having a massive moment in 2026, not just for health but for its incredible, nutty versatility. Whether you’re using it as a rice substitute, in porridge, salads, or even baking, mastering the basic cook is your first step to kitchen magic. Forget any complicated techniques. With a few smart tips and an understanding of this grain’s unique personality, you’ll be serving up perfectly fluffy, tender buckwheat in under 20 minutes. Let’s dive in.
Key Takeaways
- Rinse Always: Thoroughly rinsing buckwheat under cold water removes any residual bitterness (from naturally occurring fagopyrins) and dust, ensuring a clean, pure flavor.
- Ratio is Critical: The perfect water-to-buckwheat ratio is 1.5:1 for whole groats and 1.25:1 for pre-toasted (kasha). Precision matters for ideal texture.
- Toast for Depth: Toasting raw buckwheat groats in a dry pan for 2-3 minutes before boiling enhances its signature nutty aroma and flavor dramatically.
- Rest is Non-Negotiable: After cooking, letting buckwheat steam off the heat, covered, for 10 minutes is essential. This allows grains to fully absorb moisture and become tender without becoming mushy.
- Modern Equipment Helps: Tools like electric kettles for precise water temperature, rice cookers with “buckwheat” settings, and instant pots simplify the process and ensure consistency.
- Flavor the Water: Cooking in lightly salted water or broth, and adding aromatics like a bay leaf or garlic clove, infuses the grains with subtle, savory depth from the inside out.
- It’s Not Rice: Buckwheat has a unique structure. It becomes tender but retains a slight bite (al dente). It should never be cooked until completely soft and gummy like some rice varieties.
📑 Table of Contents
- Understanding Your Buckwheat: Raw Groats vs. Kasha
- The 2026 Equipment Evolution: Tools for Perfect Buckwheat
- The Fundamental Method: Step-by-Step to Fluffy Buckwheat
- Flavor Infusion: Going Beyond Plain Buckwheat
- Troubleshooting: Why Is My Buckwheat Mushy/Undercooked?
- Storing and Reheating Cooked Buckwheat
- Conclusion: Your Buckwheat Journey Starts Now
Understanding Your Buckwheat: Raw Groats vs. Kasha
Before we talk water and pots, we need to identify what we’re working with. The buckwheat you find in stores generally comes in two forms, and they cook differently.
Raw Buckwheat Groats (Green/Unhulled)
These are the whole, unprocessed seeds. They have a light greenish-tan color and a very mild, slightly grassy flavor. They require toasting to develop their full, rich, nutty character. They also have a slightly firmer texture when cooked compared to their pre-toasted cousin. If you buy bulk buckwheat or see it labeled simply as “buckwheat groats,” this is likely what you have.
Kasha (Pre-Toasted Buckwheat)
Kasha is simply raw buckwheat groats that have been roasted. This process turns them a deep brown and unlocks a powerful, earthy, almost cocoa-like nuttiness. It’s the traditional Eastern European staple. Because it’s already toasted, kasha cooks faster and is more flavorful right out of the gate. It’s also less bitter, as the toasting process reduces certain compounds. In 2026, you’ll find both widely available, but kasha is often the go-to for a quick, deeply flavorful side dish.
Pro 2026 Tip: Some innovative brands now offer “hulled buckwheat” where the outer hull is mechanically removed, leaving just the seed. This cooks even faster and has a more delicate texture. Check your package label to know your starting point.
The 2026 Equipment Evolution: Tools for Perfect Buckwheat
Gone are the days of guessing and inconsistent stovetop results. The modern kitchen in 2026 is equipped with tools that take the guesswork out of cooking grains. The category is “Equipments” for a reason—your tools directly impact your outcome.

Visual guide about How to Cook Buckwheat? Good Cooking Tips in 2026
Image source: m.media-amazon.com
The Classic, Reliable Saucepan (But Better)
A good, heavy-bottomed saucepan with a tight-fitting lid is still the gold standard. The heavy bottom prevents scorching, and the tight lid is crucial for trapping steam. Look for one with a capacity of about 2-3 quarts for cooking up to 1 cup of dry buckwheat. In 2026, many feature improved non-stick interiors (ceramic-based) that make cleanup from any occasional sticky starch a breeze.
Precision Electric Kettles
This is a game-changer. Instead of measuring cold tap water and hoping for the best, use an electric kettle with temperature control. Why? Because starting with hot water (just off the boil) ensures the pot returns to a boil faster, leading to more even cooking and less total cook time. Set it to 200°F (93°C) for a gentle start or 212°F (100°C) for a full, rolling boil.
The Smart Rice Cooker / Multi-Cooker
Yes, your fancy Zojirushi or Instant Pot can handle buckwheat beautifully. Most modern rice cookers have a “mixed grain” or “brown rice” setting that works perfectly for buckwheat. The beauty is in the automation: it brings it to a boil, reduces heat, and switches to a perfect keep-warm/steam cycle. Just be sure to use the correct water ratio (see below) as these appliances are calibrated for rice. The Instant Pot or similar electric pressure cookers are fantastic; the “Manual” or “Pressure Cook” setting on high for just 2 minutes (for whole groats) yields incredible, separate grains. The natural pressure release is your steam rest.
The Game-Changer: The Precision Cooker (Sous Vide for Grains)
For the ultimate control and foolproof results, serious home cooks in 2026 are using immersion circulators for grains. Buckwheat groats sealed in a bag with exactly the right amount of water (1.5x weight) cook at a precise 185°F (85°C) for 45-60 minutes. The result is uniformly tender, never overcooked, grains with perfect texture every single time. It’s a set-it-and-forget-it luxury that eliminates all variables.
Essential Non-Tech Gear
Don’t forget the basics: a fine-mesh strainer for rinsing, a wooden spoon for stirring, and a measuring cup and scale. Speaking of scales—in 2026, we highly recommend weighing your buckwheat and water. Volume measurements (cups) can vary wildly based on how you pack the cup. Weight (grams) is consistent. A 1:1.5 ratio by weight (e.g., 100g groats to 150g water) is your foolproof formula.
The Fundamental Method: Step-by-Step to Fluffy Buckwheat
Now, let’s get our hands dirty. This is the core technique that works on the stovetop, adaptable to any of the tools above.
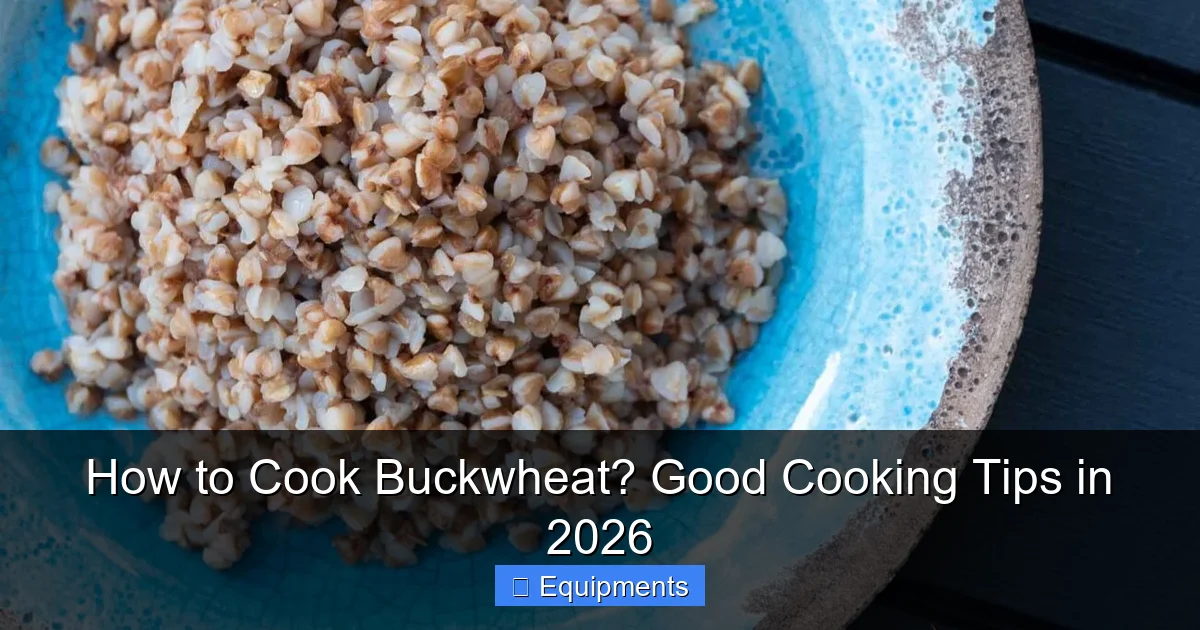
Visual guide about How to Cook Buckwheat? Good Cooking Tips in 2026
Image source: modernfamilycook.com
Step 1: The Rinse & Optional Toast
Place your buckwheat in a fine-mesh strainer. Rinse it thoroughly under cold running water for 30-60 seconds, swishing it with your fingers. This removes any bitter saponins (fagopyrins) and dust. If you have raw groats, this is your moment to toast. Heat a dry saucepan over medium heat. Add the rinsed and drained groats. Stir constantly for 2-4 minutes until they smell deeply nutty and turn a shade darker. Listen for a gentle popping sound. Immediately tip them into a bowl to stop the cooking. This step is non-negotiable for raw groats and highly recommended even for kasha to wake up the flavors.
Step 2: The Perfect Water Ratio & Boil
Return the toasted (or rinsed kasha) to your clean, dry saucepan. Add your measured water or broth. For whole toasted groats (kasha) or raw groats, use a 1:1.25 ratio by volume (e.g., 1 cup groats to 1 1/4 cups liquid). If you’re using a precision method or scale, aim for 1:1.5 by weight. Add a pinch of salt. Bring to a full, rolling boil over high heat. If using an electric kettle, pour the hot water over the groats in the pot and then bring to a boil.
Step 3: Simmer, Don’t Stir
Once boiling, immediately reduce the heat to the lowest possible setting that maintains a very gentle simmer—you should see just a few small bubbles breaking the surface. Stir once, right after reducing the heat, to prevent sticking. Then, and this is crucial, do not stir again. Cover the pot tightly with the lid. Let it simmer undisturbed.
Step 4: The Cook Time & Steam Rest
For kasha (pre-toasted), cook for 12-15 minutes. For raw groats, cook for 15-20 minutes. You’ll know it’s done when the water is fully absorbed and the grains are tender but still have a slight bite. Do not lift the lid to check early. The steam is essential. Once the time is up, turn off the heat. Leave the lid on and let it sit, untouched, for 10 minutes. This is the steam rest, and it’s the secret weapon. It allows the grains to finish steaming in their own residual heat and moisture, becoming perfectly fluffy and separate. After 10 minutes, fluff with a fork. You should see distinct, tender grains. If there’s excess water, drain it off immediately before resting.
Flavor Infusion: Going Beyond Plain Buckwheat
Cooking buckwheat in plain water is fine, but infusing it with flavor takes it from side dish to star component. Here’s how to build layers of taste.
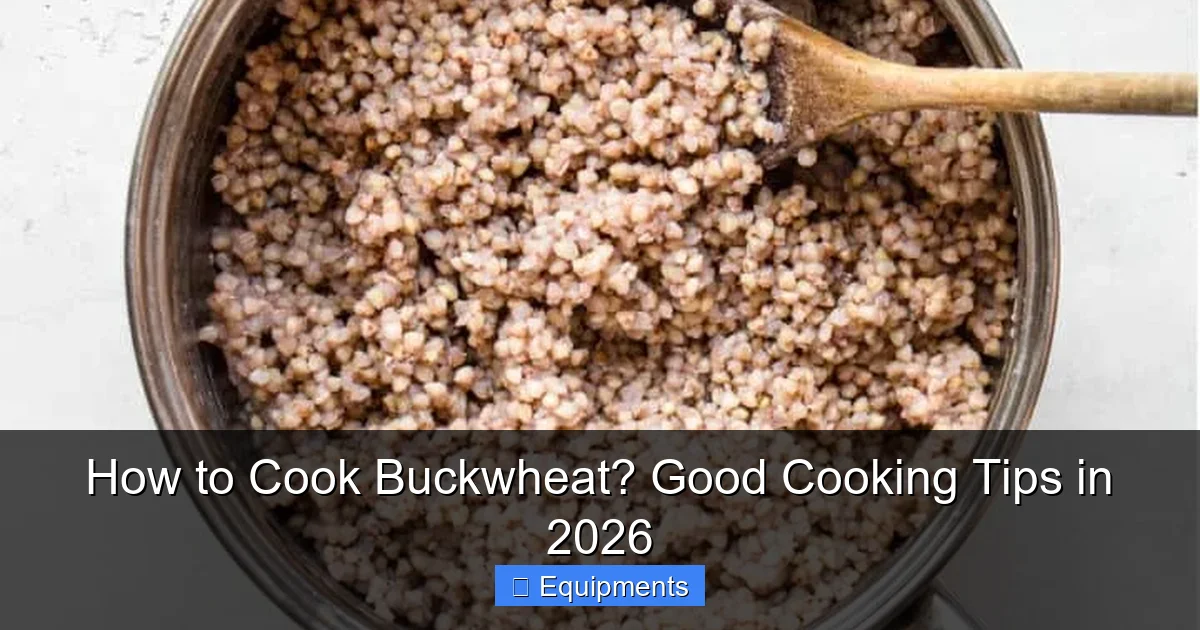
Visual guide about How to Cook Buckwheat? Good Cooking Tips in 2026
Image source: cookingwithelo.com
Infuse the Cooking Liquid
Instead of plain water, use low-sodium vegetable or chicken broth. For a subtle herbal note, add a bay leaf, a few sprigs of thyme, or a smashed garlic clove to the water before boiling. Remove the aromatics before fluffing. A drizzle of good olive oil or a pat of butter stirred in at the end adds richness and helps prevent sticking.
The Toasting Upgrade
Elevate your toast step. After rinsing, toast the groats in a dry pan with a tiny drizzle of avocado oil or a small knob of butter. You can also add a pinch of smoked paprika or cumin seeds to the pan for the last 30 seconds of toasting. This coats the grains with a flavorful fat and spice layer before they even hit the water.
Post-Cook Seasoning & Mix-Ins
Once fluffy and rested, buckwheat is a blank canvas. Toss it with:
- Vinaigrette: A simple lemon-dijon vinaigrette while still warm makes a classic buckwheat salad.
- Fresh Herbs: Chopped dill, parsley, chives, or scallions.
- Nuts & Seeds: Toasted walnuts, pecans, or pumpkin seeds for crunch.
- Umami Boosters: Crumbled feta, goat cheese, or a sprinkle of nutritional yeast.
- Sautéed Veggies: Fold in sautéed mushrooms, onions, or bell peppers.
Troubleshooting: Why Is My Buckwheat Mushy/Undercooked?
Even with the best equipment, things can go wrong. Let’s diagnose common issues.
“It’s Mushy and Sticky”
Cause: Too much water, insufficient resting time, or stirring during cooking. Buckwheat starch can break down if over-agitated or over-hydrated.
Fix: Use less water next time—try 1:1.2 ratio. Ensure your lid fits tightly. After cooking, drain any surface water immediately and extend the steam rest to 15 minutes. Fluff immediately with a fork to separate grains.
“It’s Hard and Crunchy”
Cause: Not enough water, heat too low, or cooking time cut short. The grains haven’t absorbed enough moisture.
Fix: Add 2-3 tablespoons of boiling water to the pot, cover, and return to low heat for 5 more minutes. Then let rest. In the future, use a bit more water or a tighter-fitting lid to retain steam.
“It Tastes Bitter”
Cause: Typically from raw groats that haven’t been rinsed or toasted properly. The bitterness comes from natural compounds on the hull.
Fix: Always rinse thoroughly. Toasting is essential for raw groats—it neutralizes bitterness and develops flavor. If you still taste it, you may have a particularly bitter batch; consider using it in a strongly flavored dish like a hearty stew where it will absorb other flavors.
“It Boiled Over”
Cause: Heat too high, or pot too small.
Fix: Use a larger pot. Once boiling, reduce heat to a true simmer. You can also leave the lid slightly ajar for the first 2 minutes of simmering to let vigorous steam escape, then cover tightly.
Storing and Reheating Cooked Buckwheat
Cooked buckwheat is a fantastic meal prep hero. Store it properly to enjoy it all week.
Cooling and Refrigeration
Spread the cooled, fluffed buckwheat in a single layer on a baking sheet for 15-20 minutes to let steam escape and prevent sogginess. Transfer to an airtight container. It will keep in the refrigerator for 5-7 days.
Reheating for Best Texture
The microwave is fine, but it can make grains rubbery. For best results, reheat in a steamer basket over simmering water for 5-7 minutes, or in a dry skillet with a splash of water or broth, covered, over medium-low heat, fluffing occasionally. The stovetop method revives the fluffy texture best.
Freezing for Long-Term Storage
Portion cooled buckwheat into freezer-safe bags or containers. Lay flat to freeze. It will keep for 3 months. Thaw overnight in the fridge or reheat directly from frozen using the stovetop steaming method with a little extra liquid.
Conclusion: Your Buckwheat Journey Starts Now
Cooking buckwheat doesn’t have to be a mystery. It’s a simple, rewarding skill that unlocks a world of nutritious, gluten-free meals. The core principles are universal: rinse, toast (if raw), respect the water ratio, simmer gently, and REST. Whether you’re using a vintage saucepan or a 2026 smart cooker with grain-specific algorithms, these fundamentals won’t change. Buckwheat’s beautiful, earthy flavor and firm-yet-tender texture make it the perfect vehicle for everything from a quick weekday bowl to an elegant dinner party side. So grab your groats, choose your favorite modern tool, and cook with confidence. Your future self, digging into a fluffy, perfectly seasoned bowl of buckwheat, will thank you. Happy cooking!
Frequently Asked Questions
Do I need to soak buckwheat before cooking?
No, soaking is not required and is generally not recommended for buckwheat groats. Unlike some legumes or tougher grains, buckwheat cooks quickly and soaking can actually make it too soft and mushy. A thorough rinse is all the prep it needs.
Can I cook buckwheat in a rice cooker?
Absolutely! Most modern rice cookers handle buckwheat well. Use the “brown rice” or “mixed grain” setting. Use the 1:1.25 water-to-buckwheat ratio (by volume) and follow your cooker’s instructions. The “keep warm” function acts as a perfect steam rest.
What’s the difference between buckwheat flour and groats?
>Buckwheat flour is ground buckwheat groats and is used for baking pancakes, noodles (soba), and crepes. Buckwheat groats are the whole seed, which you cook like a grain. They are not interchangeable in recipes; one is a flour, the other is a cooked grain.
Is buckwheat gluten-free?
Yes, pure buckwheat is naturally gluten-free. However, if you have celiac disease or a severe gluten intolerance, always check the package for a “gluten-free” certification label, as cross-contamination can occur during processing in facilities that also handle wheat.
Why does my cooked buckwheat taste bitter?
Bitterness usually comes from raw, unrinsed, or untoasted groats. The bitterness is from naturally occurring compounds on the seed’s surface. Always rinse buckwheat thoroughly under cold water. If using raw (green) groats, toasting them in a dry pan for a few minutes before cooking is essential to remove bitterness and develop a nutty flavor.
Can I use buckwheat instead of rice or quinoa?
Yes, in most savory applications. It has a heartier, more distinct nutty flavor and a slightly chewier texture than white rice. Use it as a base for bowls, in salads, or as a side dish. It pairs exceptionally well with mushrooms, roasted vegetables, and hearty sauces. The cooking method and liquid ratio are different from rice or quinoa, so adjust accordingly using the guidelines in this article.
Pingback: How to Cook Pearl Couscous - kitchenandhouseware.com
Pingback: How to Cook Green Lentils - kitchenandhouseware.com