White kitchen cabinets add brightness but show dirt easily. Regular, gentle cleaning is key to preventing buildup and yellowing. Always identify your cabinet finish (painted, laminate, thermofoil) before cleaning to avoid damage. A simple routine of wiping with mild soap and water, followed by thorough drying, maintains their beauty for years.
Oh, white kitchen cabinets. They’re the hallmark of a bright, clean, and modern kitchen. That crisp, airy feel is unmatched. But let’s be real—anyone who has them knows they come with a built-in feature: they show everything. A single fingerprint, a faint water spot, a ghost of yesterday’s cooking grease… it’s all there, screaming for attention. The frustration is real. You want that brilliant white to stay brilliant, but you also live in your kitchen. Spills happen. Steam happens. Life happens.
The secret to keeping white cabinets looking pristine isn’t about finding some magical, harsh chemical potion. It’s about understanding your specific cabinet material, establishing a gentle but consistent routine, and knowing exactly how to tackle the common culprits without causing damage. This guide will walk you through every step, transforming the dread of cabinet cleaning into a manageable, even satisfying, part of your kitchen upkeep. We’ll cover daily habits, deep-cleaning methods for every finish, and battle-tested solutions for stubborn stains, so your white cabinets remain a source of pride, not stress.
Key Takeaways
- Identify Your Finish: Painted, laminate, thermofoil, and solid wood cabinets each require different cleaning approaches to avoid damage.
- Gentle is Best: Harsh chemicals and abrasive scrubbers are the primary causes of finish damage and premature wear on white cabinets.
- Dry Thoroughly: Water is a cabinet’s enemy. Always wipe surfaces completely dry after any cleaning to prevent water spots and warping.
- Prevention is Priority: A quick daily wipe-down with a damp microfiber cloth is more effective than weekly deep cleans.
- Test First: Always test any new cleaning solution on a hidden area (like inside a door) to check for adverse reactions.
- Address Stains Immediately: Grease, water spots, and yellowing are much easier to remove when tackled as soon as they appear.
📑 Table of Contents
Why White Cabinets Need Special Care
Before we dive into the “how,” it’s crucial to understand the “why.” White cabinets aren’t just a color; they’re a canvas. Their reflective nature means any discoloration, buildup, or surface damage is highly visible. But the challenges go deeper than aesthetics.
The Science of Yellowing and Discoloration
That unsightly yellow or beige tinge that can develop over time, especially on older painted cabinets, isn’t just surface dirt. It’s often a chemical reaction. Factors like nicotine smoke, cooking oils and grease that have baked into the finish over years, and even certain types of light (UV rays) can cause the pigments in paint or laminate to break down and shift hue. The porous nature of some finishes allows these substances to penetrate slightly, making simple surface cleaning ineffective. This is why prevention and immediate spot treatment are your first lines of defense.
Material Matters: Not All White Cabinets Are Created Equal
Using the wrong cleaner on your cabinets can be catastrophic. A cleaner safe for a glossy laminate surface might strip the delicate finish off a thermofoil door. An abrasive sponge that removes a tough grease stain from a painted cabinet might leave it with a permanent dull patch. The three most common types you’ll encounter are:
- Painted (MDF or Wood): This has a layer of paint (often an acrylic or water-based enamel) over a substrate. It’s susceptible to chipping, water damage at seams, and the yellowing mentioned above. The sheen can be matte, satin, or semi-gloss.
- Laminate: A plastic-type surface (like Formica) bonded to a particleboard core. It’s non-porous, highly durable, and resistant to stains, but the seams and edges are vulnerable to moisture. Scratches can be difficult to repair.
- Thermofoil: A vinyl sheet that’s heat-wrapped over an MDF door, creating a seamless, completely non-porous surface. It’s excellent for moisture and stains but can be damaged by excessive heat (from a dishwasher vent or oven) and harsh solvents that melt the vinyl.
Identifying which you have is the single most important step. Look at the cabinet edges. Laminate and thermofoil will show a thin, often slightly rounded, vinyl edge. Painted cabinets will have a painted edge, sometimes with a visible seam. When in doubt, consult your cabinet manufacturer’s guide or start with the mildest cleaner and test.
The Daily & Weekly Maintenance Routine
The easiest way to clean white cabinets is to never let them get truly dirty. A consistent, light maintenance routine prevents the need for harsh deep cleans and protects the finish. Think of it like brushing your teeth—a little effort every day saves a painful (and damaging) procedure later.
Visual guide about How to Clean White Cabinets in Kitchen
Image source: abbottsathome.com
The 60-Second Daily Wipe-Down
After cooking, especially if you’ve been frying or sautéing, take a damp microfiber cloth and wipe down the cabinet fronts, particularly around the stove and sink areas. Grease and steam are the #1 enemies. A dry microfiber cloth immediately following the damp one is non-negotiable. This removes the fine film of cooking aerosol that settles on surfaces. Do the same for the cabinet pulls and handles. This takes less than a minute per run of cabinets and makes a monumental difference.
Your Weekly Deep-Clean Blueprint
Once a week, dedicate 15-20 minutes to a more thorough clean. Here’s the fail-safe method:
- Clear the Surface: Remove any items from countertops that touch the cabinet doors (toasters, canisters, decorative objects).
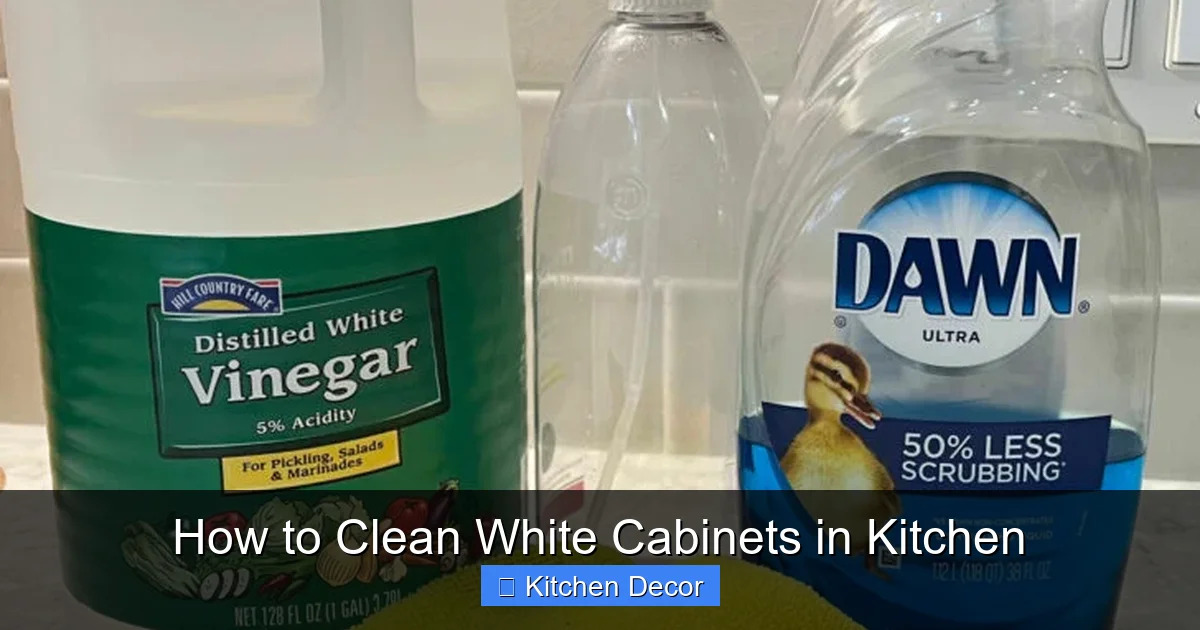
- Prepare Your Solution: Fill a small bucket or bowl with warm water and add one teaspoon of mild dish soap (like Dawn or Ivory Liquid). Dish soap is formulated to cut grease but is gentle enough for most finishes when diluted properly.
- Wash: Dip a soft, clean microfiber cloth into the solution, wring it out until it’s only damp (not dripping), and wipe the cabinet doors in sections. Start from the top and work down. Use gentle, circular motions. For textured or grooved doors (like Shaker style), use a soft-bristled toothbrush dipped in the solution to agitate the crevices.
- Rinse: Rinse your cloth frequently in clean, warm water to avoid spreading soap residue. Then, go over the entire surface with a cloth dampened with only clean water to remove any soap film. Soap residue itself can attract dirt and cause a dull film.
- Dry IMMEDIATELY: This is the most critical step. Use a separate, dry, lint-free microfiber towel. Buff the surface dry with light pressure. Pay special attention to seams, corners, and the bottom edge of doors where water can pool. Leave no moisture behind.
Pro Tip: For an extra streak-free shine on glossy finishes, after drying with a microfiber towel, buff with a piece of clean, crumpled newspaper. The ink helps cut through any remaining film.
Deep Cleaning Methods for Specific Finishes
When the weekly routine isn’t enough and you have noticeable buildup, you need to escalate your method based on your cabinet’s material. Always, always test any new solution in an inconspicuous spot first, like the inside of a pantry door.
Visual guide about How to Clean White Cabinets in Kitchen
Image source: abbottsathome.com
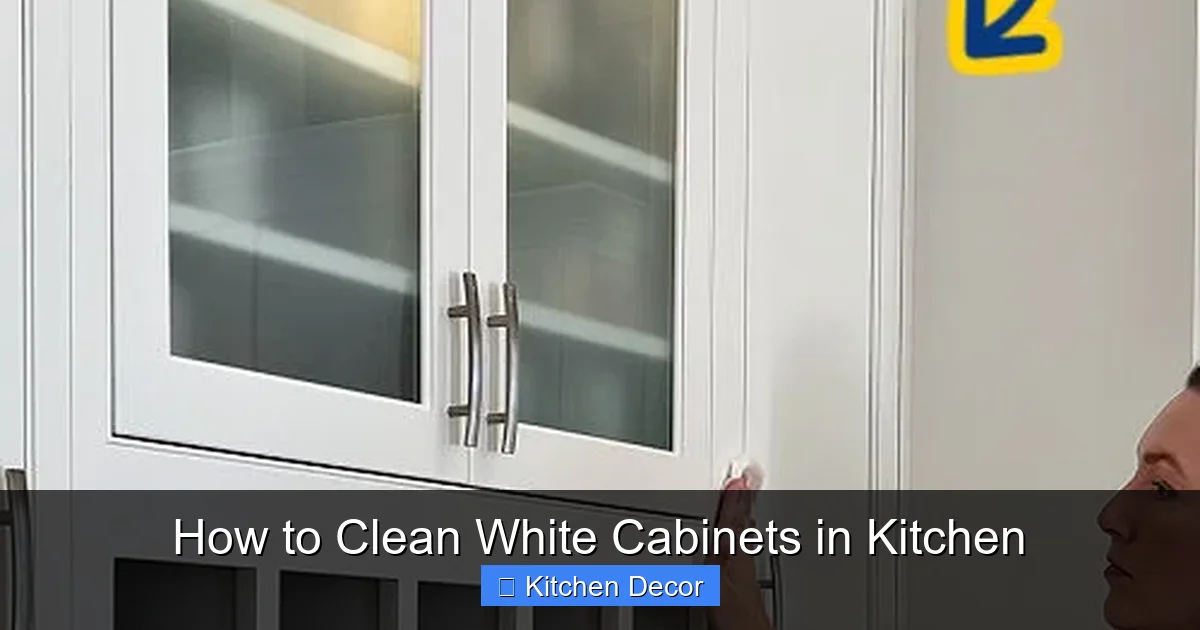
For Painted Cabinets (The Most Common)
Painted surfaces are porous and can be sensitive.
- For General Grime: The dish soap method above is your starting point. For tougher grease, create a paste of baking soda and a tiny amount of water. Apply it to a damp cloth, not directly to the cabinet, and gently rub the stained area with minimal pressure. Rinse and dry immediately. The mild abrasive action of baking soda is usually safe on paint but test first.
- For Stubborn Sticky Spots: Dampen a cloth with white vinegar diluted 1:1 with water. Vinegar’s acidity cuts through sticky residues. Wipe the spot, let it sit for 1-2 minutes, then wipe again with the soapy water cloth, rinse, and dry. Caution: Do not use vinegar on waxed or oil-based painted finishes, as it can strip the sheen. When in doubt, stick to soap and water.
For Laminate Cabinets
Laminate is the most resilient to moisture and stains but vulnerable to scratches and heat.
- For General Cleaning: The dish soap and water method is perfect. You can also use a commercial laminate cleaner or a solution of isopropyl rubbing alcohol (70%) and water (1:1). Alcohol evaporates quickly and leaves no residue.
- For Grease: A direct application of a degreaser (like an all-purpose cleaner labeled for kitchens) is usually safe. Spray onto a cloth first, then wipe. Never spray directly onto seams.
- For Scratches: Minor surface scratches can sometimes be buffed out with a toothpaste (non-gel, non-whitening) applied with a soft cloth. Rub in a circular motion, then rinse and dry. Deep scratches require professional repair.
For Thermofoil Cabinets
The seamless vinyl surface is fantastic but can be damaged by heat and certain chemicals.
- For Cleaning: Stick strictly to warm water and a tiny drop of dish soap. This is almost always sufficient. Avoid any abrasive cleaners, solvents (like acetone or nail polish remover), or anything containing ammonia.
- For Sticky Residues: A very small amount of mineral oil (like Howard Products) on a cloth can dissolve adhesive without harming the vinyl. Apply sparingly, let sit for a minute, then wipe clean with the soapy water cloth and dry.
- Heat Damage: If a finish has become cloudy or bubbled from heat, it is usually permanent. Prevention is key—use heat shields on the back of cabinets near the dishwasher or oven.
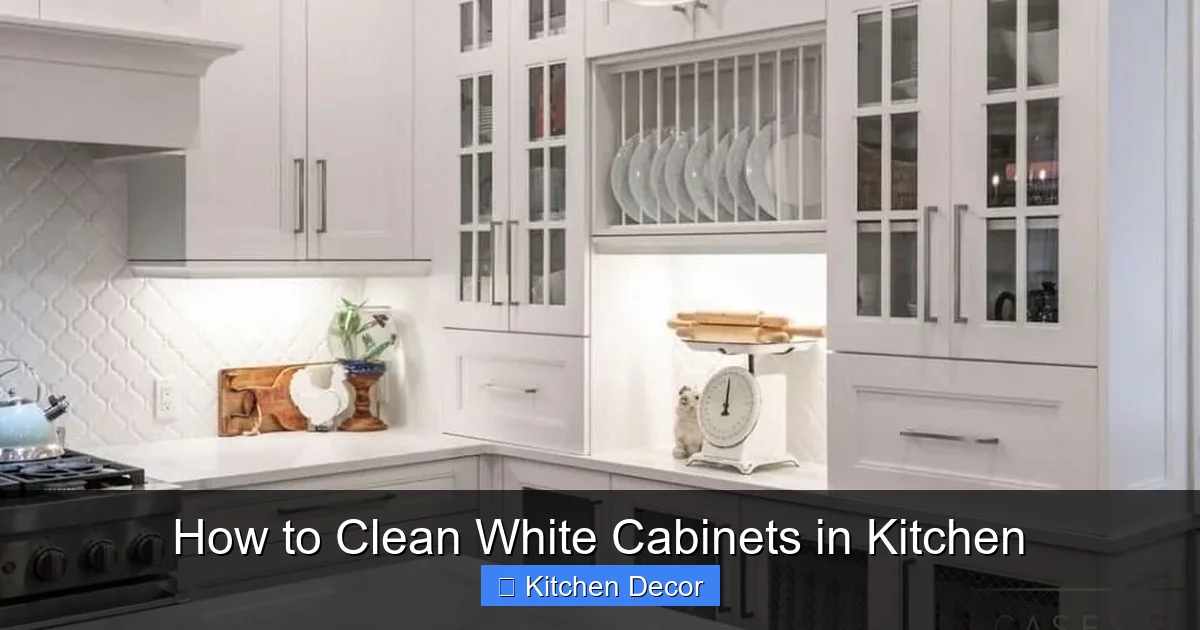
Conquering Common Stains and Discoloration
Even with the best routine, specific stains appear. Here’s your tactical guide.
Visual guide about How to Clean White Cabinets in Kitchen
Image source: decorcabinets.com
Grease and Oil Buildup
This is the #1 kitchen cabinet villain. You’ll see it as a faint, yellowish film, especially above the stove and around handles.
- Solution: Make a paste of baking soda and water or use a dedicated kitchen degreaser. Apply to a damp cloth, work it into the greasy area gently. Let it sit for 3-5 minutes to break down the oil. Wipe with a clean, damp cloth, rinse with a water-dampened cloth, and dry immediately.
- Prevention: Use your back burner when possible (grease splatters rise and travel), and use a splatter guard when frying. Wipe the area above your stove weekly with your vinegar-water solution.
Hard Water Spots and Soap Scum
These appear as chalky white or cloudy rings, often near the sink where water droplets evaporate, leaving mineral deposits.
- Solution: Dampen a cloth with white vinegar and lay it over the spot for 5 minutes. The acetic acid dissolves the mineral deposits. Wipe clean, then follow with your soap-and-water clean and dry thoroughly. For severe buildup, use a paste of cream of tartar and a few drops of water (a natural, gentle abrasive).
Yellowing (The Dreaded Age Spot)
This is more complex. If it’s recent surface staining from cooking oils, the degreaser methods above may work. If it’s deep, age-related discoloration of the paint itself, it’s often permanent.
- For Surface Staining: Try the baking soda paste or a commercial “paint cleaner” like Bar Keepers Friend (use the Gentle formula for painted surfaces, test first!). Apply, let sit briefly, rinse very well, and dry.
- For True Yellowing: Unfortunately, this usually requires repainting. Some cabinet refinishing companies offer a “bleaching” step, but this is a major project. The best defense is a good offense: consistent cleaning to prevent oils from baking into the paint in the first place.
Ink, Marker, and Sticker Residue
Kids’ art projects or a forgotten sticker can leave marks.
- For Marker/Ink: Dab a cotton ball or cloth with isopropyl rubbing alcohol and gently blot. Do not rub, as it can spread the ink. For permanent marker, you may need a dedicated stain remover like “Goo Gone” or “Dyna-Grip” (test first!).
- For Sticker Goo: Use a small amount of peanut butter (the oil breaks down adhesive) or a commercial adhesive remover like “Goof Off.” Apply to the residue, let sit, then wipe away. Clean the area afterward with soap and water.
Don’t Forget the Details: Hardware and Interiors
cabinet cleaning isn’t just about the big white panels. The details make the difference between “clean” and “immaculate.”
Cleaning Cabinet Pulls and Handles
Handles are germ magnets and grease traps. Remove them if possible for a thorough clean. Soak them in warm, soapy water, scrub with a toothbrush, rinse, and dry completely before reattaching. If you can’t remove them:
- Dip a toothbrush in your soapy solution and scrub around the base and crevices.
- For stainless steel or metal handles, a wipe-down with a 50/50 water-vinegar solution followed by a dry cloth will remove fingerprints and smudges.
- For brass or oil-rubbed bronze, use a cleaner specific to that metal finish to avoid damage.
Cleaning Inside the Cabinets
The interior is often neglected but can accumulate crumbs, spills, and dust.
- Empty the cabinet completely.
- Wipe down the shelves and walls with a dry cloth to remove loose debris.
- For sticky spills (like honey or syrup), use a damp cloth with a drop of dish soap. For dried-on messes, let a damp cloth sit on the spot for a minute to soften it.
- For cabinet liners, pull them out and wash them with warm soapy water. Let them air-dry completely before reinstalling to prevent mildew.
- Before putting items back, wipe down all jars and containers. This is a great time to declutter and toss expired items.
Establishing a Long-Term Maintenance Schedule
Consistency is the ultimate key to effortlessly clean white cabinets. Here’s a simple, sustainable schedule to follow.
Daily (1-2 Minutes)
- Wipe down the area around the stove and sink with a damp microfiber cloth after cooking or washing dishes.
- Wipe cabinet handles with a dry cloth.
Weekly (15-20 Minutes)
- Perform the full deep-clean routine on all cabinet fronts as described in Section 2.
- Spot-clean any new marks or spills immediately.
Monthly (30 Minutes)
- Deep clean cabinet hardware (remove and soak if possible).
- Clean the interior of 2-3 high-use cabinets (like under the sink or above the counter). Rotate which ones you do each month.
- Wipe the top of cabinets (a dust and grease magnet) with a dry or slightly damp cloth.
Quarterly/As Needed (1-2 Hours)
- Address any specific stain problems with the targeted methods in Section 4.
- Clean the cabinet hood vent filter (if applicable) to reduce grease circulation.
- Consider a professional deep cleaning or refinishing if yellowing or damage is severe and widespread.
By integrating these small tasks into your existing kitchen rhythm, you avoid the overwhelming “deep clean day” and keep your white cabinets looking their best with minimal effort.
Conclusion
Cleaning white kitchen cabinets doesn’t have to be a source of anxiety. It’s a practice in understanding and respect for your specific materials. The core philosophy is simple: gentle, consistent care beats occasional, harsh intervention every time. Start by identifying your cabinet finish. Then, build the habit of that quick daily wipe-down. Follow up with a weekly soap-and-water clean, always finishing with a thorough dry. When specific stains appear, use the targeted, tested solutions we’ve outlined, but always remember to test in an unseen spot first.
Your white cabinets are an investment in your home’s aesthetic. They reflect light, make spaces feel larger, and provide a classic backdrop for your kitchen life. By treating them with the right knowledge and a little regular attention, you’ll preserve that bright, clean, welcoming feel for years to come. So grab your microfiber cloth, mix up some warm soapy water, and enjoy the satisfying sparkle of a job well done. You’ve got this.
Frequently Asked Questions
Can I use bleach to clean my white cabinets?
Generally, no. Bleach is too harsh and can discolor paint, damage laminate and thermofoil finishes, and cause yellowing over time. For disinfecting, use a diluted hydrogen peroxide solution (3%) or a commercial disinfectant safe for your finish, always testing first. Soap and water are sufficient for regular cleaning.
How do I remove hard water spots from my white cabinets near the sink?
Soak a clean cloth in undiluted white vinegar and lay it over the spots for 5-10 minutes. The acetic acid dissolves the mineral deposits. Wipe the area clean with a water-dampened cloth, then dry immediately with a microfiber towel. For very stubborn spots, use a paste of cream of tartar and water.
My painted white cabinets have started to yellow. Can I fix this?
If the yellowing is recent surface staining from cooking grease, a gentle degreaser or baking soda paste may help. However, deep, age-related yellowing within the paint film is usually permanent. The only permanent fix is to repaint the cabinets. Prevention through regular, gentle cleaning is the best long-term strategy.
What’s the safest cleaner for thermofoil cabinets?
Warm water and a single drop of mild dish soap on a damp microfiber cloth is the safest and most effective cleaner for thermofoil. Avoid any abrasive cleaners, solvents (like acetone), ammonia-based products, or undiluted vinegar, as these can damage or cloud the vinyl surface. Always rinse with a water-dampened cloth and dry.
How do I clean the greasy film above my stove without damaging the finish?
Weekly prevention is key. After cooking, wipe the area with a cloth dampened with a 1:1 white vinegar and water solution. For existing buildup, make a paste of baking soda and water, apply it to a damp cloth, and gently rub the area. Let it sit for 3-5 minutes, then wipe clean with a soapy water cloth, rinse with a clean damp cloth, and dry thoroughly.
My laminate cabinets have a fine scratch. Can I fix it?
Minor, surface-level scratches on laminate can sometimes be buffed out. Use a non-abrasive, non-gel toothpaste (like plain white toothpaste) on a soft cloth. Rub the scratch in a circular motion for 30-60 seconds, then wipe clean and dry. This may improve the appearance but won’t make it invisible. Deep scratches that penetrate the surface layer typically require professional repair or replacement of the door.