Cleaning your microwave vent is essential for safety and performance. This guide walks you through tools, DIY solutions, and maintenance tips so you can keep your kitchen fresh and fire‑free. Follow the simple steps and enjoy a spotless, efficient vent.
Key Takeaways
- Regular cleaning prevents fire hazards: Grease buildup can ignite, so clean every 1‑3 months.
- Use gentle, kitchen‑safe cleaners: Baking soda, vinegar, and mild dish soap work best.
- Disassemble safely: Unplug, remove the filter, and label parts to avoid re‑assembly errors.
- Deep‑clean the ductwork: A flexible brush or vacuum clears hidden grime.
- Maintain with a schedule: Set calendar reminders to keep the vent spotless year‑round.
- Check for wear: Replace damaged filters or vent covers to maintain airflow.
- Test after cleaning: Run the microwave on high for a minute to confirm proper ventilation.
📑 Table of Contents
Why a Clean Microwave Vent Matters
Most people focus on the microwave’s interior, but the vent does the heavy lifting when it comes to heat and steam. A clogged vent can cause three main problems:
- Reduced cooking efficiency: Heat stays trapped, making food take longer to cook.
- Unpleasant odors: Grease and food particles bake onto the vent, spreading smells throughout the kitchen.
- Fire risk: Grease is highly flammable; a buildup can ignite the moment the microwave runs at high power.
Cleaning the vent isn’t a daunting chore. With the right tools and a clear plan, you can finish the job in under an hour.
Gathering the Right Tools
Essential Supplies
Before you start, collect these items. Having everything within arm’s reach prevents interruptions.
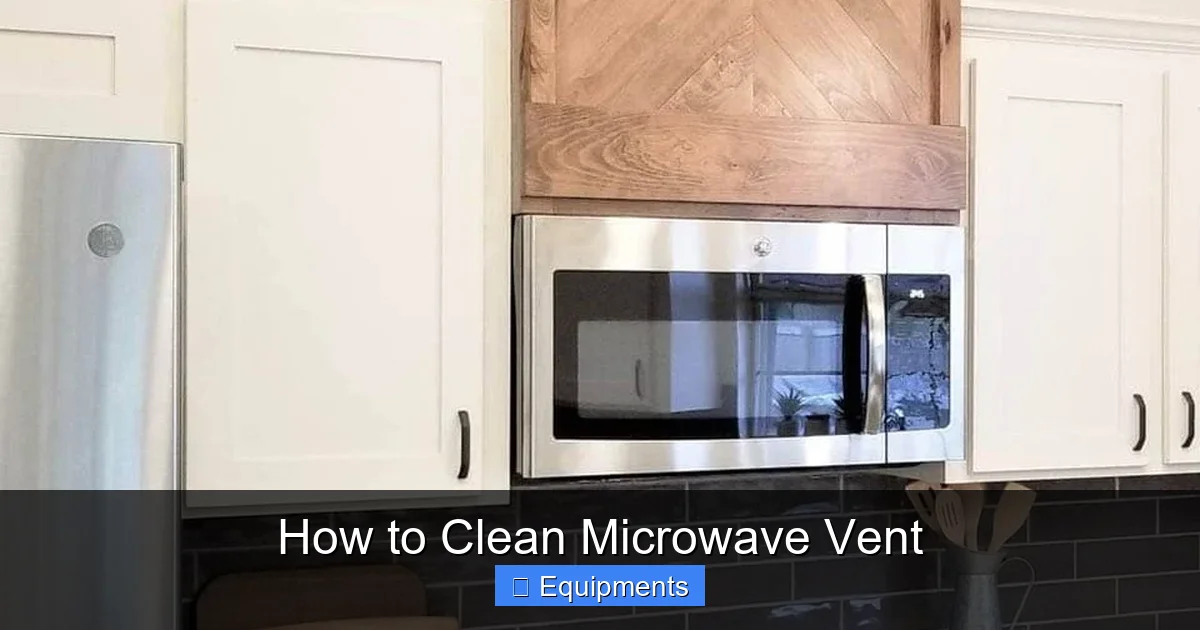
Visual guide about How to Clean Microwave Vent
Image source: cleanersadvisor.com
- Soft‑cloth microfiber towels
- Non‑abrasive sponge
- Old toothbrush or small cleaning brush
- Spray bottle
- White vinegar
- Baking soda
- Mild dish soap
- Rubber gloves
- Flexible vent cleaning brush (or a long‑handled bottle brush)
- Vacuum with hose attachment (optional but helpful)
Safety Gear
Even though you’re not dealing with electricity directly, it’s wise to wear rubber gloves to protect your skin from hot grease and to avoid slipping on a wet floor.
Step‑by‑Step Guide to Cleaning the Microwave Vent
1. Unplug and Prepare the Area
First, turn off and unplug the microwave. If the vent is part of a range‑hood, switch off the hood’s power at the circuit breaker. Clear the countertop around the appliance so you have space to work.

Visual guide about How to Clean Microwave Vent
Image source: missvickie.com
2. Remove the Filter
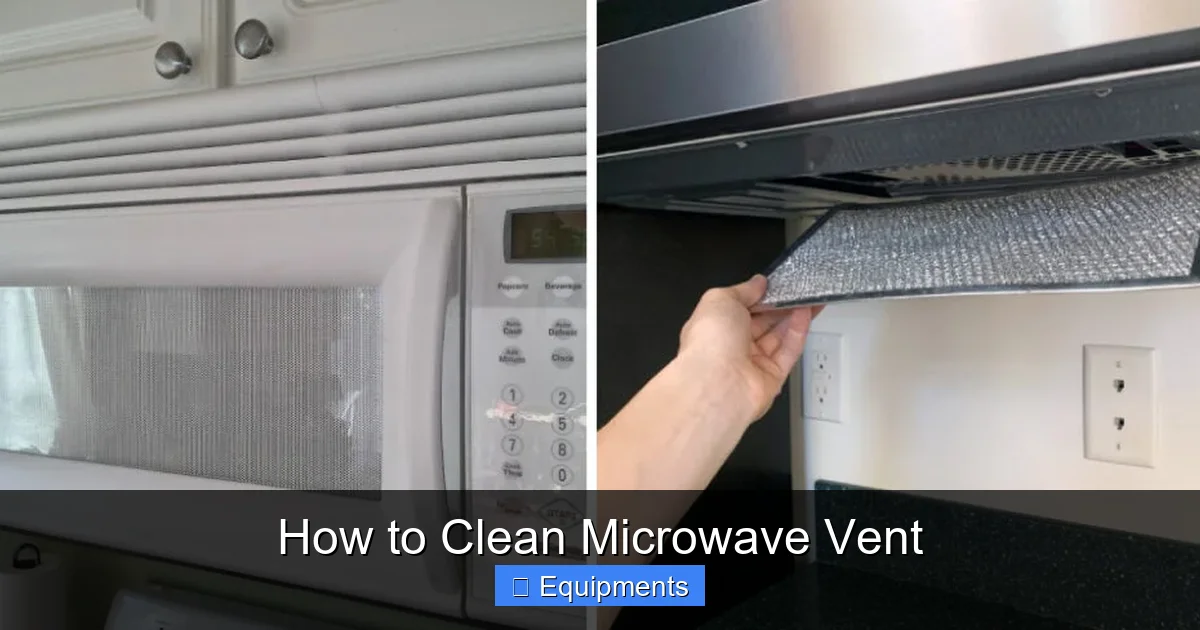
Most microwave vents have a metal or charcoal filter that captures grease. Locate the filter—usually behind a removable front panel or on the underside of the vent hood. Pull it out gently. If it’s a charcoal filter, it’s not washable; you’ll need to replace it after cleaning the surrounding area.
3. Soak the Filter
For metal filters, fill a sink or basin with hot water, a few drops of dish soap, and a cup of white vinegar. Submerge the filter for 10‑15 minutes. After soaking, scrub with a non‑abrasive sponge or an old toothbrush to release any stuck‑on grime. Rinse thoroughly and let it air‑dry.
4. Clean the Exterior Vent Cover
Mix a spray solution of equal parts water and white vinegar in a spray bottle. Lightly mist the vent cover and let it sit for a minute. Use a soft cloth to wipe away grease. For stubborn spots, make a paste of baking soda and water, apply with a sponge, and gently rub. Rinse with a damp cloth and dry with a microfiber towel.
5. Address the Interior Ductwork
Here’s where many people skip a step. Grease can travel deep into the duct, reducing airflow. Use a flexible vent cleaning brush—insert it into the duct and rotate while pulling it back. If you have a vacuum with a hose, run it over the brush to suction loose debris. For extra power, spray a little vinegar solution into the duct before brushing.
6. Re‑assemble and Test
Once every part is dry, reinstall the filter (or a new charcoal filter) and snap the vent cover back into place. Plug the microwave back in, turn the vent fan on low, and listen for smooth airflow. Finally, run the microwave on high for 60 seconds; you should notice less heat buildup and no lingering smoke.
Deep‑Cleaning Tips for Stubborn Grease
Use a Steam Cleaner
If you own a handheld steam cleaner, it can melt thick grease without chemicals. Hold the nozzle a few inches from the vent surface and move slowly. The steam loosens grime, which you can wipe away with a cloth.
Visual guide about How to Clean Microwave Vent
Image source: thekitchenix.com
DIY Degreaser Spray
Combine 1 cup of warm water, 1 tablespoon of baking soda, and 1 tablespoon of liquid dish soap in a spray bottle. Shake well and spray directly onto greasy spots. Let sit for 5‑10 minutes, then wipe clean. This mixture cuts through baked‑on residue without damaging metal.
When to Replace the Filter
Even with regular cleaning, charcoal filters lose their absorptive power after about 6‑12 months, depending on cooking frequency. Look for a faded color or a lingering odor as signs it’s time for a new filter.
Maintenance Schedule to Keep Your Vent Spotless
Consistency is the secret to a low‑maintenance kitchen. Here’s a simple calendar you can follow:
- Weekly: Wipe the exterior vent cover with a damp cloth.
- Monthly: Check the filter for visible grease; spray a light vinegar mist if needed.
- Every 3‑4 months: Perform the full cleaning process described above.
- Annually: Replace the charcoal filter and give the ductwork a thorough brush‑out.
Set reminders on your phone or calendar app. A quick five‑minute check each week prevents the buildup that turns cleaning into a marathon.
Common Mistakes to Avoid
Using Abrasive Cleaners
Scouring pads or harsh chemicals can scratch metal surfaces and reduce the vent’s lifespan. Stick to gentle, kitchen‑safe solutions.
Neglecting the Duct
Cleaning only the visible cover gives a false sense of security. Grease hidden in the duct still blocks airflow and can overheat the microwave.
Skipping the Drying Step
Re‑installing a wet filter or cover can cause rust or mold growth. Ensure everything is completely dry before re‑assembly.
Conclusion
A clean microwave vent is a small task that yields big rewards: safer cooking, better performance, and a fresher kitchen. By following the step‑by‑step guide, using simple household ingredients, and sticking to a maintenance schedule, you’ll keep your vent in top shape without hiring a professional. Remember, the next time you hear that humming fan, it’s a sign that your vent is doing its job—thanks to your regular care.
Frequently Asked Questions
How often should I clean my microwave vent?
For most households, a full clean every 3‑4 months works well. Spot‑clean the exterior weekly and check the filter monthly.
Can I use commercial oven cleaners on the vent?
It’s best to avoid harsh oven cleaners. They can corrode metal and leave residue that affects airflow. Stick to vinegar, baking soda, or mild dish soap.
What if my vent has a built‑in charcoal filter?
Charcoal filters aren’t washable. Replace them according to the manufacturer’s recommendation, usually every 6‑12 months, or when you notice lingering odors.
Is it safe to clean the vent while the microwave is still plugged in?
No. Always unplug the microwave (or turn off the circuit breaker for a range‑hood vent) before disassembling any parts.
My vent still smells after cleaning. What should I do?
Try a deeper clean: spray a vinegar‑water solution inside the duct, let it sit, then brush and vacuum. Replace the filter if the odor persists.
Can I use a dryer vent brush for my microwave vent?
Yes, a flexible dryer‑vent brush works well for reaching inside the ductwork. Just ensure it’s clean and free of lint before use.
Pingback: Microwave Potatoes How Long - kitchenandhouseware.com