Cleaning dishes while camping without a reliable water source is absolutely possible with clever, low-impact techniques. The core strategy shifts from “washing” to “scraping, sanitizing, and air-drying,” using natural abrasives like sand or campfire ash, biodegradable soaps sparingly, and a clever three-bowl system for a final crystal-clear rinse with just a cup of water. Embracing the “no-water” mindset means prioritizing prevention, immediate post-meal cleanup, and strict Leave No Trace principles to protect the environment and ensure your campsite stays pristine.
Key Takeaways
- Mindset Shift: “Cleaning” means removing food debris and sanitizing, not a full soap-and-rinse cycle. Focus on scraping, abrasion, and air-drying.
- Dry First, Wet Last: Always scrape and scrub dishes completely dry before introducing any liquid, even a drop of water or soap, to conserve resources.
- Natural Abrasives Are Key: Clean sand, fine gravel, or cooled campfire ash are excellent, free, and eco-friendly scrubbers that lift grease without water.
- The Three-Bowl Rinse is a Game-Changer: For a final polish, use a tiny amount of water in a sequential three-bowl system (wash, rinse, final rinse) to achieve sparkling results with less than a cup per person.
- Prevention is Your Best Tool: Use lids, eat directly from cooking pots, and practice “clean-as-you-go” to drastically reduce the number of items needing cleaning.
- Soap is a Privilege, Not a Right: If using biodegradable soap, use a single drop on a damp cloth or sponge, and always dispose of greywater properly by scattering it away from water sources.
- Air-Dry Thoroughly: A completely dry dish is a sanitary dish. Stack dishes upside-down on a rack or in a sun-exposed, breezy spot to prevent bacterial growth.
📑 Table of Contents
- Introduction: The Camper’s Dirty Secret (And How to Solve It)
- The No-Water Mindset: Redefining “Clean” in the Wild
- Step 1: The Pre-Wash Protocol – Scrape, Soak, and Prevent
- Step 2: The Dry Scrub – Harnessing Nature’s Abrasives
- Step 3: Sanitizing Without Soap – Heat, Ash, and Air
- Step 4: The Three-Bowl Rinse System – Achieving Sparkling with a Cup of Water
- Step 5: Water-Smart Alternatives & Greywater Management
- Conclusion: Embracing the Efficient, Zero-Impact Kitchen
Introduction: The Camper’s Dirty Secret (And How to Solve It)
You’ve just enjoyed a fantastic meal under the stars. The fire is crackling, the stars are out, and the last thing you want to do is fumble with a bucket of water and a soapy sponge in the dark. But those pots and pans aren’t going to clean themselves. What if you could have a sparkling campsite kitchen without a single drop from the hose or a five-gallon jug? Welcome to the art and science of how to clean dishes while camping without water.
This isn’t about being grimy; it’s about being clever, efficient, and deeply respectful of the wilderness. Whether you’re deep in a backpacking zone where every ounce counts, car camping at a site with no hookup, or simply trying to conserve a precious water supply, the “no-water” method is a game-changer. It’s a shift from the modern expectation of a flowing tap to a time-honored, low-impact practice that leaves no trace. We’re going to break down exactly how to do it, from the mental prep to the final sparkling pot, using tools you already have and resources the earth provides.
The No-Water Mindset: Redefining “Clean” in the Wild
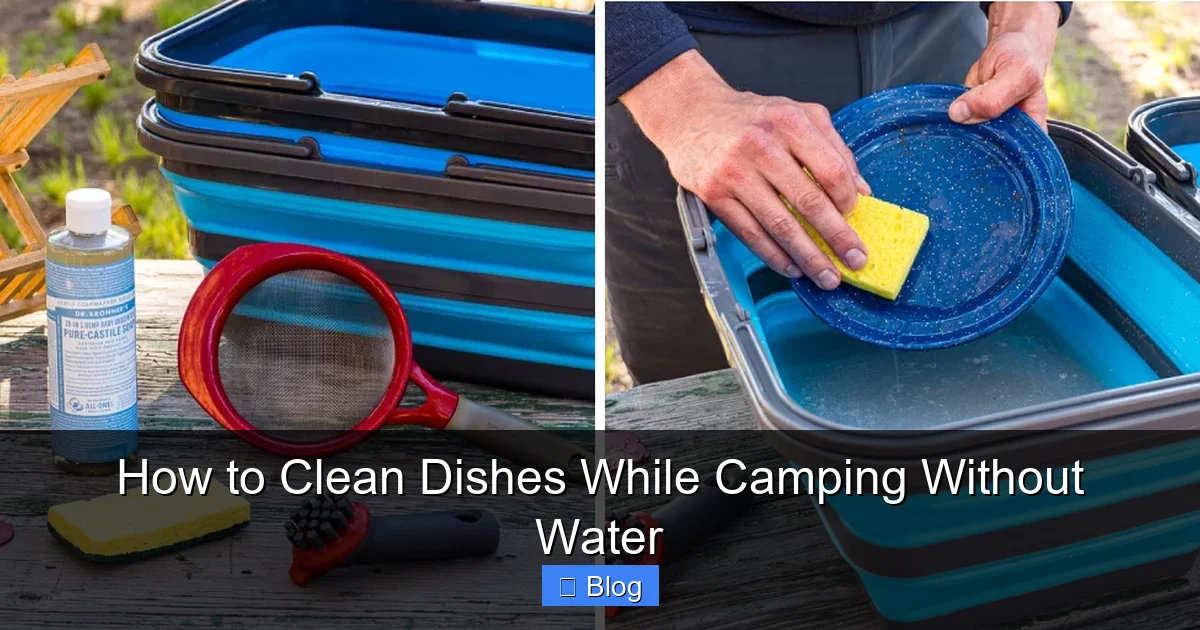
Before we talk techniques, we need to talk philosophy. At home, “clean” means soap, water, and a rinse until clear. In the backcountry, we must redefine it. Our new definition has three pillars: Debris-Free, Sanitized, and Dry. A dish is clean if all food particles are removed, it’s free from harmful pathogens, and it’s bone-dry to prevent bacterial growth. We achieve this through physical removal (scraping, abrasion), chemical sanitation (heat, ash, minimal soap), and final air-drying. This mindset makes you a more observant, efficient, and environmentally conscious camper.
Visual guide about How to Clean Dishes While Camping Without Water
Image source: thekitchenix.com
Why Bother? The Triple Benefit of Waterless Cleaning
You might wonder, “Why go to all this trouble?” The benefits are significant. First, Conservation: In arid environments or on multi-day treks, water is your most critical resource. Saving 2-3 gallons for dishwashing can be a matter of comfort or even safety. Second, Simplicity & Weight: For backpackers, ditching a dedicated dishwashing setup (basin, scrubber, soap) saves precious pack weight and bulk. Third, and most importantly, Leave No Trace (LNT): Proper dishwashing without water—or with minimal, properly disposed water—prevents soap contaminants and food scraps from polluting fragile ecosystems. It’s the ultimate responsible camper’s skill.
Step 1: The Pre-Wash Protocol – Scrape, Soak, and Prevent
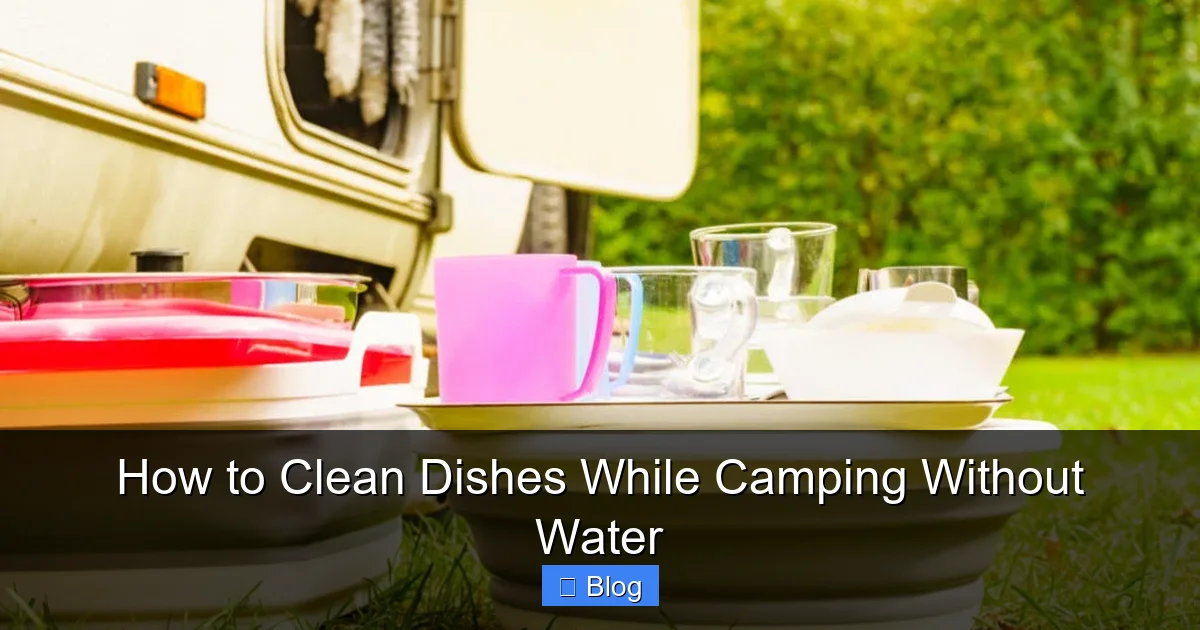
The battle for clean dishes is won or lost the moment you finish eating. The absolute first and most critical step in the no-water method happens immediately after your meal.
Visual guide about How to Clean Dishes While Camping Without Water
Image source: thehobbykraze.com
Scrape with Military Precision
Get every last morsel off the plate or pot. Use a dedicated silicone spatula, a sturdy piece of cardboard, or even a clean pine needle bundle. Scrape solids into your trash bag (if packable) or, better yet, into your campfire for complete incineration (only if allowed and safe). For greasy pans, pour excess grease into your fire (if permitted) or a dedicated waste container. A thoroughly scraped dish is 80% of the battle. Any remaining food will attract wildlife and make later steps ineffective.
The “Eat Directly” Prevention Strategy
The best dish to clean is the one you never have to wash. This is your #1 prevention tactic. Cook and eat from the same pot whenever possible. Use a single bowl for your entire meal. For backpacking, consider one-pot meals or even “no-cook” dinners that require no cleanup at all. When you do use multiple items, designate one “clean” utensil for serving to avoid cross-contamination and extra washing.
Immediate Post-Meal Action
Don’t let food dry and cake on. As soon as you’re done eating, take 60 seconds to scrape everything. If you have a minute to spare, wipe the inside of a pot with a paper towel (pack it out) to absorb grease. This immediate action makes the eventual “dry clean” exponentially easier.
Step 2: The Dry Scrub – Harnessing Nature’s Abrasives
Now we get to the core of the no-water technique: using dry abrasives to remove stuck-on food and grease. You have three excellent, natural options.
Visual guide about How to Clean Dishes While Camping Without Water
Image source: offthegridgearhub.com
Method A: Sand & Gravel Scrub
This is the classic, primal method. Find a dry, sandy area away from your campsite (to avoid tracking sand back). Important: Never use sand from the immediate vicinity of your tent or cooking area to avoid introducing dirt and grit. Pour a handful of clean, dry sand onto the dish. Using a cloth, your hand, or a dedicated scrubber (like a nylon scrub pad), work the sand in a circular motion. The gritty texture acts as a fantastic abrasive, lifting grease and food particles. The sand also absorbs oils. Simply shake the dirty sand off into your trash/fire and repeat with fresh sand. For pots, add sand and a little warm (not hot) water if you have a *tiny* amount to spare, then scrub vigorously. Rinse with minimal water using the three-bowl method later.
Method B: Campfire Ash Scrub (With Caution)
Cooled, fine campfire ash is an incredible natural cleaner and mild disinfectant due to its alkaline nature. CAUTION: Ash can be very dusty and is not safe to inhale. Always dampen it slightly first to prevent dust clouds. Scoop a tablespoon of cool, white ash onto the dish. Add a drop of water (if you have it) or just use a damp cloth to create a mild paste. The ash gently cuts through grease and grime. Critical Rule: Never use ash from treated wood, painted wood, or plastics. Only use ash from natural, untreated firewood. After scrubbing, shake off the ash. Be aware ash can leave a slight film; a final minimal-water rinse is often needed.
Method C: The Dedicated “Dry Sponge” or Brush
For lighter jobs, a completely dry scrubber, steel wool (for non-coated pans only), or even a bundle of sturdy, dried grass or pine needles can work. The key is friction. Use it immediately after scraping while any remaining grease is still warm and soft. This method works best for plates and utensils with light residue.
Pro-Tip: The Grease-Fighting Power of Potatoes
Here’s a fantastic, often-overlooked trick. Cut a raw potato in half. Rub the cut side on a greasy pan or pot. The starch in the potato acts as a mild emulsifier, breaking down grease and leaving a surprisingly clean surface. It’s biodegradable, leaves no taste, and is perfect for a final polish before the minimal rinse. Dispose of the used potato half in your fire or trash.
Step 3: Sanitizing Without Soap – Heat, Ash, and Air
Removing visible debris is one thing; killing bacteria is another. How do you sanitize without soap and running water?
Sanitizing with Heat (The Best Method)
Heat is your most powerful sanitizer. If you have a camp stove or a stable fire, you can sanitize dishes without a single drop of water. After your dry scrub, simply hold the dish (with tongs or heat-resistant gloves!) over the flame or stove for 30-60 seconds per side. The intense heat will kill virtually all pathogens. For pots, you can often just pour the last of your boiling cooking water into them, swish it around, and let it sit for a minute before pouring it out. This uses water you were going to discard anyway. The dish is now sanitized and ready for the final air-dry.
The Sanitizing Power of Wood Ash
As mentioned, ash is alkaline, creating an inhospitable environment for many bacteria. A thorough scrub with a damp ash paste (using your one drop of precious water) provides a chemical sanitizing effect alongside the physical abrasion. It’s a two-in-one solution.
The Final Sanitizer: Time and Sun
If you have no heat source and used only a dry scrub, your final sanitizing step is thorough air-drying in direct sunlight and breeze. UV light from the sun is a natural disinfectant. Ensuring dishes are completely, utterly dry (no damp spots in crevices) for at least 4-6 hours will render them safe for reuse. Stack them open-side down to maximize airflow.
Step 4: The Three-Bowl Rinse System – Achieving Sparkling with a Cup of Water
Let’s be honest: a purely dry-scrubbed pot might still look a bit hazy or have a fine film of ash/sand. For a truly sparkling result—especially for items you’ll eat from again—you need a final rinse. But we’re doing it with extreme water efficiency. This is the three-bowl (or container) system.
Setting Up Your Three-Bowl Station
You need three clean containers: a pot, a dedicated “wash” bowl, and a dedicated “rinse” bowl. The magic is in the sequence and water reuse.
- Bowl 1 (Wash): Fill with 1-2 cups of your cleanest water. Add a single drop of biodegradable soap (like Campsuds or Dr. Bronner’s). This is your only soapy water.
- Bowl 2 (Rinse 1): Fill with 1-2 cups of clean water. This is your first rinse.
- Bowl 3 (Rinse 2/Final): Fill with 1-2 cups of clean water. This is your final, crystal-clear rinse.
The Sequential Rinse Dance
1. Wash: After your dry scrub, dip your cloth/sponge into Bowl 1, wring it out, and give the dish a quick once-over to remove any remaining abrasive grit and film. Drop the cloth into Bowl 1 to keep it soapy. Immediately place the dish into…
2. Rinse 1: Swish the dish in Bowl 2 to remove soap. This water will be mildly soapy. Do not reuse this water.
3. Rinse 2: Swish the dish in Bowl 3. This should now be your clear rinse. Inspect the dish. If it’s perfectly clean, you’re done. If you see any film, you can do a quick final dip back in Bowl 3.
4. Water Reuse Logic: After all dishes are done, you can carefully pour the water from Bowl 2 (the first rinse) into Bowl 1 to “refresh” the wash water for a second round, extending your water supply. Bowl 3’s final rinse water is usually clean enough to pour directly on the ground away from camp (see LNT below).
How Much Water Are We Really Using?
For a family of four with pots, plates, and utensils, this system uses approximately 1-2 quarts (1-2 liters) of water total. Compare that to the 5-10 gallons a typical home dishwasher uses. You’ve achieved a sparkling clean with less than 5% of the water.
Step 5: Water-Smart Alternatives & Greywater Management
Sometimes, you *do* have a small, finite amount of water (e.g., from a 5-gallon jug). How do you use it most effectively? And what do you do with the little bit of “greywater” you do create?
The “Pot of Water” Method
Instead of filling basins, boil a pot of water. Use a ladle to portion out exactly the amount you need for each step: a few splashes to dampen your cloth for the dry scrub, a few more for the three-bowl system. This forces extreme conservation and makes you aware of every drop.
Snow as a Resource (Winter Camping)
In winter, snow is your infinite water source. For rinsing, pack a pot with clean, fresh snow. As it melts, it provides cold rinse water. For the three-bowl system, you can melt snow in each bowl sequentially. For sanitizing heat, you can even use the hot water from melting snow over a stove to give dishes a scalding rinse. The key is to use only the cleanest, freshest snow from away from camp.
Greywater Disposal: The Non-Negotiable Rule
Any water that has touched soap or food particles is greywater. Never pour greywater into a stream, lake, or directly on the ground in a concentrated puddle at your campsite. The correct LNT procedure is:
- Strain food scraps from the greywater into your trash bag.
- Carry the greywater at least 200 feet (70 meters) away from any water source, trail, or campsite.
- Scatter it widely over a large area of bare soil or gravel. The soil acts as a filter. This allows it to biodegrade naturally without concentrating impacts.
- If you used biodegradable soap, this scattering is acceptable. If you used regular soap, you must pack the greywater out in a sealed container.
This single practice is what separates responsible campers from those who damage the environment.
Conclusion: Embracing the Efficient, Zero-Impact Kitchen
Mastering how to clean dishes while camping without water isn’t a compromise; it’s an upgrade to your outdoor skillset. It connects you more deeply to your environment, forces you to be prepared and proactive, and ensures the place you love remains pristine for the next visitor. You’ll leave camp not with a bucket of sudsy water to haul, but with a kit of dry, sparkling dishes and the satisfaction of having used resources with profound respect.
Start by integrating just one technique: the immediate post-meal scrape, or the sand scrub. Practice the three-bowl rinse with a quart of water at home. As you become comfortable, you’ll find your entire camping rhythm becomes lighter, faster, and more in harmony with the natural world. The next time you’re staring at a greasy pan under the moonlight, remember: you don’t need a waterfall. You just need a bit of sand, a potato, and the know-how. Now, go enjoy that clean, crisp air—your dishes are taken care of.
Frequently Asked Questions
Is it safe to clean dishes without using any soap at all?
Yes, if you combine a thorough dry scrape/abrasion with a final heat sanitization (holding over flame or using boiling water) and complete air-drying. This removes food and kills pathogens. For a truly sparkling finish on items like plates, a single drop of biodegradable soap used in a three-bowl rinse system is recommended.
Can I use regular sand or gravel from the campsite?
You can, but always choose a source away from your immediate campsite to avoid introducing dirt and grit back to your cooking area. Ensure the sand/gravel is dry and free of organic matter like leaves or twigs. A small, dedicated bag you fill from a distant, clean source is ideal.
What’s the best natural abrasive for really stuck-on, burnt food?
A combination of methods works best. First, boil a small amount of water directly in the pot to loosen the burnt bits. Then, use a gritty paste of campfire ash (cooled and dampened) with a non-metal scrubber. The ash’s alkalinity helps break down carbonized food. For non-stick surfaces, use a damp potato half or baking soda paste instead.
How do I clean dishes if I’m camping in the snow and don’t have liquid water?
Use clean, fresh snow as your water source. Pack it into containers and let it melt for your three-bowl rinse system. For sanitizing, you can melt snow directly in your dirty pot over the stove, bring it to a boil, swish it around, and pour it out—this uses the snow as both a cleaning and sanitizing agent. For dry scrubbing, use sand or ash as described.
Is it ever okay to wash dishes in a lake or stream?
Never. This is a major violation of Leave No Trace principles. Soap, even biodegradable soap, is a pollutant that harms aquatic life and disrupts ecosystems. Food scraps attract wildlife. Always wash and rinse dishes at least 200 feet from any water source and scatter greywater widely on land.
What’s the absolute minimum amount of water I should plan for dishwashing on a backpacking trip?
>For a solo backpacker practicing true no-water methods (dry scrub + heat sanitize), you may need zero dedicated water. If you want a final rinse using the three-bowl method, plan for about 1 cup (250ml) of water per person per day for all cooking and drinking needs combined, allocated partly for dishes. This is a stark contrast to the 1-2 gallons per day often recommended for traditional washing.